1 Court Square Long Island City Ny 11101
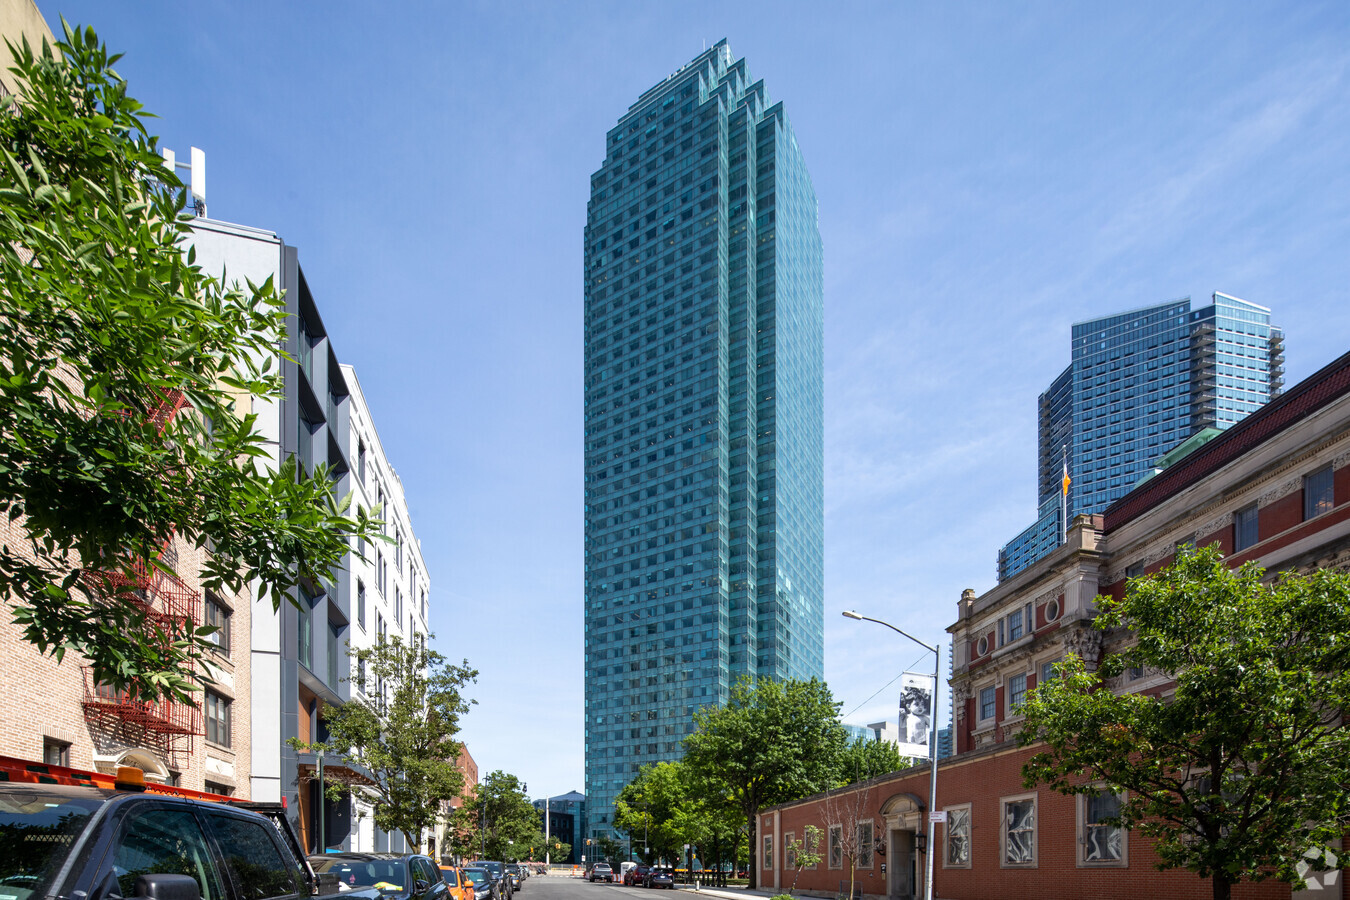
Living in 1 Court Square, Long Island City, NY 11101 offers amazing views and urban convenience. However, like any building, maintaining comfortable temperatures can sometimes be a challenge. One of the most frequent issues residents face is uneven heating or cooling, particularly noticeable in larger apartments or units with multiple rooms.
Imagine this: the living room is comfortably cool, but your bedroom feels like a sauna. Or, conversely, the living room is freezing while the bedroom is perfectly warm. This inconsistency isn't just annoying; it can also impact your energy bills. Let's break down how to diagnose and, in some cases, fix this common problem.
Troubleshooting Uneven Heating/Cooling: A Step-by-Step Guide
Before calling in a professional, let's systematically investigate the possible causes. We'll start with the easiest, no-tools-required checks, and then move on to slightly more involved (but still safe) actions.
Step 1: The Obvious – Thermostat Settings and Zone Control
Start with the basics. Is your thermostat set correctly? Sounds simple, but it's often overlooked.
- Check the temperature setting: Is it set to a reasonable temperature for heating or cooling? Someone might have accidentally adjusted it.
- Verify the mode: Is it set to "Heat," "Cool," or "Auto"? "Auto" can sometimes be problematic if the system is struggling to switch between heating and cooling effectively. Try setting it to a specific mode (Heat or Cool) based on your current needs.
- Consider the thermostat location: Is the thermostat located in a drafty area or near a window? If so, it might be giving inaccurate readings. This is less likely in a modern building like 1 Court Square, but worth considering.
Zone Control (If Applicable): Many units in 1 Court Square might have zone control, allowing you to control the temperature in different areas of the apartment. Make sure the zones are properly configured. Are all zones supposed to be heating/cooling? Are any zones accidentally turned off or set to extreme temperatures?
DIY Action: Simply adjust the thermostat settings and zone controls as needed. Give the system some time (an hour or two) to respond to the changes. Observe if the temperature becomes more consistent.
Step 2: Air Vents and Registers: Obstructions and Proper Function
Next, let's examine the air vents and registers in each room. These are the entry and exit points for heated or cooled air.
- Obstructions: Are any vents blocked by furniture, rugs, or curtains? Even partial obstructions can significantly reduce airflow.
- Register Direction: Are the registers (the adjustable slats on the vents) directed correctly? In the winter, direct warm air towards the floor. In the summer, direct cool air upwards.
- Closed Vents: Are any vents completely closed in rooms that feel too hot or too cold? Do not close more than 20% of your vents. Closing too many vents can increase pressure in your ducts and damage your HVAC system. It will also make other rooms hotter or colder than they already are.
- Dust and Debris: Are the vents visibly dusty or dirty? A buildup of dust can restrict airflow.
DIY Action (No Tools Required): Remove any obstructions from the vents. Adjust the register direction as needed. Carefully open vents that are closed (remember the 20% rule!). Wipe down dusty vents with a damp cloth.
Step 3: Air Filter Inspection and Replacement
A dirty air filter is a very common culprit behind HVAC problems. A clogged filter restricts airflow, making your system work harder, reducing efficiency, and contributing to uneven heating/cooling.
- Locate the Air Filter: This is usually located near the blower motor of your HVAC system, often within the air handler unit. Consult your owner's manual if you're unsure of the location. In some apartments, it might be behind a return air grille.
- Visual Inspection: Remove the filter and hold it up to the light. If you can't see much light passing through, it's definitely dirty. A grayish or brownish color indicates a need for replacement.
- Filter Type and Size: Note the type and size of the filter. This information is usually printed on the filter itself. You'll need this when purchasing a replacement.
DIY Action (Requires Basic Equipment – New Filter):
- Purchase a replacement filter of the correct type and size. You can find these at most hardware stores or online. Consider a MERV 8 or MERV 11 filter for good filtration without excessive restriction.
- Turn off your HVAC system before replacing the filter.
- Carefully remove the old filter and dispose of it properly.
- Insert the new filter, paying attention to the airflow direction (usually indicated by an arrow on the filter frame).
- Turn your HVAC system back on.
Frequency: Ideally, change your air filter every 1-3 months, depending on usage and the level of dust in your apartment.
Step 4: Checking for Drafts and Air Leaks
Drafts can significantly impact the perceived temperature in a room, making it feel colder in the winter and hotter in the summer. Even small air leaks can add up, reducing efficiency and causing uneven heating/cooling.
- Feel Around Windows and Doors: On a cold or windy day, carefully feel around the edges of windows and doors for drafts.
- Check for Gaps: Visually inspect window and door frames for any obvious gaps or cracks.
- Examine Electrical Outlets and Switch Plates: Believe it or not, air can leak through electrical outlets and switch plates, especially on exterior walls.
DIY Action (Requires Basic Supplies – Caulk, Weather Stripping):
- Caulk: Apply caulk to seal gaps around window and door frames. Choose a caulk that is paintable if desired.
- Weather Stripping: Install weather stripping around doors and windows to create a tighter seal.
- Outlet/Switch Plate Insulators: Install foam insulators behind electrical outlets and switch plates to block air leaks. These are inexpensive and easy to install. Make sure to turn off the circuit breaker controlling the outlet or switch before removing the cover plate.
Step 5: Radiator Bleeding (If Applicable)
If your apartment uses a radiator heating system, trapped air can prevent the radiator from heating evenly. This is particularly common at the beginning of the heating season.
- Identify Radiators: Determine if you have radiators in your apartment.
- Check for Cold Spots: Feel the radiator. If it's hot at the bottom but cold at the top, it likely has trapped air.
- Locate the Bleed Valve: The bleed valve is a small valve, usually located at the top of the radiator, on one side.
DIY Action (Requires Basic Equipment – Radiator Key, Small Container):
- Purchase a radiator key from a hardware store. This is a small, specialized wrench for opening the bleed valve.
- Place a small container or rag beneath the bleed valve to catch any water.
- Slowly insert the radiator key into the bleed valve and turn it counterclockwise.
- You should hear air hissing out. Once water starts to trickle out, close the valve tightly.
- Repeat this process for each radiator in your apartment.
Caution: Be careful when bleeding radiators, as the water may be hot.
When to Call a Professional HVAC Technician
While the above steps can resolve many common issues, some problems require the expertise of a qualified HVAC technician. Safety should always be your top priority. Do not attempt any repairs that involve working directly with electrical components, refrigerant, or gas lines.
Call a professional if you experience any of the following:
- Unusual Noises: Loud banging, rattling, or hissing noises coming from your HVAC system could indicate a mechanical problem.
- Strange Odors: Burning smells or a sweet, chemical smell (possibly refrigerant) are red flags.
- Lack of Airflow: If there's little to no airflow coming from your vents, even after checking the filter, there might be a problem with the blower motor or ductwork.
- Refrigerant Leaks: Refrigerant is a hazardous substance, and leaks can be dangerous.
- Electrical Issues: If you suspect an electrical problem with your HVAC system (e.g., tripped breakers, sparking), immediately turn off the system at the breaker and call a professional.
- Frozen Coils: If you see ice forming on your AC unit or the copper lines, this could indicate a refrigerant issue or airflow problem.
- Constant Cycling: If your system turns on and off frequently, it's not running efficiently and could indicate a more serious problem.
- You've tried all the DIY steps and the problem persists.
Finding a Reputable Technician in Long Island City: Ask neighbors in 1 Court Square for recommendations or search online for HVAC companies with positive reviews and proper licensing.
Preventative Maintenance: Scheduling regular maintenance (at least once a year) with a qualified HVAC technician can help prevent many of these problems from occurring in the first place. A technician can inspect your system, clean components, and identify potential issues before they become major headaches.
Living comfortably in your 1 Court Square apartment requires a functional HVAC system. By following these troubleshooting steps, you can often resolve minor issues yourself and save on repair costs. Remember to prioritize safety and call a professional when needed. Enjoy your amazing view!