12 Volt Portable Air Conditioner For Car

Ever jumped into your car on a scorching summer day, only to be met with a disappointing puff of warm air from your 12-volt portable air conditioner? Or perhaps it's winter, and your unit is blowing lukewarm air instead of the heat you desperately need? These are common frustrations for users of these compact cooling/heating solutions. Don't despair! Before you rush to replace your unit, let's explore some common culprits and DIY troubleshooting steps you can take.
Diagnosing the Issue: A Step-by-Step Approach
We'll break down the diagnosis process into manageable steps, differentiating between checks you can perform without any tools and those requiring basic equipment like a multimeter or a simple voltage tester.
Step 1: The Obvious Checks (No Tools Required)
Start with the simplest, often overlooked, possibilities. These checks cost nothing but time and can save you a lot of hassle.
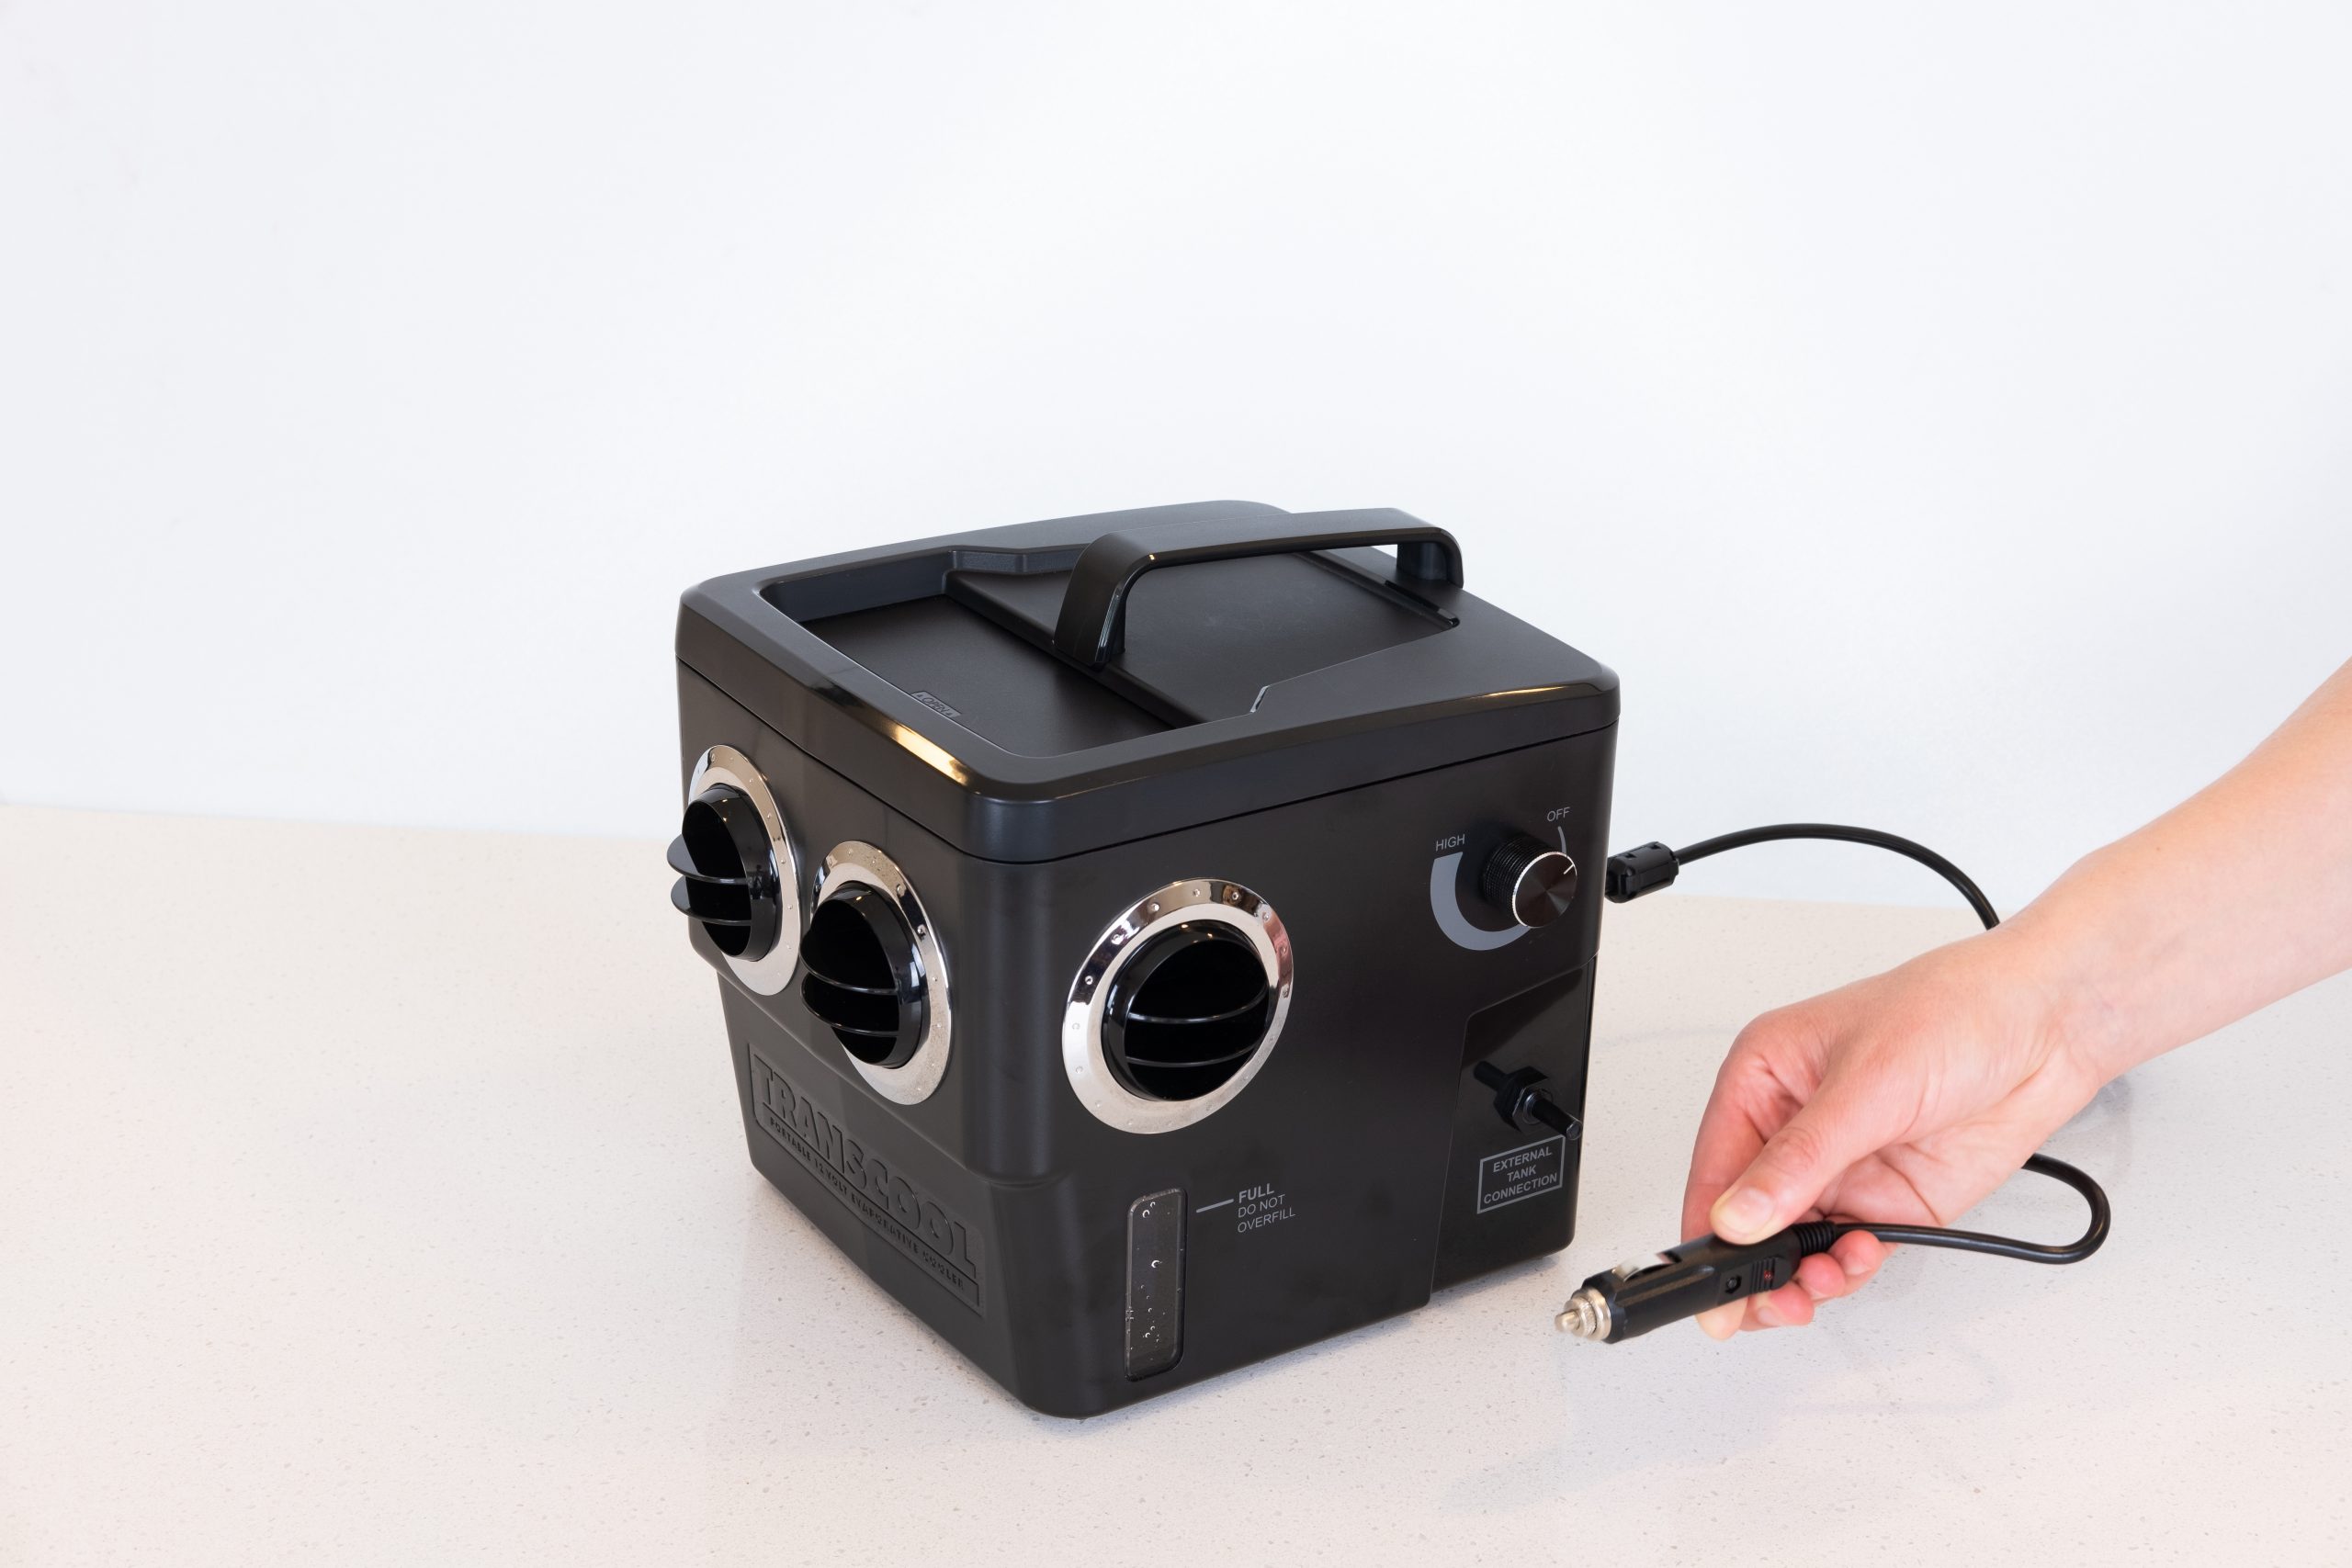
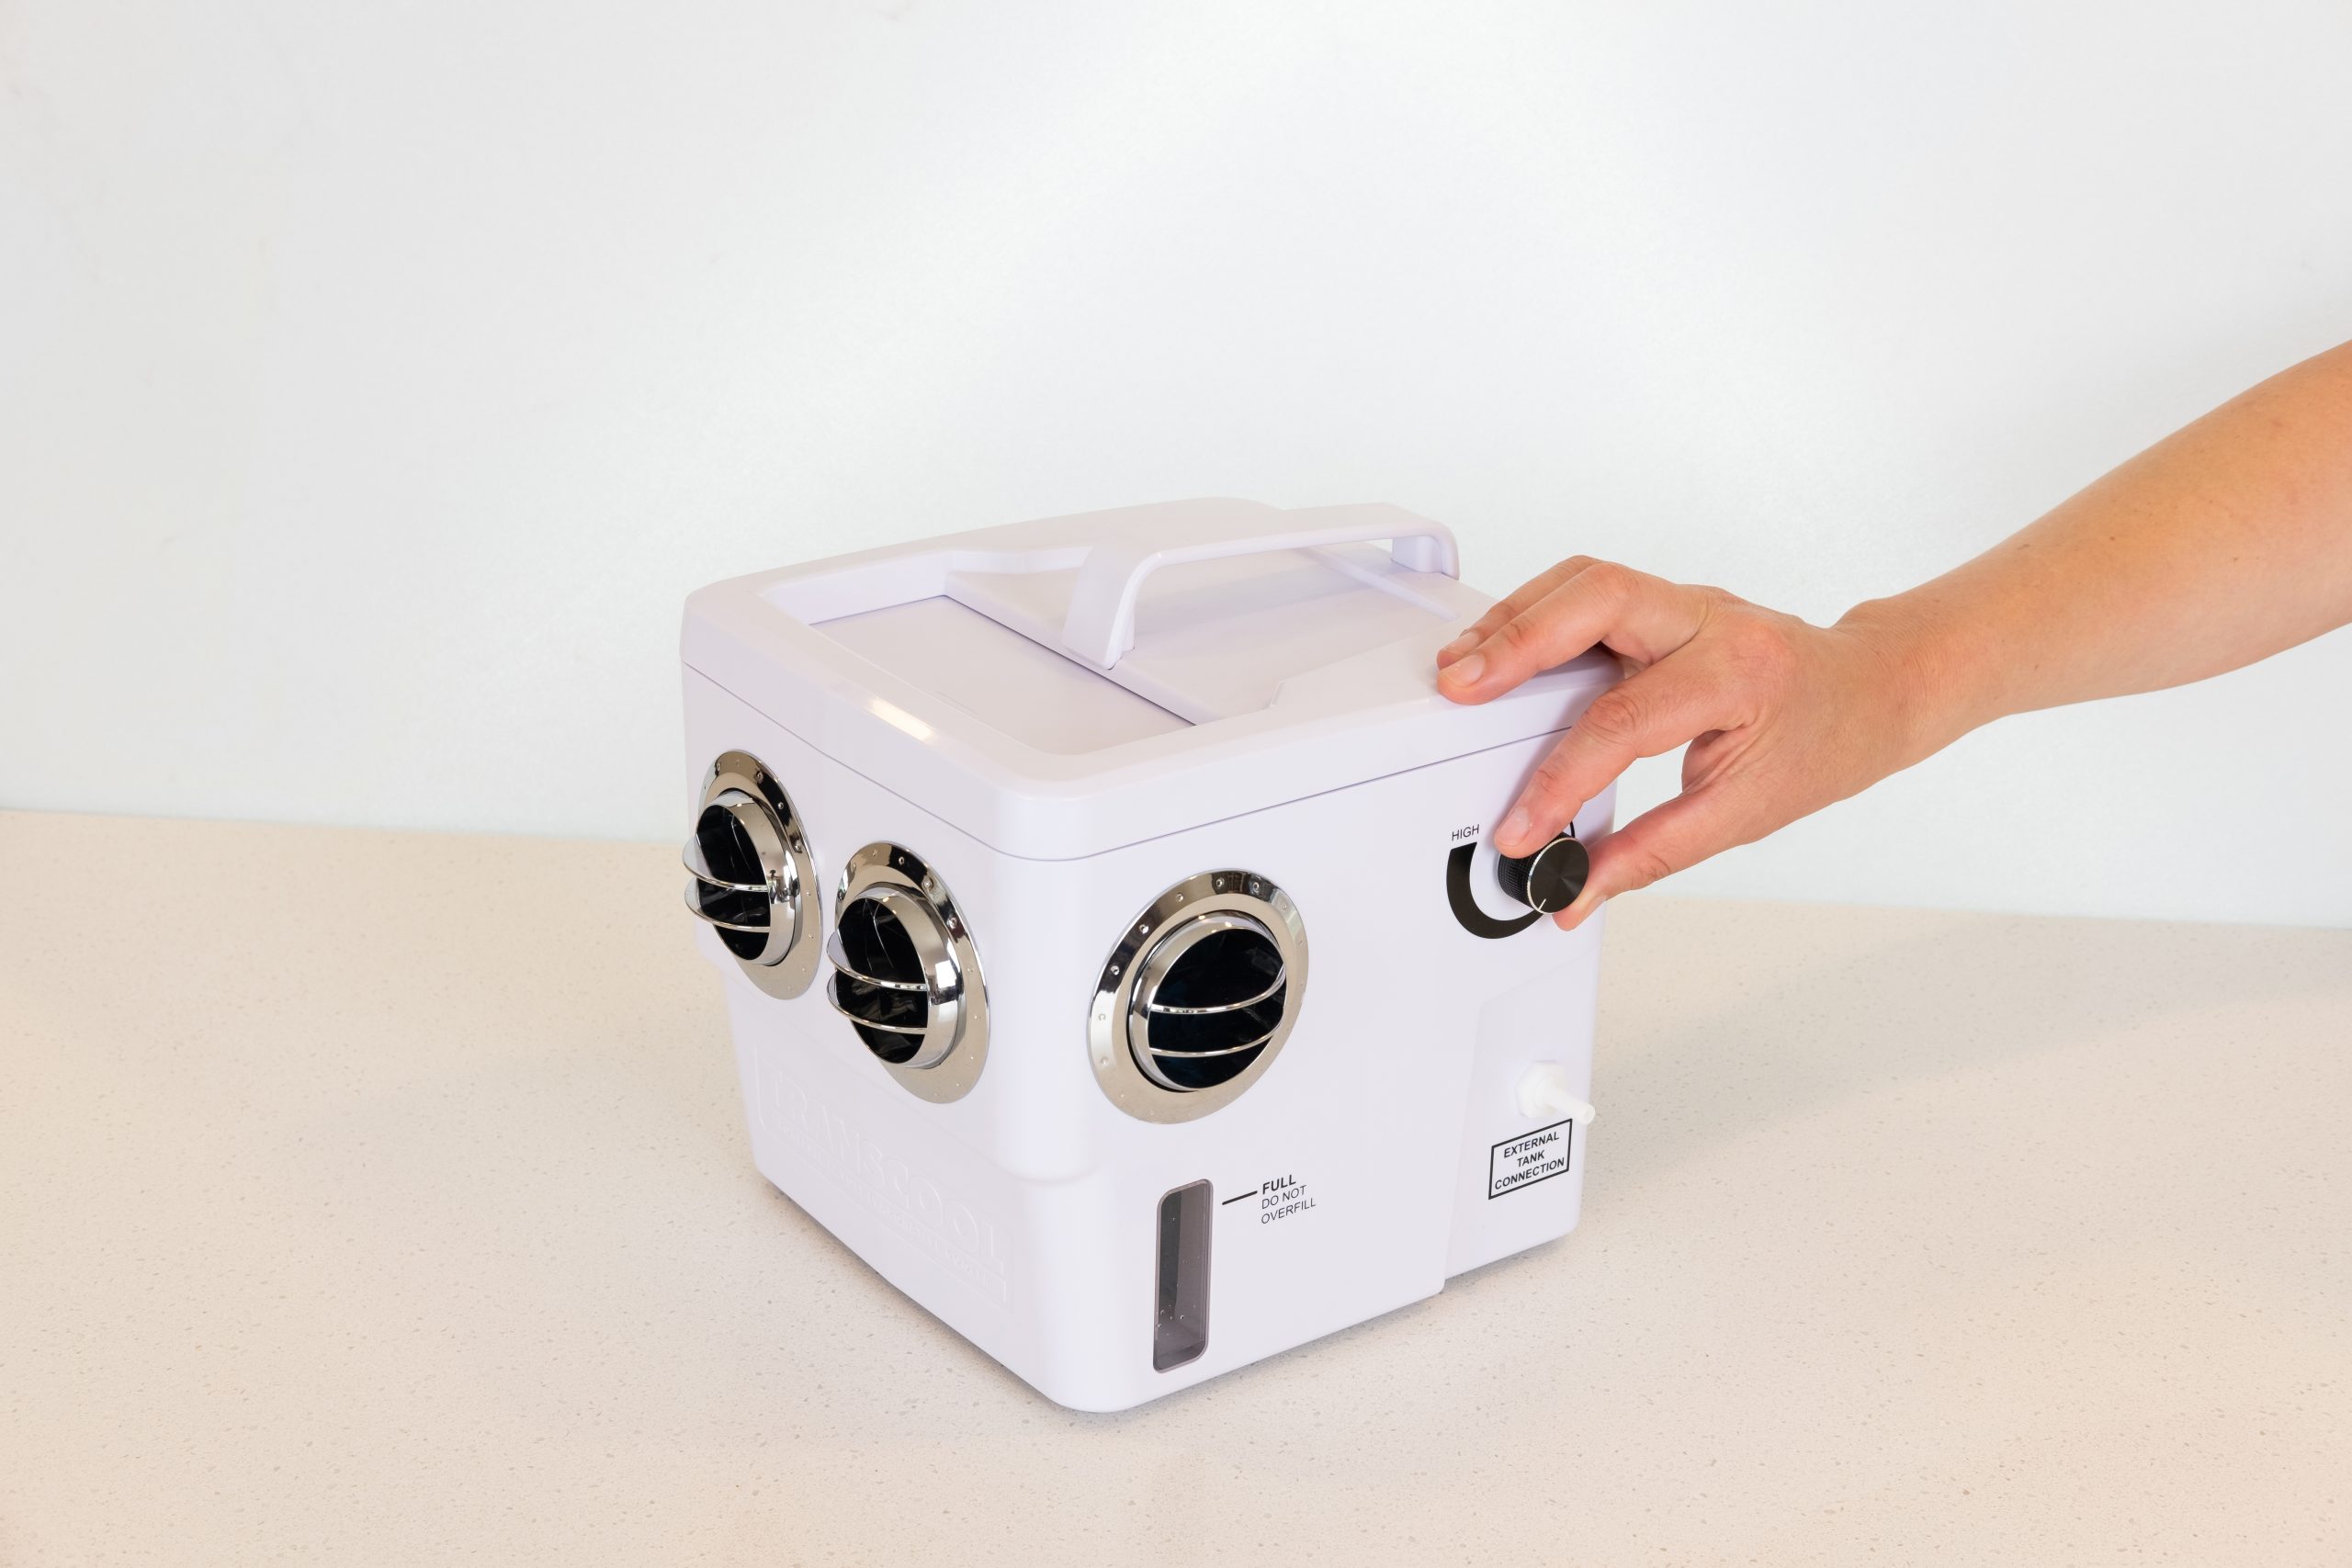
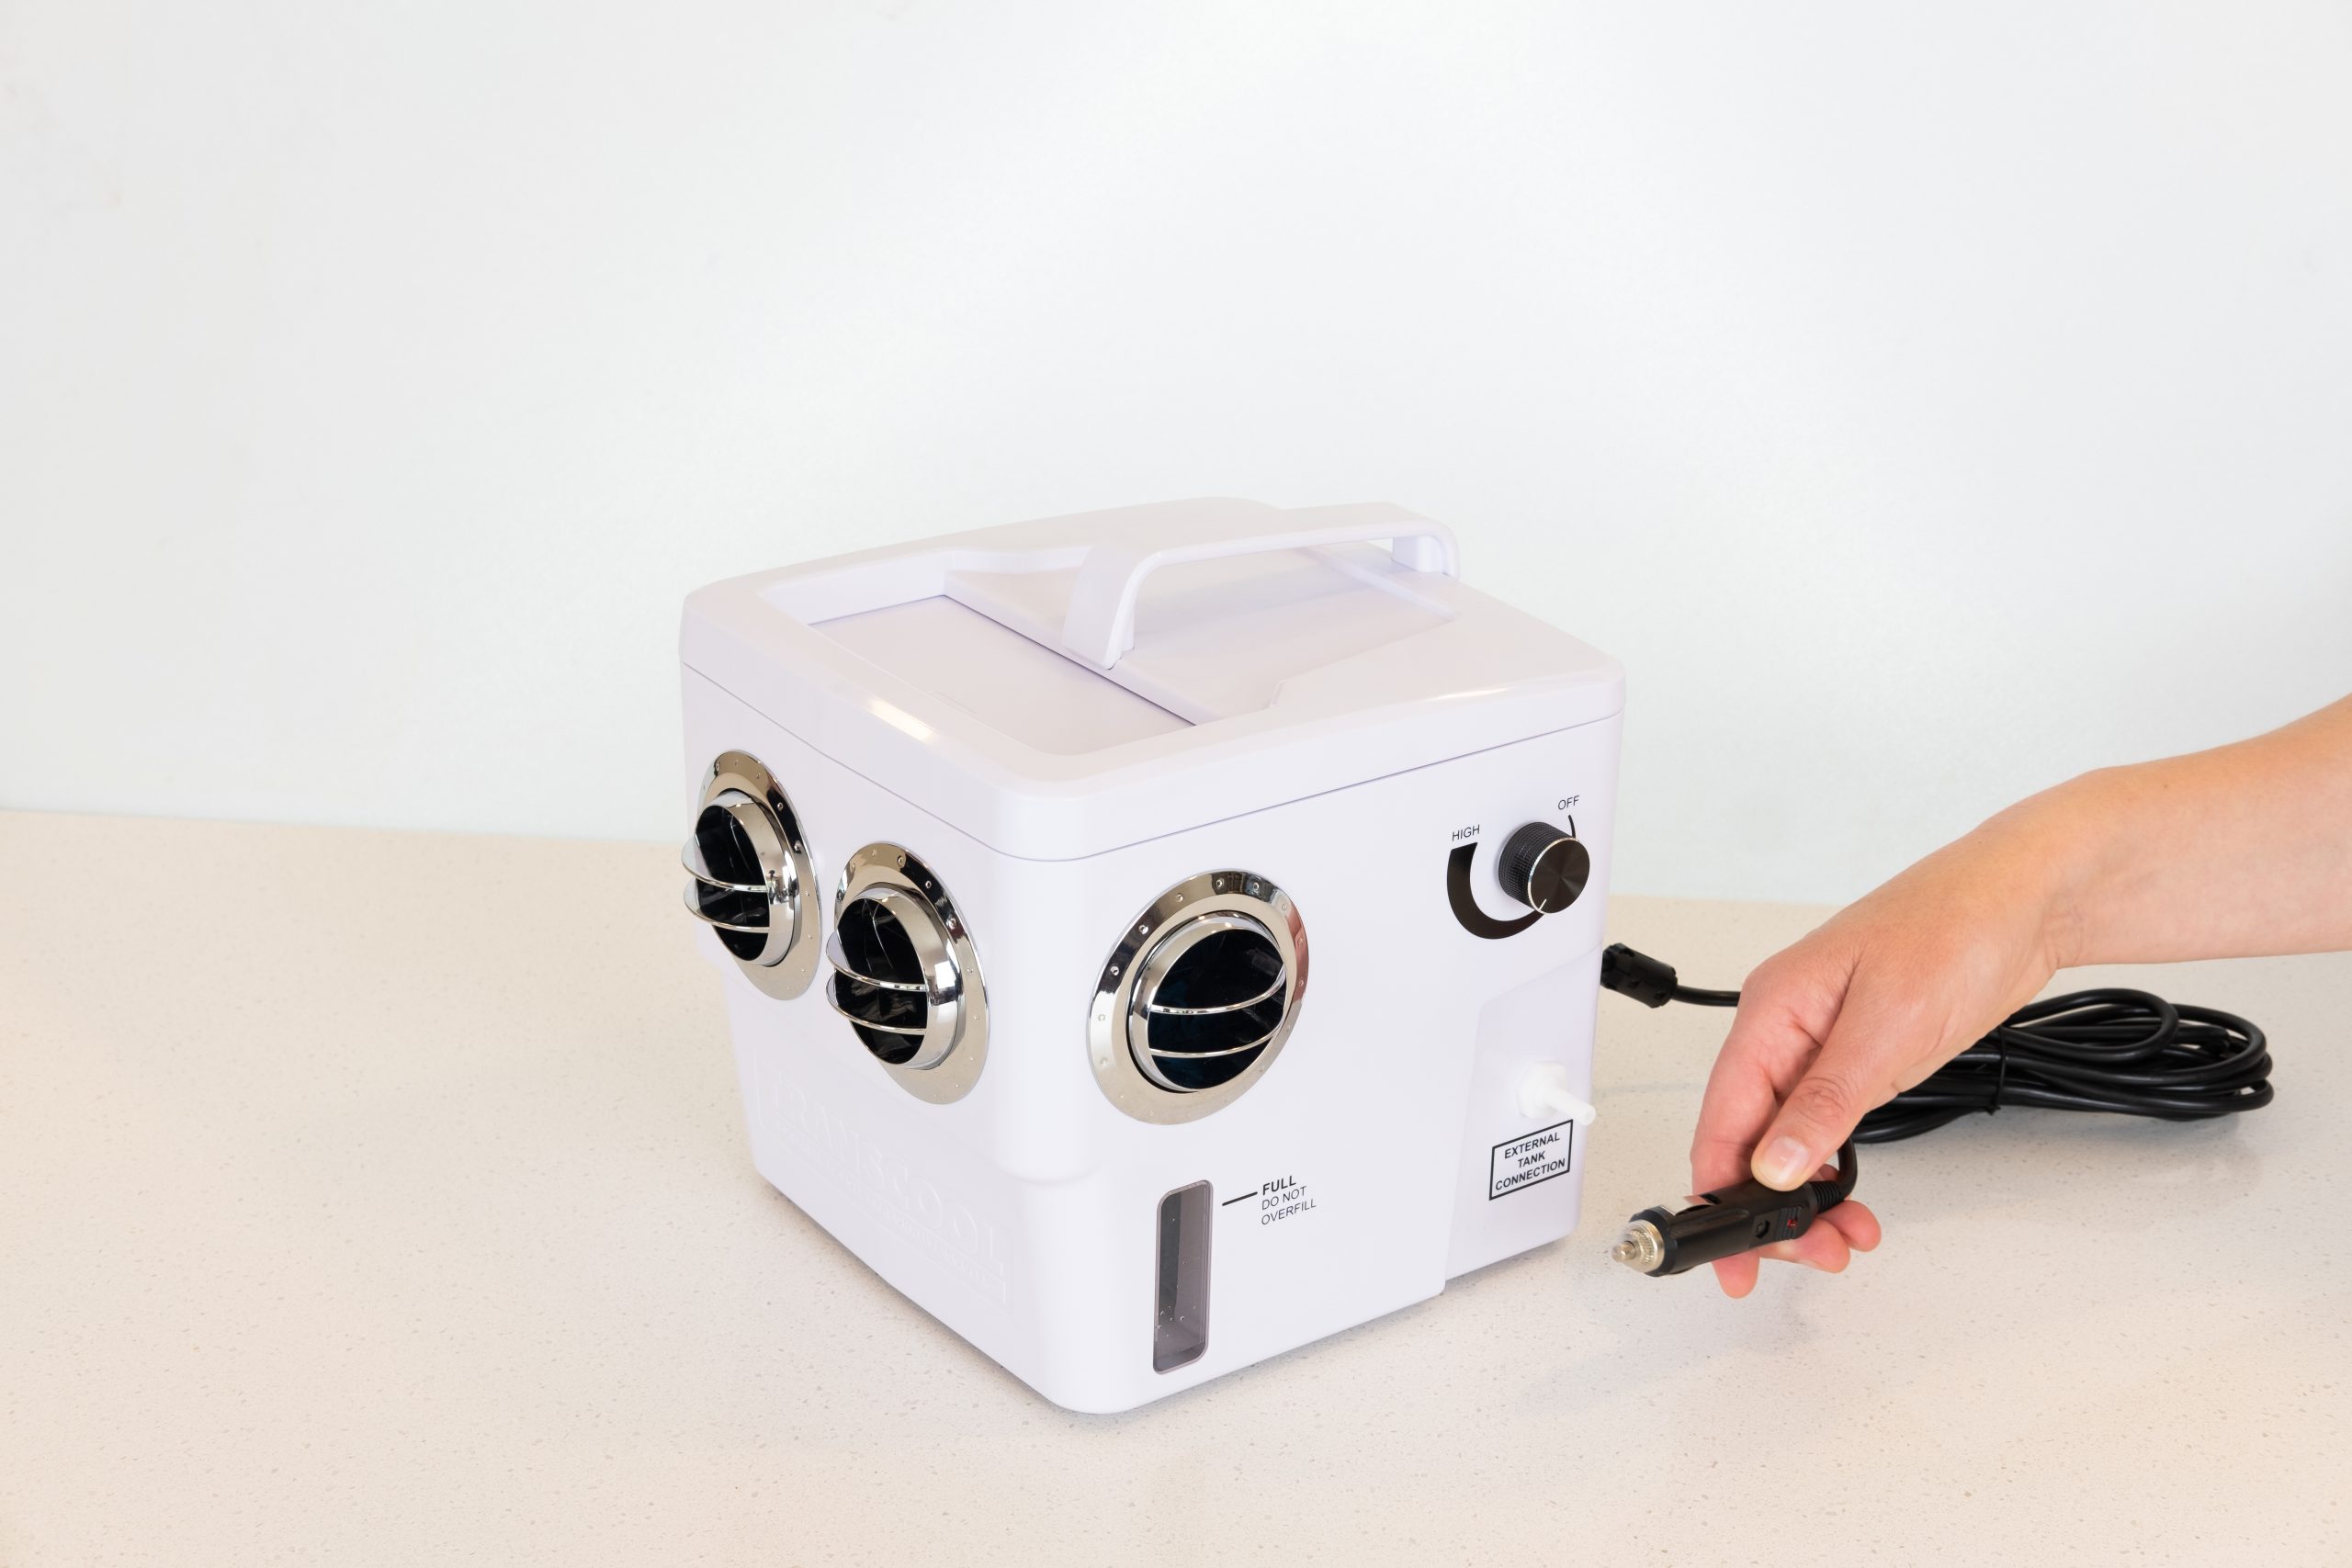
- Power Connection: Is the unit properly plugged into the 12V cigarette lighter socket or accessory port? Wiggle the plug to see if the unit flickers on or off. A loose connection is a frequent offender.
- Socket Integrity: Test the cigarette lighter socket itself. Does your phone charger work in it? If not, the socket may be faulty, or the fuse for the socket might be blown (see Step 2).
- On/Off Switch and Settings: Make sure the unit is actually switched on and set to the correct mode (cooling or heating). Ensure the fan speed is not set to zero or a very low setting.
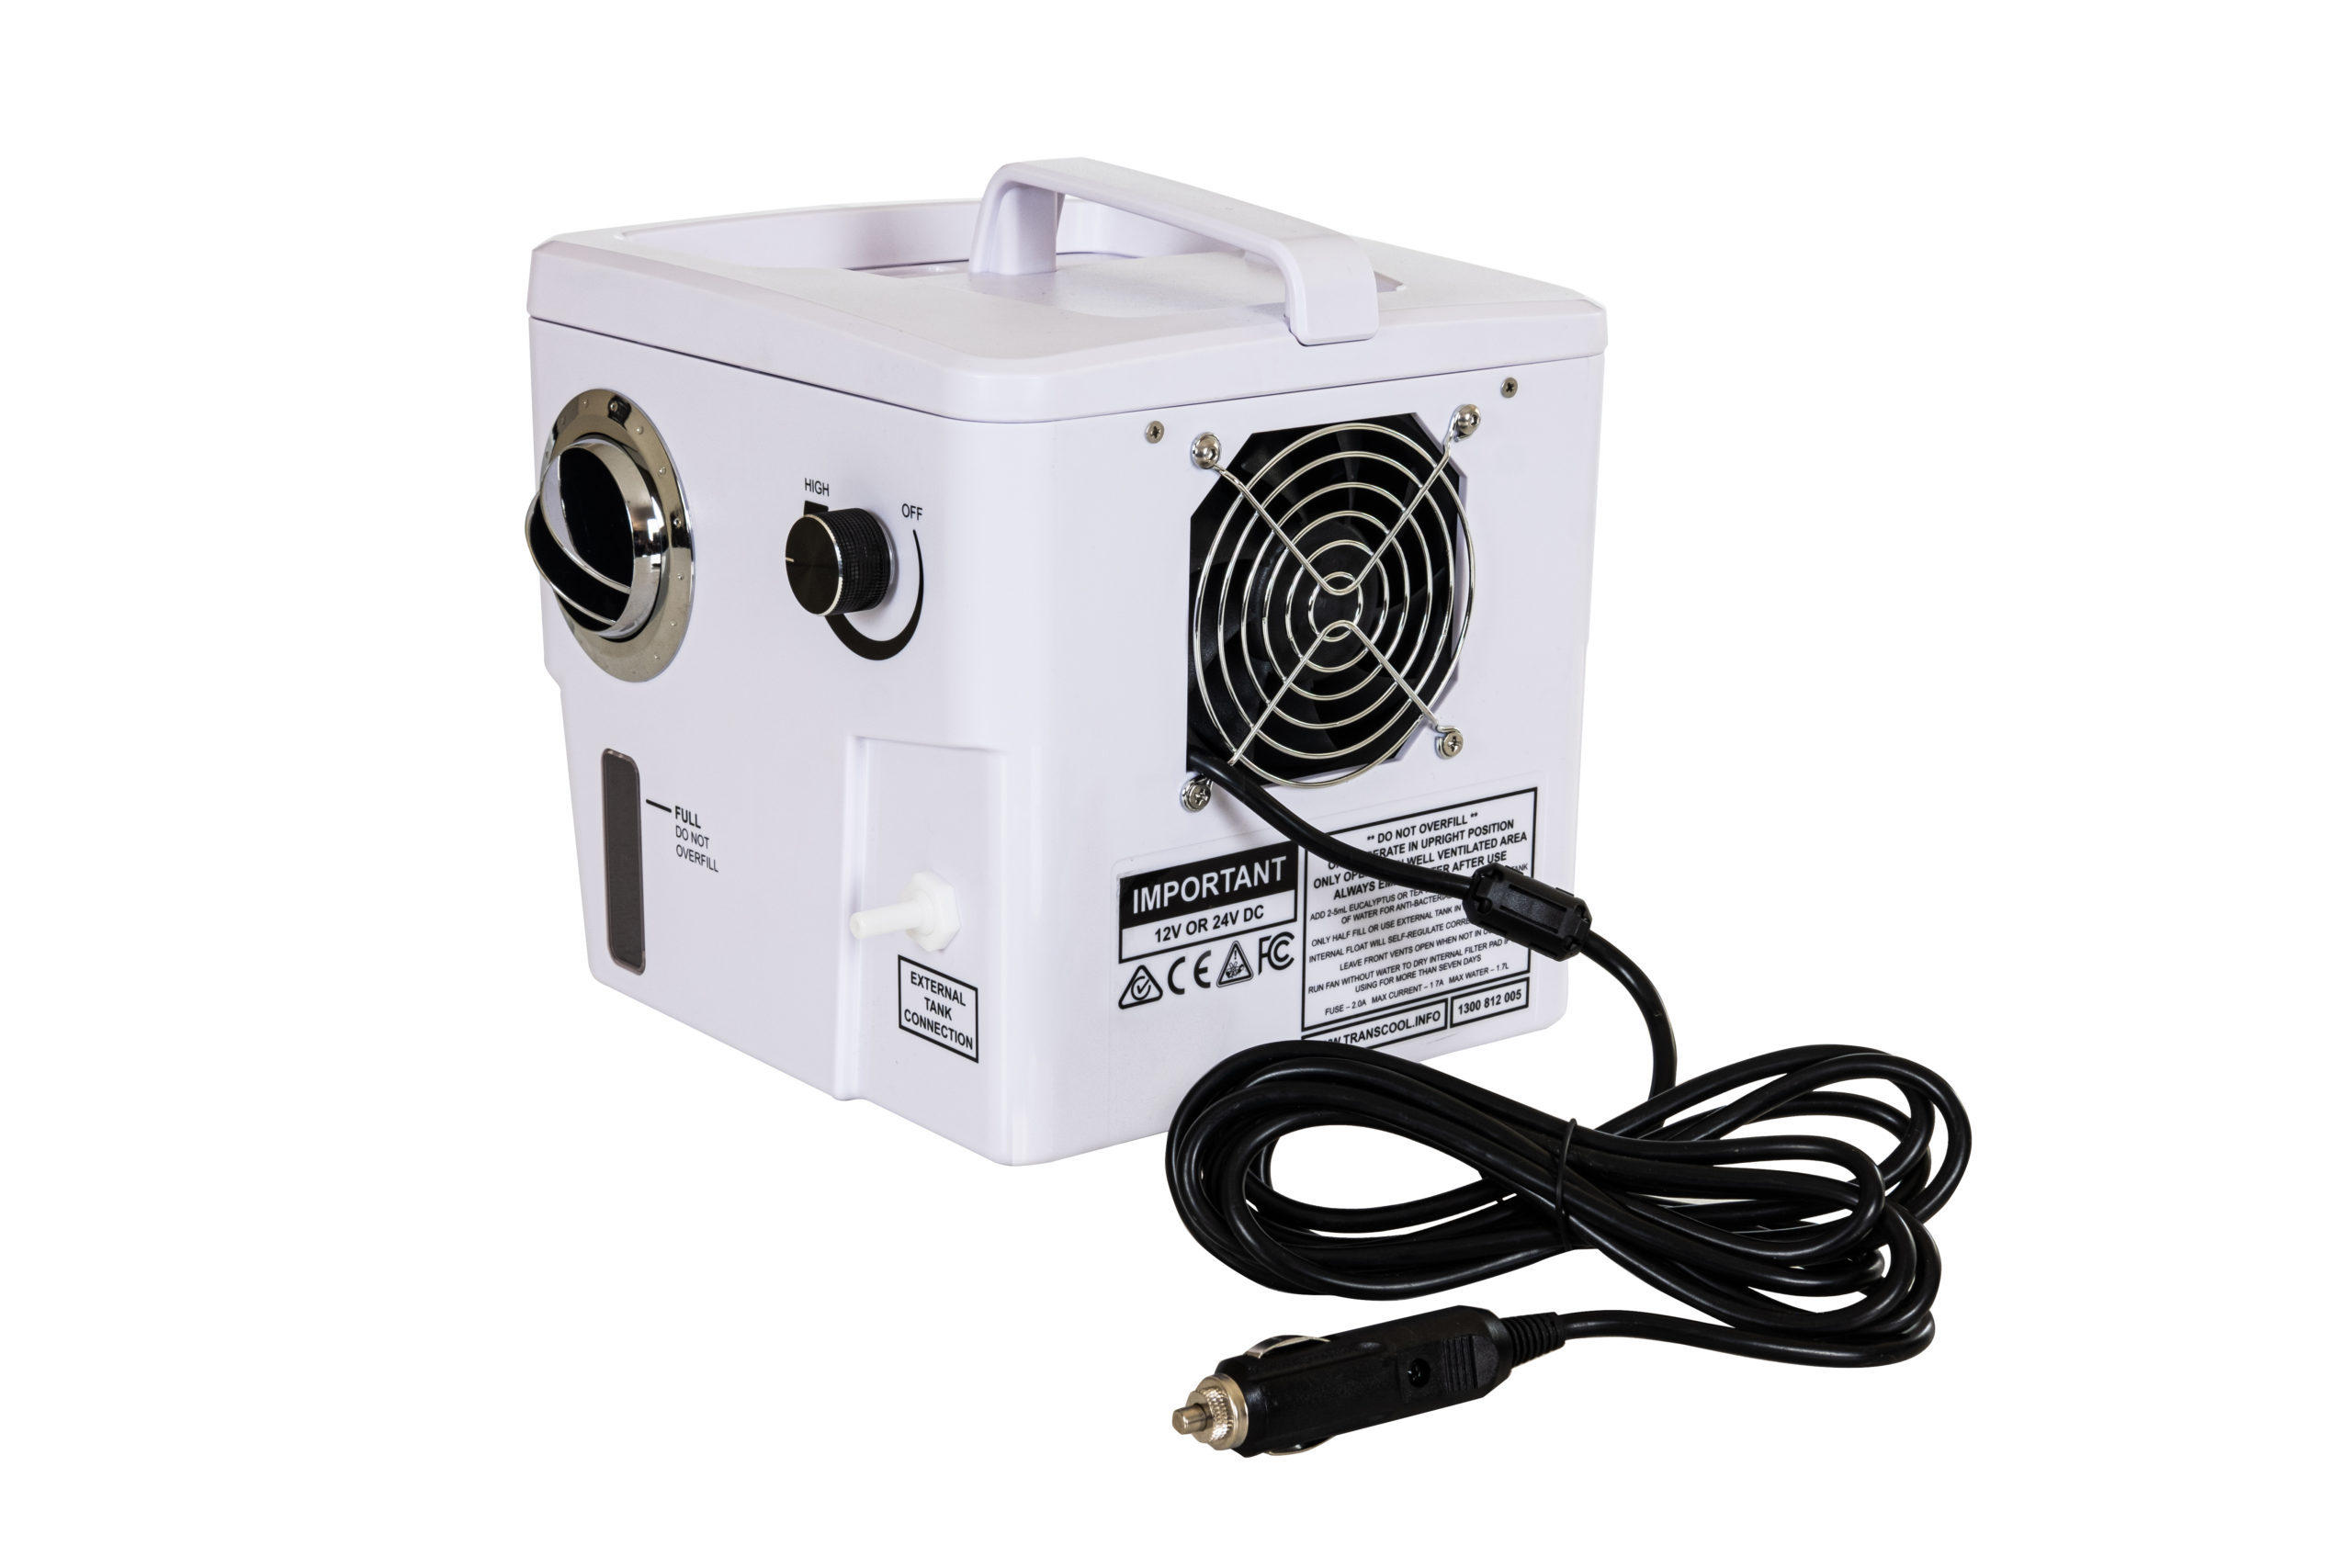
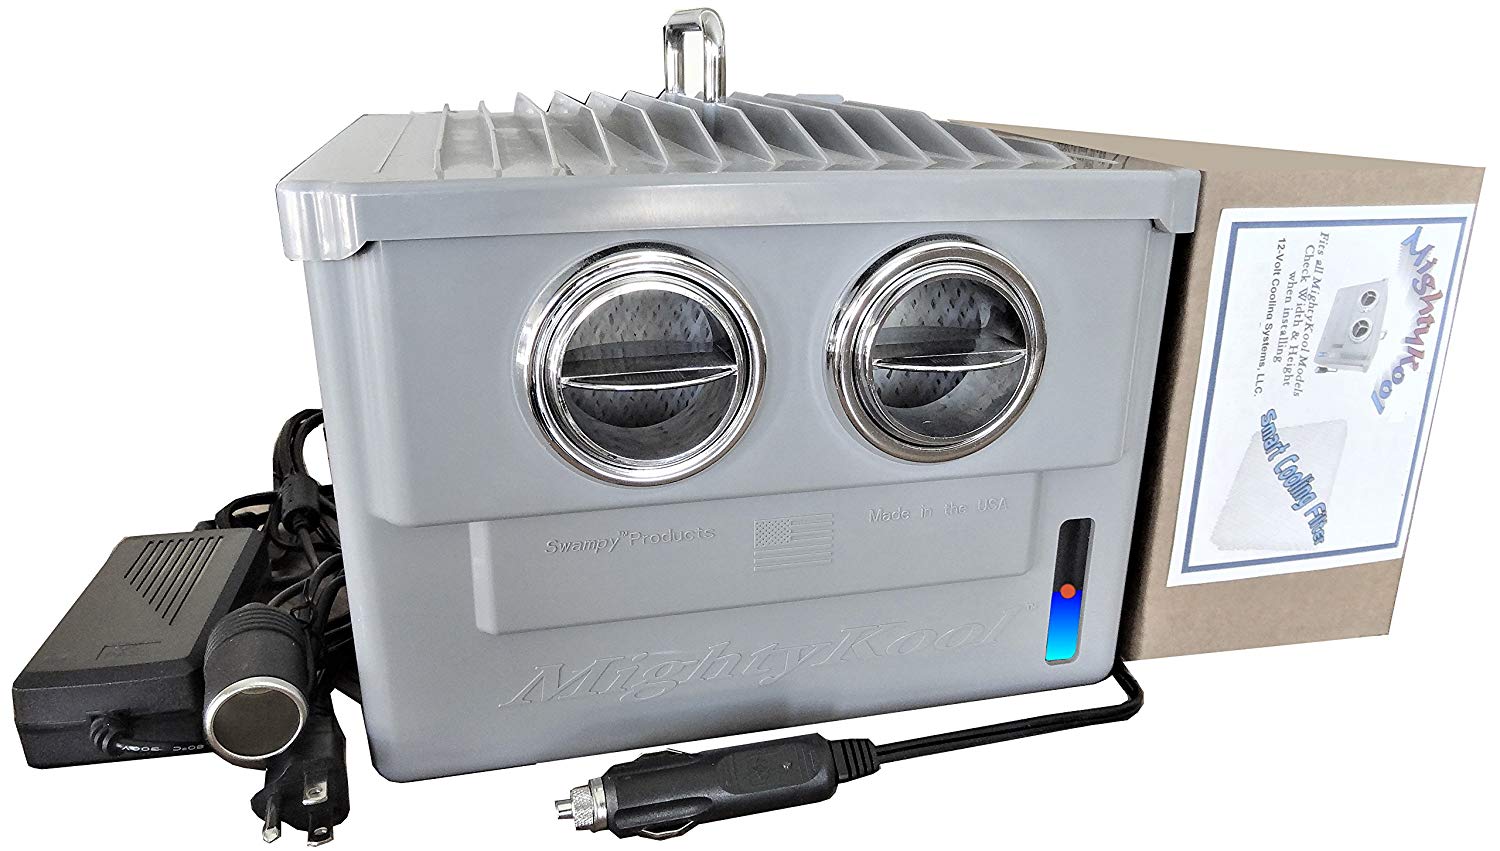
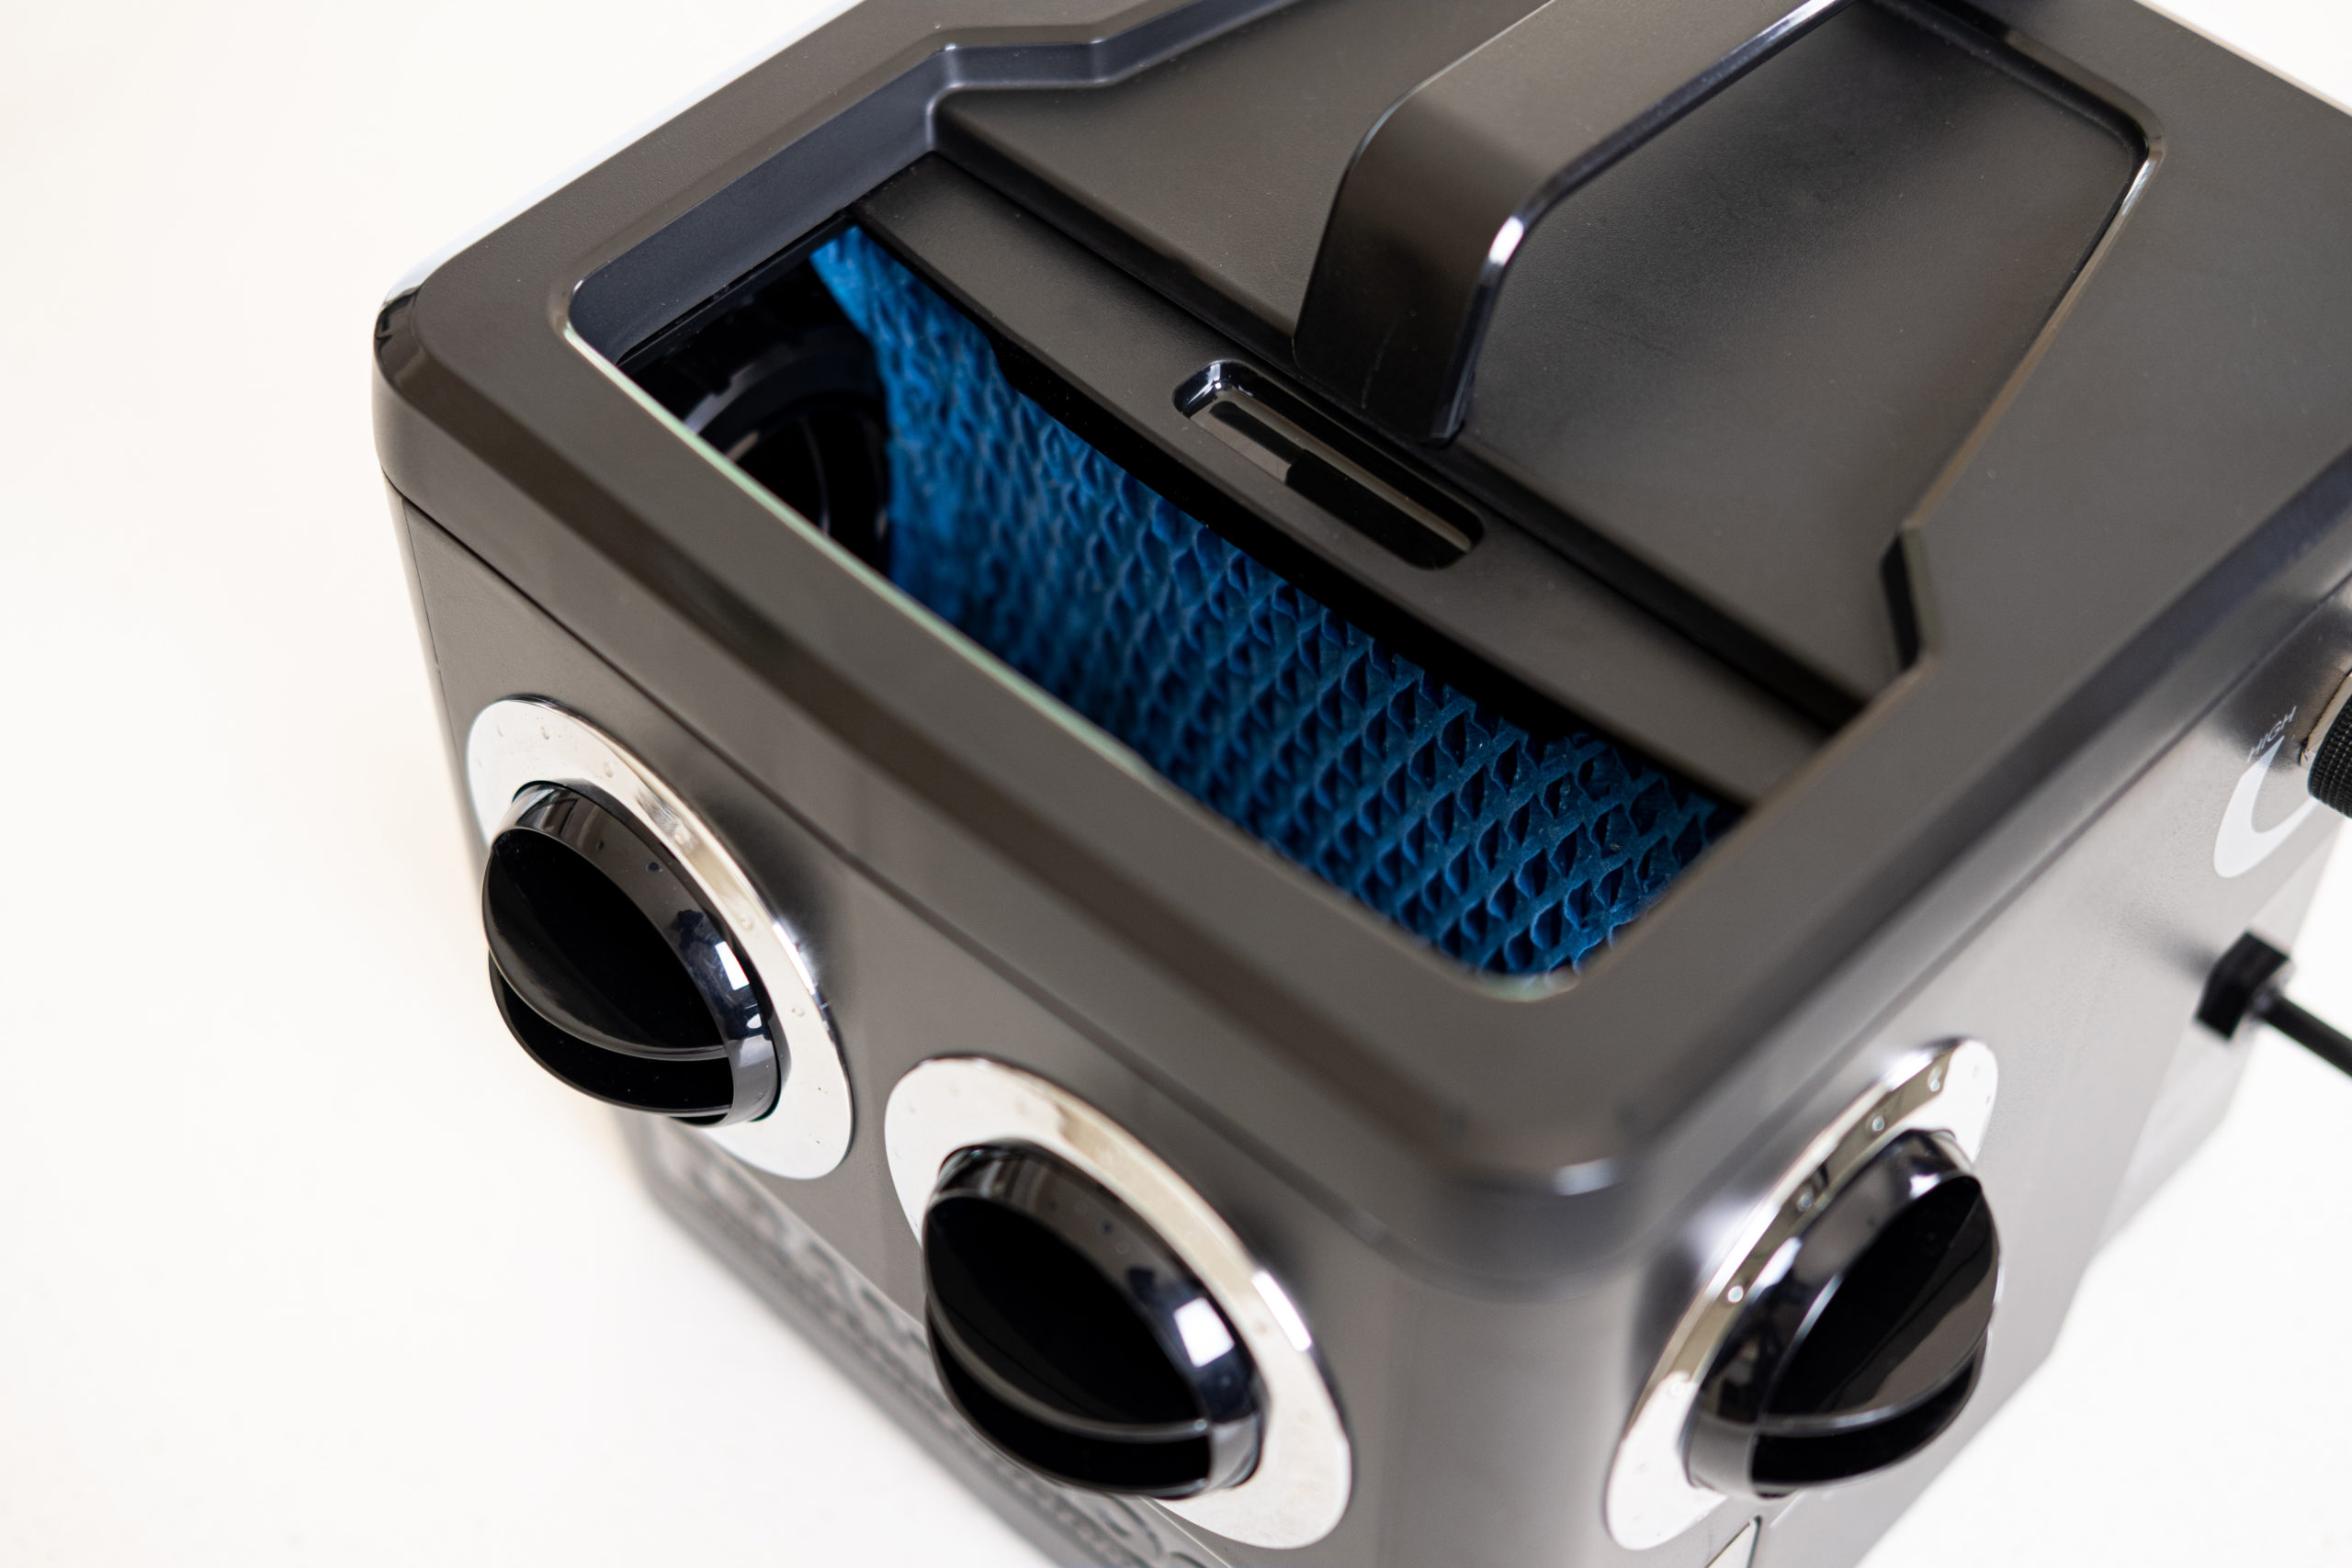
- Airflow Obstruction: Check for any obstructions blocking the air intake or exhaust vents of the unit. These portable units often have filters that can become clogged with dust and debris, drastically reducing airflow and cooling/heating efficiency.
- Water Level (Evaporative Coolers): If your unit uses evaporative cooling (water-based), ensure the water reservoir is filled to the appropriate level. Many units have a low-water shutoff feature that will prevent them from working if the water level is insufficient.
- Unit Placement: Is the unit placed in a way that allows for proper air circulation? Don't cram it into a tight space where it can't breathe.
If all these simple checks pass, it's time to move on to the next level of troubleshooting.
Step 2: Checking the Electrical System (Basic Tools May Be Required)
Now, we'll investigate the electrical supply to the unit. This might require a simple multimeter or voltage tester, which are inexpensive and readily available.
- Fuse Check: Locate the fuse for your car's cigarette lighter/accessory socket. This information is usually found in your car's owner's manual or on a diagram inside the fuse box cover. Visually inspect the fuse. A blown fuse will have a broken filament. You can also use a multimeter to test for continuity – a good fuse will have continuity (a reading of near zero ohms or a beep on the multimeter). Replace the fuse with one of the same amperage rating. Never use a fuse with a higher amperage, as this could damage your car's electrical system.
- Voltage at the Socket: With the car running (or the ignition in the "accessory" position), use a multimeter to check the voltage at the cigarette lighter socket. You should see approximately 12-14 volts. If the voltage is significantly lower or zero, there might be a wiring issue or a problem with the socket itself.
- Unit Fuse (If Applicable): Some portable AC units have an internal fuse for added protection. Consult the unit's manual to locate this fuse and check its condition visually or with a multimeter, similar to checking the car's fuse.
- Wiring Inspection (Visual): If possible, visually inspect the wiring leading to the cigarette lighter socket and the wiring of the portable AC unit (if accessible without disassembling the unit). Look for any signs of damage, such as frayed wires, loose connections, or corrosion. Caution: Disconnect the power source before inspecting wiring.
If the electrical system seems to be in order and the unit still isn't working correctly, the problem might lie within the unit itself.
Step 3: Investigating the Unit Internals (Proceed with Caution!)
This is where things can get a bit more complex. Important: Before attempting any internal inspection or repair, unplug the unit and consult the manufacturer's manual. If you are not comfortable working with electrical components, seek professional help. Attempting repairs without proper knowledge can be dangerous and may void the warranty.
- Fan Motor Check: With the unit unplugged, try manually spinning the fan blade. Does it spin freely, or does it feel stiff or obstructed? If it's stiff, the fan motor might be failing or there might be debris blocking it. In some cases, you might be able to carefully remove debris (use compressed air) or lubricate the motor bearings with a small amount of light machine oil. However, disassembly of the fan motor is generally not recommended for DIYers.
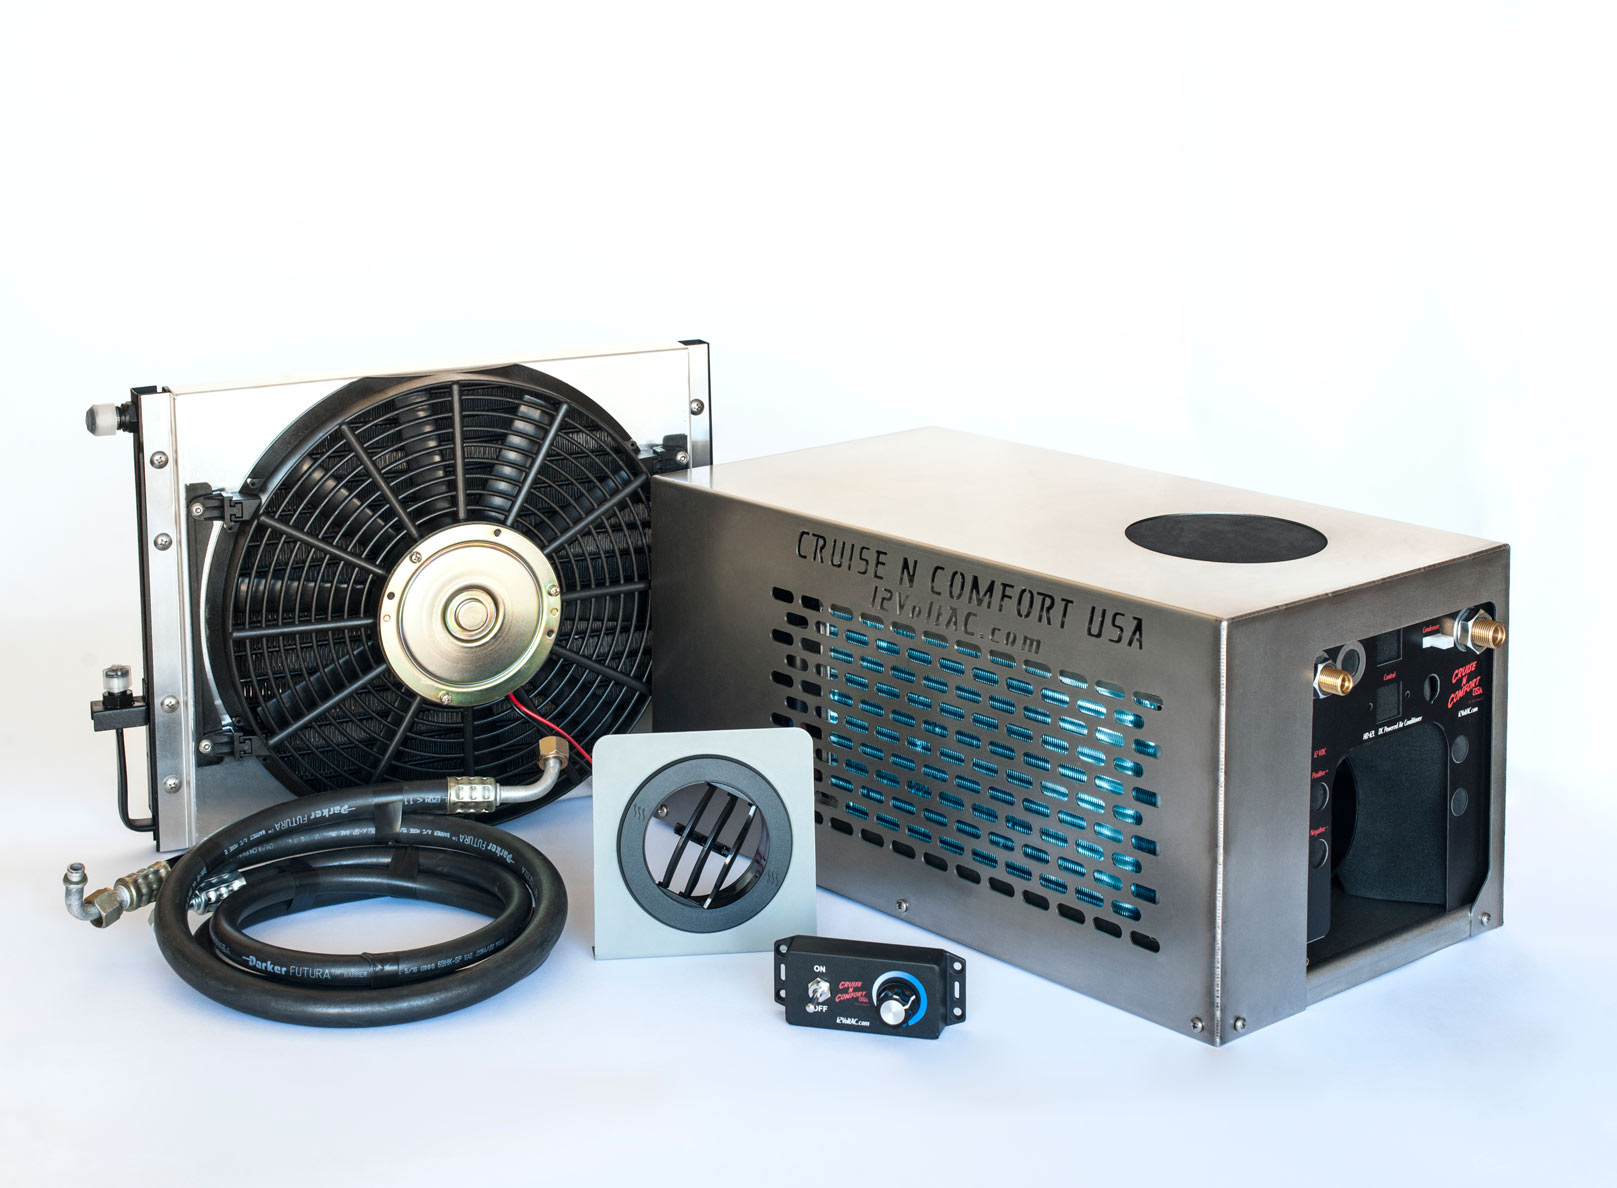
- Evaporator/Condenser Coils (If Accessible): If your unit has accessible evaporator or condenser coils (the metal fins that help transfer heat), check if they are clean and free of debris. Clogged coils can significantly reduce cooling/heating efficiency. Use a soft brush or compressed air to gently clean them.
- Water Pump (Evaporative Coolers): If your unit uses evaporative cooling, check if the water pump is working. You should be able to hear or feel the pump running when the unit is turned on (with water in the reservoir). If the pump isn't working, it might be clogged or failing. Some units have a removable pump that can be cleaned.
DIY Actions You Can Take (Safely!)
Based on your diagnosis, here are some simple DIY actions you can take to resolve the problem:
- Replace a Blown Fuse: As mentioned earlier, replacing a blown fuse with one of the same amperage rating is a straightforward fix.
- Clean Air Filters: Regularly cleaning the air filters is crucial for maintaining airflow and cooling/heating efficiency. Use a vacuum cleaner or wash the filters with mild soap and water, allowing them to dry completely before reinstalling.
- Clean Evaporator/Condenser Coils: Gently cleaning the coils with a soft brush or compressed air can improve heat transfer.
- Top Up Water Reservoir (Evaporative Coolers): Ensure the water reservoir is adequately filled.
- Lubricate Fan Motor (With Caution): If the fan motor is stiff, a small amount of light machine oil might help. But be extremely careful not to get oil on any electrical components.
- Check and Tighten Connections: Inspect all accessible electrical connections for looseness and tighten them as needed.
When to Call a Professional
While many problems with 12-volt portable air conditioners can be resolved with simple DIY troubleshooting, there are situations where it's best to seek professional help.
- Refrigerant Leaks: If your unit uses refrigerant and you suspect a leak, do not attempt to repair it yourself. Refrigerant handling requires specialized equipment and training. Improper handling can be harmful to the environment and your health.
- Complex Electrical Issues: If you've checked the fuses and voltage, but the electrical problem persists, it's likely a more complex wiring issue that requires the expertise of a qualified electrician.
- Compressor Problems: If your unit has a compressor (common in refrigerant-based units) and it's not working, it's generally a sign of a major internal failure that requires professional repair or replacement.
- Extensive Disassembly Required: If the repair requires extensive disassembly of the unit, and you are not comfortable with electronics repair, it's best to leave it to a professional.
- Warranty Concerns: Attempting DIY repairs on a unit that's still under warranty may void the warranty. Check the warranty terms before attempting any repairs.
Preventative Maintenance for Longevity
The best way to avoid problems with your 12-volt portable air conditioner is to perform regular preventative maintenance.
- Clean Air Filters Regularly: This is the most important preventative maintenance task.
- Store Properly When Not in Use: When not in use, store the unit in a clean, dry place.
- Avoid Overloading the Electrical System: Don't plug too many devices into the same cigarette lighter socket at the same time, as this can overload the circuit and blow the fuse.
- Handle with Care: Avoid dropping or bumping the unit, as this can damage internal components.
- Consult the Manual: Always refer to the manufacturer's manual for specific maintenance recommendations.
By following these troubleshooting steps and preventative maintenance tips, you can keep your 12-volt portable air conditioner running smoothly and enjoy a comfortable driving experience, no matter the weather.