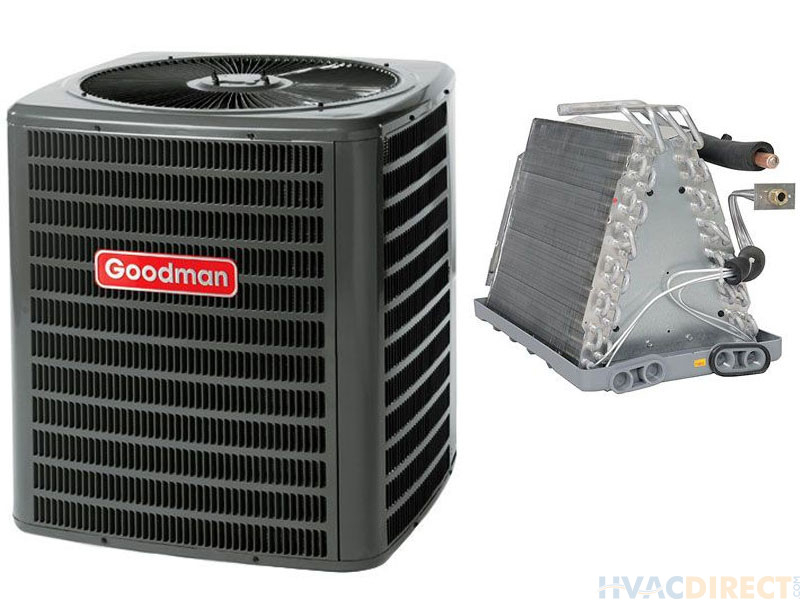
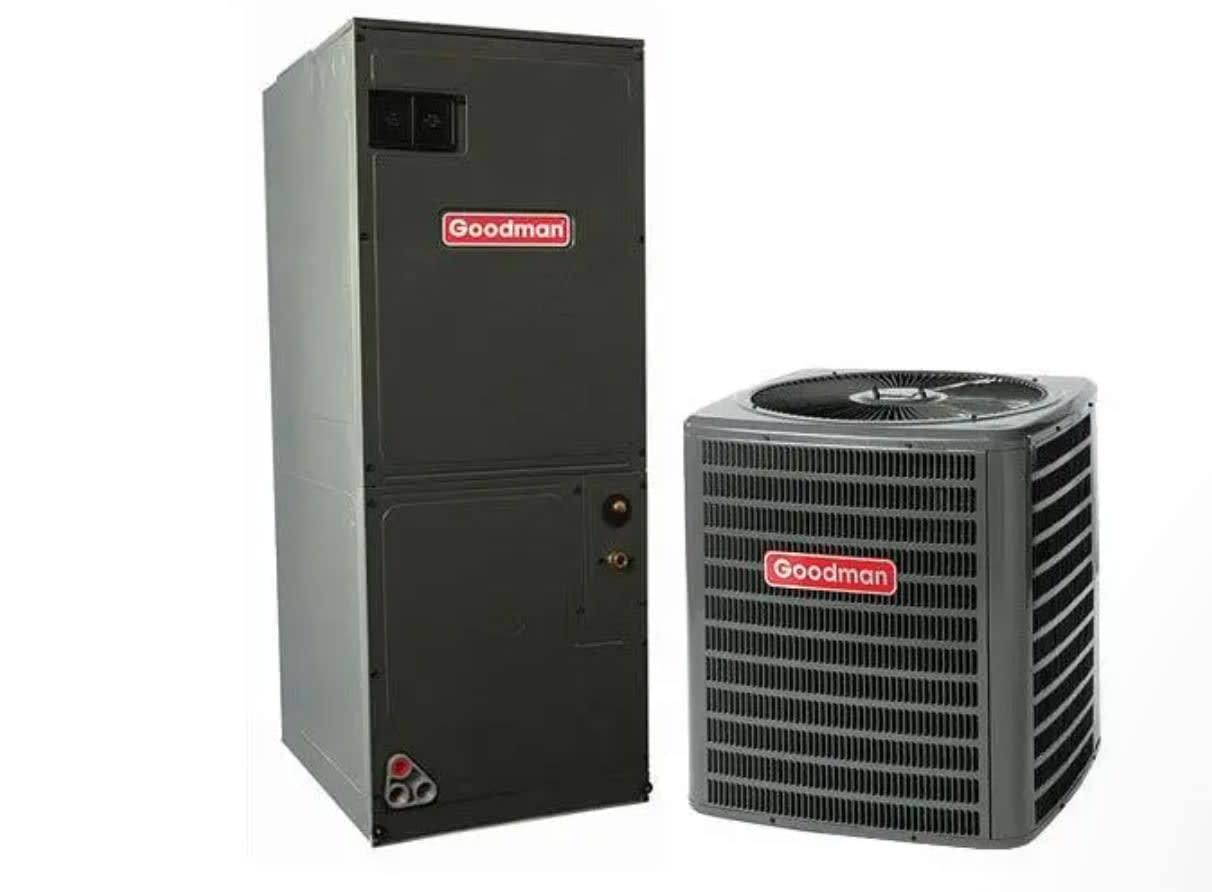
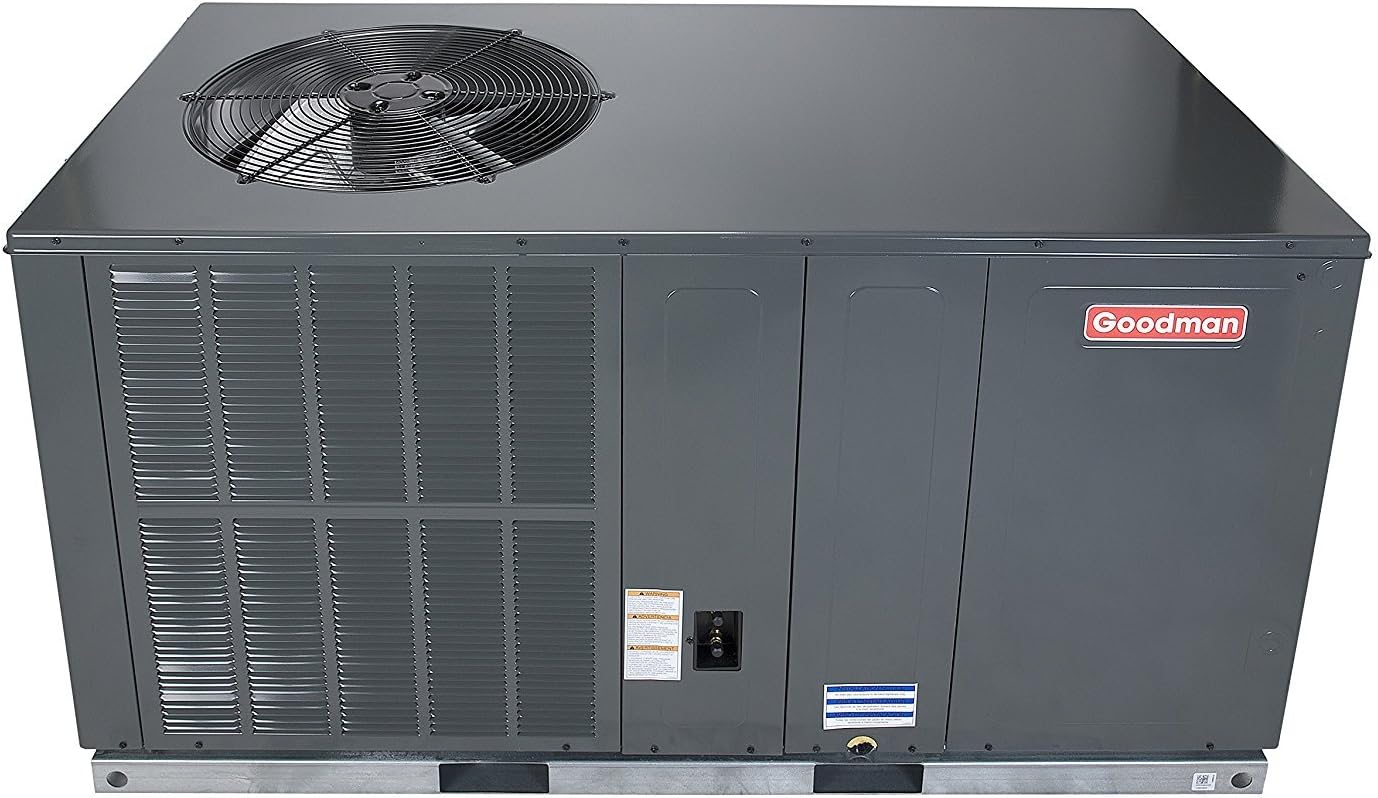
2 1 2 Ton Goodman Air Conditioner
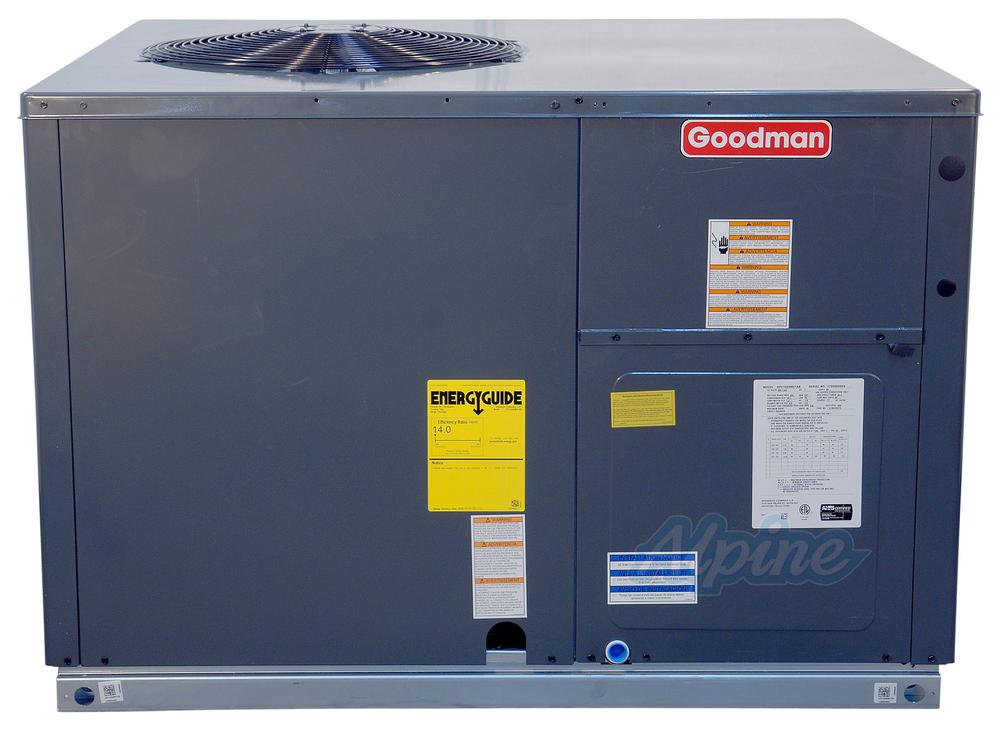
If you're reading this, you're probably experiencing an issue with your 2.5 ton Goodman air conditioner. Whether it's blowing warm air, making strange noises, or simply not turning on, this guide will help you troubleshoot common problems and determine whether you can tackle the repair yourself or need to call in a professional. We’ll cover common issues, DIY fixes, and when it's time to call in the experts.
Understanding Your 2.5 Ton Goodman Air Conditioner
First, let's clarify what a 2.5 ton air conditioner means. The 'ton' rating refers to the cooling capacity. One ton equals 12,000 BTUs (British Thermal Units) per hour. Therefore, a 2.5 ton AC unit can remove 30,000 BTUs of heat per hour from your home. This size unit is typically suitable for homes ranging from 1200 to 1600 square feet, depending on factors like insulation, window efficiency, and climate.
Goodman: A Brief Overview
Goodman is a well-known brand in the HVAC industry, often praised for its affordability and reliable performance. However, like any air conditioner, Goodman units can experience problems over time. Knowing the basics about your unit can significantly help when troubleshooting.
Common Problems with a 2.5 Ton Goodman AC Unit
Let’s dive into the issues you might encounter. Keep in mind, safety first! Always disconnect the power to the unit before attempting any repairs.
- AC Not Turning On: This is a common complaint.
- Blowing Warm Air: Obviously, this defeats the purpose of an AC.
- Insufficient Cooling: The unit runs, but the house isn’t getting cool enough.
- Strange Noises: Banging, hissing, or rattling are all red flags.
- Water Leaking: This could indicate a clogged drain line.
- Frozen Evaporator Coil: Ice buildup on the indoor unit.
- Short Cycling: The AC turns on and off frequently.
Troubleshooting & DIY Fixes
Now, let's get our hands dirty. Here are some common problems and how you can attempt to resolve them. Remember, if you're uncomfortable with any of these steps, it's best to call a qualified HVAC technician.
AC Not Turning On
Possible Causes:
- Tripped circuit breaker
- Faulty thermostat
- Disconnected power switch
- Burned-out capacitor
Troubleshooting Steps:
- Check the Breaker: Locate the breaker for your AC unit in your electrical panel. If it's tripped (in the 'off' position), reset it by switching it fully to the 'off' position and then back to 'on'.
- Inspect the Thermostat: Ensure the thermostat is set to 'cool' and the temperature is set lower than the current room temperature. Check the thermostat batteries if it's battery-powered. A faulty thermostat will need to be replaced.
- Check the Disconnect Switch: Look for a disconnect switch near the outdoor unit. Make sure it's in the 'on' position.
- Inspect the Capacitor: This is a more advanced check. Warning: Capacitors store electricity and can deliver a dangerous shock, even when the unit is off. Only proceed if you are comfortable and familiar with electrical components. If not, call a professional. Visually inspect the capacitor (located inside the outdoor unit) for bulging or leaking. If it looks damaged, it needs to be replaced by a qualified technician.
Blowing Warm Air
Possible Causes:
- Low refrigerant
- Dirty air filter
- Dirty condenser coils
- Failed compressor (unlikely but possible)
Troubleshooting Steps:
- Check the Air Filter: A clogged air filter restricts airflow, making the AC work harder and reducing its cooling capacity. Replace the air filter with a clean one. Aim to change your filter every 1-3 months, depending on usage and air quality.
- Clean the Condenser Coils: The condenser coils are located in the outdoor unit. Over time, they can accumulate dirt, leaves, and debris, reducing their ability to release heat. Use a garden hose (with a gentle spray nozzle) to clean the coils from the inside out. Do not use a pressure washer, as it can damage the fins.
- Check for Refrigerant Leaks: This is generally a job for a professional. However, you can visually inspect the copper lines connecting the indoor and outdoor units for signs of oil or damage. Refrigerant leaks require specialized tools and knowledge to repair.
Insufficient Cooling
Possible Causes:
- Dirty air filter
- Dirty condenser coils
- Restricted airflow
- Refrigerant leak
- Ductwork leaks
Troubleshooting Steps:
- Repeat Steps from "Blowing Warm Air": Air filter and coil cleaning are crucial.
- Check for Airflow Obstructions: Ensure that vents are open and not blocked by furniture or curtains.
- Inspect Ductwork: Look for visible tears or disconnections in your ductwork. Seal any leaks with duct tape or, for a better solution, mastic sealant.
Strange Noises
Possible Causes:
- Loose parts
- Fan blade obstruction
- Compressor issues
- Worn bearings
Troubleshooting Steps:
- Identify the Source: Try to pinpoint where the noise is coming from (indoor or outdoor unit).
- Inspect for Loose Parts: Turn off the power and carefully inspect the outdoor unit for any loose screws, panels, or debris. Tighten or remove as needed.
- Check Fan Blades: Ensure the fan blades are free from obstructions and are not bent or damaged.
- Listen to the Compressor: Unusual noises from the compressor usually indicate a serious problem that requires professional attention.
Water Leaking
Possible Causes:
- Clogged condensate drain line
- Damaged drain pan
Troubleshooting Steps:
- Locate the Drain Line: The condensate drain line is usually a PVC pipe near the indoor unit.
- Clear the Clog: Use a wet/dry vacuum to suck out any clogs in the drain line. You can also try using a stiff wire or a plumbing snake to dislodge the blockage.
- Inspect the Drain Pan: Check the drain pan for cracks or damage. If the pan is damaged, it needs to be replaced.
Frozen Evaporator Coil
Possible Causes:
- Restricted airflow (dirty filter)
- Low refrigerant
- Blower motor failure
Troubleshooting Steps:
- Check the Air Filter: Replace the air filter immediately.
- Turn Off the AC: Allow the ice to melt completely. This may take several hours.
- Run the Fan: After the ice has melted, turn on the fan only (not the AC) to help dry out the coil.
- Monitor the Unit: If the coil freezes again shortly after restarting the AC, it likely indicates a more serious problem, such as a refrigerant leak or blower motor failure. Call a professional.
Short Cycling
Possible Causes:
- Dirty air filter
- Oversized AC unit
- Refrigerant leak
- Electrical issues
Troubleshooting Steps:
- Check the Air Filter: Replace the air filter.
- Monitor the Unit: If the problem persists, it could indicate a more serious issue. Short cycling can damage the compressor over time, so it's best to have it checked by a professional.
When to Call a Professional
While many minor AC problems can be addressed with DIY solutions, some issues require the expertise of a qualified HVAC technician. It's time to call a professional when:
- You suspect a refrigerant leak.
- The compressor is making unusual noises or not working.
- You are uncomfortable working with electrical components.
- The problem persists after attempting basic troubleshooting steps.
- You lack the necessary tools or expertise to perform the repair safely.
Estimated Repair Costs
Here's a general idea of potential repair costs. Prices can vary depending on your location and the specific contractor.
- Air Filter Replacement: $10 - $30 (DIY)
- Capacitor Replacement: $150 - $300 (Professional)
- Refrigerant Recharge: $200 - $500 (Professional)
- Blower Motor Replacement: $300 - $700 (Professional)
- Compressor Replacement: $1200 - $2500 (Professional)
- Condensate Pump Replacement: $150 - $300 (Professional)
- Thermostat Replacement: $100 - $300 (Professional or DIY)
Preventative Maintenance
The best way to avoid costly repairs is to perform regular preventative maintenance. Here are some tips:
- Change your air filter every 1-3 months.
- Clean the condenser coils annually.
- Schedule a professional AC tune-up each year.
- Keep the area around the outdoor unit clear of debris.
Essential Tools and Parts
Here's a list of tools and parts that might come in handy when dealing with 2.5 Ton Goodman Air Conditioner problems:
Tools:
- Screwdrivers (Phillips and Flathead)
- Adjustable Wrench
- Socket Set
- Multimeter (for electrical testing – use with caution!)
- Wet/Dry Vacuum
- Garden Hose with Spray Nozzle
- Fin Comb
Parts:
- Air Filters (correct size for your unit)
- Replacement Capacitor (correct voltage and capacitance)
- Duct Tape or Mastic Sealant
- Condensate Pump (if applicable)
- Thermostat
Final Thoughts
Maintaining your 2.5 ton Goodman air conditioner is crucial for ensuring optimal performance and longevity. By understanding common problems and performing regular maintenance, you can save money on repairs and keep your home comfortable all summer long. Remember, safety should always be your top priority. When in doubt, don't hesitate to call a qualified HVAC technician.