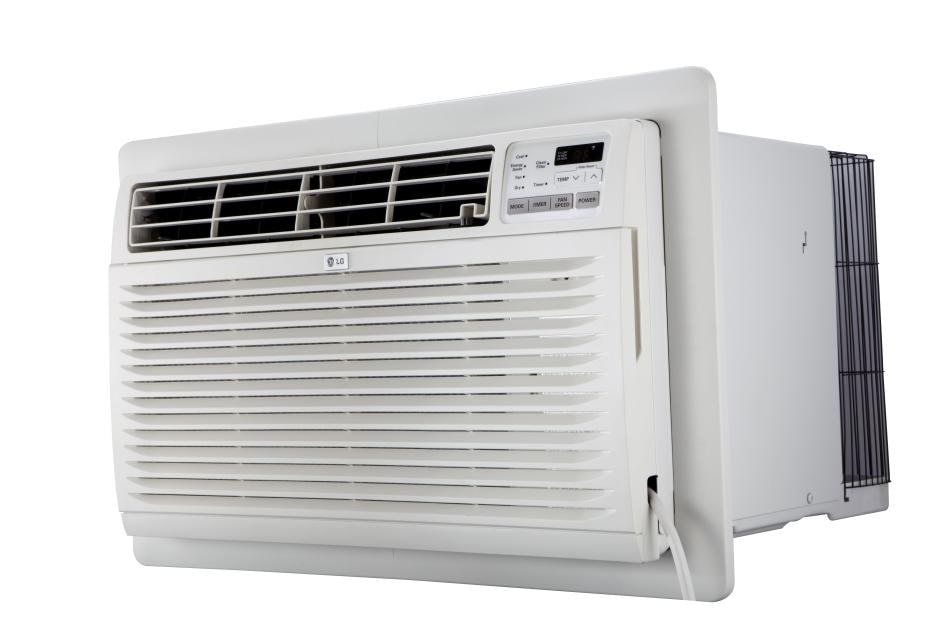
20000 Btu Through The Wall Air Conditioner
Through-the-wall air conditioners, especially powerful 20,000 BTU units, are workhorses during the hot months. Like any appliance, they can experience failures. One common issue is the unit failing to cool properly, leaving you sweating despite the hefty BTU rating. This guide offers a step-by-step approach to troubleshooting common problems, focusing on DIY fixes you can safely attempt. Remember, when dealing with electricity, gas (some units use it for heating), or complex internal components, it's always best to call a qualified professional.
Preliminary Checks: Before You Begin
Before diving into troubleshooting, ensure the problem isn't something simple. These preliminary checks can save you time and effort.
- Check the Thermostat Setting: Is it set correctly to cool and at a temperature significantly lower than the room temperature? Sometimes, the obvious is the culprit!
- Inspect the Air Filter: A dirty air filter is the most common cause of poor cooling. A clogged filter restricts airflow, making the unit work harder and less efficiently.
- Clear Obstructions: Ensure furniture, curtains, or other objects aren't blocking the air intake or exhaust vents, both inside and outside.
- Examine the Outdoor Unit (if accessible): Clear away any debris like leaves, branches, or snow that might be obstructing the unit's airflow.
Step 1: Power Supply Troubleshooting
A reliable power supply is fundamental. If the unit isn't getting enough power, it won't function correctly.
1.1. Check the Power Cord and Outlet
Visually inspect the power cord for any damage like cuts, fraying, or exposed wires. Never use a damaged power cord! Replace it immediately or contact a qualified electrician.
Test the outlet with another device, such as a lamp or phone charger, to confirm it's working. If the outlet is dead, check the circuit breaker or fuse.
1.2. Inspect the Circuit Breaker/Fuse
Locate the circuit breaker or fuse that controls the air conditioner's power. It's usually labeled in the electrical panel. If the breaker has tripped (switched to the "off" position) or the fuse is blown (the wire inside is broken), reset the breaker or replace the fuse with one of the same amperage rating.
Important: If the breaker trips repeatedly or the fuse blows again immediately after replacement, there's likely a more serious electrical problem. Stop troubleshooting and call a qualified electrician immediately.
1.3. Voltage Check (Advanced - Requires Multimeter & Electrical Knowledge)
Warning: Working with electricity can be dangerous. If you're not comfortable using a multimeter and understanding electrical circuits, skip this step and contact a qualified electrician.
Using a multimeter, check the voltage at the outlet while the air conditioner is plugged in (carefully!). Ensure the voltage reading is within the acceptable range specified by the manufacturer (usually 110-120V in North America). Low voltage can cause the unit to malfunction.
Step 2: Air Filter Maintenance
As mentioned earlier, a dirty air filter is a prime suspect. Regular cleaning or replacement is crucial.
2.1. Locate and Remove the Air Filter
The air filter is typically located behind a removable panel on the front of the unit. Consult your owner's manual for the exact location and removal procedure.
2.2. Clean or Replace the Air Filter
- Washable Filters: Wash the filter with mild soap and water. Rinse thoroughly and allow it to dry completely before reinstalling.
- Disposable Filters: Replace the filter with a new one of the correct size and type.
Pro Tip: Check and clean or replace the air filter every month during periods of heavy use.
Step 3: Coil Cleaning (Condenser & Evaporator)
Dust and debris can accumulate on the condenser (outdoor) and evaporator (indoor) coils, hindering heat transfer. Clean coils improve efficiency.
3.1. Condenser Coil Cleaning (Outdoor)
Note: Accessing the condenser coil might require removing an outer cover. Refer to your owner's manual for instructions. Ensure the unit is unplugged before attempting any coil cleaning!
Use a soft brush attachment on a vacuum cleaner to remove loose dirt and debris. For stubborn buildup, use a fin comb to straighten bent fins and a coil cleaner specifically designed for air conditioners. Follow the manufacturer's instructions on the coil cleaner.
3.2. Evaporator Coil Cleaning (Indoor)
The evaporator coil is located behind the air filter. Use the same method as the condenser coil cleaning: vacuum with a soft brush attachment and use a coil cleaner if necessary.
Important: Be gentle when cleaning the coils to avoid damaging the delicate fins.
Step 4: Condensate Drain Troubleshooting
Air conditioners remove moisture from the air, which collects as condensate. If the drain is clogged, water can back up and cause problems.
4.1. Locate the Condensate Drain
The condensate drain is usually a small opening at the bottom of the unit, often with a small tube or hose attached.
4.2. Check for Clogs
Use a stiff wire or pipe cleaner to clear any debris from the drain opening. You can also try using a wet/dry vacuum cleaner to suck out any clogs.
4.3. Flush the Drain Line
If the clog is further down the drain line, you can try flushing it with a mixture of warm water and a small amount of bleach (1 part bleach to 10 parts water). Use caution when handling bleach and wear gloves and eye protection.
Step 5: Fan Motor Inspection
The fan motor is responsible for circulating air through the unit. If the fan isn't working, the air conditioner won't cool effectively.
5.1. Check for Obstructions
Ensure the unit is unplugged! Manually try to spin the fan blades. If they're difficult to turn or obstructed, remove any debris that might be blocking them.
5.2. Listen for Unusual Noises
If the fan motor is making loud or unusual noises (grinding, squealing), it might be failing. This usually requires professional repair or replacement.
5.3. Capacitor Check (Advanced - Requires Electrical Knowledge)
Warning: Capacitors store electrical energy even when the unit is unplugged. Improper handling can result in a severe electric shock. If you're not comfortable working with capacitors, skip this step and contact a qualified technician.
The fan motor uses a capacitor to start and run. A faulty capacitor is a common cause of fan motor failure. To test the capacitor, you'll need a multimeter with a capacitance function. Discharge the capacitor before testing it (search online for safe capacitor discharge methods). Then, measure the capacitance and compare it to the capacitor's rated value. If the measured value is significantly lower than the rated value, the capacitor needs to be replaced.
When to Call a Professional
While this guide covers many common DIY fixes, some problems require the expertise of a qualified HVAC technician. Always call a professional if:
- You suspect a refrigerant leak (hissing sound, oily residue, poor cooling). Refrigerant handling requires specialized equipment and certification.
- The compressor is not working (no hum, overheating). Compressor repairs are complex and expensive.
- You encounter any electrical problems that you're not comfortable diagnosing or repairing.
- The unit uses gas for heating and you suspect a gas leak.
- You've tried all the troubleshooting steps and the unit still isn't working.
- The unit is under warranty. Attempting repairs yourself might void the warranty.
Preventative Maintenance Tips
Regular preventative maintenance can help extend the life of your air conditioner and prevent costly repairs.
- Clean or replace the air filter regularly (monthly during peak season).
- Clean the condenser and evaporator coils at least once a year.
- Inspect the condensate drain and clear any clogs.
- Check for loose screws or connections and tighten them as needed.
- Consider having a professional HVAC technician perform a tune-up annually.
By following these troubleshooting steps and preventative maintenance tips, you can keep your 20,000 BTU through-the-wall air conditioner running efficiently and reliably for years to come. Remember safety first, and don't hesitate to call a professional when needed!