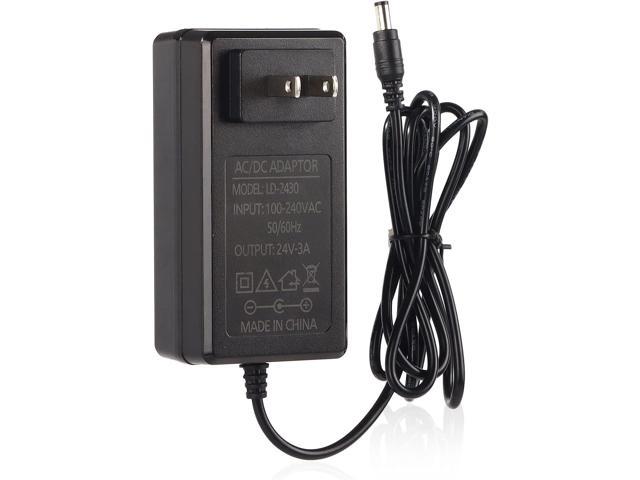
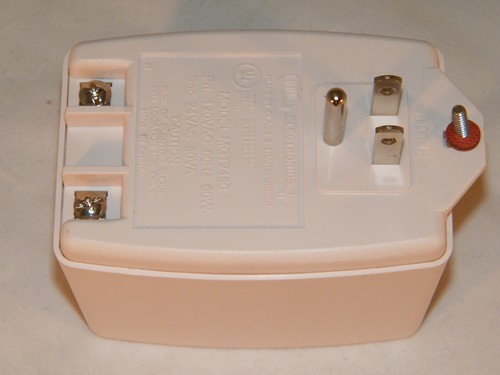
24 Volt Ac Power Supply For Thermostat

Have you ever walked past your thermostat and noticed a blank screen, or perhaps your heating and cooling system simply isn't responding? One common culprit behind these frustrating issues is a problem with the 24 Volt AC power supply to your thermostat. This seemingly simple component is the lifeline that keeps your thermostat running and communicating with your HVAC system. When it fails, your climate control goes haywire. Let's walk through some troubleshooting steps to help you diagnose and potentially fix the issue yourself. Remember, when dealing with electricity, safety is paramount. If you're uncomfortable at any point, call a qualified HVAC technician.
Understanding the 24 Volt AC Thermostat Power Supply
Most modern thermostats, especially smart thermostats, require a consistent 24 Volt AC power supply to operate correctly. This power usually comes from a transformer located inside your furnace or air handler. The transformer steps down the standard 120V household current to a safe 24V AC, which is then wired to your thermostat. This 24V AC is responsible for powering the thermostat's display, sensors, and communication circuits, enabling it to control your heating and cooling system.
Common Symptoms of a Faulty 24V AC Power Supply
- Blank Thermostat Screen: This is the most obvious sign. If the thermostat isn't receiving power, the screen will be blank.
- Intermittent Operation: The thermostat might turn on and off sporadically, or the display might flicker.
- HVAC System Not Responding: You can adjust the thermostat settings, but the furnace or air conditioner doesn't turn on or off.
- Error Messages: Some thermostats display error messages related to power or communication issues.
- Short Cycling: The heating or cooling system turns on and off frequently in short bursts.
Troubleshooting Steps: A DIY Guide
Before you start, turn off the power to your furnace or air handler at the breaker box. This is an essential safety precaution to prevent electric shock. Locate the breaker labeled "Furnace," "HVAC," or something similar, and switch it to the "off" position. Verify that the system is indeed off before proceeding.
Step 1: Visual Inspection
Begin with a thorough visual inspection. Look for:
- Loose Wiring: Check the wiring connections at the thermostat, the furnace/air handler, and the transformer itself. Make sure all wires are securely connected and that there are no loose strands.
- Corrosion: Look for any signs of corrosion on the wires, terminals, or the transformer. Corrosion can interfere with the electrical connection.
- Burned or Damaged Components: Inspect the transformer for any signs of burning, melting, or physical damage. A damaged transformer needs to be replaced.
Step 2: Thermostat Wiring Check
Carefully remove the thermostat from the wall plate. Do not pull on the wires; instead, use a small screwdriver to loosen the screws holding the wires in place.
- Identify the Wires: Common thermostat wiring includes:
- R (Red): 24V AC power
- C (Common or Blue): 24V AC common (ground)
- W (White): Heat
- Y (Yellow): Cooling
- G (Green): Fan
- Check Wire Connections: Ensure each wire is securely connected to the correct terminal. Loose or improperly connected wires are a common problem.
- Wire Condition: Examine the wires for any breaks, kinks, or damage. Replace any damaged wires.
Step 3: Checking the Voltage at the Thermostat
This step requires a multimeter and knowledge of how to use it safely. If you are not comfortable using a multimeter, skip this step and consult a qualified HVAC technician.
- Switch the breaker back on to restore power to the furnace/air handler.
- Set your multimeter to measure AC voltage (VAC). The range should be set to at least 30V AC.
- Carefully touch the multimeter probes to the R (Red) and C (Common) terminals on the thermostat wiring. Be extremely careful not to let the probes touch each other or any other metal parts.
- Read the Voltage: You should read approximately 24V AC.
- If you read 24V AC: The power supply is likely working correctly. The problem may lie within the thermostat itself, or with the wiring to the HVAC equipment. Proceed to Step 4.
- If you read significantly lower than 24V AC (e.g., below 20V AC): The power supply is weak and may be failing. The transformer is likely the culprit.
- If you read 0V AC: There is no power reaching the thermostat. The problem could be a tripped breaker, a blown fuse (in some older systems), a loose wire, or a faulty transformer.
- Turn the breaker off again after completing the voltage test.
Step 4: Inspecting the Transformer (Furnace/Air Handler)
This step involves working inside your furnace or air handler. If you are not comfortable working with electrical components, or if your furnace uses gas, leave this step to a qualified HVAC technician. Gas leaks can be extremely dangerous.
- Locate the Transformer: Open the access panel on your furnace or air handler. The transformer is usually a small, rectangular device with wires connected to it. It's typically located near the control board.
- Visual Inspection: Look for any signs of damage, such as burning, melting, or cracks. Smell for a burnt electrical odor.
- Check the Wiring: Ensure the wires connected to the transformer are secure and free from corrosion.
- Voltage Test at the Transformer: With the power on (be extremely careful!), use your multimeter to check the voltage on both sides of the transformer.
- Primary Side (120V): You should read approximately 120V AC. If not, check the breaker and wiring leading to the transformer.
- Secondary Side (24V): You should read approximately 24V AC. If not, the transformer is likely faulty and needs to be replaced.
- Turn the breaker off again after completing the voltage test.
Step 5: Replacing the Transformer (If Necessary)
If you are comfortable working with electrical components and have determined that the transformer is faulty, you can replace it yourself. Otherwise, call a qualified HVAC technician.
- Purchase a Replacement Transformer: Make sure the replacement transformer has the same voltage ratings (120V primary, 24V secondary) and VA (Volt-Ampere) rating as the original. The VA rating indicates the transformer's power output capacity.
- Disconnect the Wires: Carefully disconnect the wires from the old transformer, noting their positions. It's a good idea to take a picture before disconnecting them.
- Install the New Transformer: Mount the new transformer in the same location as the old one.
- Reconnect the Wires: Reconnect the wires to the new transformer, ensuring they are securely fastened to the correct terminals. Double-check your wiring against the picture you took earlier.
Step 6: Check for a Blown Fuse (Older Systems)
Some older HVAC systems use a fuse to protect the 24V AC circuit. This fuse is typically located on the control board inside the furnace or air handler. Check the fuse for continuity using a multimeter. If the fuse is blown, replace it with a fuse of the same amperage rating.
Step 7: Thermostat Settings and Compatibility
If you've replaced the transformer and are still experiencing problems, consider the thermostat itself. Modern smart thermostats have settings that might need adjustment, or might not be compatible with your system. Consult your thermostat's manual for proper configuration.
- Check the Thermostat's Power Settings: Some thermostats have settings related to power saving or power sharing. Make sure these settings are configured correctly.
- Verify Thermostat Compatibility: Ensure that your thermostat is compatible with your heating and cooling system. Some thermostats require specific wiring configurations or may not work with certain types of equipment.
When to Call a Professional
While these troubleshooting steps can help you identify and fix many common 24V AC power supply issues, there are situations where it's best to call a qualified HVAC technician:
- You are uncomfortable working with electricity or gas.
- You suspect a gas leak. Gas leaks are extremely dangerous and require immediate attention from a trained professional.
- You cannot identify the problem after following these steps.
- The problem involves complex wiring or internal components of the furnace or air handler.
- You are not confident in your ability to safely complete the repair.
Safety First
Working with electricity can be dangerous. Always take the following precautions:
- Turn off the power to the furnace or air handler at the breaker box before starting any work.
- Use insulated tools.
- Be careful not to touch any bare wires or metal parts.
- If you are unsure about any step, consult a qualified HVAC technician.
By following these troubleshooting steps, you can often diagnose and fix common 24V AC power supply issues with your thermostat. Remember to prioritize safety and don't hesitate to call a professional when needed. With a little knowledge and caution, you can keep your thermostat running smoothly and maintain a comfortable home.