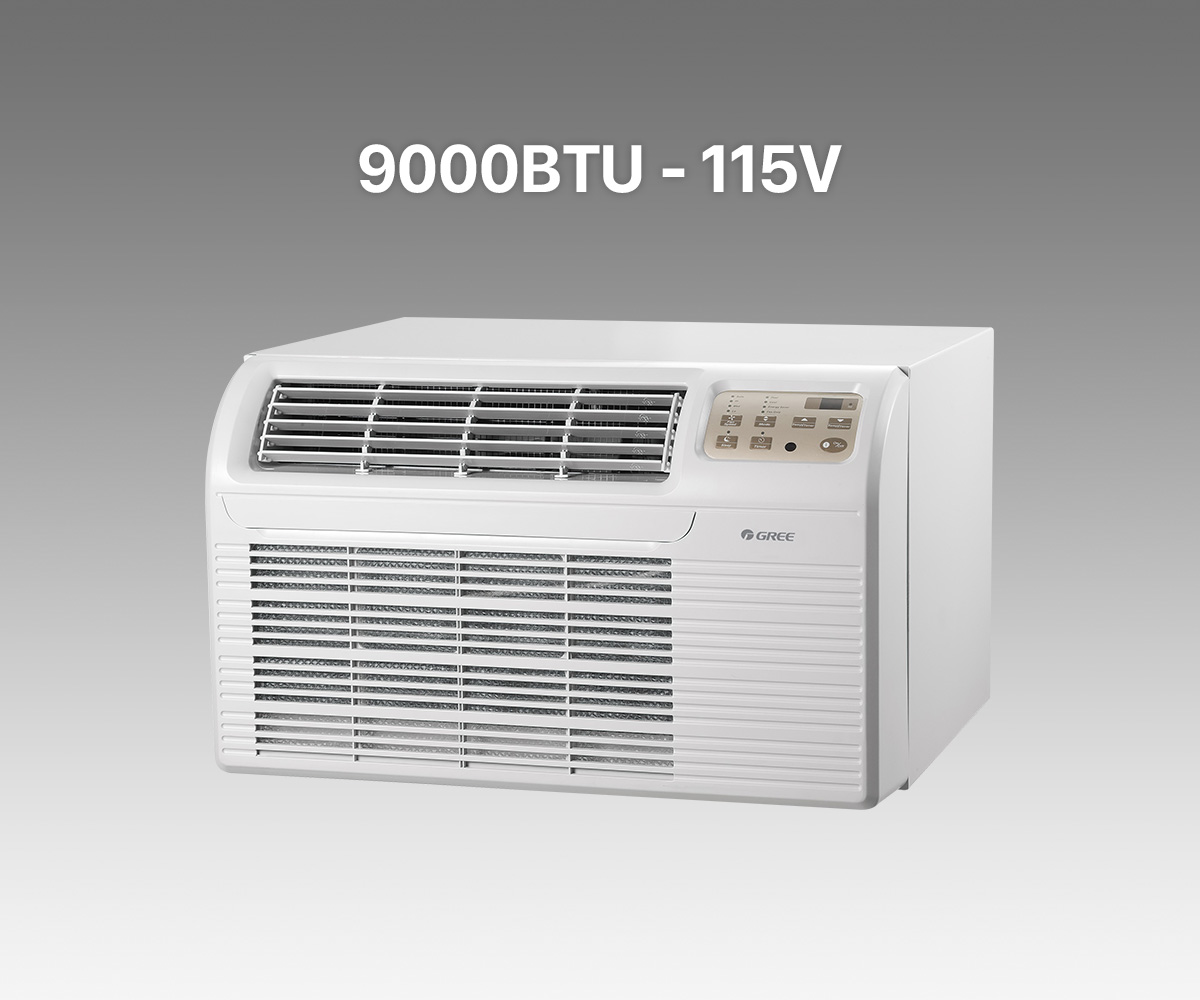
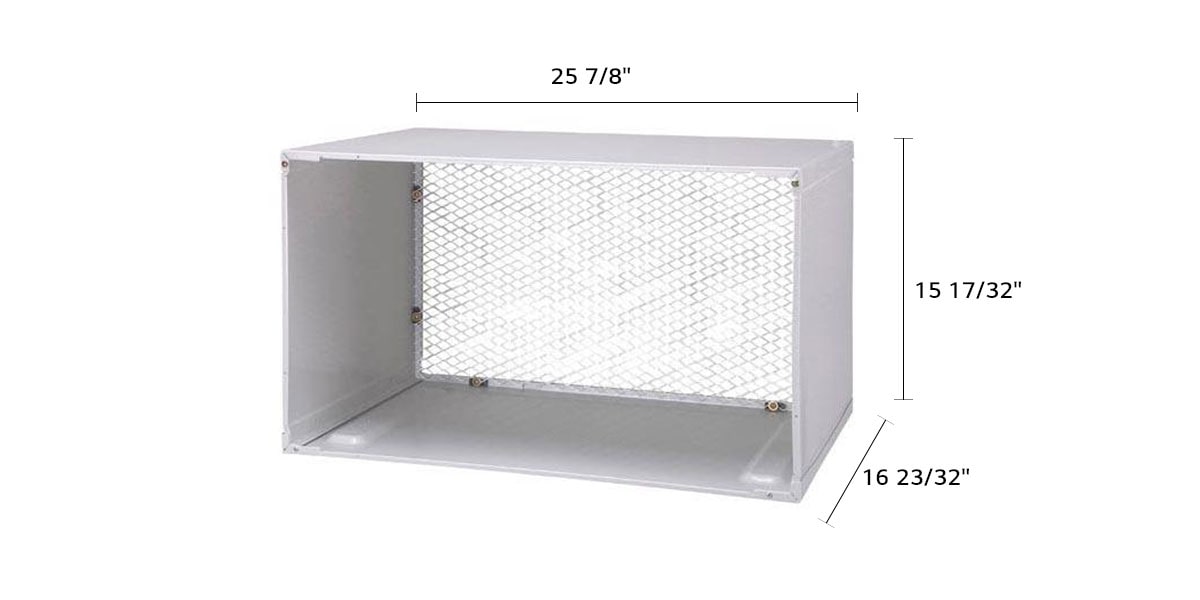
26 X 16 Through The Wall Air Conditioner
Is your trusty 26" x 16" through-the-wall air conditioner suddenly not keeping you cool? Don't sweat it! A malfunctioning AC is a common household problem, and often, the solution is simpler than you think. This guide will walk you through some basic troubleshooting steps you can safely perform yourself, helping you diagnose and potentially fix the issue before calling in a professional. Remember, your safety is paramount. When dealing with electricity, always exercise caution and if in doubt, consult a qualified HVAC technician.
Initial Checks: The Foundation of Troubleshooting
Before diving into more complex procedures, let's cover some fundamental checks. These often reveal the simplest solutions.
1. Power Supply: Is It Even Getting Juice?
This is the most basic, yet most often overlooked step. Ensuring your AC unit is receiving power is crucial.
- Check the power cord: Make sure the cord is securely plugged into the wall outlet. A loose connection can interrupt power.
- Inspect the outlet: Try plugging a different appliance into the same outlet. If the other appliance doesn't work, the problem lies with the outlet itself. You might have a tripped circuit breaker or a blown fuse.
- Circuit breaker/fuse box: Locate your home's circuit breaker panel or fuse box. Identify the breaker or fuse that controls the outlet your AC unit is plugged into.
- If a breaker is tripped (usually in the "off" or middle position), flip it completely to the "off" position, then back to the "on" position.
- If a fuse is blown (the wire inside is broken), replace it with a fuse of the same amperage rating. Never use a higher amperage fuse, as this can create a fire hazard.
- Extension cords: Avoid using extension cords with high-power appliances like air conditioners. Extension cords can be a fire hazard, especially if they are not rated for the amperage draw of the AC unit. If you must use one, ensure it's a heavy-duty, grounded extension cord rated for at least 15 amps.
2. Thermostat and Settings: Is It Set Correctly?
Sometimes the issue isn't a malfunction, but a simple misconfiguration.
- Check the mode: Ensure the AC unit is set to "Cool" mode, not "Fan Only" or "Heat" (if applicable).
- Set the temperature: Make sure the thermostat is set to a temperature lower than the current room temperature. The AC won't turn on if the target temperature is already reached.
- Fan speed: Try different fan speed settings. Sometimes a low fan speed can make it seem like the AC isn't cooling effectively.
- Timer settings: Check if the unit has a timer function that might be preventing it from turning on or off at unexpected times. Disable any timers to rule them out as the cause of the problem.
Troubleshooting Common Issues: Getting Your Hands Dirty (Safely!)
If the initial checks didn't reveal the problem, it's time to investigate some common issues. Remember, always disconnect the AC unit from the power outlet before performing any of these steps.
1. Dirty Air Filter: The Most Common Culprit
A dirty air filter is the most frequent cause of poor AC performance. It restricts airflow, forcing the unit to work harder and reducing its cooling efficiency.
- Locate the air filter: This is usually behind a removable panel on the front of the AC unit. Consult your owner's manual if you're unsure.
- Remove the filter: Gently slide the filter out.
- Inspect the filter: If the filter is visibly dirty (covered in dust, dirt, or debris), it needs cleaning or replacing.
- Clean the filter (if reusable): Vacuum the filter with a brush attachment. If heavily soiled, wash it with mild soap and water. Allow the filter to dry completely before reinstalling it.
- Replace the filter (if disposable): Purchase a new filter of the correct size and type. Check your owner's manual for the correct filter specifications.
- Reinstall the filter: Carefully slide the clean or new filter back into its housing. Ensure it's properly seated.
- Test the AC: Turn the AC unit back on and see if the airflow and cooling performance have improved.
2. Blocked Airflow: Obstructions Hindering Performance
Anything blocking the airflow around the AC unit can reduce its cooling capacity.
- Clear obstructions outside: Ensure there are no plants, bushes, or other objects blocking the outside vents of the AC unit. Maintain at least 2 feet of clearance.
- Clear obstructions inside: Make sure furniture, curtains, or other items are not blocking the inside vents of the AC unit.
- Clean the fins: Use a fin comb (available at most hardware stores) to straighten any bent or damaged fins on the AC unit. Bent fins can restrict airflow. Be very careful when using a fin comb, as the fins are sharp.
3. Frozen Evaporator Coils: A Sign of Deeper Issues
Frozen evaporator coils can significantly reduce cooling performance. This often indicates a more serious problem, but sometimes it's a simple fix.
- Identify frozen coils: Look for ice buildup on the coils visible through the front grille of the AC unit.
- Turn off the AC: Immediately turn off the AC unit to allow the ice to melt.
- Check the air filter (again!): A dirty air filter is a common cause of frozen coils. Replace or clean it as described above.
- Ensure adequate airflow: Make sure vents are not blocked and that the unit has enough space around it for proper ventilation.
- Allow the ice to melt completely: This may take several hours. Do not try to chip away at the ice.
- Turn the AC back on: After the ice has completely melted, turn the AC unit back on. Monitor it closely. If the coils freeze up again quickly, there may be a more serious problem, such as a refrigerant leak or a malfunctioning compressor. Call a qualified technician.
4. Leaking Water: Drainage Issues
Some water accumulation is normal, but excessive leaking indicates a problem.
- Check the drain pan: Ensure the drain pan (located beneath the AC unit) is not overflowing. If it is, try to empty it. If it fills up again quickly, the drain line may be clogged.
- Clear the drain line: Locate the drain line, usually a small hose that exits the back of the AC unit. Use a stiff wire or pipe cleaner to clear any clogs in the drain line. You can also try using a wet/dry vacuum to suck out any debris from the drain line.
- Ensure proper installation: The AC unit should be slightly tilted outward to allow water to drain properly. If it's tilted inward, water will collect inside.
When to Call a Professional: Know Your Limits
While many AC problems can be resolved with DIY troubleshooting, some issues require the expertise of a qualified HVAC technician. Never attempt repairs involving refrigerant, electrical components beyond simple wiring checks, or complex mechanical parts.
Call a professional if you experience any of the following:
- Refrigerant leaks: Refrigerant is a hazardous substance, and leaks can be harmful to your health and the environment. Do not attempt to handle refrigerant yourself.
- Electrical problems: If you suspect an electrical problem beyond checking the power cord and circuit breaker (e.g., burning smells, sparks, or exposed wiring), call an electrician immediately.
- Compressor issues: The compressor is the heart of the AC unit. If it's making strange noises or not running at all, it likely needs professional repair or replacement.
- Persistent freezing: If the evaporator coils continue to freeze up even after cleaning the filter and ensuring proper airflow, there may be a refrigerant leak or other serious problem.
- Unfamiliar noises: Loud banging, grinding, or hissing noises coming from the AC unit can indicate a mechanical failure that requires professional attention.
- If you are unsure: If you've tried the troubleshooting steps outlined above and are still unable to resolve the problem, it's best to err on the side of caution and call a qualified technician.
Preventative Maintenance: Keeping Cool for the Long Haul
Regular maintenance can significantly extend the lifespan of your AC unit and prevent many common problems.
- Clean or replace the air filter regularly: Check the filter every month and clean or replace it as needed.
- Clean the exterior: Wipe down the exterior of the AC unit with a damp cloth to remove dust and dirt.
- Check the fins: Straighten any bent fins with a fin comb.
- Inspect the drain line: Ensure the drain line is clear of obstructions.
- Consider professional servicing: Schedule annual maintenance with a qualified HVAC technician. They can perform a thorough inspection, clean the coils, check the refrigerant levels, and identify any potential problems before they become major issues.
By following these troubleshooting tips and practicing preventative maintenance, you can keep your 26" x 16" through-the-wall air conditioner running smoothly and efficiently, providing you with cool comfort for years to come. Remember to prioritize safety and when in doubt, always consult a professional.