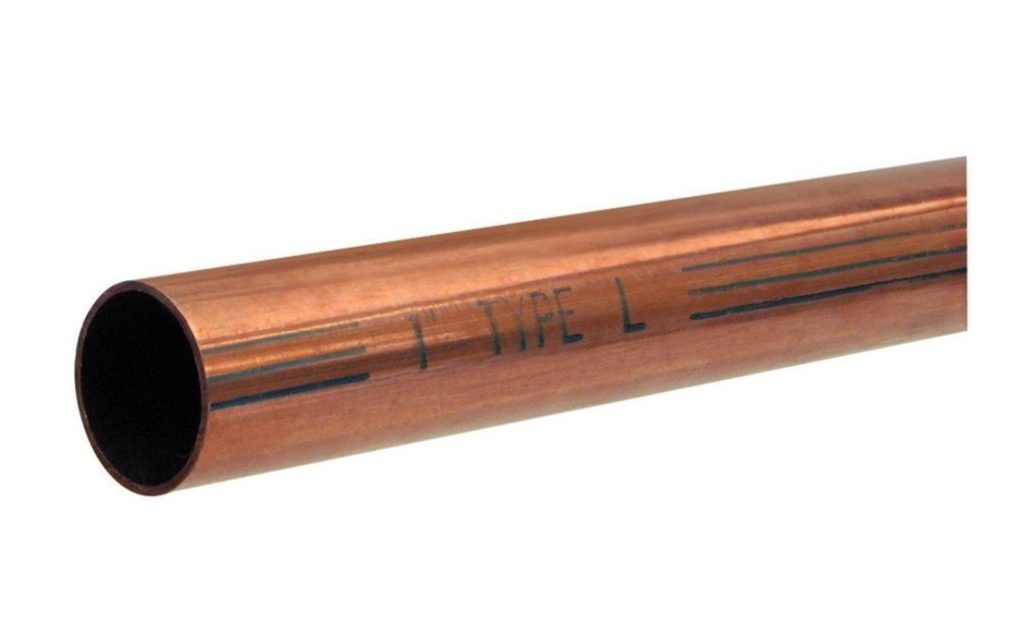
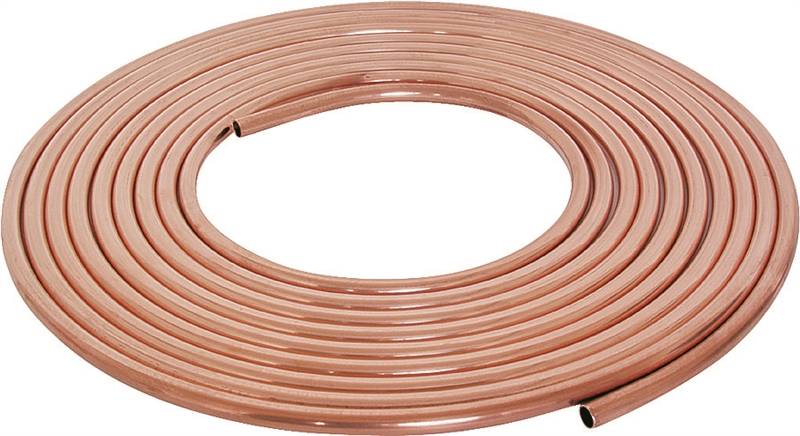
3 4 Type L Copper Tubing
Welcome to your comprehensive guide on 3/4" Type L copper tubing, a crucial component in many HVAC and plumbing systems! Whether you're a homeowner tackling minor repairs, a DIY enthusiast, or an HVAC student, this article will provide you with the essential knowledge to understand, work with, and troubleshoot issues related to this versatile material.
Understanding 3/4" Type L Copper Tubing
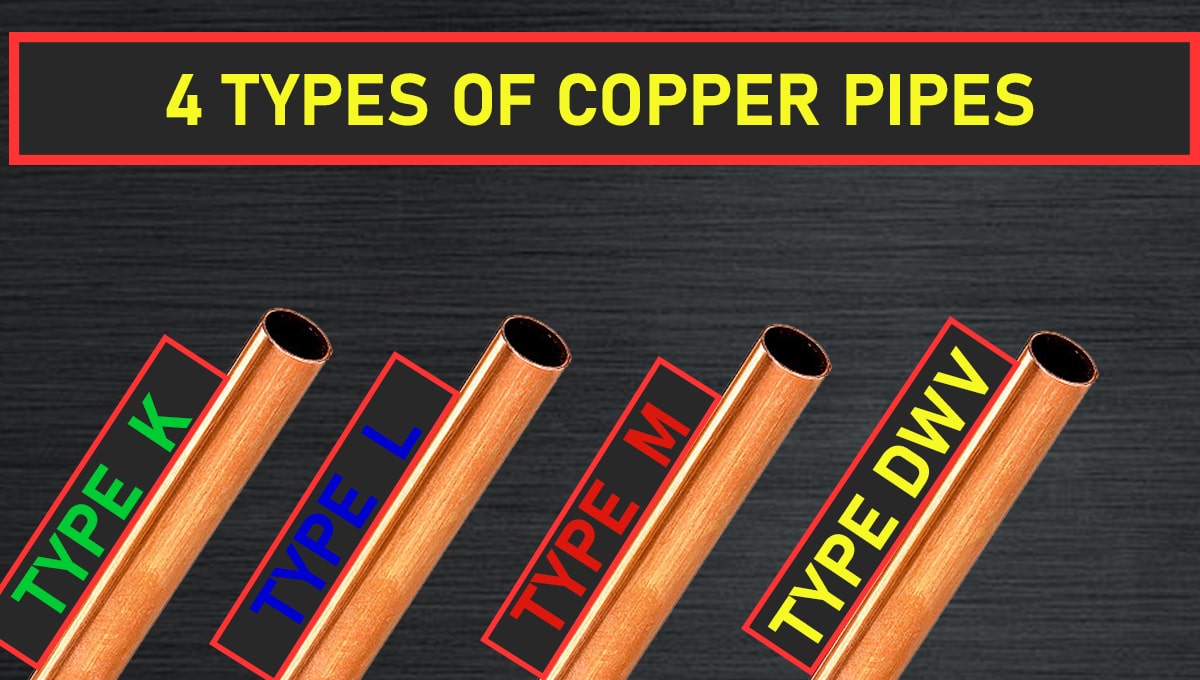
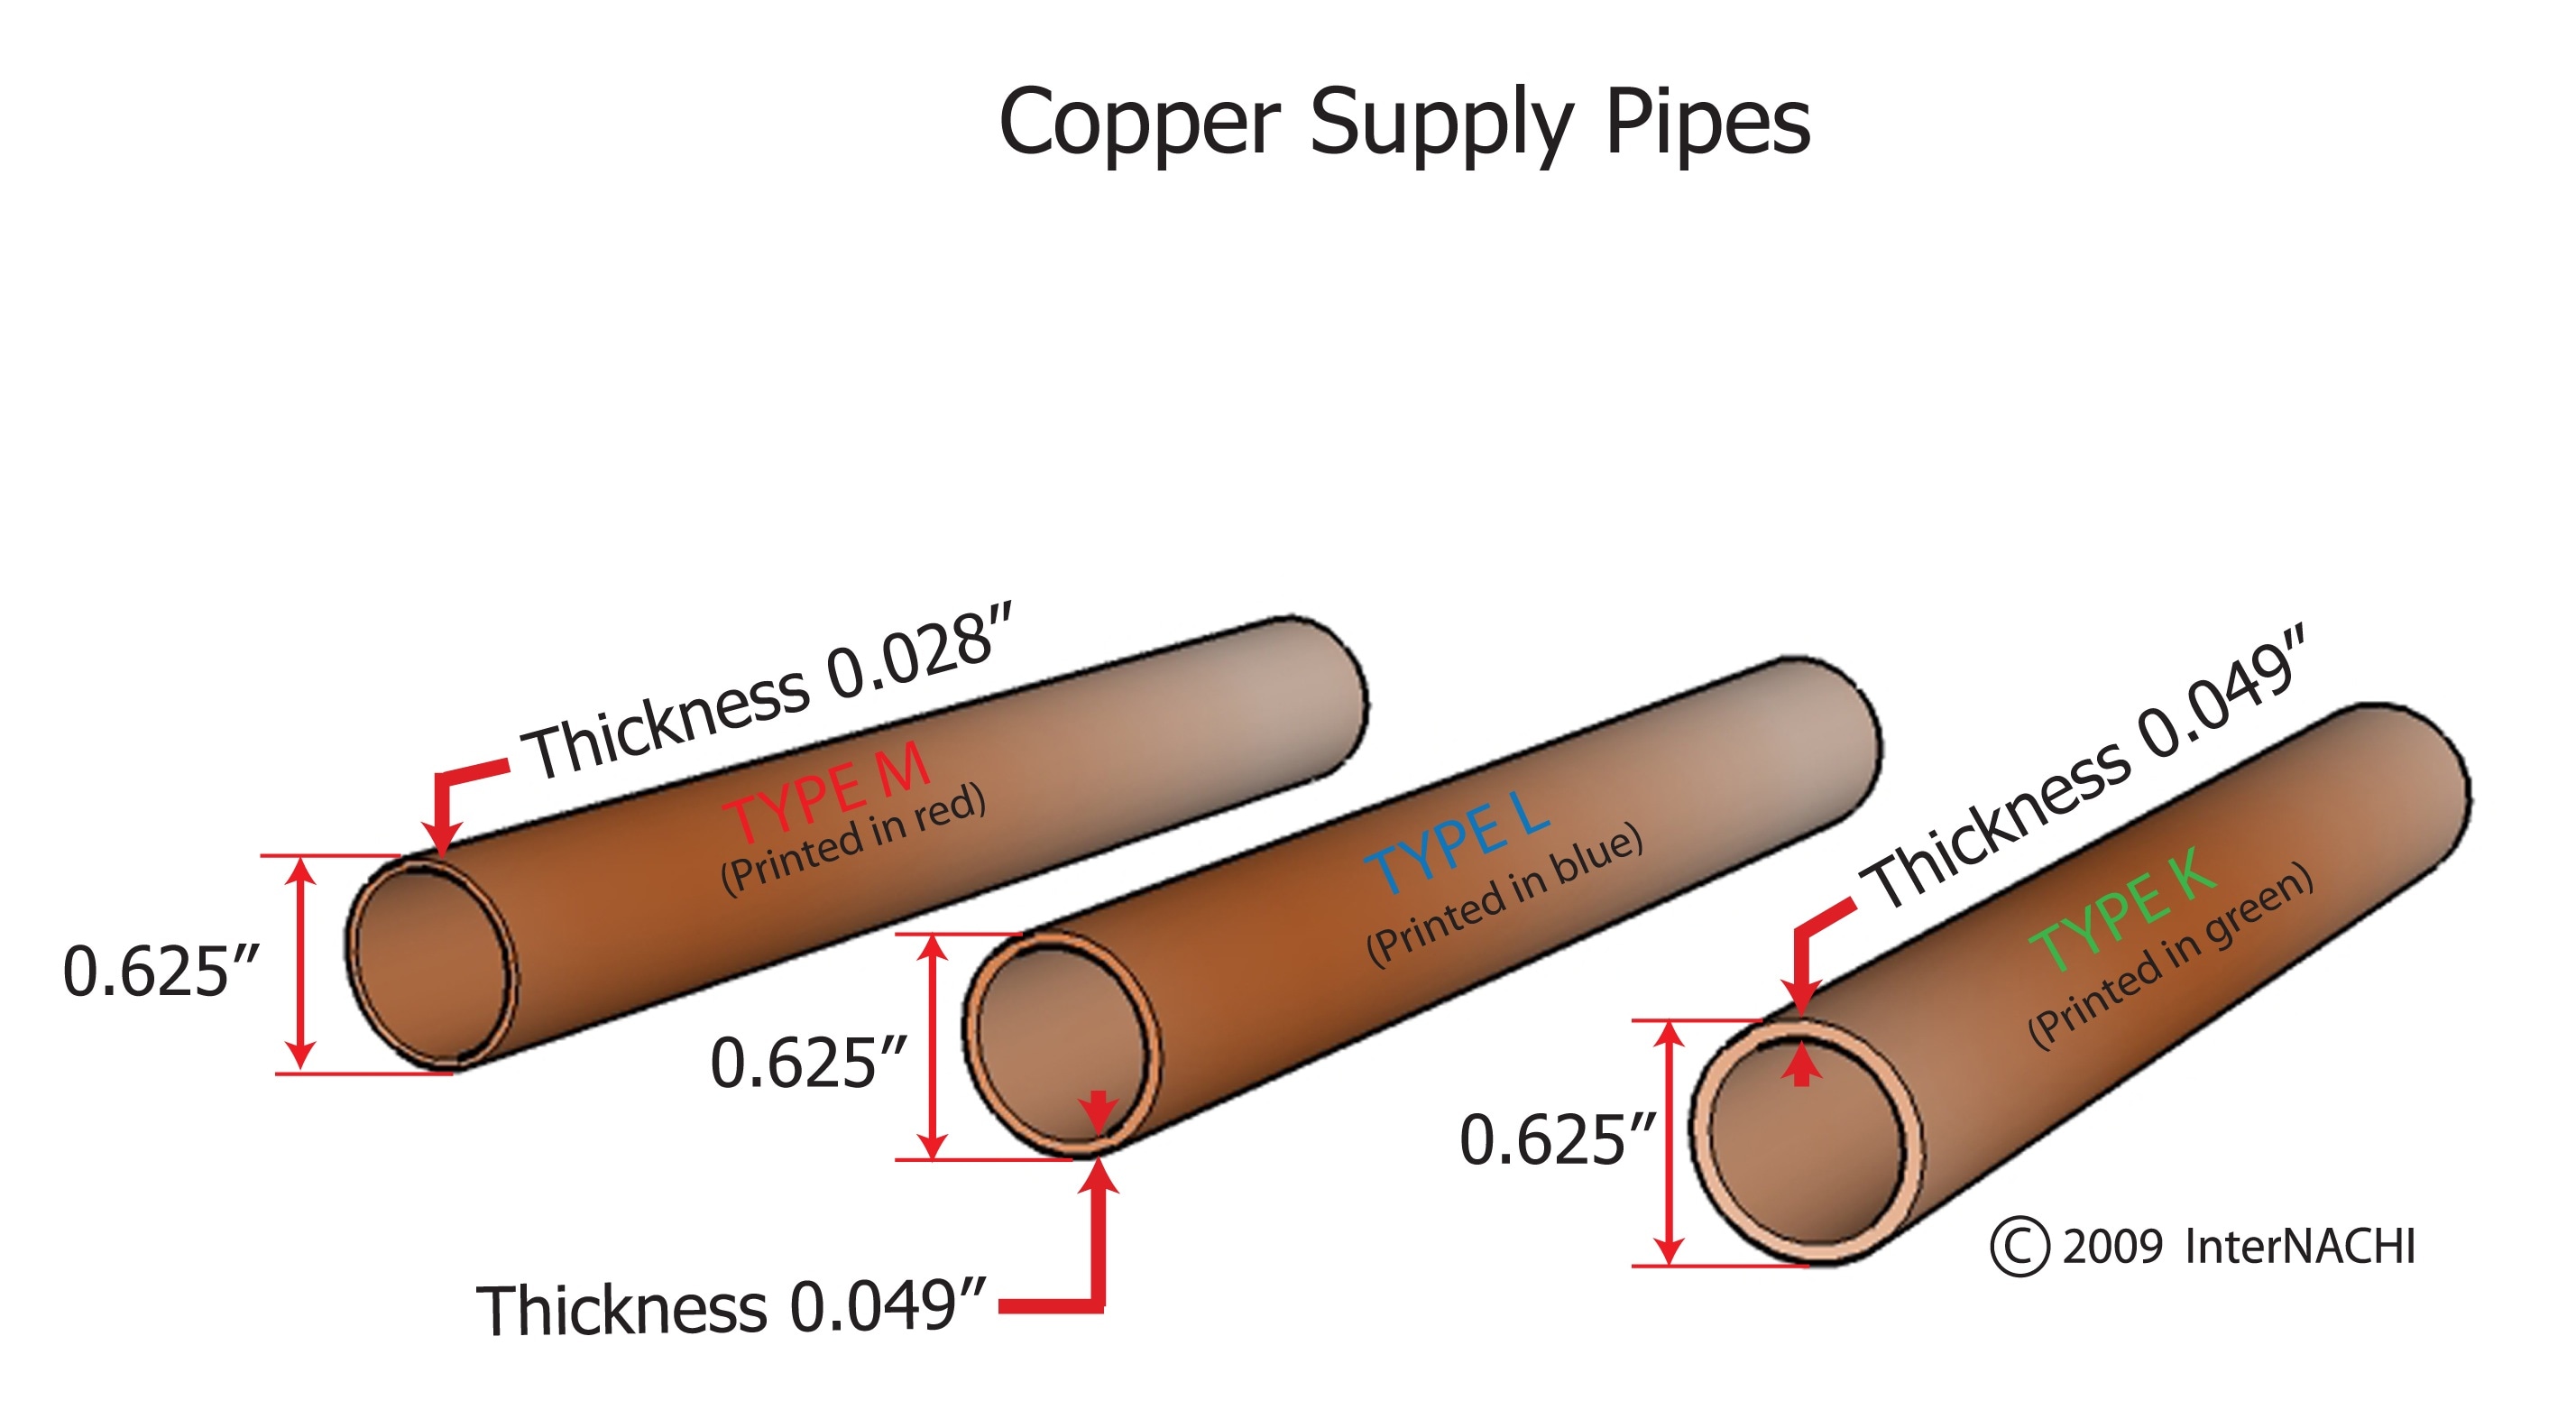
3/4" Type L copper tubing is a common size and type used for various applications, primarily in plumbing and HVAC systems. The "3/4" refers to its nominal diameter – the approximate inside diameter of the tube. "Type L" denotes its wall thickness; it's thicker than Type M (suitable for some plumbing) but thinner than Type K (used for underground and heavy-duty applications). This makes Type L a good balance of strength and cost-effectiveness for residential HVAC and plumbing.
Common Applications
- Refrigerant Lines: Connecting the outdoor condenser unit to the indoor evaporator coil in air conditioning and heat pump systems.
- Water Lines: Hot and cold water distribution throughout the house.
- Drain Lines: Condensate drain lines from air conditioning units and furnaces.
- Chilled Water Systems: In some residential and commercial cooling applications.
Working with 3/4" Type L Copper Tubing: A DIY Guide
Before you start any project involving copper tubing, safety is paramount! Always wear appropriate safety glasses and gloves.
Essential Tools and Materials
- Copper Tube Cutter: For clean, burr-free cuts. A wheel cutter specifically designed for copper is highly recommended.
- Deburring Tool: To remove burrs from the inside and outside of the cut tube ends, ensuring proper flow and preventing damage to fittings.
- Propane Torch: For soldering or brazing connections. Make sure you are using this in a well-ventilated area and away from flammable materials.
- Flux: A chemical cleaning agent that prepares the copper for soldering or brazing and helps the solder flow smoothly. Use a flux specifically designed for copper.
- Solder or Brazing Rod: Depending on the application. Lead-free solder is typically required for potable water lines. Brazing is stronger and often preferred for refrigerant lines.
- Sand Cloth or Emery Cloth: To clean the outside of the tubing and the inside of fittings before soldering/brazing.
- Fittings: Couplings, elbows, tees, reducers, and other fittings needed to connect the tubing. Ensure they are the correct size (3/4") and material (copper or brass).
- Wet Rags: To cool down joints after soldering/brazing and to protect surrounding materials from heat damage.
- Fire Extinguisher: Keep a fire extinguisher nearby as a safety precaution when working with a torch.
- Safety Glasses and Gloves: Essential for protecting your eyes and hands.
Step-by-Step Soldering/Brazing Guide
This is a simplified overview. Always refer to detailed soldering/brazing guides and follow local codes and regulations.
- Cut the Tubing: Use the copper tube cutter to make a clean, square cut.
- Deburr the Ends: Use the deburring tool to remove any burrs from the inside and outside of the cut.
- Clean the Surfaces: Thoroughly clean the outside of the tubing and the inside of the fitting with sand cloth or emery cloth until shiny.
- Apply Flux: Apply a thin, even coat of flux to both the tubing and the fitting.
- Assemble the Joint: Insert the tubing into the fitting, ensuring a snug fit.
- Heat the Joint: Using the propane torch, heat the entire joint evenly. Avoid overheating, which can damage the copper and the flux.
- Apply Solder/Brazing Rod: Touch the solder or brazing rod to the joint. It should melt and flow smoothly into the gap between the tubing and the fitting. If it beads up, the joint is not hot enough or not clean enough.
- Remove Heat: Once the joint is fully soldered/brazed, remove the heat and allow the joint to cool naturally.
- Clean the Joint: After the joint has cooled, wipe away any excess flux with a damp rag.
- Pressure Test: After the joint has cooled completely, it is recommended to pressure test it to ensure there are no leaks.
Bending 3/4" Type L Copper Tubing
Bending copper tubing allows you to create smooth curves and avoid using fittings, which can reduce pressure drop and potential leak points. For small bends, you can use a bending spring. For larger bends, a tube bender is recommended.
Using a Bending Spring
- Select the Correct Size: Choose a bending spring that fits snugly inside the 3/4" copper tubing.
- Insert the Spring: Slide the bending spring into the copper tube at the point where you want to make the bend.
- Make the Bend: Carefully bend the tube to the desired angle. The spring will prevent the tube from kinking or collapsing.
- Remove the Spring: Once the bend is complete, remove the bending spring.
Using a Tube Bender
- Select the Correct Size: Ensure the tube bender is sized correctly for 3/4" copper tubing.
- Position the Tube: Place the copper tube in the bender according to the manufacturer's instructions.
- Make the Bend: Slowly and steadily bend the tube to the desired angle using the bender's lever or handle.
- Remove the Tube: Once the bend is complete, release the tube from the bender.
Troubleshooting Common Issues with 3/4" Type L Copper Tubing
Here are some common problems you might encounter with copper tubing and how to address them.
- Leaks at Joints: Often caused by improper soldering/brazing. Make sure the joint is clean and properly fluxed, and that you apply heat evenly. If the joint continues to leak, you may need to disassemble it, clean the surfaces, and re-solder/braze it.
- Pinholes: Can be caused by corrosion or damage. If you find a pinhole, you'll likely need to replace the section of tubing.
- Kinks: Result from bending the tubing without proper support. If a tube is kinked, it’s best to replace the section to avoid restricted flow.
- Corrosion: Can occur over time, especially in areas with acidic water or soil. Regular inspection and water treatment (if necessary) can help prevent corrosion.
- Water Hammer: Can cause stress on copper pipes. Install water hammer arrestors to absorb the shock of sudden valve closures.
When to Call a Professional HVAC Technician
While many minor repairs involving 3/4" Type L copper tubing can be handled by homeowners, certain situations require the expertise of a qualified HVAC technician. Here are a few examples:
- Refrigerant Leaks: Handling refrigerants requires specialized equipment and training. It's illegal to knowingly release refrigerants into the atmosphere.
- Complex System Repairs: If the problem is within the sealed system of your air conditioner or heat pump, or if it involves intricate wiring or controls, call a professional.
- Working with Natural Gas Lines: Any work involving natural gas lines is extremely dangerous and should only be performed by licensed professionals.
- Uncertainty: If you're unsure about the cause of the problem or how to fix it, it's always best to err on the side of caution and call a professional.
Estimating Repair Costs
The cost of repairing or replacing 3/4" Type L copper tubing can vary depending on several factors:
- The Extent of the Damage: A simple leak repair will be less expensive than replacing a long section of damaged tubing.
- The Accessibility of the Tubing: Tubing that is easily accessible will be cheaper to repair than tubing that is buried or located in a difficult-to-reach area.
- The Cost of Materials: Copper prices can fluctuate, affecting the overall cost of the repair.
- Labor Costs: Labor rates vary depending on the location and the experience of the technician.
As a general guideline, expect to pay anywhere from $100 to $500 for a simple leak repair, and several hundred to over a thousand dollars for more extensive replacements. Always get multiple quotes from different HVAC contractors before making a decision.
Preventive Maintenance Tips
Regular maintenance can help extend the life of your copper tubing and prevent costly repairs.
- Inspect Regularly: Periodically inspect your copper tubing for signs of corrosion, leaks, or damage.
- Insulate Exposed Tubing: Insulating exposed tubing can help prevent freezing and condensation.
- Address Leaks Promptly: Even small leaks can lead to significant water damage over time.
- Consider Water Treatment: If you have acidic water, consider installing a water softener or neutralizer to protect your copper pipes from corrosion.
By understanding the properties of 3/4" Type L copper tubing, following proper installation and repair techniques, and performing regular maintenance, you can ensure the longevity and efficiency of your HVAC and plumbing systems. Remember to prioritize safety and call a professional when needed. Good luck with your projects!