3 Ton Heat Pump Breaker Size
Understanding the correct breaker size for your 3-ton heat pump is crucial for its safe and efficient operation. Too small, and you'll experience nuisance tripping; too large, and you risk damaging your equipment or even causing a fire. This guide will walk you through determining the appropriate breaker size, troubleshooting common problems related to breakers and heat pumps, and knowing when to call a qualified HVAC technician.
What Size Breaker Does a 3-Ton Heat Pump Need?
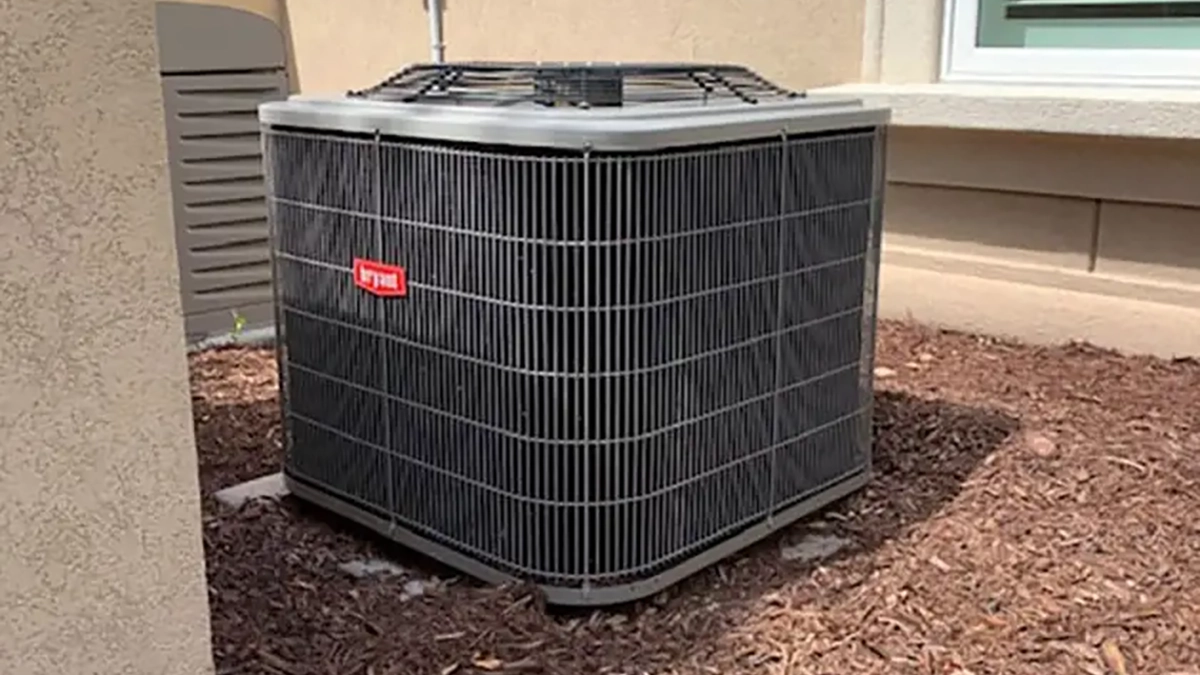
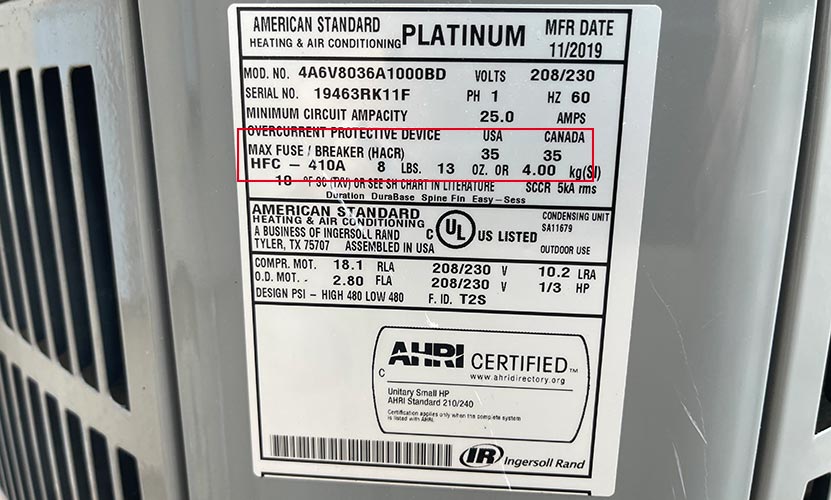
The short answer is: it depends. While a 3-ton heat pump is a common size, the exact breaker size varies based on the heat pump's electrical specifications, particularly its Minimum Circuit Ampacity (MCA) and Maximum Overcurrent Protection (MOCP). These values are always listed on the unit's nameplate, typically located on the outdoor condenser unit.
Finding MCA and MOCP on the Nameplate
Locate the nameplate on your outdoor unit. It's usually a metal or plastic sticker attached to the unit's exterior. Look for the following:
- MCA (Minimum Circuit Ampacity): This is the minimum amperage the circuit conductors (wires) must be rated for. It accounts for the continuous load of the heat pump.
- MOCP (Maximum Overcurrent Protection): This is the maximum size breaker or fuse allowed for the circuit. It's designed to protect the heat pump from overcurrent conditions.
Example: Let's say your nameplate shows an MCA of 25 amps and an MOCP of 35 amps. This means:
- Your wiring must be rated for at least 25 amps.
- You should use a breaker no larger than 35 amps.
Choosing the Correct Breaker Size
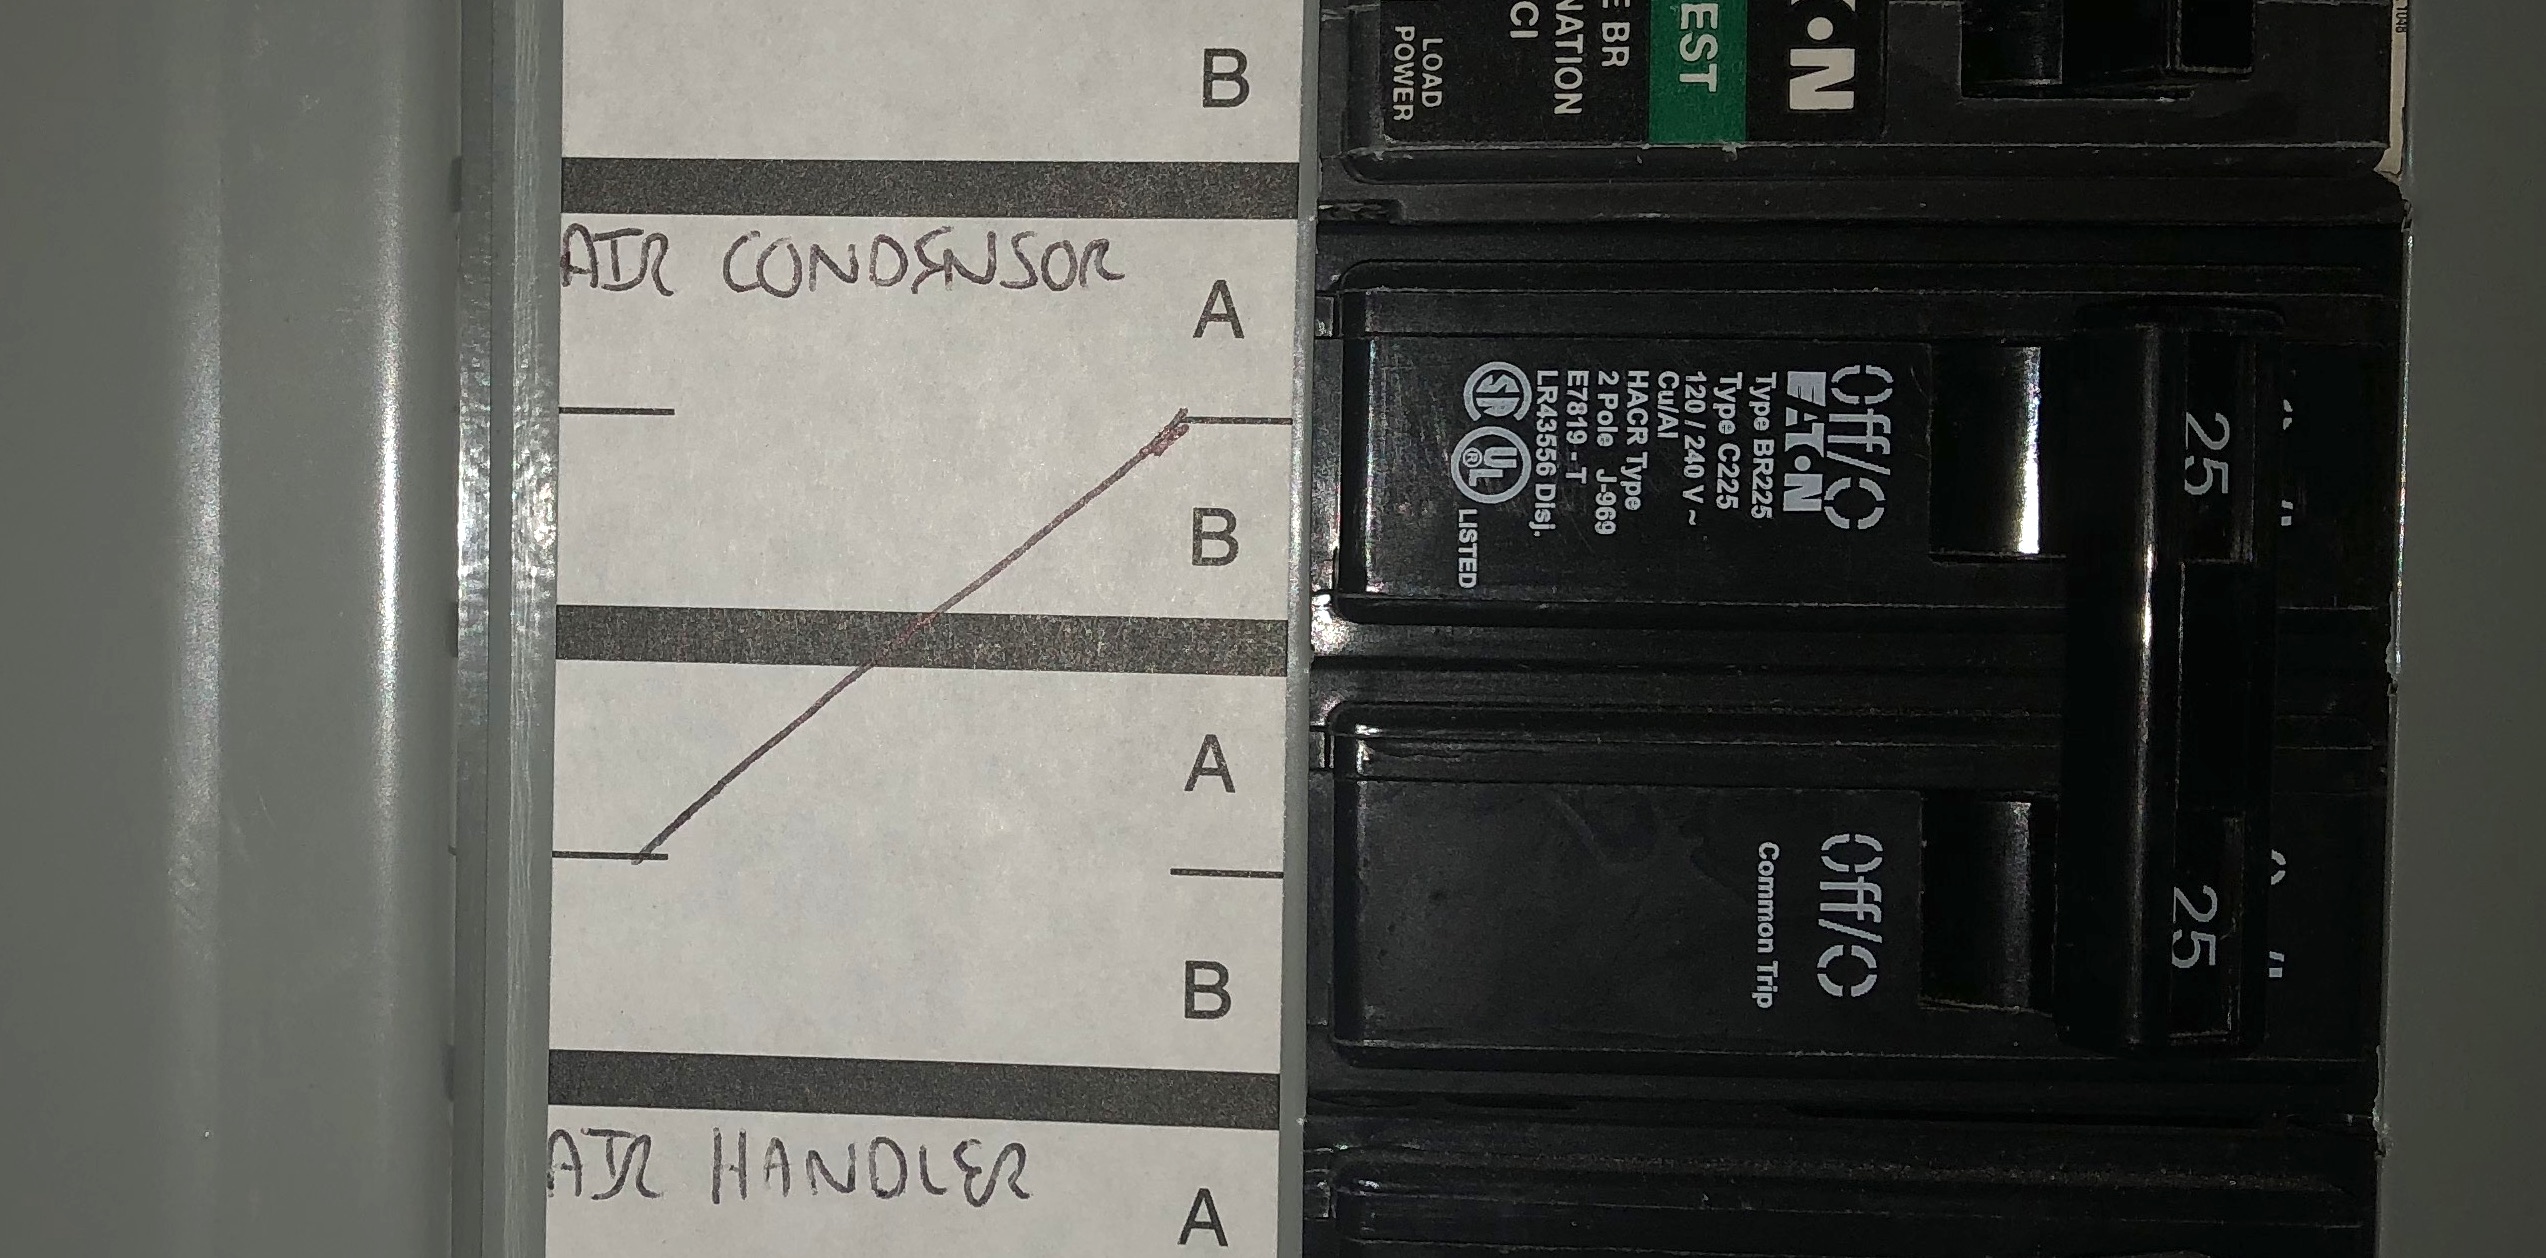
The breaker size should be equal to or slightly less than the MOCP, but always ensure it's larger than the MCA. In the example above, a 30-amp breaker would likely be the most appropriate choice. Using a breaker size that falls between the MCA and MOCP values ensures adequate protection without causing nuisance tripping.
Important Note: Always consult the manufacturer's specifications and local electrical codes when determining the correct breaker size. Local codes may have specific requirements that supersede the manufacturer's recommendations.
Tools and Materials You Might Need
Before you start troubleshooting or replacing a breaker, gather these essential tools and materials:
- Safety Glasses: Always protect your eyes.
- Insulated Gloves: Essential for electrical safety.
- Voltage Tester: To verify power is off before working on the circuit.
- Screwdrivers (various sizes): For accessing the breaker panel and heat pump components.
- Pliers: For handling wires.
- Wire Strippers: To strip insulation from wires.
- New Breaker (correct size): If replacing a faulty breaker.
- Multimeter: To test for continuity and voltage.
- Flashlight or Headlamp: To provide adequate lighting.
Safety First! Before working on any electrical components, turn off the power at the main breaker panel. Verify the power is off using a voltage tester before proceeding.
Troubleshooting Common Breaker and Heat Pump Problems
1. Breaker Trips Frequently
A frequently tripping breaker is a sign of a problem. Here's what to investigate:
- Overload: The heat pump is drawing more current than the breaker is rated for. This could be due to a malfunctioning compressor, a blocked air filter restricting airflow, or a problem with the blower motor.
- Short Circuit: A direct connection between two wires, causing a large current surge. This is a serious issue that requires immediate attention. Look for damaged wiring or loose connections.
- Ground Fault: Current is flowing through an unintended path, such as to ground. This can be caused by damaged insulation or a faulty component.
- Faulty Breaker: The breaker itself may be defective and tripping prematurely.
Troubleshooting Steps:
- Check the Air Filter: A dirty air filter restricts airflow and can cause the heat pump to work harder, drawing more current. Replace the filter if it's dirty.
- Inspect Wiring: Look for any signs of damaged or frayed wiring around the heat pump and the breaker panel.
- Test the Breaker: Use a multimeter to test the breaker for continuity. If it shows no continuity when in the "on" position, it's likely faulty.
- Check for Loose Connections: Ensure all wiring connections are tight and secure, both at the breaker and at the heat pump.
2. Heat Pump Not Working and Breaker is Tripped
If your heat pump isn't working and the breaker is tripped, it could be due to the same reasons listed above. Follow the same troubleshooting steps.
3. Heat Pump Works Intermittently
Intermittent operation can be tricky to diagnose. Possible causes include:
- Loose Connections: A loose connection can cause the heat pump to work intermittently.
- Overheating: The heat pump may be overheating and shutting down to protect itself. This could be due to poor ventilation, a dirty condenser coil, or a malfunctioning fan motor.
- Faulty Components: A failing compressor, capacitor, or other component can cause intermittent operation.
Troubleshooting Steps:
- Check Connections: Inspect all wiring connections for tightness.
- Clean Condenser Coil: A dirty condenser coil restricts airflow and can cause overheating. Clean the coil with a fin comb and a garden hose.
- Check Fan Motor: Ensure the fan motor is running smoothly and efficiently. If it's making unusual noises or not spinning freely, it may need to be replaced.
4. Humming Noise from Heat Pump
A humming noise often indicates a problem with the compressor or a capacitor.
- Compressor Issues: The compressor may be struggling to start or running inefficiently.
- Capacitor Failure: A failing capacitor can prevent the compressor from starting or cause it to run poorly.
Troubleshooting Steps:
- Test Capacitors: Use a multimeter to test the capacitors for proper capacitance. A failing capacitor will often appear bulging or leaking.
- Listen to the Compressor: Pay attention to the compressor's sound. If it's making unusual noises, it may be nearing the end of its life.
When to Call a Professional HVAC Technician
While some troubleshooting steps can be done safely by homeowners, certain repairs require the expertise of a qualified HVAC technician. Call a professional if:
- You are uncomfortable working with electricity.
- You suspect a short circuit or ground fault.
- You need to replace the compressor.
- You are unsure about the correct breaker size for your heat pump.
- You are unable to diagnose the problem yourself.
Working with electricity can be dangerous. Don't hesitate to call a professional if you have any doubts or concerns. Attempting repairs beyond your skill level can lead to serious injury or damage to your equipment.
Estimating Repair Costs
Repair costs for heat pump issues can vary widely depending on the problem and the location. Here's a general idea of what to expect:
- Breaker Replacement: $50 - $200 (including labor)
- Capacitor Replacement: $150 - $400 (including labor)
- Contactor Replacement: $150 - $400 (including labor)
- Fan Motor Replacement: $200 - $600 (including labor)
- Compressor Replacement: $1,500 - $4,000 (including labor)
These are just estimates. Always get a quote from a qualified HVAC technician before proceeding with any repairs.
Preventative Maintenance Tips
Regular maintenance can help prevent many of the problems discussed above. Here are some tips:
- Change Air Filters Regularly: Replace your air filter every 1-3 months, depending on usage.
- Clean Condenser Coil: Clean the condenser coil at least once a year.
- Trim Vegetation: Keep vegetation trimmed back from the outdoor unit to ensure proper airflow.
- Schedule Professional Maintenance: Have your heat pump inspected and serviced by a qualified HVAC technician annually.
By following these tips, you can keep your 3-ton heat pump running efficiently and avoid costly repairs.
Disclaimer: This information is for general guidance only and should not be considered a substitute for professional advice. Always consult with a qualified HVAC technician or electrician for specific recommendations related to your equipment and local electrical codes.