3/4'' Pvc Vent Cap With Insect Screen
Ever notice a persistent gurgling sound coming from your toilet or sinks? Or perhaps a foul odor permeating your bathroom despite your best cleaning efforts? These could be signs of a problem with your plumbing vent system, specifically the 3/4'' PVC vent cap with insect screen located on your roof. This seemingly small component plays a crucial role in maintaining proper airflow and preventing sewer gases from entering your home.
Let's imagine a scenario: Your washing machine starts emitting a terrible sewer gas smell during the drain cycle. This could be a symptom of a blocked or malfunctioning vent system. This article will guide you through troubleshooting the 3/4" PVC vent cap and offer simple solutions. Remember safety is paramount. If at any point you feel uncomfortable or the repair involves complex plumbing, electrical, or gas-related issues, call a qualified professional.
Understanding the Role of the PVC Vent Cap
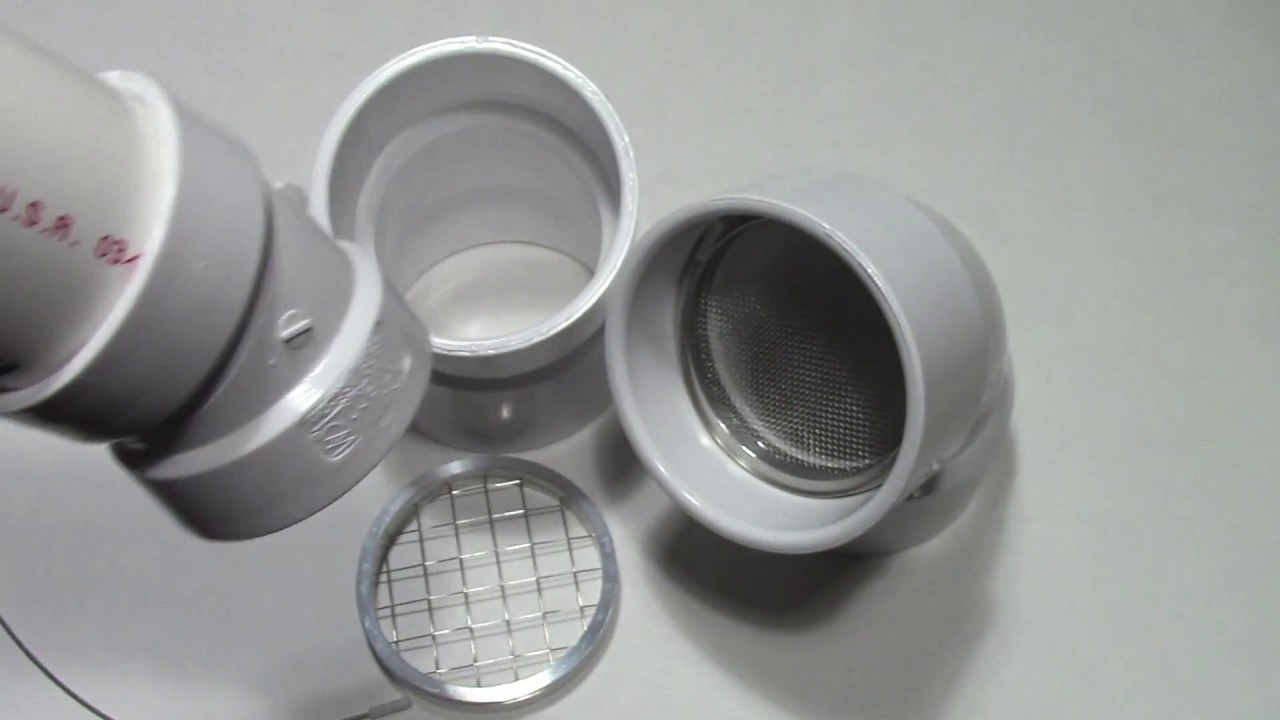
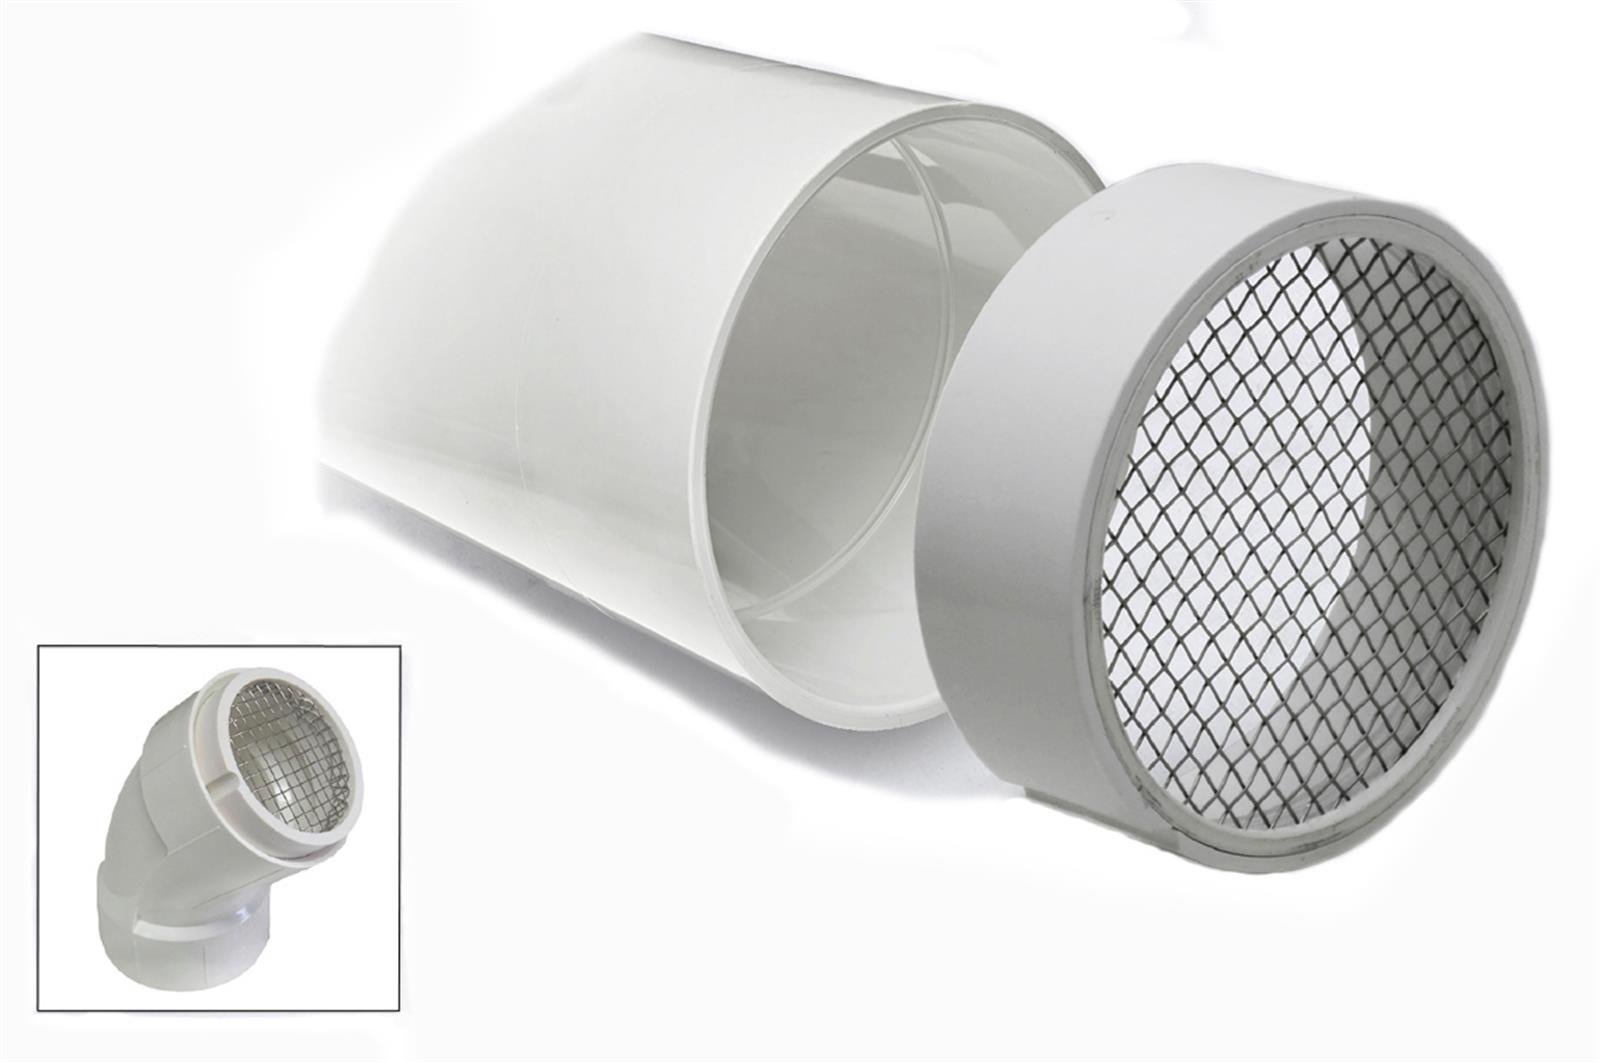
Before diving into troubleshooting, it's important to understand the purpose of the 3/4'' PVC vent cap with insect screen. This cap sits atop your plumbing vent pipes, which extend from your drain lines up through the roof. Its primary functions are:
- Allowing Airflow: Vent pipes allow air to enter the drain lines, preventing vacuums that can siphon water from your P-traps (the curved pipes under your sinks and toilets). A blocked vent can cause slow draining, gurgling noises, and even prevent fixtures from draining at all.
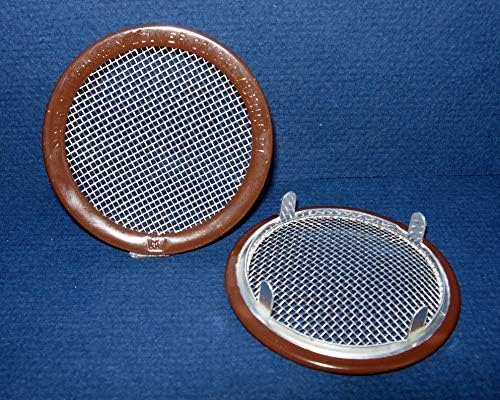
- Releasing Sewer Gases: Vent pipes provide an escape route for sewer gases, preventing them from building up in your home. The vent cap prevents rain and debris from entering the system, while the insect screen keeps bugs and small animals out.
A damaged or blocked vent cap can compromise these functions, leading to unpleasant odors, slow drains, and potential health hazards (although usually minimal in this specific scenario of 3/4" vent). The insect screen is particularly susceptible to blockage.
Troubleshooting the 3/4'' PVC Vent Cap
Here’s a step-by-step guide to help you diagnose and fix problems with your 3/4'' PVC vent cap. Always exercise caution when working on your roof. Use a sturdy ladder and wear appropriate safety gear, including non-slip shoes. If you are uncomfortable working at heights, call a professional.
Step 1: Identifying the Symptoms
First, carefully observe the symptoms you're experiencing. Common signs of a problem with your plumbing vent system (potentially related to the vent cap) include:
- Gurgling sounds from drains: Especially after flushing the toilet or running water in a sink.
- Slow-draining sinks, tubs, or toilets: Water takes an unusually long time to drain away.
- Foul odors: Sewer gas smells emanating from drains, particularly in bathrooms.
- Toilets not flushing properly: Weak flushes or toilets that don't completely empty.
- Washing machine sewer gas smell: Smells during the drain cycle.
Step 2: Safety First – Inspect from the Ground (if possible)
Before climbing onto the roof, try to visually inspect the vent cap from the ground using binoculars. Look for:
- Obvious damage: Cracks, breaks, or missing pieces of the vent cap.
- Visible blockages: Nests, leaves, or other debris obstructing the opening or screen.
- The presence of the vent cap at all: Has it come off entirely?
If you can identify a problem from the ground, you might be able to address it more easily, or at least have a better idea of what you're dealing with before ascending to the roof.
Step 3: Accessing the Vent Cap (Carefully!)
This is the most dangerous part of the process. Use a sturdy ladder that extends at least three feet above the roofline. Ensure the ladder is placed on a stable, level surface. Wear non-slip shoes and consider having someone spot you for added safety. If you have any doubts about your ability to safely access the roof, call a professional.
Once on the roof, approach the vent pipe cautiously. Be aware of your surroundings and avoid walking on slippery surfaces or near the edge of the roof.
Step 4: Inspecting the Vent Cap Up Close
Carefully examine the 3/4'' PVC vent cap for:
- Cracks or damage to the PVC: Even small cracks can allow water to enter the vent system.
- A clogged insect screen: This is the most common cause of vent cap problems. Look for debris such as leaves, twigs, insect nests, or accumulated dust and dirt.
- Proper Fit: Is the cap securely attached to the vent pipe? Is it the correct size (3/4")? A loose cap can allow debris to enter and may even blow off in strong winds.
- Damage from UV Exposure: Over time, sunlight can degrade PVC, making it brittle and prone to cracking.
Step 5: Clearing a Clogged Insect Screen
If the insect screen is clogged, try the following:
- Gentle Brushing: Use a small brush (like an old toothbrush) to gently remove debris from the screen. Avoid using excessive force, as you could damage the screen.
- Compressed Air: A can of compressed air (like those used for cleaning computers) can be effective for blowing out loose debris.
- Hose with a Nozzle: A gentle stream of water from a garden hose (with a nozzle for controlled pressure) can flush out stubborn clogs. Be careful not to use excessive pressure, as this could damage the vent system. Ensure the water drains away from your roof and doesn’t enter the house.
- Wire or Small Tool (With Extreme Caution): In some cases, you might need to use a small, flexible wire or tool (like a bent paperclip) to dislodge stubborn debris. Be extremely careful not to puncture or damage the screen.
After clearing the screen, flush the vent pipe with water to ensure it's clear.
Step 6: Repairing or Replacing a Damaged Vent Cap
If the vent cap is cracked or damaged, it needs to be repaired or replaced. Depending on the extent of the damage, you have a few options:
- Minor Cracks: For small cracks, you might be able to use PVC cement or sealant to repair the damage. Clean the area thoroughly and apply the cement or sealant according to the manufacturer's instructions. Allow it to dry completely before using the vent system.
- Significant Damage: If the vent cap is severely cracked, broken, or missing, it's best to replace it. You can purchase a new 3/4'' PVC vent cap with insect screen at most hardware stores.
Replacing the Vent Cap:
- Loosen the old vent cap: Depending on how it's attached, you might be able to simply pull it off. If it's glued, you may need to use a PVC cutter to carefully cut it off. Be extremely careful not to damage the vent pipe itself.
- Clean the vent pipe: Remove any debris or old glue from the end of the vent pipe.
- Apply PVC cement: Apply PVC cement to the inside of the new vent cap and the outside of the vent pipe.
- Attach the new vent cap: Immediately slide the new vent cap onto the vent pipe and hold it firmly in place for a few seconds to allow the cement to set.
- Allow the cement to cure: Allow the cement to cure completely according to the manufacturer's instructions before using the vent system.
Step 7: Reattaching a Loose Vent Cap
If the vent cap is simply loose, try the following:
- Check for a secure fit: Ensure the cap is properly seated on the vent pipe.
- Use PVC cement (if appropriate): If the cap is designed to be glued, apply PVC cement as described above and reattach it.
- Consider a Clamp: If the cap is not designed to be glued, you might be able to use a small hose clamp to secure it to the vent pipe.
Step 8: Testing the Repair
After repairing or replacing the vent cap, test the repair by:
- Running water in sinks and tubs: Observe the draining action and listen for gurgling sounds.
- Flushing toilets: Check for proper flushing and listen for gurgling sounds.
- Checking for odors: Monitor the area around drains for any sewer gas smells.
If the symptoms persist, there may be other problems with your plumbing vent system, and you should consult a professional plumber.
When to Call a Professional
While many vent cap problems can be resolved with simple DIY fixes, there are situations where you should always call a professional plumber:
- You are uncomfortable working on your roof: Roof work is dangerous, and it's always best to err on the side of caution.
- The problem is beyond the vent cap: If you suspect a blockage deeper within the vent system, a plumber has the tools and expertise to diagnose and resolve the issue.
- You are unsure about the repair: If you are uncomfortable with any aspect of the repair process, it's best to consult a professional.
- The plumbing system is complex: Some plumbing systems are more complex than others, and require specialized knowledge to repair.
- Gas or Electrical work is involved: Never attempt to repair gas or electrical components yourself. These repairs should always be performed by qualified professionals.
By following these steps, you can troubleshoot and potentially fix common problems with your 3/4'' PVC vent cap with insect screen. Remember to prioritize safety and don't hesitate to call a professional if you are uncomfortable or unsure about any aspect of the repair. A little preventative maintenance can save you from major plumbing headaches down the road.