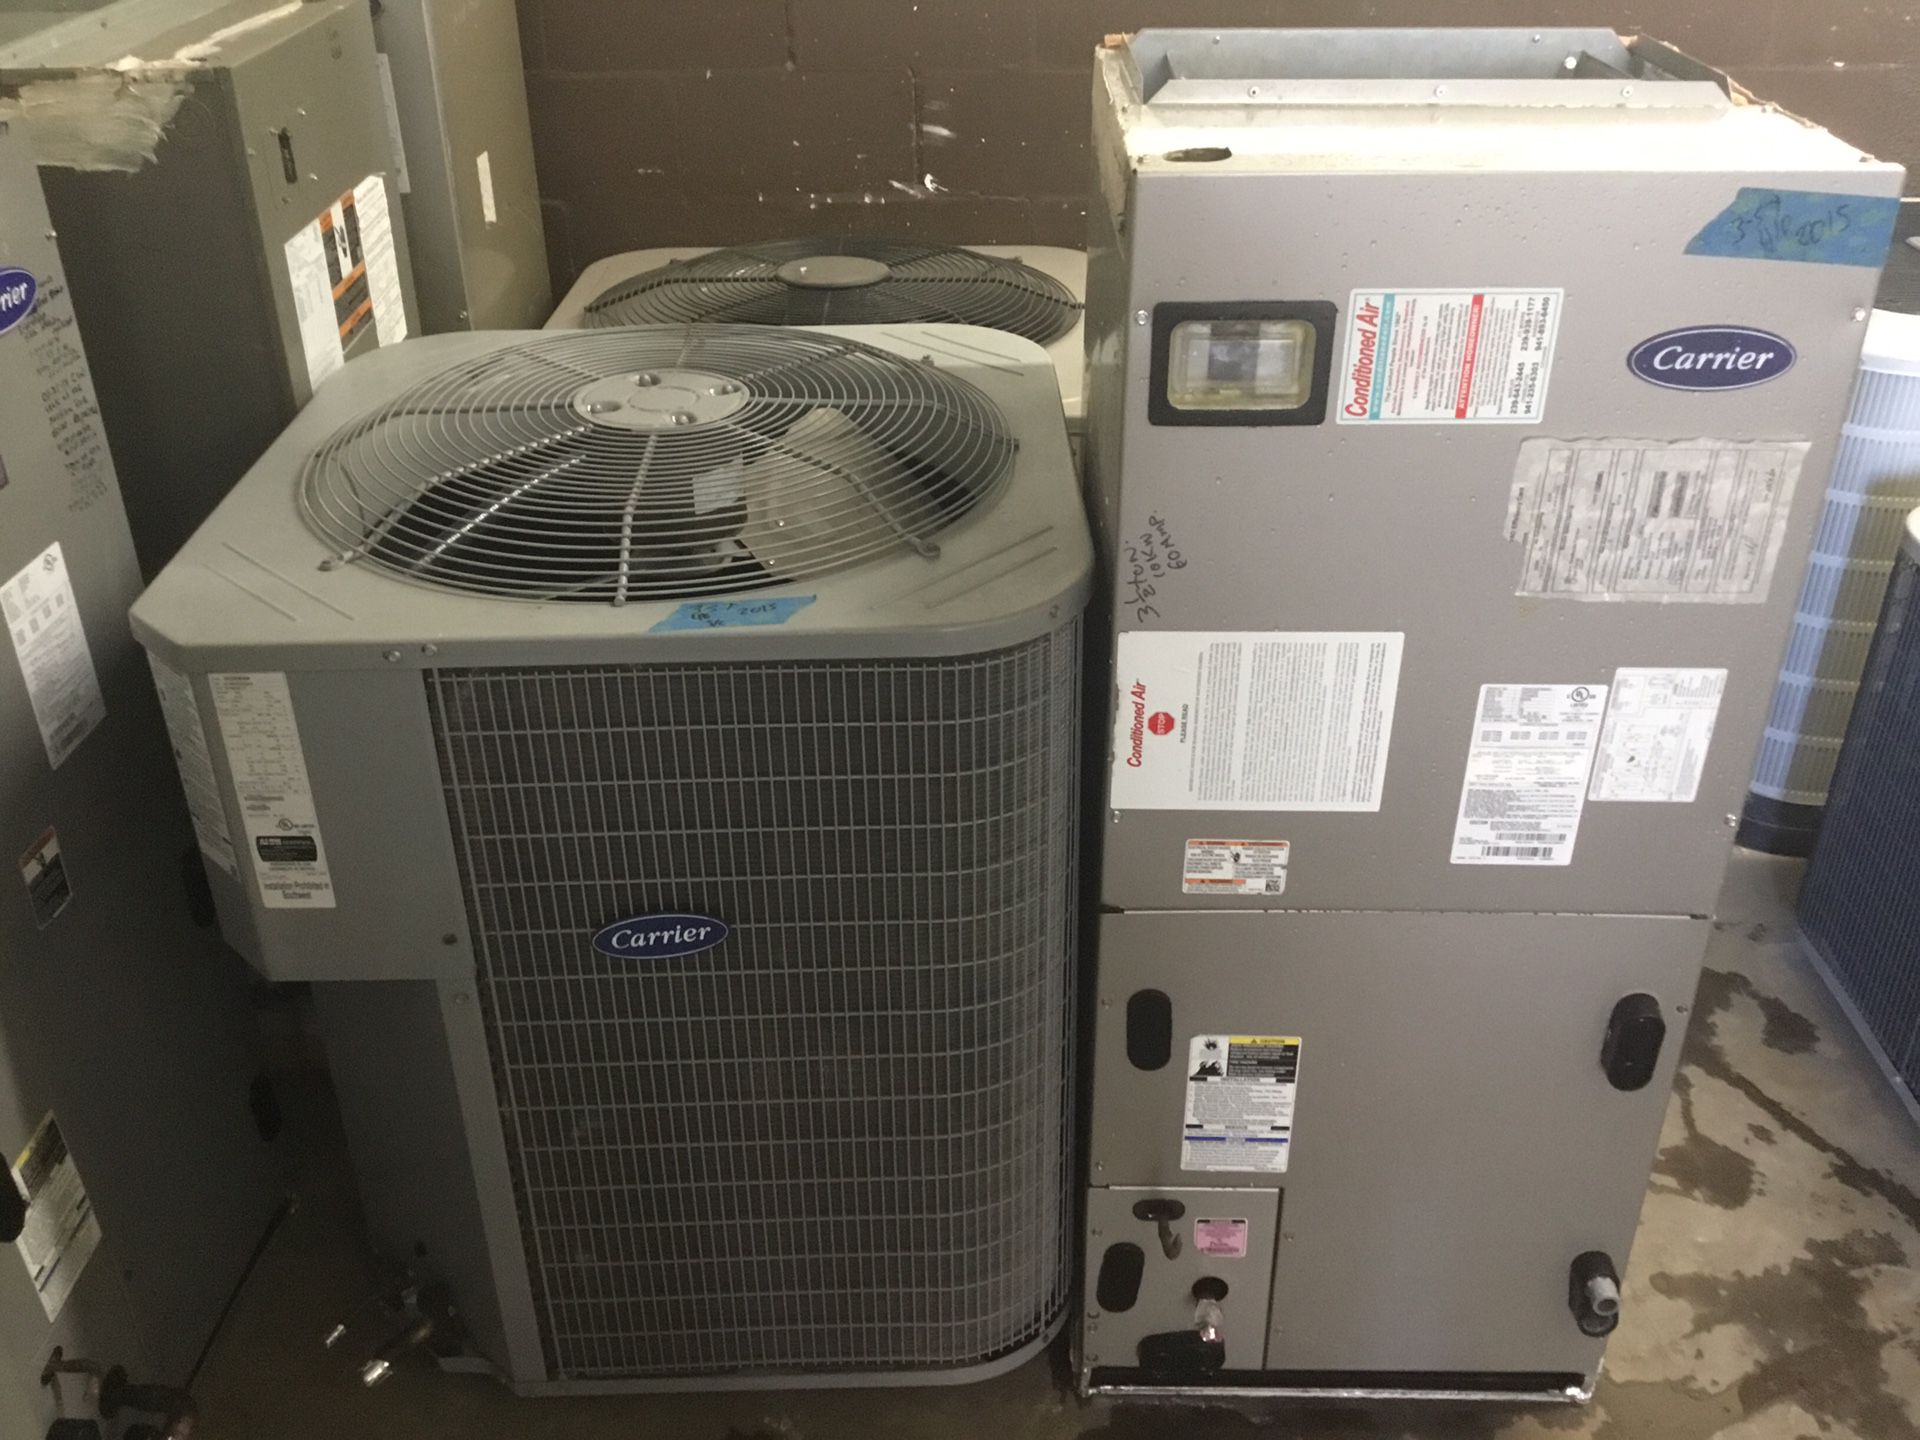
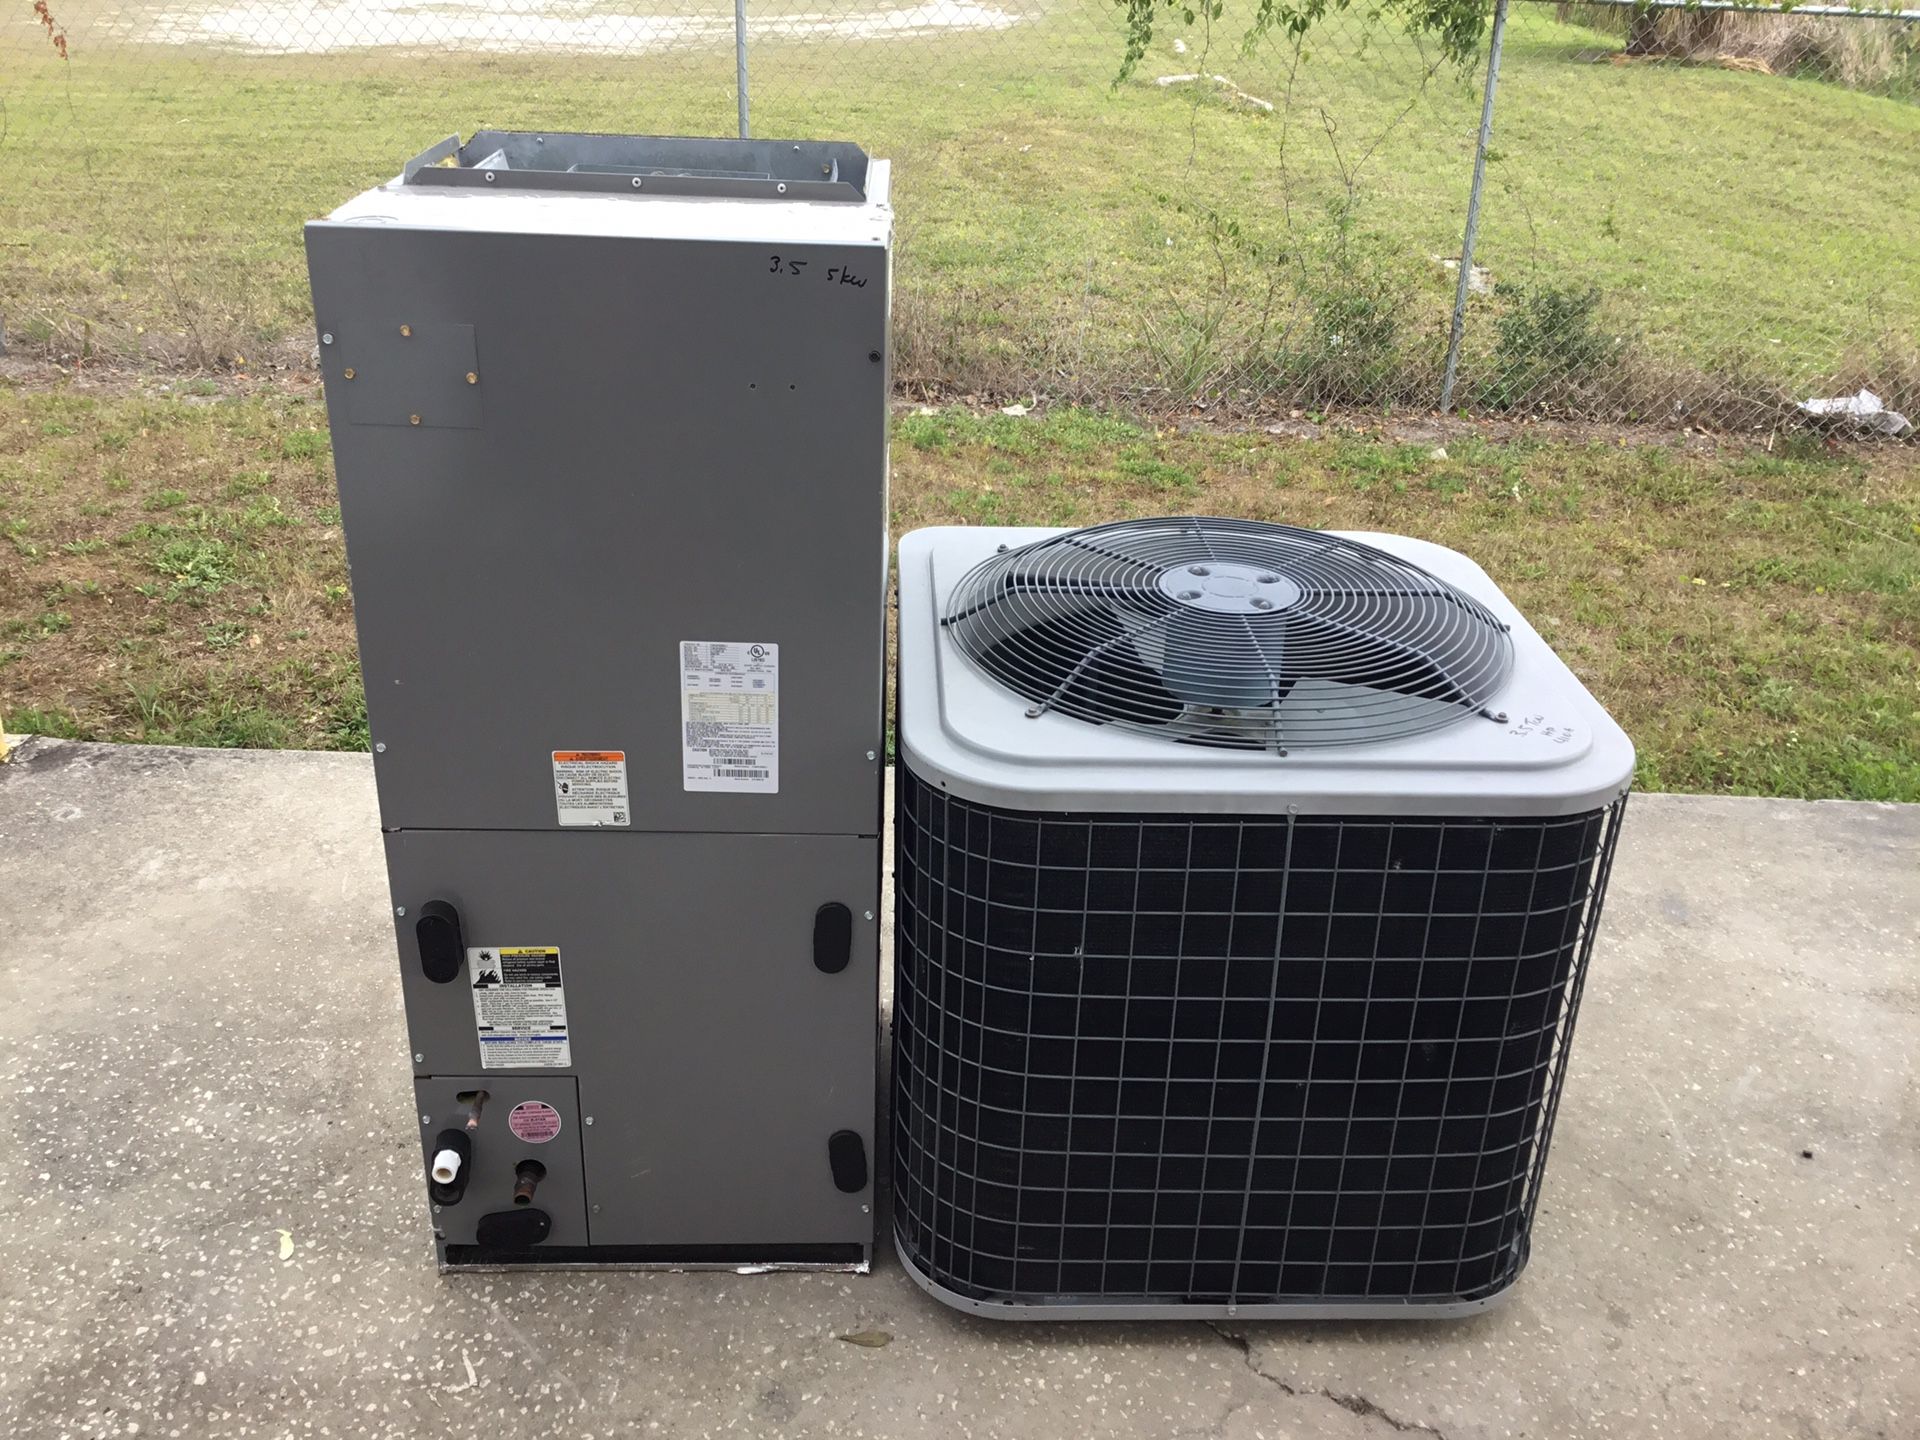
3.5 Ton Carrier Air Conditioner

Air conditioners are a crucial part of maintaining a comfortable home environment, especially during the hot summer months. When your 3.5-ton Carrier air conditioner isn't working correctly, it can be frustrating. This guide aims to walk you through some basic troubleshooting steps you can take before calling a professional, potentially saving you time and money. Safety is paramount, so always disconnect the power before attempting any internal repairs. If you are uncomfortable with any of these steps, please contact a qualified HVAC technician.
Common Air Conditioner Issues
Before diving into the troubleshooting process, let's look at some common symptoms and potential causes. Recognizing the issue is the first step in fixing it.
- No Cooling: The AC unit is running, but it's not blowing cold air.
- Weak Airflow: The air coming from the vents is weak or inconsistent.
- Unit Not Turning On: The AC unit is completely unresponsive.
- Loud or Unusual Noises: Banging, hissing, or rattling sounds coming from the unit.
- Frequent Cycling: The unit turns on and off frequently.
- Water Leaks: Water is leaking from the indoor or outdoor unit.
Preliminary Checks: The Easy Stuff First
Start with the simplest solutions. You'd be surprised how often the problem is something easily overlooked.
1. Check the Thermostat
The thermostat is the brain of your cooling system. Make sure it's set correctly.
- Power: Ensure the thermostat has power. Check the batteries if it's battery-powered.
- Mode: Verify the thermostat is set to "Cool" and not "Heat" or "Off."
- Temperature: Make sure the desired temperature is set lower than the current room temperature. Give it a few degrees difference.
- Fan Setting: Try setting the fan to "Auto" instead of "On." In "On" mode, the fan runs continuously, which might mask cooling issues.
2. Inspect the Air Filter
A dirty air filter is one of the most common causes of AC problems. It restricts airflow, causing the unit to work harder and potentially freeze up.
- Location: The air filter is usually located in the indoor unit or behind a return air grille. Consult your AC unit's manual if you're unsure.
- Inspection: Remove the filter and hold it up to the light. If you can't see through it easily, it's dirty.
- Replacement: Replace the filter with a new one of the correct size and type. Check your unit's manual for the recommended filter. Aim to replace every 1-3 months, depending on usage and air quality.
3. Check the Circuit Breaker
A tripped circuit breaker can cut power to the entire AC unit.
- Location: Locate the circuit breaker panel, typically in the garage, basement, or utility room.
- Identify the Breaker: Find the breaker labeled for the AC unit (or condenser). If you can't find a specific label, look for a breaker that's in the "off" or "tripped" position (usually in the middle).
- Reset: Turn the breaker completely to the "off" position, then back to the "on" position.
- Important: If the breaker trips again immediately, do not keep resetting it. This indicates a more serious electrical problem that requires professional attention.
4. Examine the Outdoor Unit (Condenser)
The outdoor unit is responsible for releasing heat. Obstructions around the unit can impede its function.
- Clear Debris: Remove any leaves, branches, grass clippings, or other debris from around the unit. Ensure there is at least 2-3 feet of clearance around the unit.
- Clean the Fins: Use a garden hose (with a gentle spray nozzle) to clean the fins on the outside of the unit. Spray from the inside out to avoid bending the fins. Do not use a pressure washer, as it can damage the fins.
- Check for Ice: If you see ice on the refrigerant lines or the unit itself, turn the unit off and allow it to thaw completely. A frozen unit often indicates a problem with airflow or refrigerant. This may require professional diagnosis.
Deeper Dive: More Involved Troubleshooting
If the preliminary checks haven't resolved the issue, you can proceed with these more in-depth troubleshooting steps. Remember to disconnect the power to the unit before attempting any of these checks. If you are not comfortable working with electrical components, stop here and call a professional.
1. Check the Contactor
The contactor is an electrical switch that controls power to the compressor and fan motor in the outdoor unit. A faulty contactor can prevent the unit from starting.
- Location: The contactor is located inside the outdoor unit, usually near the compressor.
- Visual Inspection: Look for signs of burning, arcing, or corrosion on the contactor. If you see any of these, the contactor needs to be replaced.
- Testing (with Caution): This step requires a multimeter and knowledge of electrical safety. If you are not comfortable with this, skip this step. With the power disconnected, use a multimeter to check for continuity across the contactor terminals when it's supposed to be closed (energized). If there's no continuity, the contactor is likely faulty.
- Replacement: Replacing a contactor involves disconnecting and reconnecting wires. Take pictures of the wiring before disconnecting anything to ensure you reconnect them correctly. Replace the contactor with a new one of the same voltage and amperage rating.
2. Inspect the Capacitor
The capacitor provides the initial surge of power needed to start the compressor and fan motor. A weak or failed capacitor can prevent the unit from starting or cause it to run inefficiently.
- Location: The capacitor is located inside the outdoor unit, usually near the compressor and contactor.
- Safety First: Capacitors can store a dangerous electrical charge even when the unit is off. Always discharge the capacitor before handling it. Use a screwdriver with an insulated handle to short the terminals together.
- Visual Inspection: Look for signs of bulging, leaking, or corrosion on the capacitor. If you see any of these, the capacitor needs to be replaced.
- Testing (with Caution): This step requires a capacitance meter and knowledge of electrical safety. If you are not comfortable with this, skip this step. After discharging the capacitor, use a capacitance meter to measure its capacitance (measured in microfarads, or μF). Compare the reading to the capacitor's rated capacitance. If the measured value is significantly lower (e.g., more than 10% below the rated value), the capacitor is likely faulty.
- Replacement: Replacing a capacitor involves disconnecting and reconnecting wires. Take pictures of the wiring before disconnecting anything to ensure you reconnect them correctly. Replace the capacitor with a new one of the same capacitance and voltage rating.
3. Check the Blower Motor (Indoor Unit)
The blower motor circulates air through the ductwork. If the blower motor isn't working, you won't get any airflow.
- Location: The blower motor is located inside the indoor unit (air handler).
- Access: You may need to remove panels or covers to access the blower motor. Disconnect the power before removing any panels.
- Visual Inspection: Check for obstructions preventing the blower wheel from spinning freely. Remove any debris that's blocking the wheel.
- Testing (with Caution): This step requires a multimeter and knowledge of electrical safety. If you are not comfortable with this, skip this step. Use a multimeter to check for voltage at the blower motor terminals when the unit is supposed to be running. If there's no voltage, the problem could be with the thermostat, wiring, or a control board. If there is voltage, the motor itself may be faulty.
- Professional Help: Blower motor replacement is often best left to a professional, as it can involve complex wiring and mechanical adjustments.
When to Call a Professional
While many AC problems can be resolved with basic troubleshooting, some issues require the expertise of a qualified HVAC technician. It's time to call a professional if:
- You are uncomfortable working with electrical components.
- You suspect a refrigerant leak. Refrigerant handling requires specialized equipment and certifications.
- The compressor is not working. Compressor replacement is a major repair.
- You suspect a problem with the ductwork. Ductwork repairs can be complex.
- The unit is still not working after you've tried the troubleshooting steps outlined above.
- You notice a burning smell or hear loud, unusual noises coming from the unit.
- The circuit breaker trips repeatedly.
Remember, working with electricity, refrigerant, or complex HVAC components can be dangerous. Don't hesitate to call a professional if you're unsure about any aspect of the repair.
Preventative Maintenance Tips
Regular maintenance can help prevent AC problems and extend the life of your unit.
- Change the air filter regularly (every 1-3 months).
- Clean the outdoor unit's fins annually.
- Trim vegetation around the outdoor unit.
- Schedule annual professional maintenance. A technician can inspect the unit, clean the coils, check the refrigerant levels, and identify potential problems before they become major issues.
By following these troubleshooting steps and preventative maintenance tips, you can keep your 3.5-ton Carrier air conditioner running efficiently and reliably for years to come. Always prioritize safety and consult a professional when needed.