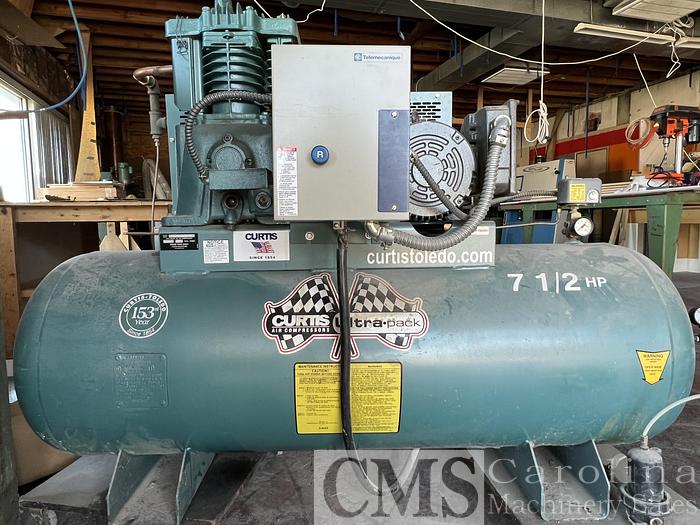
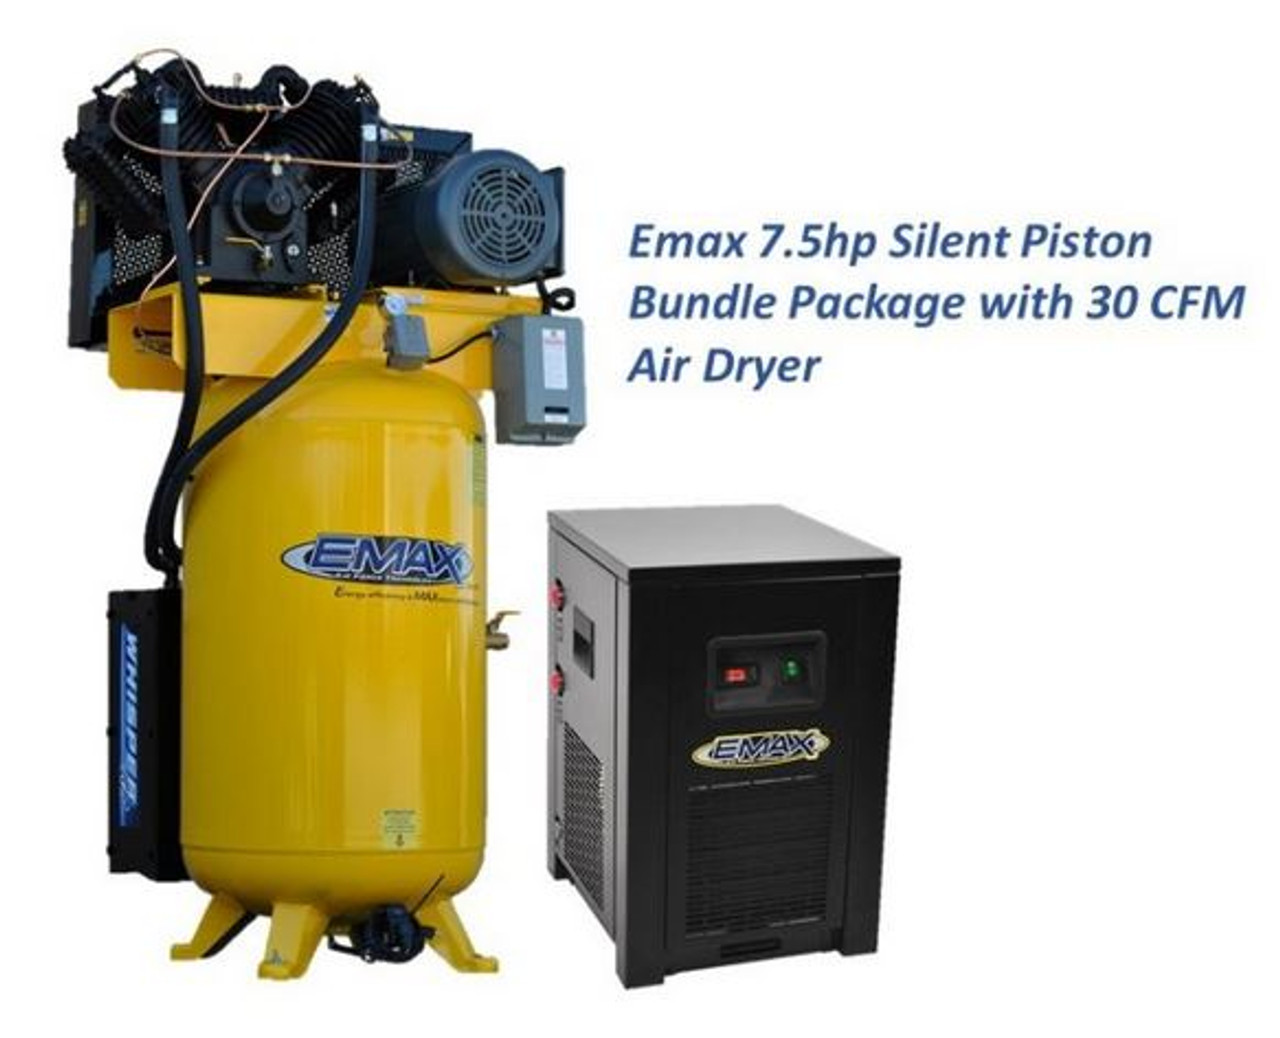
7.5 Hp Single Phase Air Compressor Motor

If you're running a serious home workshop or even a small commercial operation, chances are you rely on a powerful air compressor. At the heart of many of these systems is a robust 7.5 HP single-phase air compressor motor. When this motor fails, your entire operation can grind to a halt. This article will help you troubleshoot common issues, understand potential repairs, and determine when it's time to call in the pros.
Understanding Your 7.5 HP Single-Phase Air Compressor Motor
Before diving into troubleshooting, let's quickly cover some basics. A 7.5 HP motor is a significant power source, operating on a single-phase electrical system, which is common in residential and light commercial settings. These motors are designed for heavy-duty tasks, but like any mechanical device, they are susceptible to wear and tear.
Key Components of a 7.5 HP Motor
- Stator: The stationary part of the motor, containing the windings that create the magnetic field.
- Rotor: The rotating part of the motor, which interacts with the magnetic field to produce torque.
- Start Capacitor: Provides the initial boost needed to start the motor.
- Run Capacitor: Helps maintain efficient motor operation once it's running.
- Centrifugal Switch: Disconnects the start capacitor once the motor reaches a certain speed.
- Thermal Overload Protector: Protects the motor from overheating.
- Wiring and Connections: Essential for delivering power to the motor.
Troubleshooting Common Issues
Here are some common problems you might encounter with your 7.5 HP single-phase air compressor motor:
Motor Won't Start
This is perhaps the most frustrating issue. Here's a systematic approach to diagnosing the problem:
- Check the Power Supply: Make sure the circuit breaker hasn't tripped. Reset it if necessary. Verify the voltage at the outlet using a multimeter. A 7.5 HP motor requires a dedicated circuit.
- Inspect the Thermal Overload Protector: Let the motor cool down. The overload protector might reset itself automatically, or it may have a reset button that needs to be pushed.
- Examine the Start Capacitor: A faulty start capacitor is a very common cause of starting failure. Look for signs of bulging, leaking, or cracking. Use a capacitor tester to check its capacitance.
- Test the Centrifugal Switch: If the start capacitor is good, the centrifugal switch might be malfunctioning. It needs to disconnect the start capacitor when the motor reaches operating speed. If it stays engaged, it can damage the start capacitor. You can access and test the switch with a multimeter for continuity when the motor is off.
- Check the Wiring: Look for loose connections, frayed wires, or corrosion. Tighten connections and replace damaged wiring as needed.
- Inspect the Motor Windings: If none of the above steps work, the motor windings may be damaged. This requires a more advanced test using a multimeter to check for continuity and resistance. Low resistance between windings can indicate a short.
Motor Hums but Doesn't Start
A humming sound usually indicates that the motor is receiving power but is unable to turn. Common culprits include:
- Faulty Capacitor (Start or Run): Follow the steps above for capacitor testing.
- Locked Rotor: The rotor may be physically stuck due to rust, debris, or a seized bearing. Try manually rotating the motor shaft (after disconnecting power, of course!). If it's difficult to turn, the rotor is likely locked.
- Low Voltage: Insufficient voltage can prevent the motor from developing enough torque to start.
Motor Runs but Overheats
Overheating can lead to premature motor failure. Investigate the following:
- Restricted Airflow: Make sure the motor is well-ventilated. Remove any obstructions that might be blocking airflow around the motor.
- Overload: The motor may be working too hard. Reduce the load on the compressor or check for air leaks in the system.
- Faulty Run Capacitor: A failing run capacitor can cause the motor to overheat. Test its capacitance.
- Worn Bearings: Worn bearings can increase friction and cause the motor to overheat. Listen for unusual noises coming from the motor.
Motor Runs Noisily
Unusual noises can indicate various problems:
- Worn Bearings: A grinding or squealing noise is often a sign of worn bearings.
- Loose Components: Check for loose bolts, screws, or other components that might be vibrating.
- Internal Damage: In severe cases, the noise could be caused by internal damage to the motor windings or rotor.
Tools and Parts You'll Need
Before you start any repairs, make sure you have the right tools and parts on hand:
Tools
- Multimeter
- Capacitor Tester
- Socket Set
- Wrench Set
- Screwdrivers (Phillips and Flathead)
- Wire Strippers/Crimpers
- Electrical Tape
- Safety Glasses
- Gloves
Parts
- Start Capacitor
- Run Capacitor
- Centrifugal Switch
- Thermal Overload Protector
- Wiring
- Bearings (if needed)
DIY Repairs vs. Calling a Professional
Some repairs, like replacing a capacitor or tightening loose connections, are relatively straightforward and can be done by a knowledgeable DIYer. However, other repairs, such as rewinding a motor or replacing bearings, require specialized tools and expertise and should be left to a qualified technician.
When to DIY:
- Replacing a capacitor
- Replacing the centrifugal switch
- Replacing the thermal overload protector
- Tightening loose connections
- Cleaning and lubricating the motor
When to Call a Professional:
- Rewinding a motor
- Replacing bearings (especially if they are difficult to access)
- Diagnosing complex electrical issues
- Any repair that involves working inside the motor windings
- If you're uncomfortable or unsure about any aspect of the repair
Safety First!
Working with electricity can be dangerous. Always follow these safety precautions:
- Disconnect Power: Always disconnect the power supply to the motor before working on it. Double-check that the power is off using a multimeter.
- Discharge Capacitors: Capacitors can store a dangerous electrical charge even after the power is disconnected. Discharge them using a resistor before handling them.
- Wear Safety Gear: Wear safety glasses and gloves to protect yourself from electrical shock and injury.
- Work in a Well-Lit Area: Ensure you have adequate lighting to see what you're doing.
- Don't Work Alone: It's always a good idea to have someone nearby in case of an emergency.
Cost Estimates for Repairs
The cost of repairing a 7.5 HP single-phase air compressor motor can vary depending on the problem and the extent of the repair.
- Capacitor Replacement: $20 - $100 (DIY), $50 - $200 (Professional)
- Centrifugal Switch Replacement: $30 - $80 (DIY), $80 - $250 (Professional)
- Thermal Overload Protector Replacement: $15 - $50 (DIY), $40 - $150 (Professional)
- Bearing Replacement: $50 - $150 (DIY - if easy access), $150 - $400 (Professional)
- Motor Rewinding: $200 - $600+ (Professional only) - Often cheaper to replace the motor.
- New 7.5 HP Motor: $500 - $1200+ (depending on brand and features)
These are just estimates. Always get a quote from a qualified technician before proceeding with any repairs. Sometimes, replacing the entire motor is more cost-effective than repairing it, especially if the motor is old or heavily damaged.
Preventative Maintenance
Regular maintenance can help extend the life of your 7.5 HP single-phase air compressor motor and prevent costly repairs.
- Keep the Motor Clean: Remove dust and debris regularly to ensure proper ventilation.
- Lubricate Bearings: Follow the manufacturer's recommendations for lubricating the motor bearings.
- Check Wiring: Inspect wiring for damage and tighten loose connections.
- Monitor Performance: Pay attention to the motor's performance and look for any signs of trouble, such as unusual noises or overheating.
Conclusion
A 7.5 HP single-phase air compressor motor is a vital component of many workshops and small businesses. By understanding the common issues, performing basic troubleshooting, and following safety precautions, you can keep your motor running smoothly and avoid costly downtime. Remember to balance your DIY enthusiasm with caution and don't hesitate to call a qualified professional when needed. Staying proactive will save you time, money, and frustration in the long run.