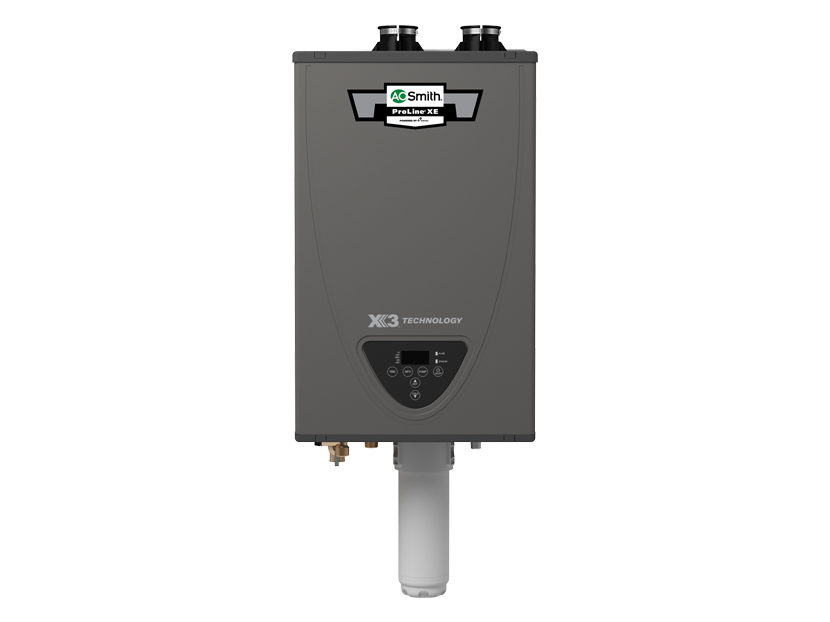
A O Smith Tankless Water Heater
Tankless water heaters, like those from A. O. Smith, offer on-demand hot water and can be incredibly efficient. However, even the best systems can sometimes encounter problems. One of the most common issues homeowners face is inconsistent water temperature – fluctuating between hot and cold, or simply not getting hot enough.
Troubleshooting Inconsistent Hot Water: A Step-by-Step Guide
Don't panic! Before calling a professional, let's walk through some troubleshooting steps. We'll start with the simplest checks and gradually move towards more involved diagnostics. Remember to always prioritize safety. Turn off the gas supply and power to the unit before attempting any repair that involves removing panels or working with electrical components.
Step 1: The Obvious Checks (No Tools Required)
First, rule out the easy fixes. These checks require no tools and can often resolve simple issues.
- Check the Power Supply: Is the unit turned on? Is the circuit breaker tripped? A tripped breaker is a common culprit. Reset it and see if the problem resolves itself.
- Verify the Gas Supply: Is the gas valve fully open? Check both the main gas line valve near your gas meter and the valve directly at the water heater. Sometimes, these valves can be accidentally bumped or partially closed.
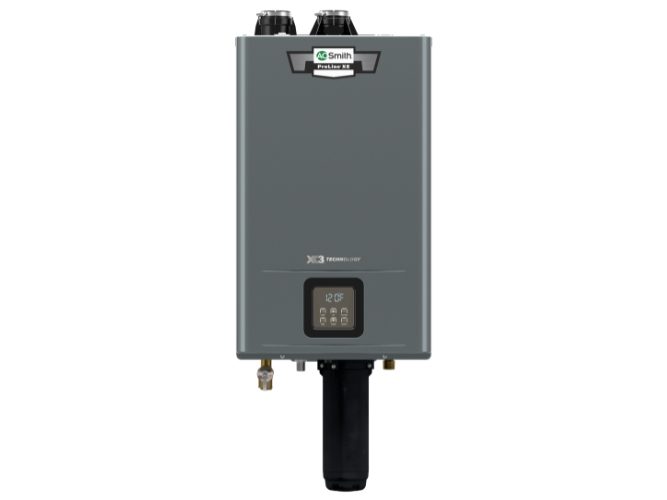
- Check for Error Codes: A. O. Smith tankless water heaters typically display error codes. Consult your owner's manual to understand what the code means. Many codes indicate a simple problem that you can address. If you don't have your manual, you can usually find it on the A. O. Smith website.
- Simultaneous Hot Water Usage: Are multiple hot water fixtures being used simultaneously (e.g., shower and dishwasher)? Tankless heaters have a flow rate capacity. Exceeding this capacity can cause temperature fluctuations. Try reducing the number of simultaneous hot water demands.
- Date of last maintenance Check if the unit has had its annual maintenance completed. If it has not, that is likely your issue.
Step 2: Assessing Water Flow and Strainer Check (Minimal Tools Required)
If the initial checks didn't solve the problem, let's investigate water flow. Inadequate water flow can prevent the heater from firing up properly.
- Check Water Pressure: Low water pressure in your home can affect the heater's performance. If other faucets in your house also have low pressure, the issue might be with your main water supply. Consider contacting your water company.
- Inspect the Inlet Water Filter/Strainer: Most tankless heaters have an inlet water filter or strainer that can become clogged with sediment. This restricts water flow.
- Tools Needed: Bucket, adjustable wrench, possibly pliers.
- Procedure:
- Turn off the cold water supply to the unit.
- Locate the inlet water filter/strainer (refer to your owner's manual for its location). It's usually on the cold water inlet pipe.
- Place a bucket underneath to catch any water.
- Carefully unscrew the filter housing. Be prepared for some water to spill.
- Remove the filter/strainer and clean it thoroughly under running water. Use a small brush to remove stubborn debris. If the filter is heavily damaged, replace it.
- Reinstall the filter/strainer and tighten the housing securely.
- Turn the cold water supply back on slowly and check for leaks.
Step 3: Checking for Air Supply Obstructions (Visual Inspection)
Tankless water heaters need proper airflow to function correctly. Obstructions in the air intake or exhaust vent can cause incomplete combustion and inconsistent heating.
- Inspect Air Intake and Exhaust Vents: Look for any obstructions such as leaves, debris, snow, or even bird nests blocking the vents. Ensure the vents are clear and unobstructed.
- Check Vent Pipe Connections: Ensure all vent pipe connections are secure and properly sealed. Loose connections can allow exhaust gases to leak and affect the heater's performance.
Step 4: Adjusting the Temperature Settings (No Tools Required)
Sometimes, the issue is simply incorrect temperature settings.
- Verify Temperature Setting: Make sure the desired temperature is set correctly on the control panel. A lower setting will obviously result in cooler water.
- Consider Seasonal Adjustments: In colder months, you might need to increase the temperature setting slightly to compensate for the colder incoming water temperature.
Step 5: Understanding Minimum Activation Flow Rate (No Tools Required)
Tankless water heaters have a minimum flow rate required to activate the heating element. If the water flow is too low, the heater won't fire up.
- Low Flow Fixtures: If you're using low-flow faucets or showerheads, they might not provide enough flow to trigger the heater. Try temporarily removing the flow restrictor from the showerhead or faucet to see if that resolves the issue. If it does, you may need to replace the low-flow fixture with one that has a higher flow rate.
Step 6: Deliming/Descaling the Unit (Requires Specialized Products)
Over time, mineral deposits (scale) can build up inside the heat exchanger of a tankless water heater, reducing its efficiency and causing inconsistent heating. Deliming or descaling is the process of removing these deposits. This is a crucial maintenance step that should be performed regularly, especially in areas with hard water.
- Deliming Kit: You'll need a tankless water heater descaling kit. These kits typically include a descaling solution and the necessary hoses and fittings. Always follow the manufacturer's instructions carefully.
- Procedure (General Outline - Refer to Your Manual for Specific Instructions):
- Turn off the power and gas to the unit.
- Isolate the water heater by closing the inlet and outlet water valves.
- Connect the descaling kit hoses to the service ports on the water heater.
- Fill a bucket with the descaling solution.
- Circulate the descaling solution through the water heater for the recommended time (usually 30-60 minutes) using a small pump (often included in the kit).
- Flush the water heater thoroughly with clean water to remove all traces of the descaling solution.
- Reconnect the water lines, turn on the power and gas, and test the unit.
When to Call a Professional
While many issues can be resolved with the steps above, some problems require the expertise of a qualified HVAC technician. Do not attempt to repair the following issues yourself:
- Gas Leaks: If you suspect a gas leak (smell gas), immediately turn off the gas supply and call your gas company or a qualified HVAC technician. Do not attempt to locate or repair the leak yourself.
- Complex Error Codes: Some error codes indicate more serious problems with the unit's internal components, such as the igniter, flame sensor, or control board. These repairs require specialized knowledge and tools.
- Internal Component Failure: If you suspect a faulty internal component, such as the heat exchanger, gas valve, or blower motor, leave the repair to a professional.
- Electrical Issues: Any repairs involving the electrical components of the water heater should be performed by a qualified electrician or HVAC technician. Working with electricity can be dangerous.
- You are uncomfortable or unsure: If at any point during the troubleshooting process you feel unsure or uncomfortable, stop and call a professional. It's always better to be safe than sorry.
- If the deliming process does not resolve the issue: If you've followed the deliming process correctly and the inconsistent hot water problem persists, there may be a more serious issue with the heat exchanger or other internal components.
Preventative Maintenance: Regular maintenance, including annual descaling and inspection by a qualified technician, can help prevent many of these issues and extend the life of your A. O. Smith tankless water heater.
By following these troubleshooting steps, you can often diagnose and resolve common problems with your A. O. Smith tankless water heater, saving you time and money. Remember to always prioritize safety and don't hesitate to call a professional when needed.