Air Compressor Pressure Relief Valve Keeps Opening

Air Compressor Pressure Relief Valve Keeps Opening: Troubleshooting Guide for Homeowners
An air compressor is a versatile tool, but a malfunctioning pressure relief valve can quickly halt your projects. If your air compressor's pressure relief valve is constantly opening, releasing air and preventing the tank from reaching full pressure, it's a sign of a problem. This guide will help you troubleshoot the issue, assess whether it's a DIY fix, and when to call a professional HVAC technician.
Understanding the Pressure Relief Valve
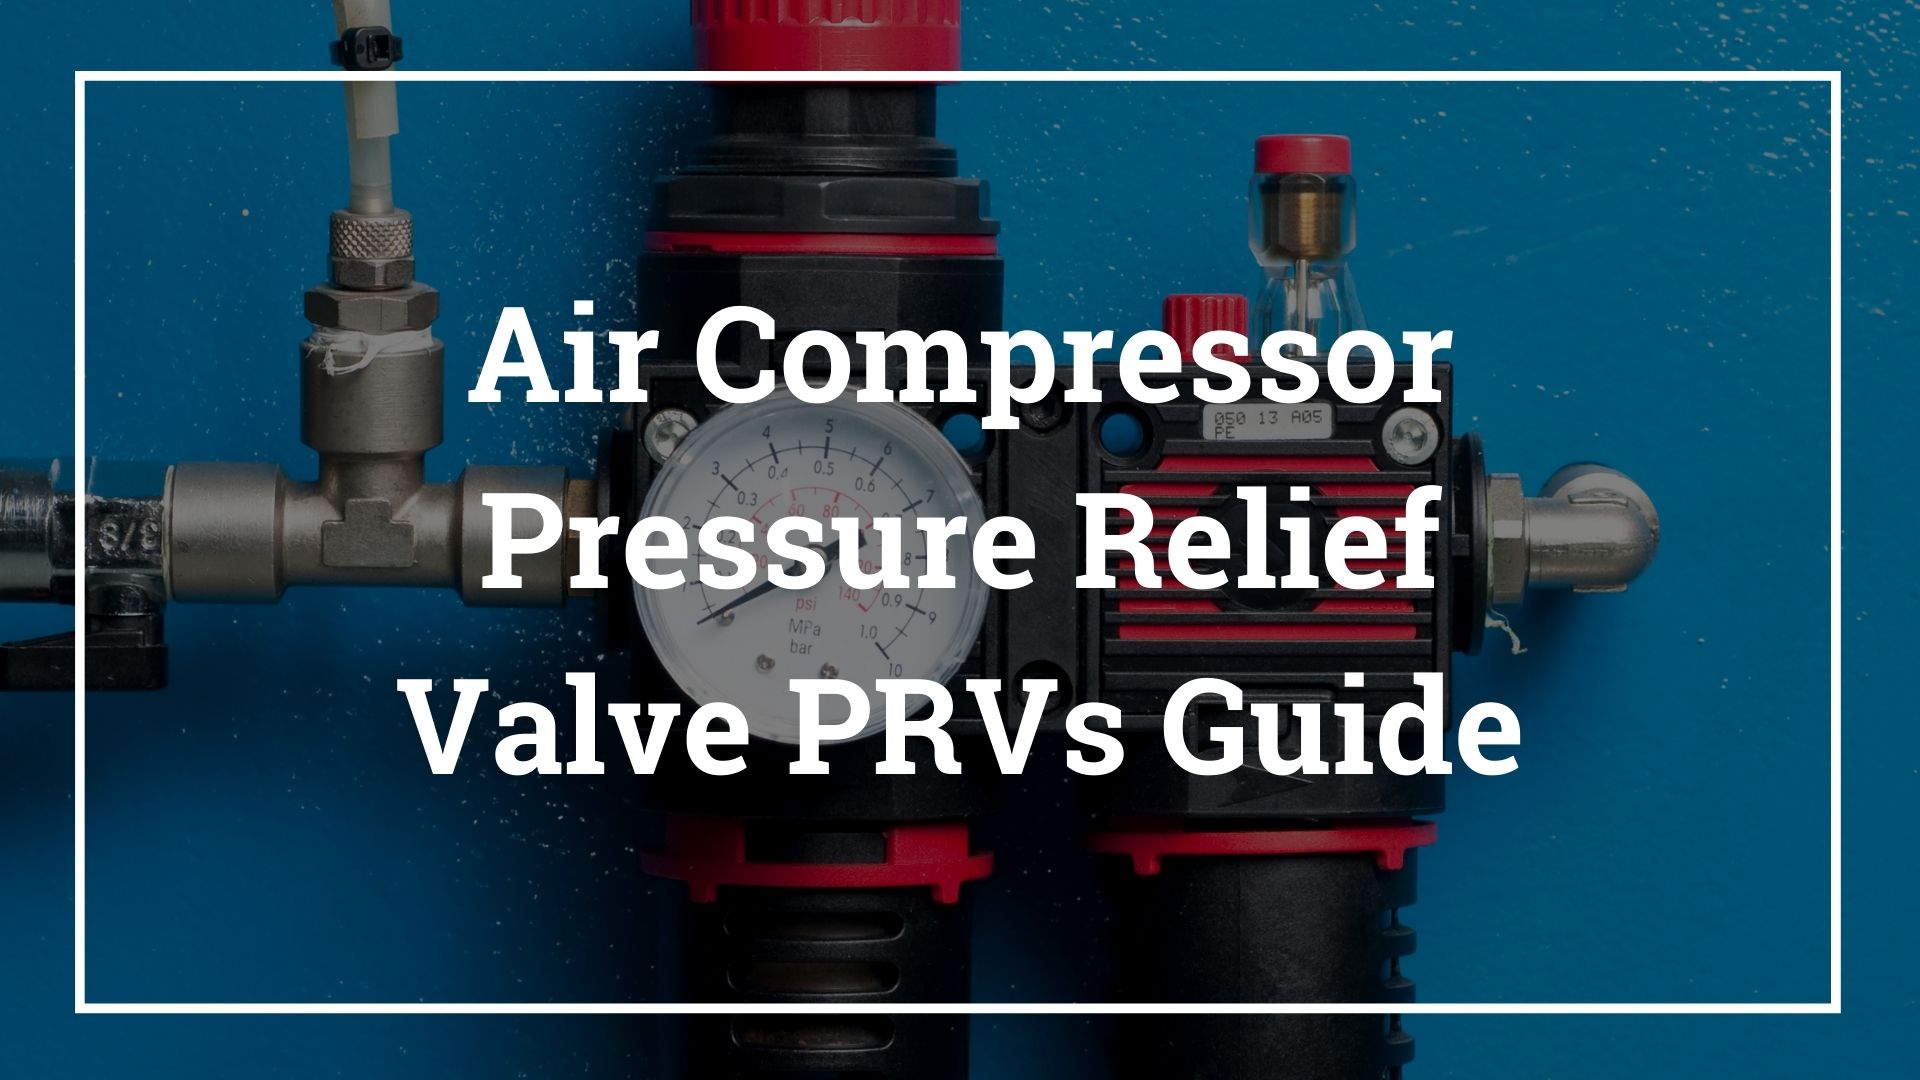
The pressure relief valve (also known as a safety valve) is a crucial safety device. It's designed to automatically release air if the pressure inside the tank exceeds a safe limit. This prevents the tank from over-pressurizing, which could lead to a dangerous explosion.
Safety First!
Before you begin any troubleshooting, always:
- Disconnect the power: Unplug the air compressor from the electrical outlet.
- Release the air pressure: Use the drain valve at the bottom of the tank to completely empty the tank of compressed air.
- Wear safety glasses: Protect your eyes from debris.
- Read your air compressor's manual: Familiarize yourself with the specific components and safety guidelines for your model.
Troubleshooting Steps
Here's a systematic approach to diagnosing why your pressure relief valve is opening prematurely:
1. Check the Pressure Setting
The pressure relief valve has a set pressure at which it should activate. This is usually printed on the valve itself. If the tank pressure is reaching this limit normally, the valve is doing its job, but something else is wrong upstream.
How to check:
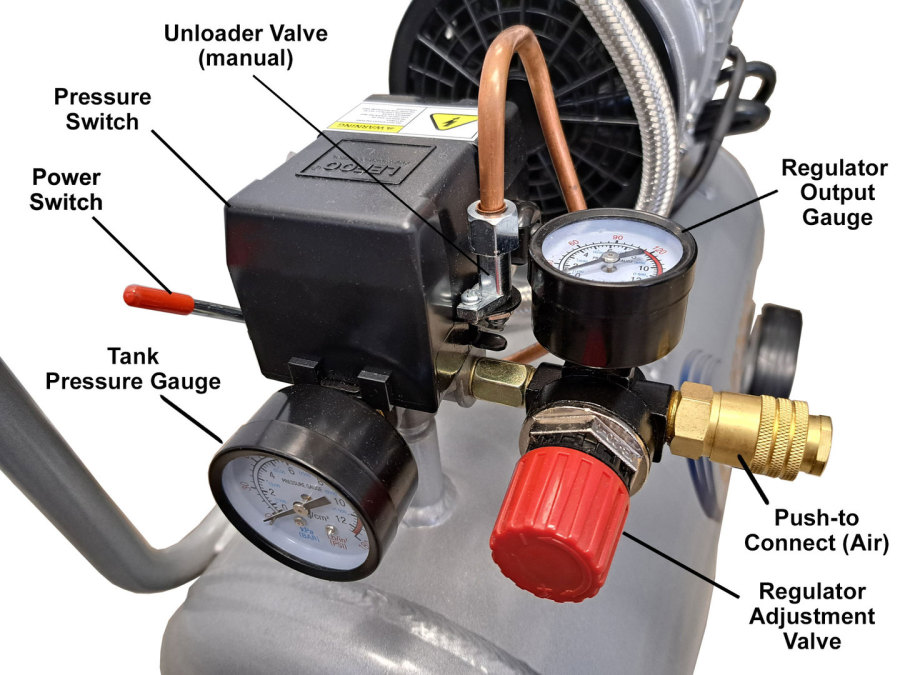
- Locate the pressure gauge on your air compressor.
- Start the compressor and observe the gauge as the tank fills.
- Note the pressure reading when the pressure relief valve opens.
- Compare this reading to the set pressure on the valve.
If the reading is close to the set pressure, proceed to the next step. If the gauge isn't moving or seems inaccurate, the gauge itself may be faulty and should be replaced.
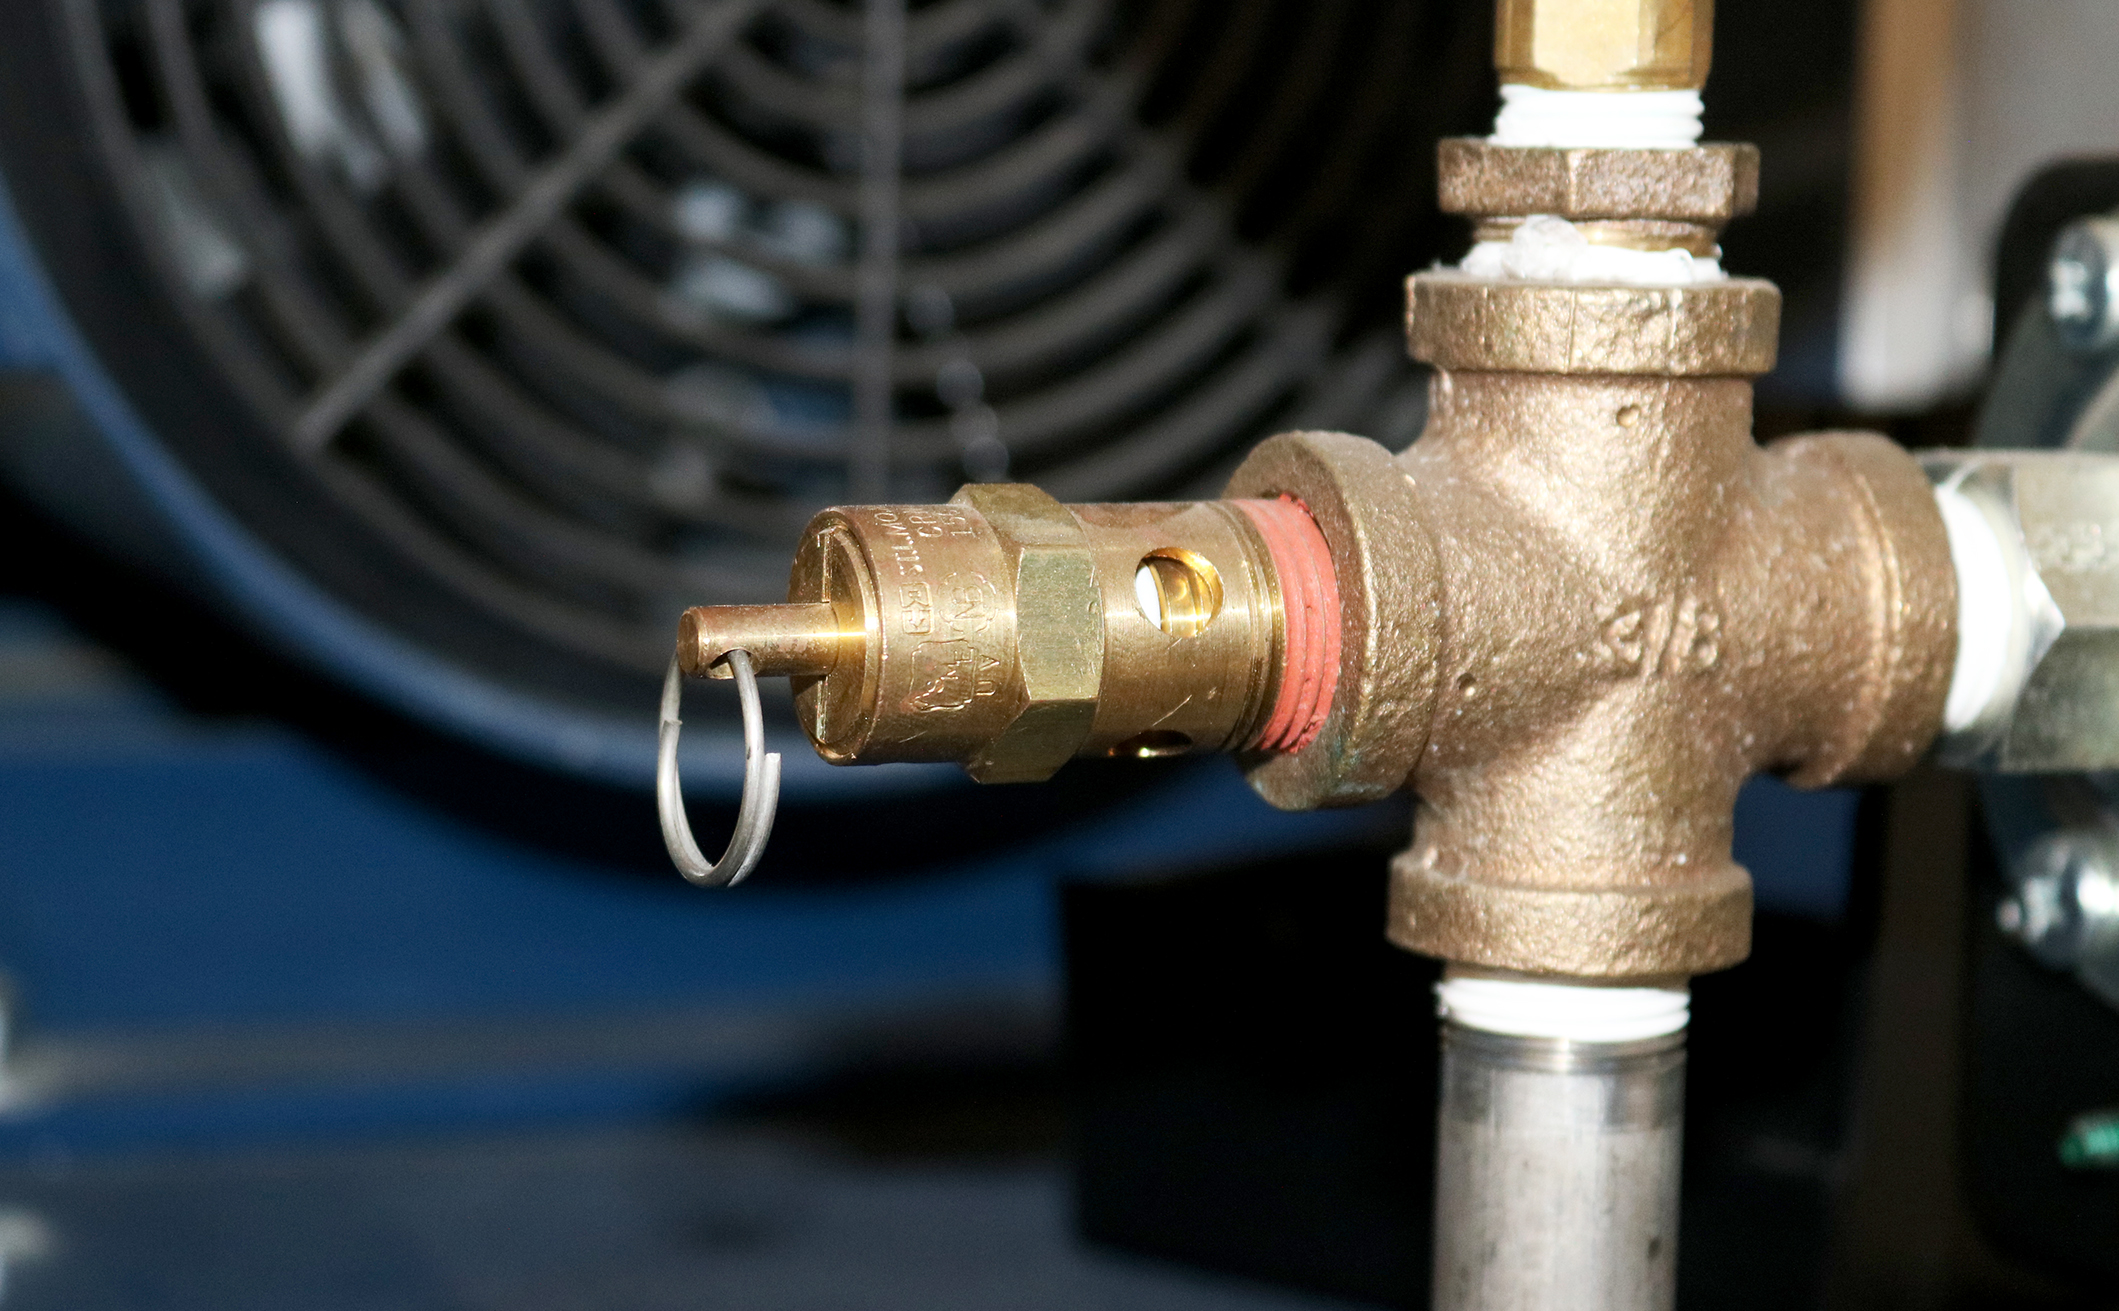
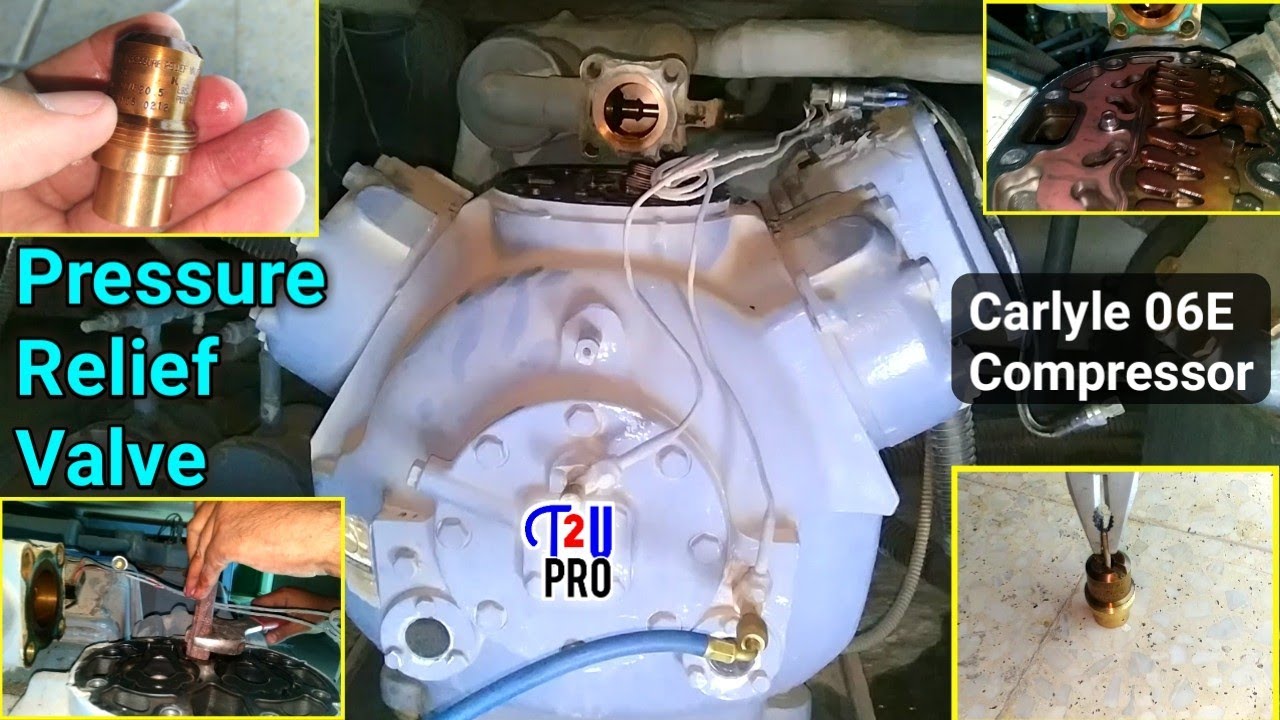
2. Inspect the Pressure Relief Valve
The valve itself might be faulty, sticking, or damaged.
How to check:
- Visually inspect the valve for any signs of damage, rust, or corrosion.
- Try to manually activate the valve by pulling the ring or lever (if equipped). It should move freely and snap back into place.
- If it's stuck or difficult to move, try cleaning it.
Cleaning the Pressure Relief Valve:
- Remove the pressure relief valve. This usually involves unscrewing it.
- Use compressed air to blow out any debris.
- Soak the valve in a solvent like mineral spirits or carburetor cleaner to dissolve any buildup.
- Use a small brush to scrub away any remaining residue.
- Rinse the valve thoroughly and allow it to dry completely.
- Reinstall the valve and test the compressor.
3. Examine the Pressure Switch
The pressure switch controls when the motor turns on and off to maintain pressure in the tank. If the pressure switch is malfunctioning, it might not be shutting off the motor at the correct pressure, leading to over-pressurization.
How to check:
- Locate the pressure switch. It's usually a small box with wires connected to it.
- Observe the compressor as it fills the tank. The motor should shut off when the tank reaches the cut-out pressure (usually around 120-150 PSI, depending on the compressor).
- If the motor doesn't shut off, the pressure switch is likely faulty.
Adjusting the Pressure Switch (if possible):
Some pressure switches have adjustable settings. However, proceed with caution and consult your compressor's manual. Improper adjustment can damage the compressor or create a safety hazard.
- Locate the adjustment screws or nuts on the pressure switch.
- Make small adjustments and test the compressor after each adjustment.
- If you're unsure how to adjust the pressure switch, it's best to replace it or consult a professional.
4. Inspect the Check Valve
The check valve prevents air from flowing back from the tank into the pump. A leaking check valve can cause the pump to work harder and potentially contribute to pressure fluctuations, though it’s unlikely to directly cause the pressure relief valve to open. Still, it's worth checking.
How to check:
- After the compressor shuts off, listen for air leaking back through the pump.
- If you hear air leaking, the check valve may be faulty.
5. Look for Leaks in the System
While not the primary cause of the pressure relief valve opening, significant leaks in the tank, fittings, or hoses can cause the compressor to run continuously, potentially leading to overheating and pressure fluctuations.
How to check:
- Fill the tank with air.
- Turn off the compressor and listen for hissing sounds.
- Use a soapy water solution to check for leaks around fittings, hoses, and the tank itself. Bubbles will form at leak points.
When to Call a Professional
While many of these troubleshooting steps are DIY-friendly, there are situations where it's best to call a qualified HVAC technician:
- You're uncomfortable working with electrical components.
- You suspect the compressor's motor is failing.
- The tank itself is damaged or corroded.Never attempt to repair a damaged air compressor tank yourself. This is extremely dangerous.
- You've tried the troubleshooting steps and the problem persists.
- You're unsure about any aspect of the repair.
Parts and Tools
Here's a list of common parts and tools you might need:
Parts:
- Pressure Relief Valve
- Pressure Switch
- Check Valve
- Air Compressor Oil
- Replacement Hoses and Fittings
Tools:
- Wrenches (various sizes)
- Screwdrivers (Phillips and flathead)
- Pliers
- Socket Set
- Compressed Air
- Multimeter (for testing electrical components - use with caution and only if you have experience)
- Safety Glasses
- Gloves
- Thread Sealant Tape (Teflon tape)
Estimated Repair Costs
Repair costs can vary depending on the specific problem and the cost of parts. Here are some general estimates:
- Pressure Relief Valve Replacement: $20 - $50 (DIY) or $75 - $150 (Professional)
- Pressure Switch Replacement: $30 - $75 (DIY) or $100 - $200 (Professional)
- Check Valve Replacement: $15 - $40 (DIY) or $60 - $120 (Professional)
- Professional Diagnosis: $75 - $150 (may be applied to repair costs)
These are just estimates. Always get a quote from a qualified technician before authorizing any repairs.
Preventative Maintenance
Regular maintenance can help prevent future problems with your air compressor:
- Drain the tank regularly: This removes moisture that can cause rust and corrosion.
- Check for leaks: Use soapy water to inspect fittings and hoses periodically.
- Replace the air filter: A clean air filter ensures proper airflow to the pump.
- Use the correct oil: Use the type and weight of oil recommended by the manufacturer.
- Inspect and clean the pressure relief valve: Do this at least once a year.
By following these troubleshooting steps and performing regular maintenance, you can keep your air compressor running smoothly and safely for years to come. Remember, when in doubt, always consult a qualified HVAC professional.