Air Conditioner Compressor Not Coming On
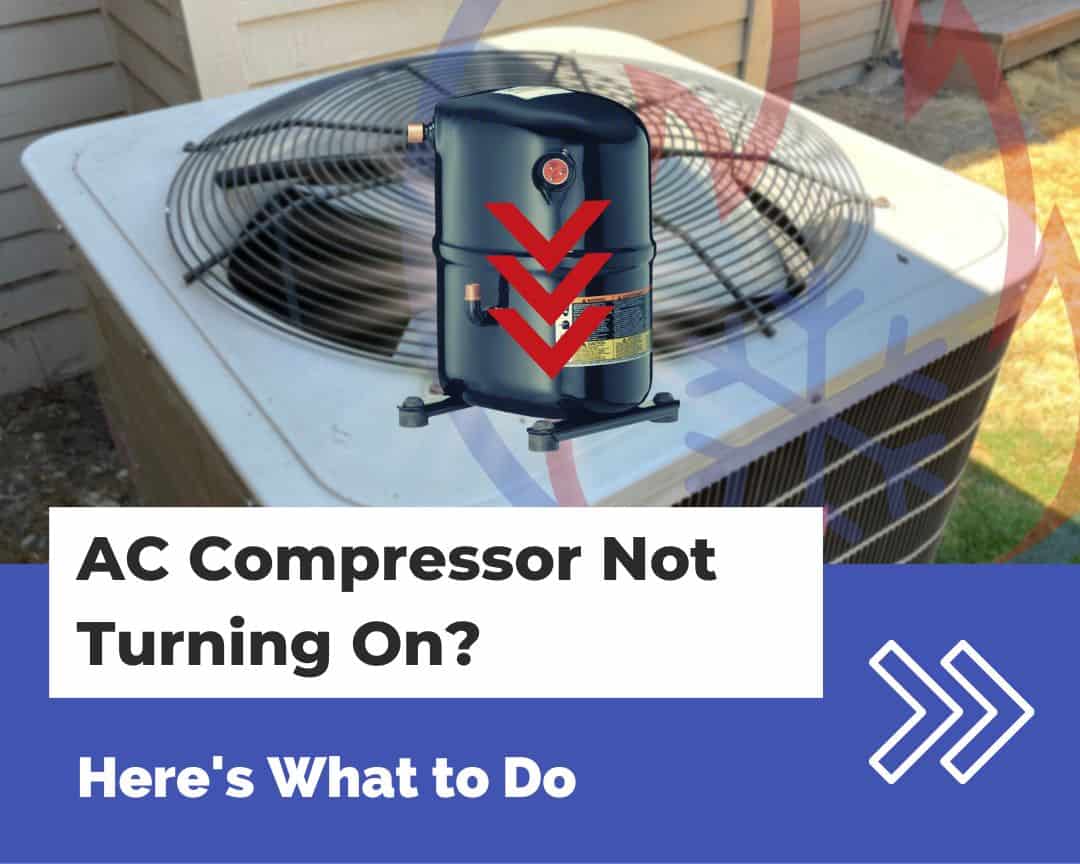
Air Conditioner Compressor Not Coming On: A Homeowner's Troubleshooting Guide
A malfunctioning air conditioner compressor can quickly turn a comfortable home into a sweltering one. The compressor is the heart of your cooling system, responsible for circulating refrigerant and enabling the cooling process. When it fails to start, your AC blows warm air, and your comfort goes out the window. This guide provides a step-by-step approach to troubleshooting a non-starting AC compressor, helping you identify potential causes and decide whether a DIY fix is possible or if you need to call a qualified HVAC technician.
Safety First!
Before attempting any troubleshooting, prioritize your safety. Turn off the power to your air conditioner at the breaker box. This prevents electric shock. If you are uncomfortable working with electricity, contact a qualified electrician or HVAC professional.
Tools You'll Need
- Multimeter
- Screwdrivers (Phillips and flathead)
- Voltage tester
- Wrench set
- Pliers
- Work gloves
- Safety glasses
Step 1: Check the Thermostat Settings
Begin with the basics. Ensure your thermostat is set to "Cool" and the temperature is set lower than the current room temperature. Sometimes, a simple setting adjustment is all it takes.
Step 2: Inspect the Breaker
Go to your electrical panel and check the breaker for the air conditioner. Look for a tripped breaker (it will be in the "off" or "middle" position). Reset the breaker by switching it fully to the "off" position and then back to the "on" position. If the breaker trips again immediately, there may be an electrical fault, and you should call a qualified electrician or HVAC technician.
Step 3: Examine the Disconnect Switch
Near your outdoor AC unit (the condenser), you'll find a disconnect switch. This switch cuts power to the unit for servicing. Make sure the switch is in the "on" position. If it's a pull-out type, ensure it's fully inserted.
Step 4: Check the Condenser Fan Motor
The condenser fan helps dissipate heat from the refrigerant. If the fan motor is faulty, it can prevent the compressor from starting. Visually inspect the fan blades for any obstructions (leaves, twigs, debris). If obstructed, remove the debris. Try to manually spin the fan blades (with the power OFF). They should spin freely. If they are stiff or make a grinding noise, the fan motor may be failing.
Step 5: Inspect the Contactor
The contactor is an electrical switch that sends power to the compressor. It's typically located inside the condenser unit. With the power OFF, visually inspect the contactor for signs of damage, such as burnt or pitted contacts. You can use a multimeter to check for continuity across the contactor terminals when the thermostat is calling for cooling. If the contactor is damaged, it will need to be replaced.
Step 6: Check the Capacitor
The capacitor is an electrical component that provides the initial surge of power needed to start the compressor motor. A failing capacitor is a common cause of compressor failure to start. With the power OFF and using a screwdriver (with insulated handle), carefully discharge the capacitor by shorting the terminals. Use a multimeter to test the capacitor's microfarad (µF) rating. Compare the reading to the rated value printed on the capacitor. If the reading is significantly lower (e.g., more than 10% lower), the capacitor needs to be replaced. Be very careful when working with capacitors as they can store a dangerous electrical charge.
Step 7: Overload Protector
The compressor has an internal overload protector that trips if the compressor gets too hot, preventing damage. If the compressor has overheated, the overload protector may have tripped. Give the compressor time to cool down (several hours). The overload protector may reset automatically. After the cooldown period, try turning the AC back on.
Step 8: Refrigerant Leaks
Low refrigerant levels can prevent the compressor from starting. Refrigerant leaks require specialized equipment and training to locate and repair. If you suspect a refrigerant leak, contact a licensed HVAC technician. Handling refrigerant is regulated and requires certification.
Step 9: Hard Start Kit
If your AC unit is older, it may benefit from a hard start kit. This kit provides an extra boost of power to the compressor during startup, especially helpful for compressors that are struggling. Installation of a hard start kit is a relatively straightforward process, but it's best left to someone comfortable working with electrical components.
Common Causes of Compressor Failure
- Failed Capacitor: Most frequent cause.
- Contactor Problems: Burnt or damaged contacts.
- Overheating: Caused by restricted airflow, low refrigerant, or a failing fan motor.
- Refrigerant Leaks: Leading to low refrigerant pressure.
- Electrical Issues: Faulty wiring or a tripped breaker.
- Compressor Burnout: The compressor motor itself fails.
When to Call a Professional
While some troubleshooting steps are within the capabilities of a DIY enthusiast, certain repairs should be left to qualified HVAC technicians. Call a professional if:
- You are uncomfortable working with electricity.
- You suspect a refrigerant leak.
- The compressor requires internal repairs.
- You are unsure about any step in the troubleshooting process.
- The problem persists after attempting the DIY solutions.
Estimated Repair Costs
The cost to repair a non-starting AC compressor can vary widely depending on the cause of the problem.
- Capacitor Replacement: $75 - $250 (parts and labor)
- Contactor Replacement: $100 - $300 (parts and labor)
- Hard Start Kit Installation: $150 - $400 (parts and labor)
- Refrigerant Leak Repair and Recharge: $200 - $800+ (depending on the leak location and refrigerant type)
- Compressor Replacement: $800 - $2500+ (parts and labor) - This is often the most expensive repair and may warrant considering a new AC unit.
Note: These are just estimates. Obtain quotes from multiple HVAC contractors to get an accurate assessment of the repair costs.
Preventive Maintenance Tips
Regular maintenance can help prevent compressor problems and extend the life of your AC unit:
- Clean the Condenser Coils: At least once a year, clean the outdoor condenser coils with a garden hose.
- Replace Air Filters Regularly: Dirty air filters restrict airflow and can cause the compressor to overheat. Replace your air filter every 1-3 months.
- Schedule Professional Tune-Ups: Have your AC unit inspected and serviced by a qualified HVAC technician annually.
- Keep the Area Around the Condenser Clear: Ensure there is ample space around the outdoor unit for proper airflow.
Conclusion
A non-starting AC compressor can be a frustrating issue, but by following these troubleshooting steps, you can often identify the cause and determine the best course of action. Remember to prioritize safety and call a professional when necessary. Regular maintenance is key to preventing compressor problems and ensuring your air conditioner runs efficiently for years to come. Always consult with a qualified HVAC professional for any complex repairs or if you have any doubts about your ability to safely perform the work. Understanding the basics of your AC system will empower you to make informed decisions and keep your home comfortable.