Air Conditioner Condenser Replacement Cost

Imagine this: It's the peak of summer, the sun is blazing, and your air conditioner decides to throw in the towel. Instead of cool, refreshing air, you're met with lukewarm drafts or, worse, nothing at all. One common culprit behind this frustrating scenario is a failing or failed air conditioner condenser.
But before you panic and start envisioning a hefty repair bill, let's walk through a methodical approach to diagnosing the issue. We'll cover some simple DIY checks, and, most importantly, help you understand when it's time to call in the pros. This guide will also give you a better understanding of what influences the cost of a condenser replacement so you can be well prepared.
Diagnosing the Problem: Is it Really the Condenser?
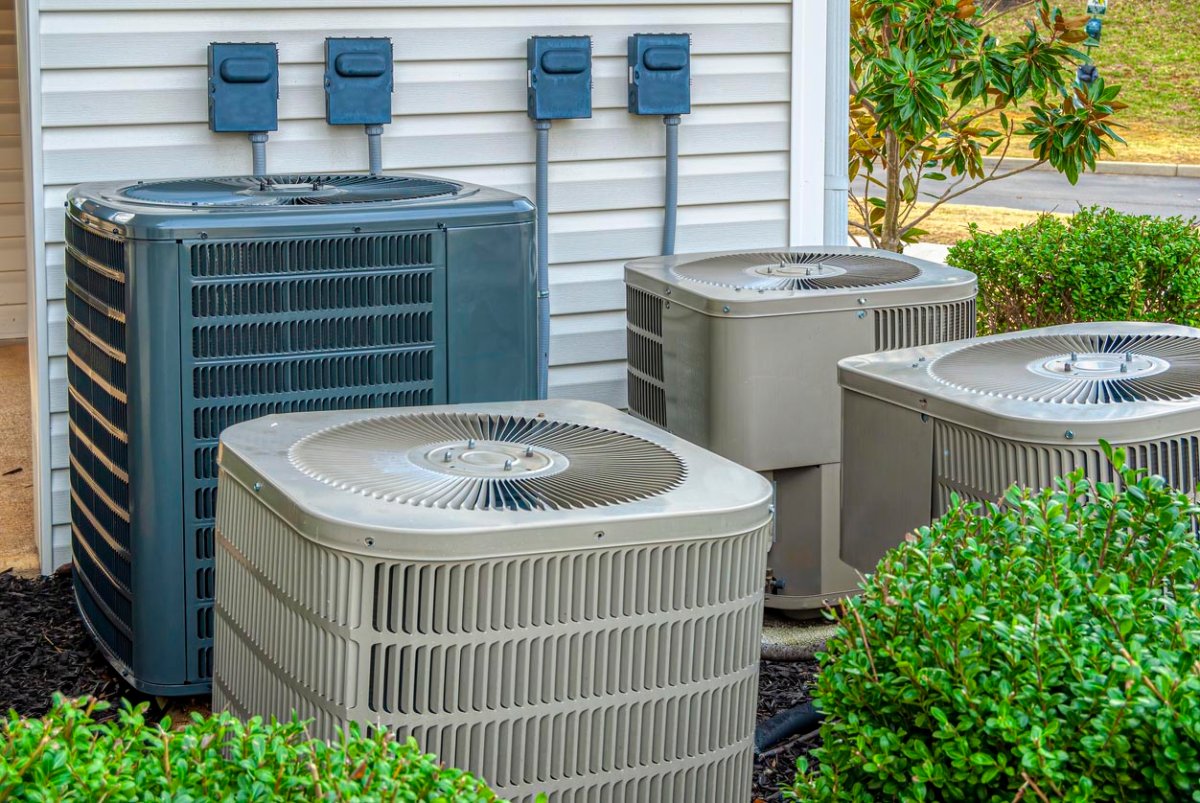
The condenser is the outdoor unit of your AC system. It's responsible for releasing the heat absorbed from inside your home. Several things can go wrong, so let's rule out the simpler issues first.
Step 1: Initial Checks (No Tools Required)
Start with the basics:
- Check the Thermostat: Make sure it's set to "Cool" and the temperature is lower than the current room temperature. It might sound obvious, but it's an easy thing to overlook.
- Inspect the Air Filter: A clogged air filter restricts airflow, which can cause the entire system to work harder and potentially overheat the condenser. Replace a dirty filter immediately. This is a regular maintenance task that can prevent many AC problems.
- Check the Circuit Breaker: Locate the breaker for your AC unit (it should be labeled in your electrical panel) and ensure it hasn't tripped. If it has, reset it. If it trips again shortly after, there's a definite electrical issue that needs professional attention. Do not repeatedly reset a tripping breaker.
- Observe the Condenser Fan: Go outside and check if the condenser fan is running. If the unit is on and the compressor is humming, but the fan isn't spinning, that's a red flag. Similarly, listen for unusual noises like grinding or squealing. These sounds often point to a failing fan motor.
Step 2: Visual Inspection (No Tools Required)
Take a closer look at the condenser unit:
- Clear Debris: Make sure the area around the condenser is free of obstructions. Bushes, leaves, and other debris can block airflow and cause the unit to overheat. Aim for at least two feet of clear space around the unit.
- Inspect the Fins: The condenser fins (the thin metal strips surrounding the unit) can get bent or damaged. Gently straighten any bent fins with a fin comb (available at most hardware stores). Be careful, as the fins are sharp.
- Look for Leaks: Check for any signs of refrigerant leaks, such as oily residue or ice buildup on the copper pipes. Refrigerant leaks are a serious issue that requires professional repair.
Step 3: Basic Electrical Checks (Requires Basic Tools & Caution!)
Warning: Working with electricity can be dangerous. If you are not comfortable performing these checks, please call a qualified HVAC technician. Always turn off the power to the condenser at the breaker box before performing any electrical checks.
Tools you'll need: Multimeter, Screwdriver (insulated handle).
- Check the Contactor: The contactor is an electrical switch that controls power to the condenser. Using your multimeter, check for voltage going to the contactor. If voltage is present but the compressor isn't running, the contactor may be faulty. Replacing a contactor is often a DIY-able repair, but only if you are comfortable working with electricity and can safely identify the correct replacement part.
- Check the Capacitor: The capacitor provides the initial jolt of electricity to start the compressor and fan motor. A failing capacitor is a common cause of condenser problems. You can visually inspect the capacitor for bulging or leaking. However, capacitors store an electrical charge, even when the power is off. Use extreme caution and discharge the capacitor with a screwdriver before handling it. Again, if you're uncomfortable with this, call a professional. A multimeter can also be used to test the capacitance, but this requires knowing the capacitor's rated capacitance value.
When to Call a Professional HVAC Technician
While some condenser problems can be addressed with simple DIY fixes, certain issues require the expertise of a qualified HVAC technician. Here's when you should definitely call for professional help:
- Refrigerant Leaks: Refrigerant leaks require specialized equipment to locate and repair. Furthermore, handling refrigerant requires EPA certification.
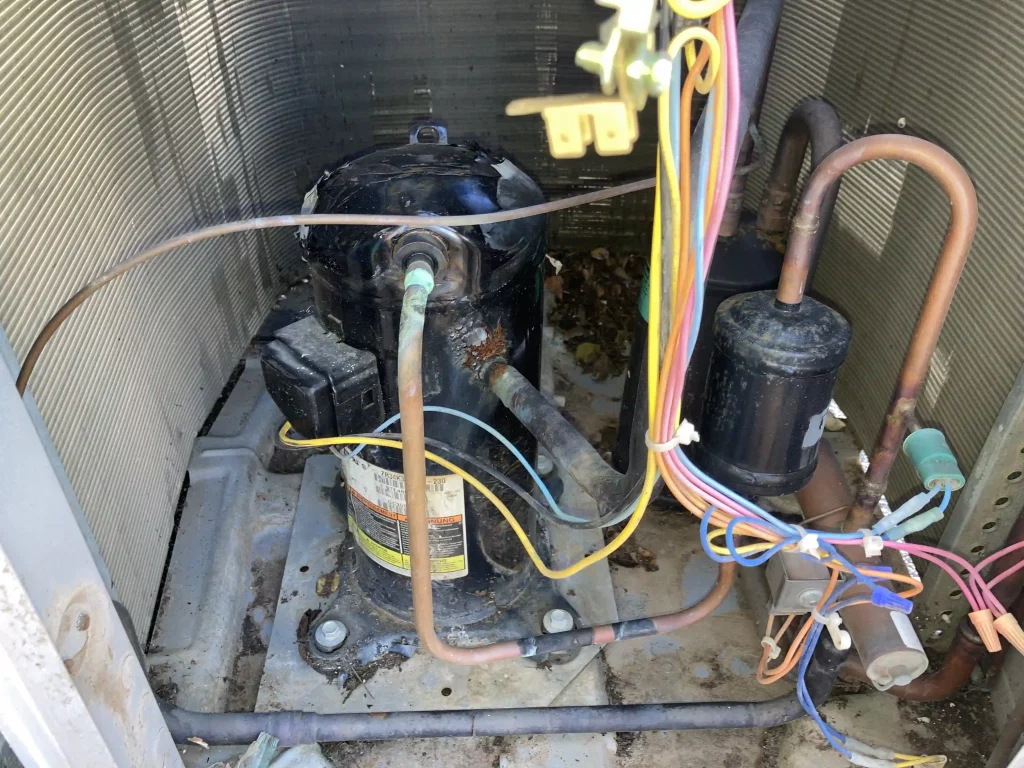
- Compressor Problems: The compressor is the heart of the AC system, and diagnosing and repairing compressor issues is a complex task. If the compressor is making loud noises, not starting, or overheating, it's time to call a pro.
- Electrical Issues: If you're not comfortable working with electricity or if you suspect a serious electrical problem, don't hesitate to call a qualified electrician or HVAC technician.
- Complex Control Issues: If you've checked the basic components and the condenser still isn't working, there may be a problem with the control board or other complex components.
- Unit is Old: If your unit is over 10 years old, it may be time to consider replacing the entire unit rather than just the condenser. New units are much more energy-efficient.
- After attempting DIY repairs: If you've tried the DIY steps and are still unsure what the problem is, it's always best to err on the side of caution and call a professional.
Air Conditioner Condenser Replacement Cost: Factors to Consider
If your condenser is beyond repair, you'll need to replace it. The cost of a condenser replacement can vary significantly depending on several factors:
- Unit Size (BTU Rating): The size of your AC unit is measured in British Thermal Units (BTUs). Larger homes require larger units with higher BTU ratings, which translates to higher costs. The BTU rating should match the cooling load of your home. An undersized unit won't cool effectively, while an oversized unit can lead to short cycling and higher energy bills.
- SEER Rating: SEER stands for Seasonal Energy Efficiency Ratio. It measures the cooling efficiency of an AC unit. Higher SEER ratings mean greater energy savings, but they also come with a higher upfront cost. Modern AC units are required to have a minimum SEER rating, but you can choose a unit with a higher rating for even greater efficiency.
- Type of Condenser: There are different types of condensers, such as standard efficiency, high-efficiency, and inverter-driven condensers. Inverter-driven condensers are the most efficient and offer variable-speed cooling, but they are also the most expensive.
- Brand: Some brands are known for their quality and reliability, while others are more budget-friendly. Popular brands include Carrier, Trane, Lennox, and Goodman. The brand you choose can affect the overall cost of the replacement.
- Labor Costs: Labor costs can vary depending on your location and the complexity of the installation. Be sure to get quotes from multiple contractors to compare prices. Labor costs typically include removing the old unit, installing the new unit, connecting the refrigerant lines, and testing the system.
- Refrigerant Type: Older AC units use R-22 refrigerant, which is being phased out due to its environmental impact. Newer units use R-410A refrigerant, which is more environmentally friendly but can be more expensive. If you're replacing an older unit that uses R-22, you'll need to upgrade to a unit that uses R-410A.
- Ductwork: If your existing ductwork is old or damaged, it may need to be replaced along with the condenser. This can add to the overall cost of the replacement. Improperly sized or leaky ductwork can significantly reduce the efficiency of your AC system.
- Permits and Inspections: Depending on your location, you may need to obtain permits and inspections for the AC replacement. These fees can add to the overall cost of the project.
- Warranty: Make sure the new condenser comes with a good warranty. A longer warranty provides peace of mind and protects you from unexpected repair costs.
Ballpark Cost Estimates
While precise costs vary based on the factors listed above, here's a general idea of what you can expect to pay for an air conditioner condenser replacement:
- Low-End: $1,500 - $3,000 (Smaller unit, lower SEER rating, basic installation)
- Mid-Range: $3,000 - $5,000 (Mid-sized unit, moderate SEER rating, standard installation)
- High-End: $5,000 - $8,000+ (Larger unit, high SEER rating, complex installation, premium brand)
Important Note: These are just estimates. The best way to get an accurate cost estimate is to get quotes from several qualified HVAC contractors in your area. Be sure to ask for a detailed breakdown of the costs, including the cost of the unit, labor, and any other fees.
Tips for Saving Money on Condenser Replacement
Replacing an AC condenser can be a significant expense, but there are ways to save money:
- Get Multiple Quotes: Don't settle for the first quote you receive. Get quotes from at least three different contractors to compare prices and services.
- Consider a Smaller Unit: If your old unit was oversized, you may be able to save money by installing a smaller unit that is properly sized for your home. An HVAC contractor can perform a load calculation to determine the correct size.
- Look for Rebates and Incentives: Many utility companies and government agencies offer rebates and incentives for energy-efficient AC units. Check with your local utility company and the ENERGY STAR website to see what's available in your area.
- Schedule the Replacement During Off-Season: HVAC contractors are typically less busy during the off-season (spring and fall), which means you may be able to negotiate a better price.
- Consider Financing Options: Many HVAC contractors offer financing options to help you spread out the cost of the replacement.
- Proper Maintenance: Once you have a new unit, invest in regular maintenance to extend its lifespan and prevent future problems. This includes changing the air filter regularly, cleaning the condenser coils, and scheduling annual checkups with an HVAC technician.
Conclusion
A failing air conditioner condenser can be a major headache, especially during the hottest months of the year. By following these steps, you can diagnose the problem, perform some simple DIY fixes, and determine when it's time to call a professional. Understanding the factors that influence the cost of a condenser replacement will help you make an informed decision and avoid overpaying. Remember to prioritize safety when working with electricity and to always consult with a qualified HVAC technician if you're unsure about anything.
With a little knowledge and a proactive approach, you can keep your home cool and comfortable all summer long without breaking the bank.