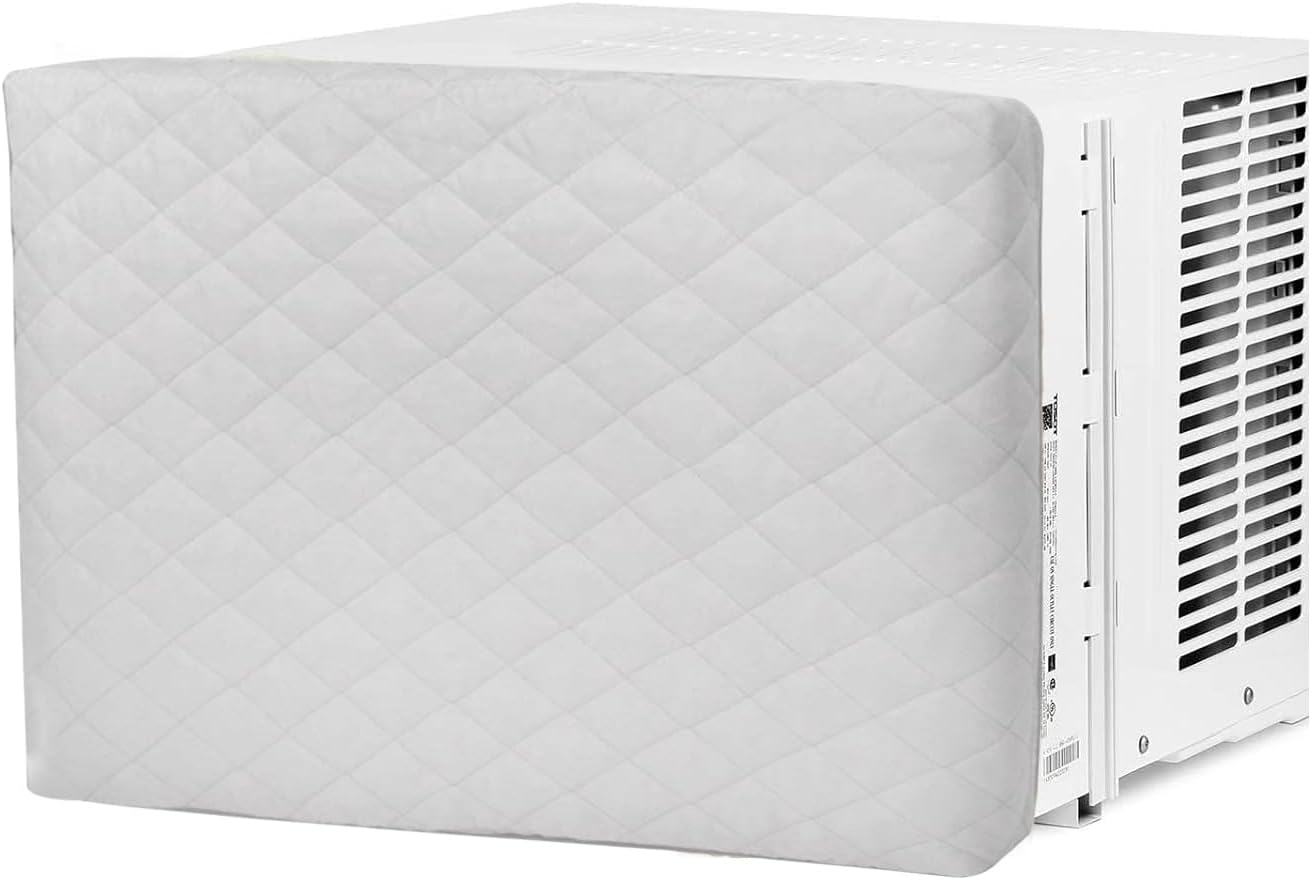
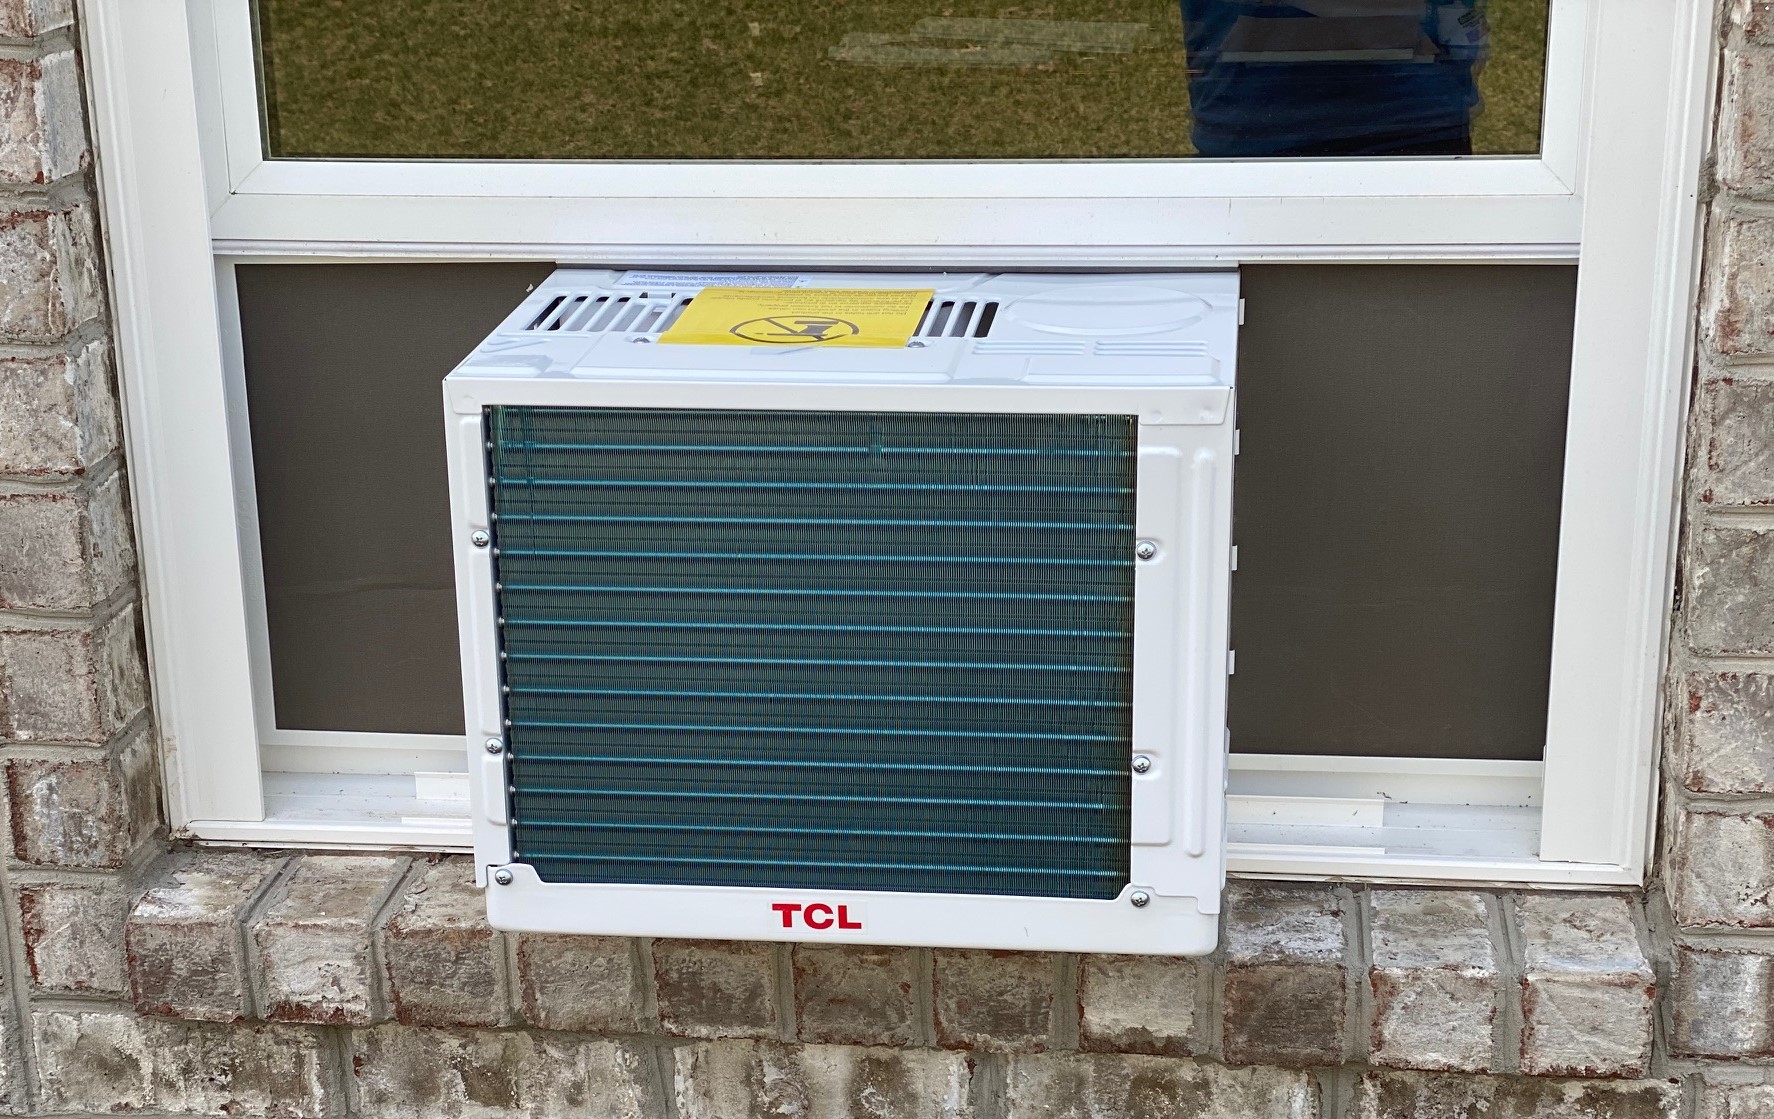
Air Conditioner Covers For Window Units

One of the most frustrating issues homeowners face is a window air conditioner that just doesn't seem to be cooling (or heating, if it’s a heat/cool unit) the room effectively. Before you panic and call an expensive HVAC technician, let's explore how something as simple as your AC cover might be the culprit. This article provides a step-by-step troubleshooting guide to help you determine if your AC cover is contributing to the problem, and what you can do about it.
Diagnosing the Issue: Is Your AC Cover the Problem?
First, it's crucial to establish if the issue is genuinely related to the cover, or if there's a more significant underlying problem with your AC unit. Here’s a methodical approach to diagnose the problem:
Step 1: Initial Assessment (No Tools Required)
Begin with a thorough visual inspection and a few simple checks.
- Feel the Airflow: Turn on your AC unit and place your hand near the vents. Is the air blowing weakly, or is it not as cold (or hot) as it usually is? A noticeable decrease in airflow strength is a key indicator.
- Check the Temperature: After running the AC for about 15-20 minutes, use a thermometer to measure the air temperature coming from the vent. Compare this to the temperature setting on your unit. If there's a significant discrepancy (more than 5-10 degrees Fahrenheit), there's likely an issue.
- Listen for Unusual Noises: Are you hearing any strange sounds coming from the unit? Rattling, hissing, or grinding noises could suggest a mechanical problem unrelated to the cover.
- Inspect the Cover (Inside and Out): Look closely at the AC cover, both inside and outside. Is it properly seated? Are there any obvious gaps or damage, such as cracks, tears, or warping? Are the vent openings of the cover aligned with those of the AC? Are there any signs of excessive dust or debris build-up on the cover, especially on the inside?
These initial checks can help you rule out some easy-to-spot problems.
Step 2: Evaluate the Cover Type and Usage
The type of cover you’re using and how you're using it can significantly impact your AC's performance.
- Indoor vs. Outdoor Covers: Are you using the correct type of cover for your situation? Indoor covers are typically made of thinner material and designed to prevent drafts and keep dust out during the off-season. Outdoor covers are much more robust, designed to withstand the elements (rain, snow, sun) and prevent damage to the unit. Using an outdoor cover indoors can restrict airflow even when the AC is in use.
- Full vs. Partial Covers: Some covers completely enclose the AC unit, while others only cover the exterior portion. Full covers are generally intended for off-season storage only. Using a full cover while the AC is running will definitely cause overheating and reduced performance.
- Timing of Cover Use: Are you trying to run the AC with the cover still partially on? This is a common mistake. Always ensure the cover is completely removed before operating the unit.
Step 3: Detailed Inspection (Basic Equipment May Be Needed)
This step involves a more thorough examination that might require some basic tools.
- Airflow Obstruction Check (Flashlight Required): Use a flashlight to inspect the vents on the AC unit itself. Even if the cover is off, debris could be blocking the airflow. Look for dust, leaves, insects, or any other obstructions.
- Filter Condition (No Tools Required): Locate and remove the AC filter. A dirty filter is a common cause of reduced airflow and cooling efficiency. If the filter is visibly clogged with dust and debris, it needs to be cleaned or replaced.
- Coil Inspection (Flashlight & Mirror Optional): Use a flashlight and, if possible, a small mirror, to inspect the coils on the inside of the AC unit. These coils can accumulate dust and debris over time, reducing their ability to transfer heat.
- Cover Material Breathability (Visual Inspection): Examine the material of your AC cover. Is it made of a breathable fabric, or a completely impermeable material like plastic or vinyl? While waterproof is desirable for outdoor covers, it's essential that the material allow some airflow to prevent moisture buildup and mold growth when the AC is not in use. Consider switching to a more breathable cover if the current one is completely sealed.
DIY Solutions: What You Can Do
Based on your diagnosis, here are some DIY actions you can take to resolve the issue:
Action 1: Remove the Cover Entirely
This is the most obvious and often the most effective solution. Ensure the AC cover is completely removed before operating the unit. Even a partially attached cover can restrict airflow and lead to overheating. If you’ve been running the AC with the cover on, give it a rest for a few hours to allow any accumulated heat to dissipate.
Action 2: Clean or Replace the Air Filter
A dirty air filter restricts airflow and forces the AC unit to work harder, reducing its efficiency and potentially causing it to overheat. Most window AC units have a removable filter that can be either cleaned or replaced.
- Remove the Filter: Consult your AC unit's manual for instructions on how to remove the filter. Usually, it involves opening the front panel and sliding the filter out.
- Clean the Filter (If Washable): If the filter is washable (check the manufacturer's instructions), rinse it thoroughly with water. You can use a mild detergent if necessary. Allow the filter to dry completely before re-installing it.
- Replace the Filter (If Not Washable or Damaged): If the filter is not washable or is damaged, replace it with a new filter of the same size and type. You can find replacement filters at most hardware stores or online retailers.
- Re-install the Filter: Carefully re-install the clean or new filter into the AC unit.
Action 3: Clean the Coils (Proceed with Caution)
Cleaning the coils can improve airflow and heat transfer, but it's important to proceed with caution to avoid damaging the delicate fins. Disconnect the AC unit from the power source before cleaning the coils.
- Vacuum the Coils: Use a vacuum cleaner with a brush attachment to gently remove dust and debris from the coils. Be careful not to bend or damage the fins.
- Use a Coil Cleaner (Optional): For stubborn dirt and grime, you can use a commercially available coil cleaner. Follow the manufacturer's instructions carefully. Apply the cleaner evenly to the coils and allow it to sit for the recommended time. Then, rinse the coils thoroughly with water.
- Straighten Bent Fins (Optional): If the fins are bent, you can use a fin comb to gently straighten them. Be very careful not to apply too much pressure, as the fins are easily damaged.
- Allow to Dry: Allow the coils to dry completely before reconnecting the AC unit to the power source.
Action 4: Ensure Proper Cover Ventilation (During Off-Season Storage)
If you're storing your AC unit for the off-season, ensure that the cover you're using allows for adequate ventilation. This helps prevent moisture buildup and mold growth.
- Choose a Breathable Cover: Opt for a cover made of breathable fabric, such as canvas or a specially designed AC cover with ventilation openings.
- Avoid Completely Sealed Covers: Avoid using completely sealed covers, such as plastic or vinyl, unless you're certain that the unit is completely dry before covering it.
- Consider a Partial Cover: If you're concerned about moisture, consider using a partial cover that only covers the exterior portion of the AC unit, leaving the back open for ventilation.
Action 5: Check for Proper Installation and Sealing
Ensure your window AC unit is properly installed and sealed around the edges. Gaps around the unit can allow warm air to enter the room, reducing the AC's efficiency.
- Inspect the Seals: Check the seals around the AC unit for any gaps or damage.
- Use Weather Stripping or Foam: If you find any gaps, use weather stripping or foam to seal them. You can purchase these materials at most hardware stores.
- Ensure Proper Angle: Make sure the AC unit is slightly tilted outwards to allow for proper drainage of condensation.
When to Call a Professional
While many AC cover-related issues can be resolved with DIY solutions, some problems require professional attention. It's time to call an HVAC technician if:
- The AC unit is still not cooling (or heating) properly after you've tried the DIY solutions. This could indicate a more serious problem, such as a refrigerant leak, a compressor failure, or a problem with the electrical components.
- You hear unusual noises coming from the unit that persist after cleaning and inspection. These noises could indicate a mechanical problem that requires professional repair.
- You notice a burning smell coming from the unit. This could indicate an electrical problem that could be dangerous. Immediately disconnect the AC unit from the power source and call a professional.
- You are uncomfortable working with electrical components or handling refrigerant. HVAC systems can be complex and potentially dangerous. It's always best to err on the side of caution and call a professional if you're unsure about anything.
- The unit is leaking refrigerant. Refrigerant leaks require specialized equipment and training to repair safely and effectively. Handling refrigerant without proper training is illegal and can be harmful to your health and the environment.
Attempting to repair complex HVAC problems without the necessary skills and equipment can be dangerous and may void your warranty. When in doubt, always call a qualified HVAC technician.
By following these steps, you can effectively troubleshoot AC cover-related issues and keep your window unit running efficiently. Remember to prioritize safety and don't hesitate to call a professional when needed.