Air Conditioner Evaporator Coil Leaking Water
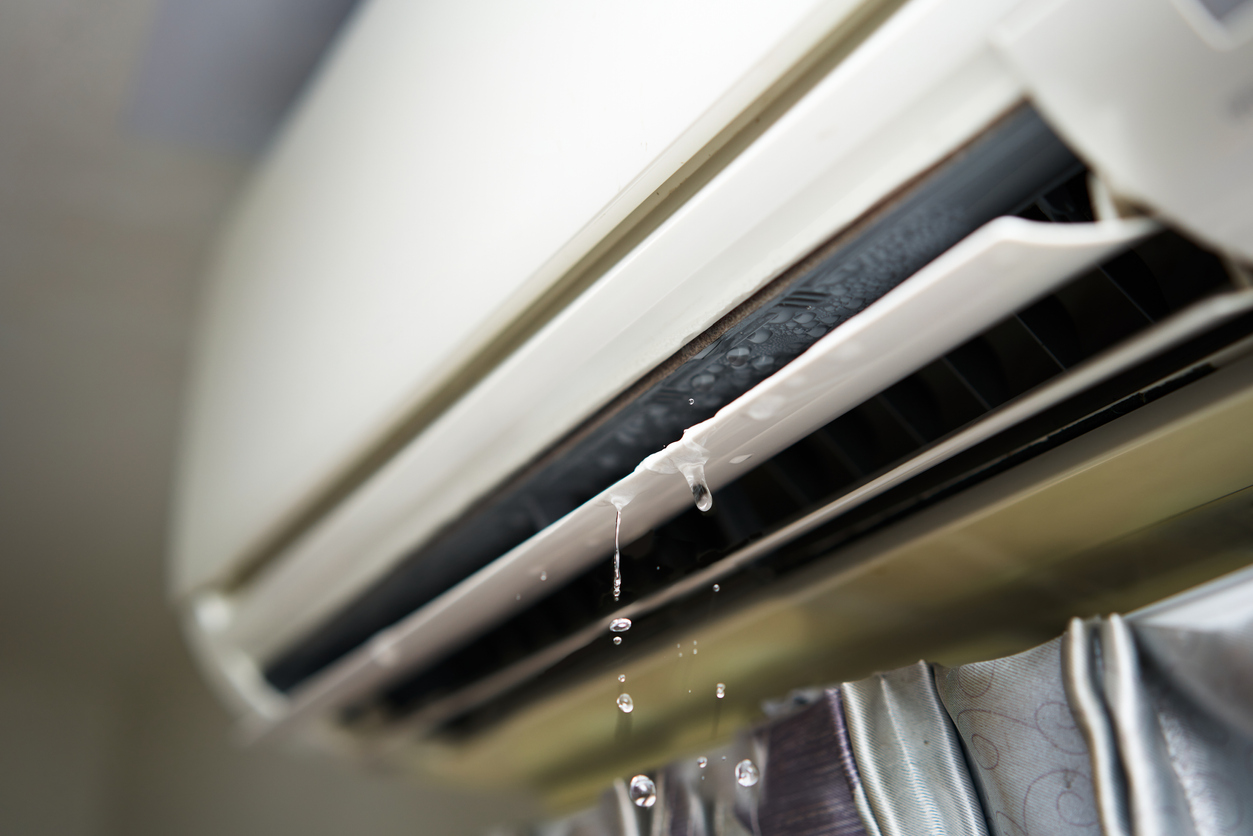
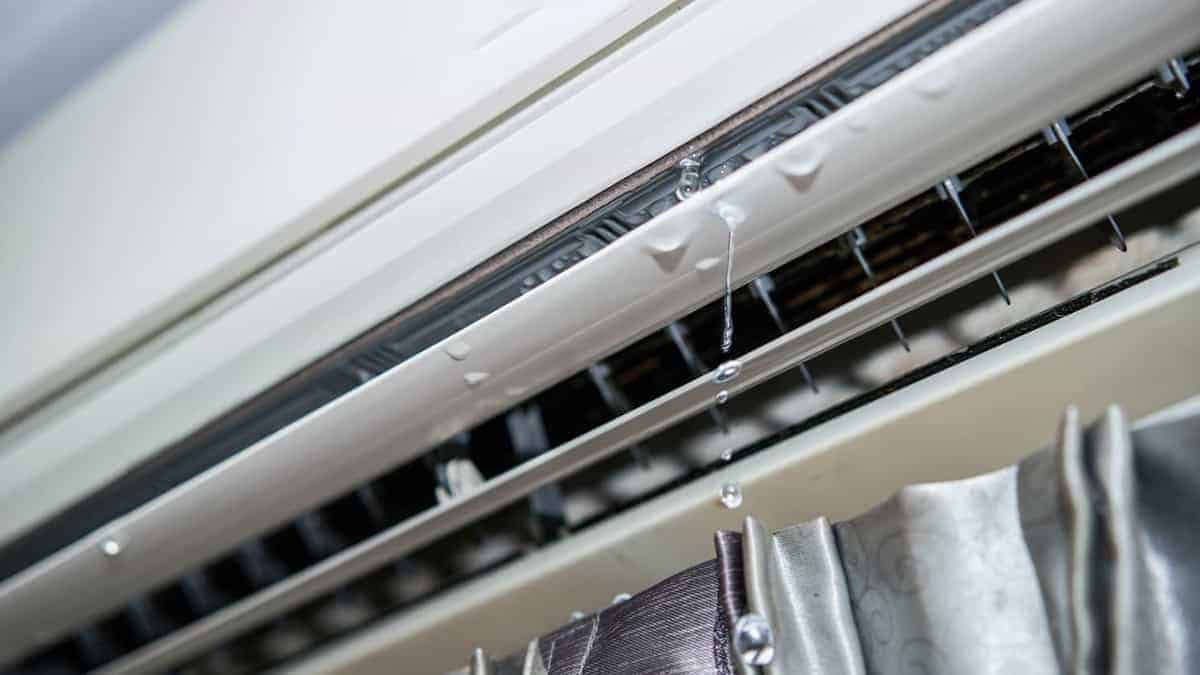
One of the most common, and often alarming, issues homeowners face with their air conditioning system is a leaking evaporator coil. Imagine discovering a puddle near your indoor AC unit. It's not just annoying; it can signal underlying problems that, if left unaddressed, could lead to costly repairs or even system failure. This article will guide you through troubleshooting this issue, helping you identify the cause and take appropriate action.
Understanding the Evaporator Coil and its Function
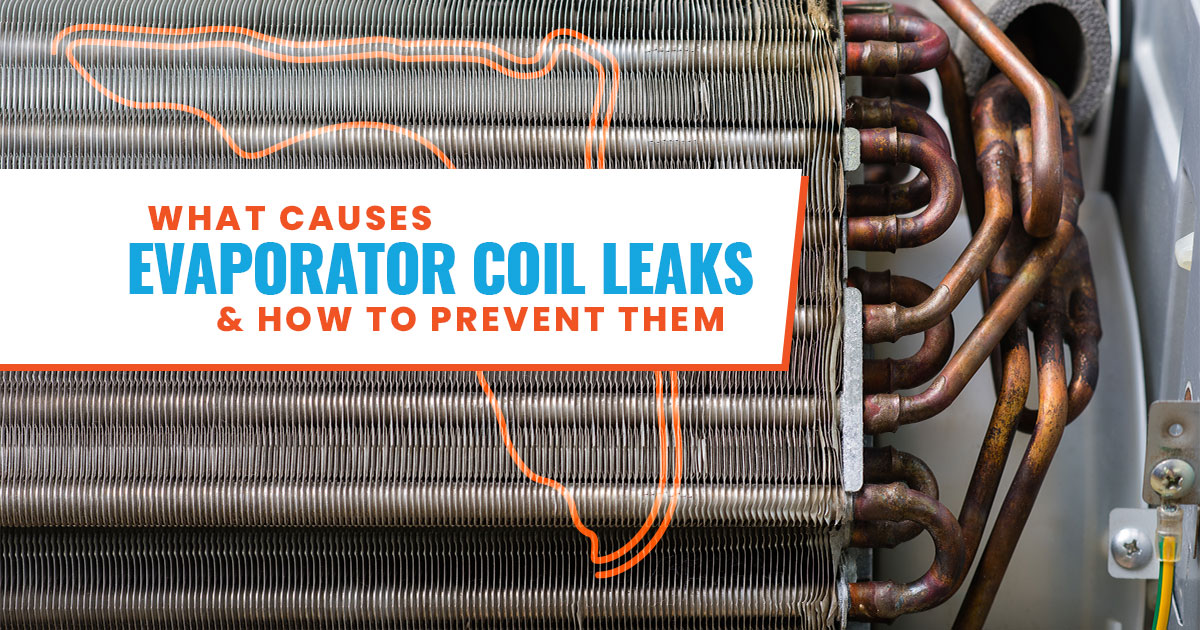
Before diving into troubleshooting, let's understand what the evaporator coil is and what it does. The evaporator coil is located inside your indoor AC unit. Its primary function is to absorb heat from the air passing over it. Refrigerant flowing through the coil evaporates, hence the name, absorbing heat and cooling the air. The cooled air is then circulated throughout your home. During this process, condensation naturally forms on the coil. This condensation is collected in a drain pan and directed through a drain line to the outside or a floor drain.
Therefore, a properly functioning AC system should *not* have water leaking from the unit itself, but rather draining efficiently away.
Diagnosing the Leak: A Step-by-Step Approach
When you notice water leaking from your indoor AC unit, follow these steps to diagnose the problem. Remember to always turn off the power to your AC unit at the breaker before inspecting any internal components.
Step 1: Initial Assessment (No Tools Required)
Begin with a simple visual inspection. This can often reveal obvious issues.
- Check the Drain Pan: Look at the drain pan beneath the evaporator coil. Is it overflowing? Is it cracked or damaged? If it's overflowing, the drain line is likely clogged. If it's cracked, you've identified a potential source of the leak.
- Inspect the Area Around the Unit: Examine the floor and walls surrounding the indoor unit. Is the water damage localized to a specific area, or is it widespread? This can help pinpoint the source of the leak.
- Observe the Air Filter: A dirty air filter restricts airflow, causing the evaporator coil to get too cold. This can lead to ice formation on the coil, which melts and overflows the drain pan when the system is off. Check your air filter and see if it's visibly dirty.
Step 2: Checking the Drain Line (Minimal Tools Required)
A clogged drain line is the most common cause of evaporator coil leaks. Here's how to check it:
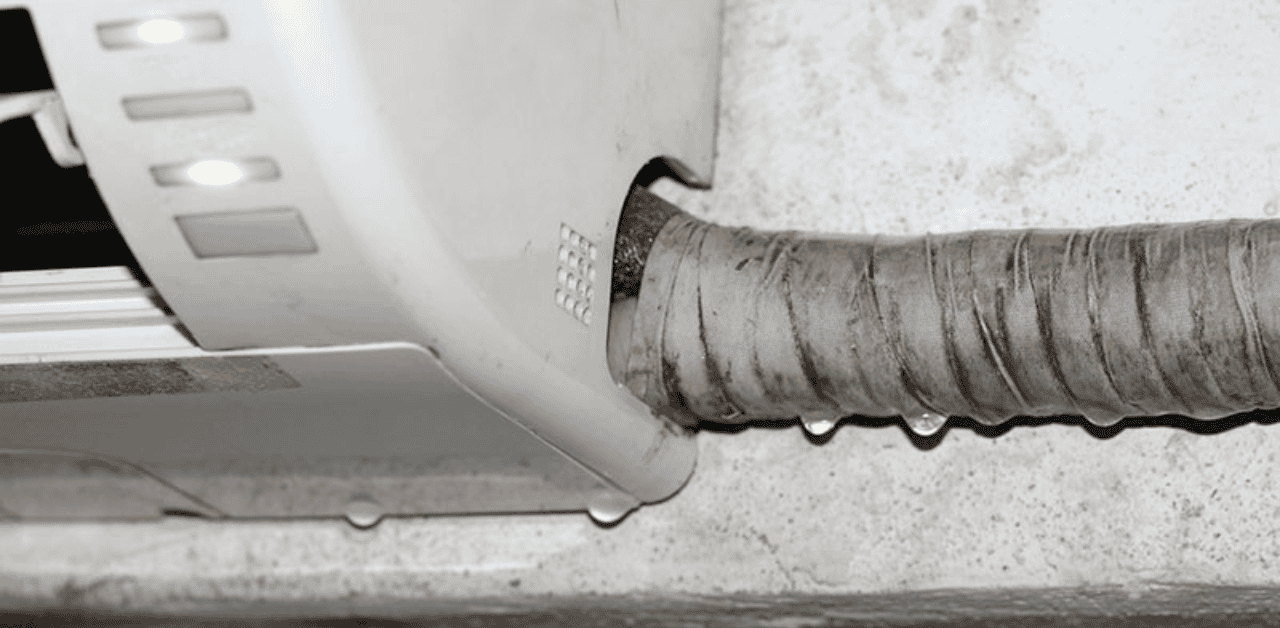
- Locate the Drain Line: Find the drain line, typically a PVC pipe, exiting the indoor unit and leading outside or to a floor drain.
- Visual Inspection: Examine the drain line for any obvious kinks, blockages, or disconnections.
- Test for Clogs (Without Tools Initially): If the drain line is accessible, try to gently blow air through it. If you feel resistance, there's likely a clog.
- Using a Wet/Dry Vacuum: This is where a basic tool comes in handy. Attach the vacuum hose to the end of the drain line *outside* the house or at the drain. Use the vacuum to suck out any blockages. Be prepared for a surge of water!
- Pouring Water: After vacuuming, slowly pour water down the drain line. If it drains freely, the clog is likely cleared. If it still drains slowly or not at all, proceed to the next step.
Step 3: Clearing a Stubborn Drain Line Clog (Basic Tools Required)
Sometimes, a clog is too stubborn to be removed with a vacuum alone. Here are some alternative methods:
- Using a Stiff Wire or Plumbing Snake: Carefully insert a stiff wire (like a coat hanger straightened out) or a plumbing snake into the drain line to break up the clog. Be gentle! You don't want to puncture the drain line. Rotate the wire or snake as you push it in.
- Using Vinegar or Bleach (Use with Caution): Pour a cup of white vinegar or a diluted bleach solution (1 part bleach to 10 parts water) down the drain line. Let it sit for 30 minutes to an hour to dissolve the clog. Then, flush the line with water. *Never mix vinegar and bleach, as it creates toxic fumes.* Use one or the other, but not both. Use proper PPE like gloves and eye protection when handling bleach.
Step 4: Inspecting the Evaporator Coil (Requires Some Disassembly and Knowledge)
This step involves accessing the evaporator coil itself, which requires some disassembly of the indoor unit. If you are not comfortable with this, or if you are unsure about any of the following steps, call a professional HVAC technician.
- Turn Off the Power: Crucially important! Turn off the power to the AC unit at the breaker.
- Remove Access Panels: Carefully remove the access panels to expose the evaporator coil. This may involve unscrewing some screws.
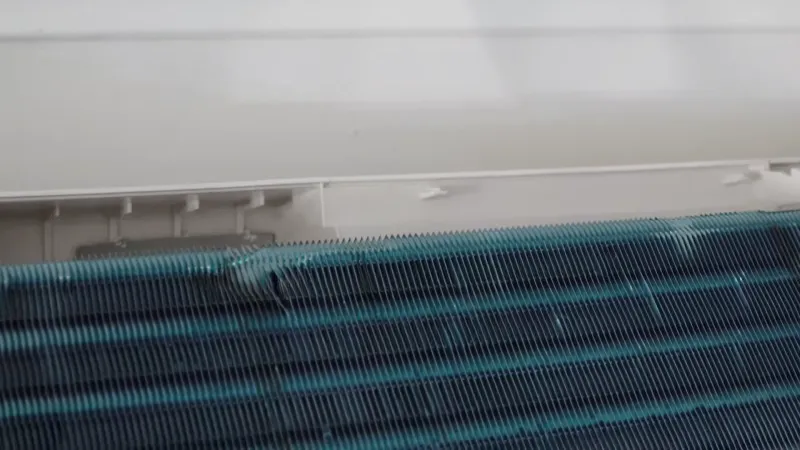
- Visual Inspection of the Coil: Look for signs of ice buildup, excessive dust accumulation, or corrosion on the coil. Ice buildup indicates airflow problems (like a dirty filter or a malfunctioning blower motor) or refrigerant issues. Excessive dust can also restrict airflow and cause the coil to freeze. Corrosion can eventually lead to refrigerant leaks.
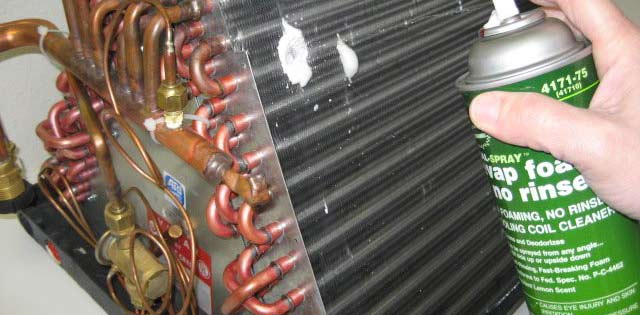
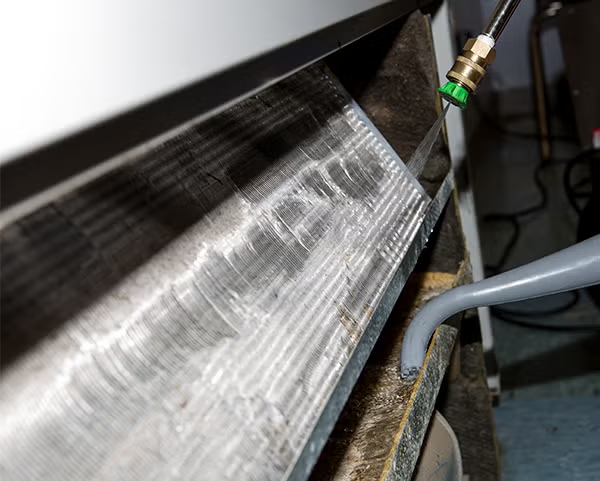
- Cleaning the Coil (If Necessary): If the coil is dusty, you can try to gently clean it with a soft brush or a vacuum cleaner with a brush attachment. Do not use harsh chemicals or water directly on the coil. Be very careful not to damage the fins.
Step 5: Checking for Refrigerant Leaks (Requires Professional Equipment and Expertise)
This step is best left to a professional HVAC technician. Refrigerant leaks can be dangerous and require specialized equipment to detect and repair. If you suspect a refrigerant leak (e.g., the coil is constantly icing up even after cleaning the filter and drain line), do not attempt to repair it yourself.
DIY Actions You Can Take (and When to Call a Pro)
Based on your diagnosis, here's a summary of DIY actions you can safely take:
- Replace a Dirty Air Filter: This is a simple and essential maintenance task that can prevent many problems.
- Clear a Clogged Drain Line: Using a wet/dry vacuum, wire, or vinegar/bleach solution can often resolve the leak.
- Clean the Drain Pan: If the drain pan is dirty, clean it with a mild detergent and water.
- Ensure Proper Airflow: Make sure vents are open and unobstructed to allow for proper air circulation.
Call a professional HVAC technician when:
- You suspect a refrigerant leak.
- The evaporator coil is damaged or corroded.
- You are uncomfortable disassembling the indoor unit.
- The problem persists after you've tried the DIY solutions.
- You notice signs of electrical problems (e.g., burning smell, sparking).
Preventive Maintenance: Avoiding Future Leaks
Prevention is always better than cure. Here are some tips to prevent future evaporator coil leaks:
- Replace Your Air Filter Regularly: Check your air filter monthly and replace it every 1-3 months, depending on the type of filter and the air quality in your home.
- Schedule Regular HVAC Maintenance: Have your AC system professionally inspected and serviced at least once a year. This will help identify and address potential problems before they become major issues.
- Keep the Area Around Your Outdoor Unit Clear: Ensure that the area around your outdoor unit is free of debris, such as leaves, branches, and grass clippings. This will help ensure proper airflow and prevent the system from overheating.
- Consider a Condensate Pump: If your drain line is prone to clogging, consider installing a condensate pump. This pump will automatically remove water from the drain pan and prevent it from overflowing.
Conclusion
A leaking evaporator coil can be a frustrating problem, but with a systematic approach, you can often diagnose and resolve the issue yourself. By following the steps outlined in this article, you can determine the cause of the leak and take appropriate action. Remember to prioritize safety and call a professional HVAC technician when you are unsure or uncomfortable with any of the steps. Regular maintenance is key to preventing future leaks and ensuring the efficient and reliable operation of your AC system. With a little knowledge and effort, you can keep your AC system running smoothly and enjoy a comfortable home all summer long.