Air Conditioner Furnace Wiring

Understanding the wiring between your air conditioner and furnace is crucial for both efficient operation and safe DIY troubleshooting. This guide provides a comprehensive overview of HVAC wiring, common problems, and when it's time to call a professional.
HVAC Wiring Basics
Your HVAC system isn't a single unit; it's a network of components working together. The furnace handles heating, the air conditioner handles cooling, and the thermostat acts as the brain, controlling both. This requires a complex interplay of electrical wiring.
Common Wiring Components
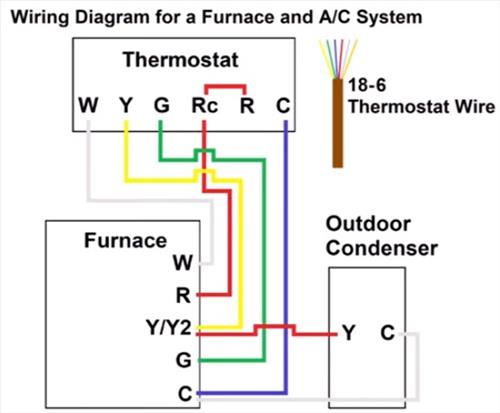
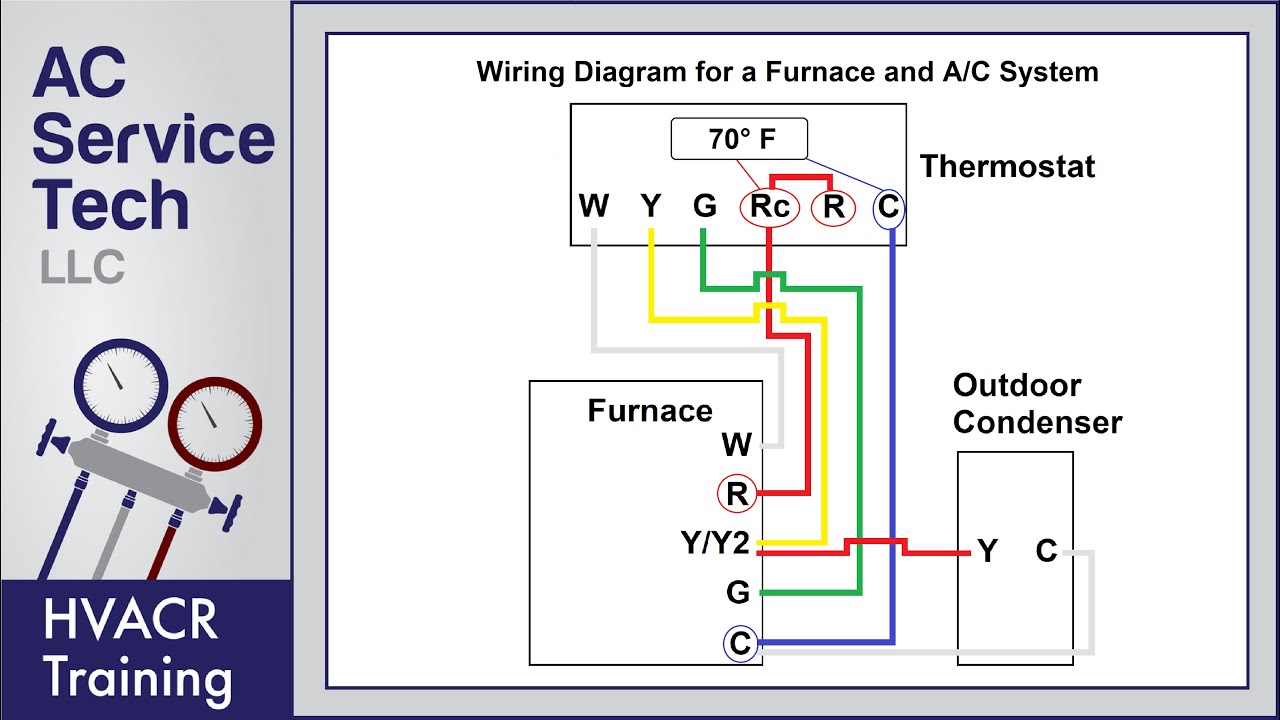
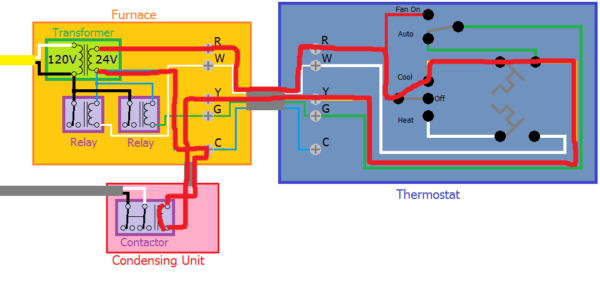
- Thermostat Wiring: Low-voltage wiring (typically 24V) that connects the thermostat to both the furnace and air conditioner.
- Control Wiring: Links the furnace and air conditioner, allowing them to communicate and coordinate their operation.
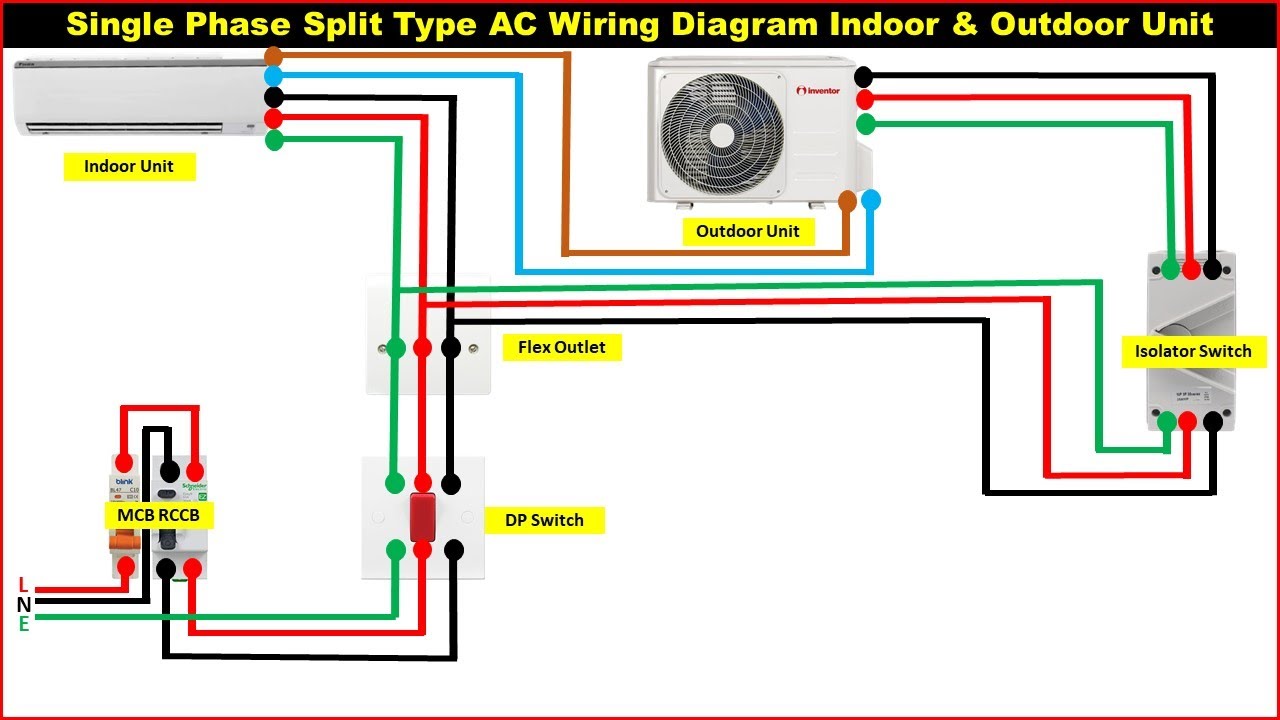
- Line Voltage Wiring: High-voltage wiring (120V or 240V) that supplies power to the furnace blower motor and the air conditioner's compressor and fan.
- Ground Wiring: Provides a path for electrical current to safely return to the ground, preventing shocks.
Wire Colors and Their Meanings (Typical)
While colors can vary depending on the manufacturer and installation, here are some common color codes:
- Red (R): Power (24V)
- White (W): Heat
- Yellow (Y): Cooling
- Green (G): Fan
- Blue (C): Common (24V return)
Important Note: Always verify wire functions with a multimeter before making any changes. Never assume color coding is consistent across different systems.
Essential Tools and Materials
Before you begin any wiring work, gather the necessary tools and materials:
- Multimeter: For testing voltage and continuity.
- Wire Strippers/Crimpers: To safely strip insulation and make secure connections.
- Screwdrivers: Both Phillips head and flathead.
- Pliers: For gripping and manipulating wires.
- Wire Connectors (Wire Nuts): To connect wires safely.
- Electrical Tape: To insulate connections.
- Voltage Tester: To confirm power is off before working on any wiring.
- Safety Glasses: To protect your eyes.
- Gloves: To protect your hands from electrical shock and sharp edges.
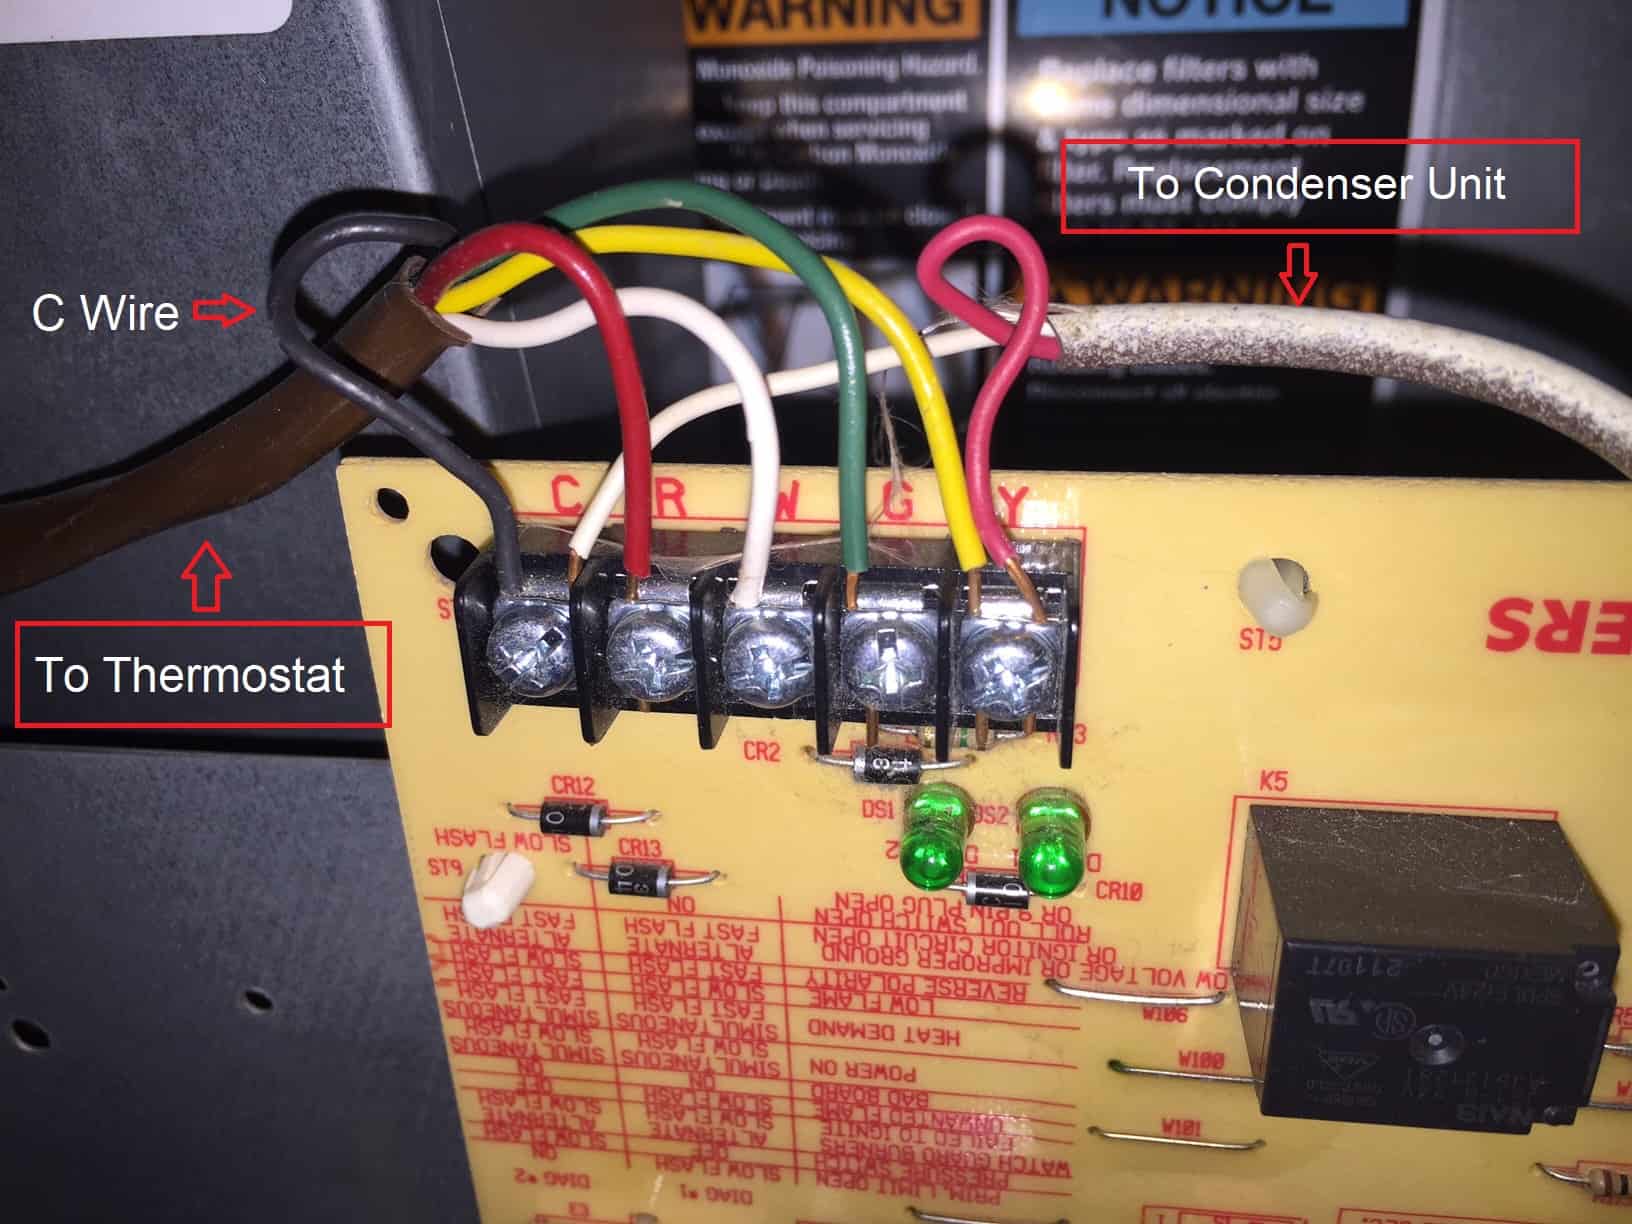
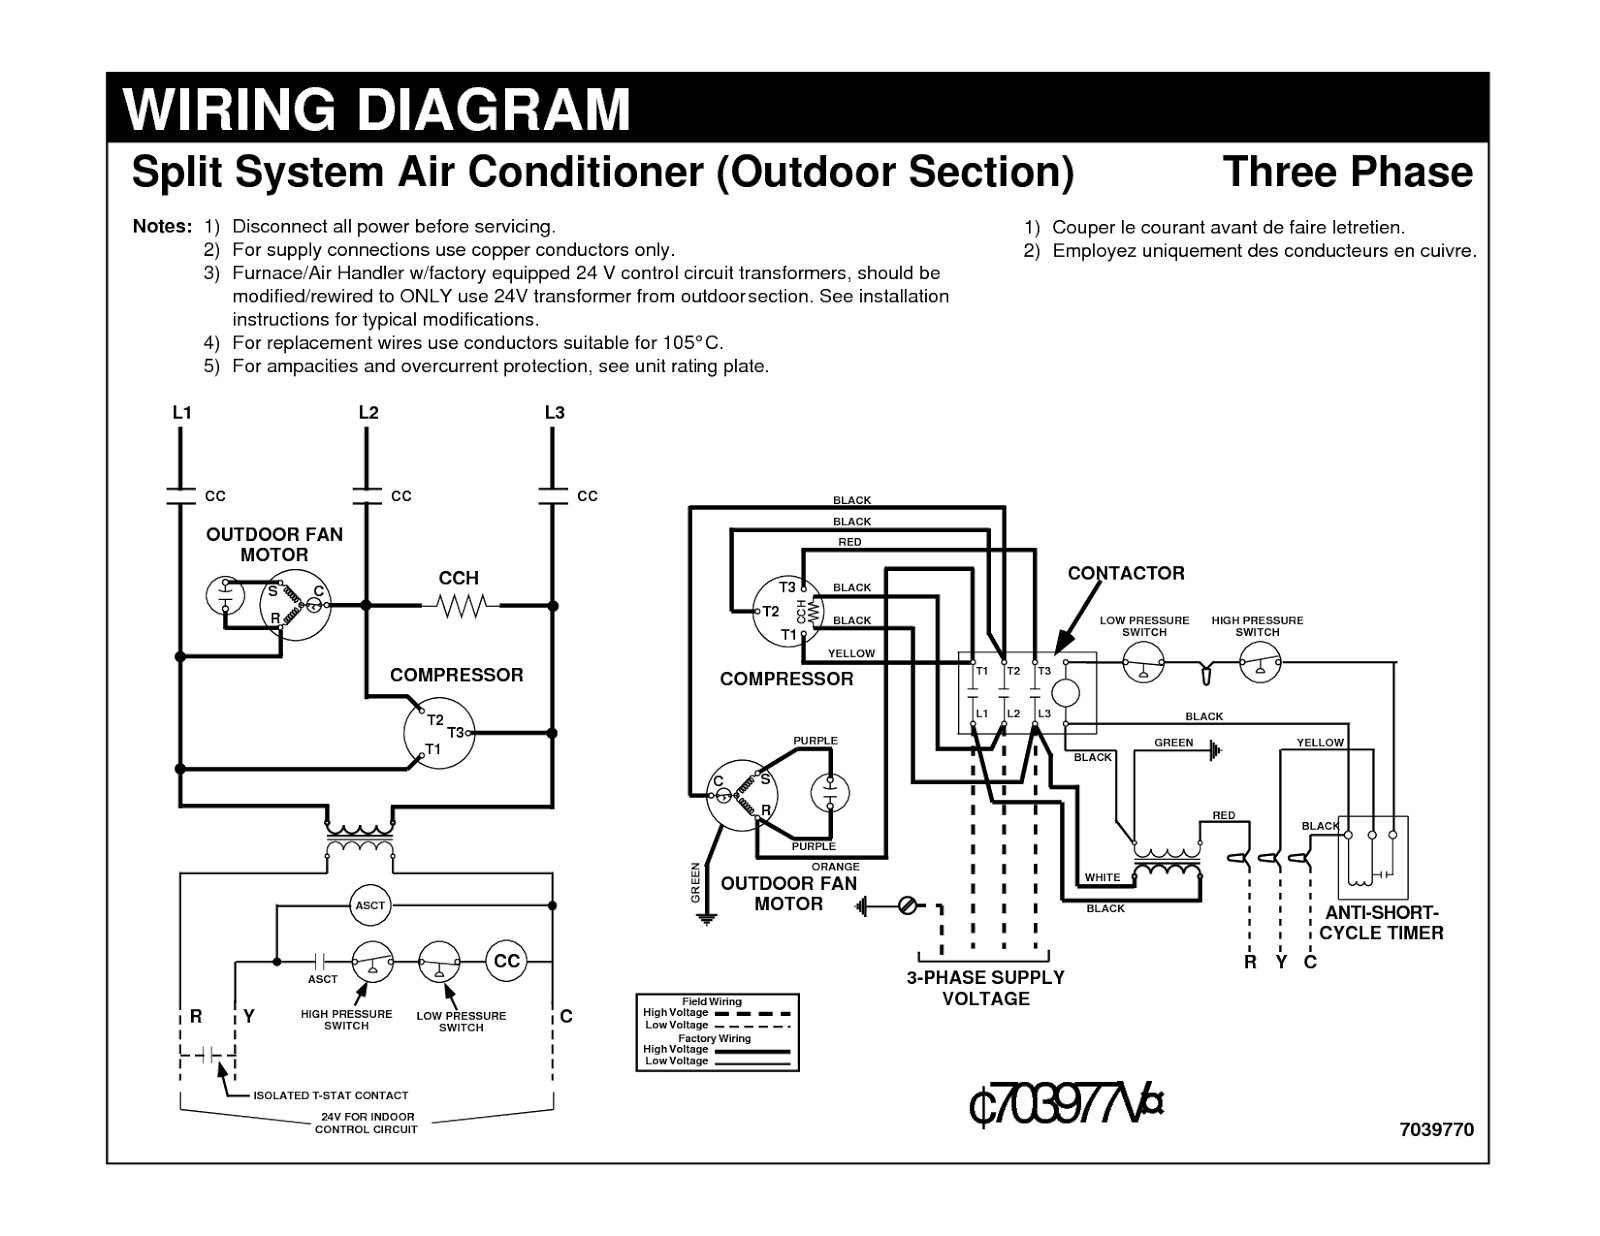
- Wiring Diagram: The wiring diagram for your specific furnace and air conditioner models. These are typically found inside the unit's control panel.
Safety First: Always turn off the power to the HVAC system at the circuit breaker before starting any work. Double-check with a voltage tester to confirm the power is off.
Common HVAC Wiring Problems and Troubleshooting
Many HVAC issues stem from wiring problems. Here are some common issues and how to troubleshoot them:
1. Thermostat Not Working
Possible Causes:
- Blown Fuse: Check the fuse in the furnace control board. Replace if blown.
- Loose Wiring: Inspect the wiring at the thermostat and the furnace control board. Tighten any loose connections.
- Dead Batteries: Replace the batteries in the thermostat (if applicable).
- Faulty Thermostat: If the above steps don't work, the thermostat itself may be faulty and need replacement.
Troubleshooting Steps:
- Check the thermostat display. Is it blank? Replace batteries or check for power.
- Inspect the wiring connections at the thermostat and the furnace control board. Look for loose or corroded wires.
- Use a multimeter to check for 24V power between the R and C terminals at the thermostat. If there's no power, trace the wiring back to the furnace.
2. Air Conditioner Not Turning On
Possible Causes:
- Faulty Contactor: The contactor is a switch that controls power to the compressor. A faulty contactor can prevent the AC from turning on.
- Tripped Breaker: Check the breaker for the outdoor unit. Reset if tripped.
- Loose Wiring: Inspect the wiring at the outdoor unit and the furnace control board.
- Faulty Capacitor: The capacitor helps start the compressor motor. A faulty capacitor can prevent the AC from starting. You may hear a humming sound.
Troubleshooting Steps:
- Check the breaker for the outdoor unit. Reset if tripped.
- Inspect the wiring connections at the outdoor unit and the furnace control board. Look for loose or corroded wires.
- Carefully (with the power off and using insulated tools) inspect the contactor. Look for signs of burning or corrosion.
- Consult a professional for capacitor or contactor testing and replacement. These components store a charge and can be dangerous to work with.
3. Furnace Not Turning On
Possible Causes:
- Faulty Igniter: The igniter lights the gas in the furnace. A faulty igniter can prevent the furnace from turning on.
- Flame Sensor Issues: The flame sensor detects the presence of a flame. A dirty or faulty flame sensor can shut down the furnace.
- Limit Switch Tripped: The limit switch shuts down the furnace if it overheats. A tripped limit switch indicates a potential airflow problem.
- Loose Wiring: Inspect the wiring at the furnace control board and other components.
Troubleshooting Steps:
- Check the furnace error code (if applicable). This can help pinpoint the problem.
- Inspect the flame sensor. Clean it with fine steel wool or sandpaper.
- Check the limit switch. Reset it if tripped (but investigate the cause of the overheating).
- Inspect the wiring connections at the furnace control board and other components. Look for loose or corroded wires.
4. Fan Not Working
Possible Causes:
- Faulty Blower Motor: The blower motor circulates air through the system. A faulty motor can prevent the fan from working.
- Faulty Capacitor: The capacitor helps start the blower motor.
- Loose Wiring: Inspect the wiring at the blower motor and the furnace control board.
Troubleshooting Steps:
- Inspect the wiring connections at the blower motor and the furnace control board. Look for loose or corroded wires.
- Listen for a humming sound when the fan is supposed to be running. This could indicate a faulty capacitor.
- Consult a professional for blower motor or capacitor testing and replacement.
Safety Precautions
Working with electrical wiring can be dangerous. Always follow these safety precautions:
- Turn Off Power: Always turn off the power to the HVAC system at the circuit breaker before starting any work. Verify with a voltage tester.
- Wear Safety Gear: Wear safety glasses and gloves to protect your eyes and hands.
- Use Insulated Tools: Use tools with insulated handles to prevent electrical shock.
- Never Work Alone: Have someone nearby in case of an emergency.
- Consult a Professional: If you're not comfortable working with electrical wiring, call a qualified HVAC technician.
When to Call a Professional
While some wiring issues are simple to fix, others require the expertise of a qualified HVAC technician. Call a professional if:
- You are not comfortable working with electrical wiring.
- You are unsure of the problem.
- You suspect a major component failure (e.g., compressor, blower motor).
- You are working with high-voltage wiring.
- You smell burning or see signs of electrical damage.
- You are dealing with refrigerant lines.
Estimating Repair Costs
The cost of HVAC wiring repairs can vary depending on the complexity of the problem and the parts required. Here are some general estimates:
- Thermostat Wiring Repair: $75 - $200
- Contactor Replacement: $150 - $350
- Capacitor Replacement: $100 - $300
- Blower Motor Replacement: $300 - $800
- Full System Rewiring: $500 - $1500+
These are just estimates. Always get a quote from a qualified HVAC technician before proceeding with any repairs.
Preventative Maintenance
Regular maintenance can help prevent wiring problems and extend the life of your HVAC system. Here are some tips:
- Inspect Wiring Regularly: Check for loose or corroded wires.
- Clean Components: Keep the furnace and air conditioner clean and free of debris.
- Change Air Filters Regularly: Clogged air filters can restrict airflow and cause overheating, which can damage wiring.
- Schedule Professional Maintenance: Have a qualified HVAC technician inspect your system annually.
By understanding the basics of HVAC wiring and following these troubleshooting tips, you can keep your system running efficiently and safely. Remember, when in doubt, always call a professional.