Air Conditioner Gauges How To Use

Understanding Air Conditioner Gauges: A Comprehensive Guide
Air conditioner gauges, also known as manifold gauge sets, are essential tools for diagnosing and servicing air conditioning and refrigeration systems. They provide critical information about system pressures, which helps technicians determine if the system is functioning correctly or if there's a problem like a refrigerant leak, compressor issue, or restriction in the lines. This guide explains how to use AC gauges, interpreting the readings, and troubleshooting common issues.
The Components of an AC Gauge Set
A standard AC gauge set consists of several key components:
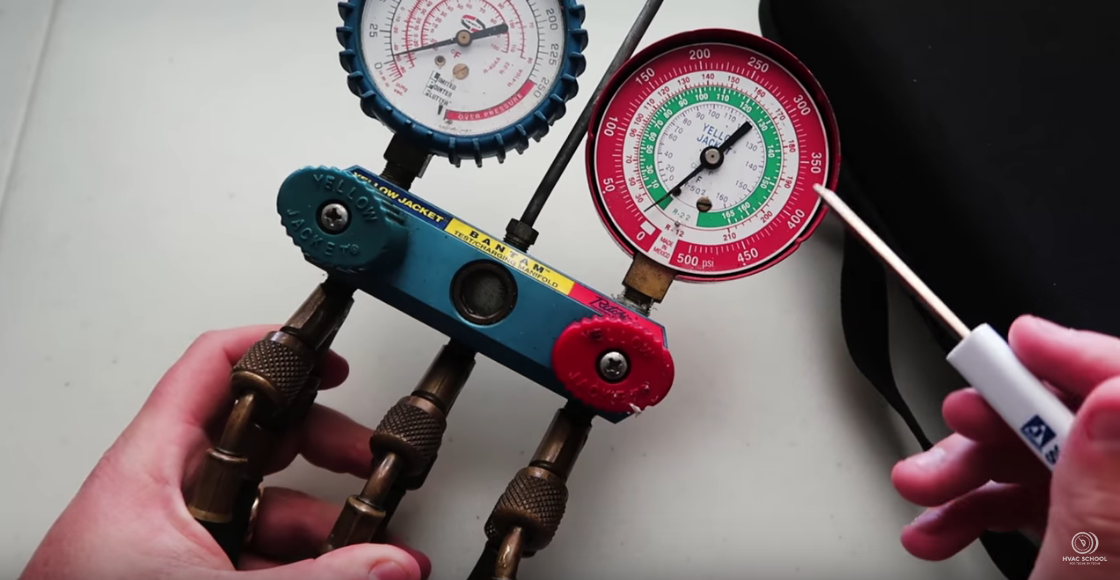
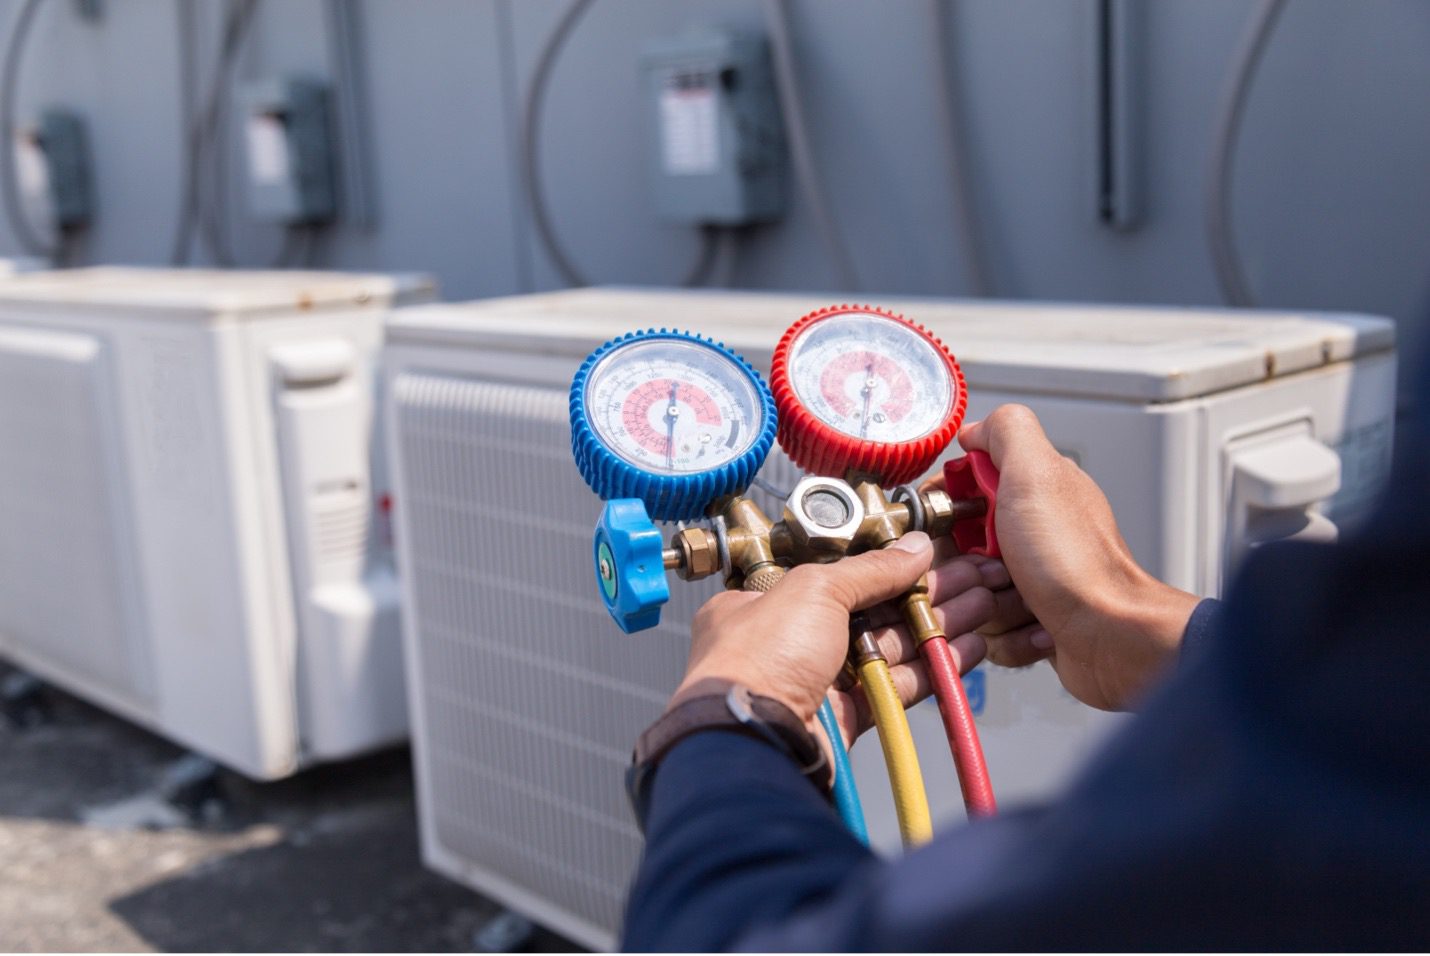
- Manifold: The central block that connects the hoses and gauges. It typically has two or more valves that control the flow of refrigerant.
- High-Pressure Gauge (Typically Red): Measures the discharge pressure of the compressor. This is the pressure on the high side of the system.
- Low-Pressure Gauge (Typically Blue): Measures the suction pressure of the compressor. This is the pressure on the low side of the system.
- Hoses: Colored hoses connect the manifold to the service ports on the AC system. The colors generally match the gauges (red for high pressure, blue for low pressure, and yellow for a vacuum pump or refrigerant tank).
- Service Port Adapters: These adapters connect the hoses to the specific types of service ports found on different AC systems. Common types include Schrader valves and flare fittings.
Safety Precautions
Working with refrigerant and high-pressure systems requires caution. Always wear safety glasses and gloves. Refrigerant can cause frostbite if it comes into contact with skin or eyes. Ensure the area is well-ventilated. Recover refrigerant properly using a recovery machine; never vent refrigerant into the atmosphere as it is harmful to the ozone layer and illegal in many areas.
Connecting the Gauges to the AC System
Before connecting the gauges, identify the high and low-pressure service ports on the AC unit. These ports are usually located on the compressor or near the accumulator/receiver-drier.
- Turn off the AC system: Ensure the AC unit is completely turned off before connecting the gauges.
- Connect the Blue (Low-Pressure) Hose: Attach the blue hose to the low-pressure service port. Ensure the connection is snug and secure.
- Connect the Red (High-Pressure) Hose: Attach the red hose to the high-pressure service port. Again, ensure a tight and secure connection.
- Connect the Yellow (Service) Hose: The yellow hose is typically used for connecting to a vacuum pump for evacuation or a refrigerant tank for charging. For taking initial pressure readings, leave the yellow hose disconnected or connected to a recovery machine.
Reading the Gauges
Once the hoses are connected, you can begin to read the gauges. There are two primary readings to focus on: the high-side pressure and the low-side pressure. These pressures are usually measured in PSI (pounds per square inch).
Interpreting Pressure Readings
The ideal pressure readings depend on several factors, including:
- Refrigerant Type: Different refrigerants have different pressure characteristics. Common refrigerants include R-22, R-410A, and R-134a. You must know which refrigerant is in the system to interpret the readings correctly.
- Ambient Temperature: Higher ambient temperatures generally result in higher pressures.
- System Load: A system operating under a heavy cooling load will typically have different pressures than a system with a light load.
General Guidelines (R-410A as an example):
- Low-Side Pressure: Typically, a properly charged R-410A system will have a low-side pressure between 110-150 PSI.
- High-Side Pressure: The high-side pressure for R-410A can range from 300-400 PSI, depending on the ambient temperature.
Example: On a 90°F day, a properly functioning R-410A system might have a low-side pressure of 130 PSI and a high-side pressure of 350 PSI. These values should be seen as approximations, and you should always consult the manufacturer's specifications for the specific unit you are working on. Often, a sticker on the unit displays the target pressures based on the outdoor temperature.
Important Note: These are general guidelines only. Always consult the manufacturer's specifications for the specific AC unit and refrigerant type being used. Use a PT (Pressure-Temperature) chart appropriate for the refrigerant type to correlate pressure readings with temperature, aiding in accurate diagnostics.
Troubleshooting with AC Gauges
AC gauges are invaluable tools for diagnosing common AC system problems.
Low Refrigerant Charge
Symptoms: Low-side pressure is lower than normal, and high-side pressure may also be lower than normal. The AC unit may not be cooling effectively.
Diagnosis: Indicates a refrigerant leak. Use a leak detector to find and repair the leak before recharging the system. Ignoring a leak and continually adding refrigerant is harmful to the environment and can cause further damage to the system.
Overcharged System
Symptoms: Both low-side and high-side pressures are higher than normal. The AC unit may cycle on and off frequently.
Diagnosis: Too much refrigerant in the system. Carefully release some refrigerant using the manifold valves until the pressures are within the correct range. Always use a refrigerant recovery machine.
Compressor Issues
Symptoms: Abnormal pressure readings that don't match typical refrigerant charge issues. The compressor may be noisy or not running at all.
Diagnosis: Could indicate a failing or inefficient compressor. A compressor performance test, using the gauge readings to calculate compression ratio and efficiency, may be necessary.
Restricted Airflow
Symptoms: Low-side pressure is lower than normal, and high-side pressure is higher than normal. The evaporator coil may be freezing up.
Diagnosis: Often caused by a dirty air filter, blocked ductwork, or a malfunctioning blower motor. Clean or replace the air filter and inspect the ductwork for obstructions. A TXV (Thermostatic Expansion Valve) malfunction could also cause these symptoms.
Non-Condensables in the System
Symptoms: High-side pressure is significantly higher than expected for the ambient temperature.
Diagnosis: Indicates air or other non-condensable gases in the refrigerant lines. Evacuate the system using a vacuum pump to remove the contaminants before recharging.
Evacuating and Charging an AC System
After diagnosing and repairing any issues, you may need to evacuate and recharge the AC system.
Evacuation
Evacuating the system removes air, moisture, and other contaminants. Connect the yellow hose to a vacuum pump and open both the high-side and low-side valves on the manifold. Operate the vacuum pump until it reaches a deep vacuum (typically below 500 microns). This process ensures that the system is clean and dry before recharging.
Charging
Charging the system involves adding the correct amount of refrigerant. Connect the yellow hose to a refrigerant tank and use a charging scale to weigh in the specified amount of refrigerant according to the manufacturer's specifications. Introduce refrigerant into the system as a vapor or liquid, depending on the system's design and the refrigerant type. Superheat and subcooling measurements, which involve using a thermometer in conjunction with the pressure readings, should be taken during the charging process to ensure proper system operation and efficiency. These measurements ensure the refrigerant is fully vaporized before entering the compressor and fully condensed before entering the expansion valve.
Choosing the Right AC Gauge Set
Selecting the right AC gauge set is important for accurate and reliable measurements. Consider the following factors:
- Refrigerant Compatibility: Ensure the gauge set is compatible with the type of refrigerant you'll be working with (e.g., R-410A, R-134a). Using the wrong gauge set can damage the gauges and lead to inaccurate readings.
- Digital vs. Analog: Digital gauges offer precise readings and often include additional features like temperature measurements and data logging. Analog gauges are less expensive and simpler to use, but may not be as accurate.
- Build Quality: Choose a gauge set with durable construction and high-quality components for long-lasting performance.
Cost Considerations
AC gauge sets can range in price from around $50 for basic analog sets to several hundred dollars for advanced digital sets. The cost of a gauge set is usually less than a single service call, and the tool can save you money and time by allowing you to diagnose and address minor AC issues on your own. Proper system pressure and refrigerant charge can also have a positive effect on overall energy efficiency and operating costs for homeowners, building operators, and facility managers.
Remember to always consult with a qualified HVAC technician for complex repairs and refrigerant handling if you are not properly certified.