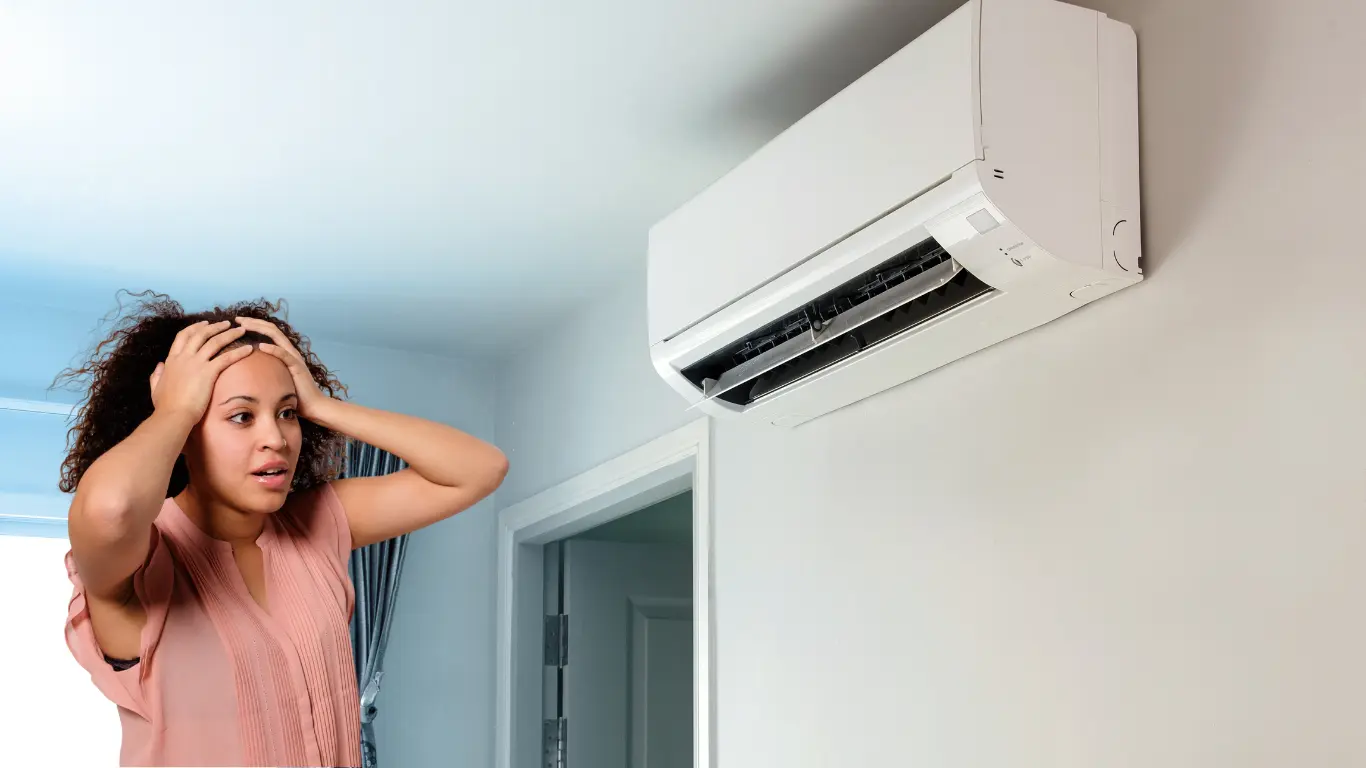
Air Conditioner Not Keeping Up With Heat

It's summer, and the heat is on! But instead of a cool oasis inside your home, your air conditioner is struggling to keep up. Don't sweat it! This guide will walk you through some common reasons why your AC isn't performing and offer some easy DIY troubleshooting steps. We'll also highlight when it's time to call in the pros. Let's get started!
Understanding the Problem: Common Reasons for Weak AC Performance
Before diving into the troubleshooting, it's helpful to understand why your AC might be failing to cool your home effectively. Here are some common culprits:
- Dirty Air Filter: This is the most common cause. A clogged filter restricts airflow, making your AC work harder and less efficiently.
- Dirty Condenser Coils: The outdoor unit's coils release heat. If they're covered in dirt, leaves, or debris, they can't do their job properly.
- Refrigerant Leaks: Low refrigerant levels reduce cooling capacity. This requires professional attention.
- Blocked Vents: Obstructed vents restrict airflow to certain rooms.
- Poor Insulation: Inadequate insulation allows heat to enter your home more easily.
- Ductwork Issues: Leaky or damaged ductwork can lead to significant air loss.
- Oversized or Undersized AC Unit: An improperly sized unit will struggle to cool your home effectively.
- Thermostat Problems: A faulty thermostat can misread the temperature or fail to communicate properly with the AC unit.
- Electrical Issues: Problems with the power supply can prevent the AC unit from running efficiently.
- Compressor Issues: The compressor is the heart of the AC unit. If it fails, the AC won't cool. This requires professional help.
Step-by-Step Troubleshooting Guide
Step 1: Check the Thermostat Settings
This might sound obvious, but it's always the first thing to check! Ensure your thermostat is set to "Cool" and that the temperature is set lower than the current room temperature. Also, check the following:
- Fan Setting: Make sure the fan is set to "Auto" instead of "On." When set to "On," the fan runs constantly, even when the AC isn't actively cooling, which can make it feel less effective.
- Programmable Thermostat: Verify the schedule is correct and that the AC is set to cool during the times you're home. Sometimes a programmed setback can be unintentionally affecting the cooling.
- Battery Check: If your thermostat is battery-powered, ensure the batteries are fresh. Low batteries can cause inaccurate readings and malfunctions.
Step 2: Inspect and Replace the Air Filter
A dirty air filter is the most common reason for poor AC performance. It restricts airflow, causing the unit to work harder and less efficiently. Replace your air filter every 1-3 months, or more often if you have pets or allergies.
- Locate the Filter: The filter is usually located in the return air vent, either on the wall or in the AC unit itself.
- Remove the Old Filter: Note the direction of airflow (usually indicated by an arrow on the filter) before removing it.
- Install the New Filter: Make sure the arrow on the new filter points in the same direction as the old one.
Step 3: Check the Outdoor Unit (Condenser)
The outdoor unit, also known as the condenser, releases heat from your home. If it's blocked or dirty, it can't do its job properly.
- Clear Debris: Remove any leaves, grass clippings, branches, or other debris from around the unit. Ensure there's at least 2-3 feet of clearance around the unit.
- Clean the Condenser Coils: Turn off the power to the AC unit at the breaker box before cleaning the coils. Use a garden hose with a gentle spray nozzle to wash away dirt and debris. Avoid using a pressure washer, as it can damage the delicate fins. You can also purchase a coil cleaner specifically designed for AC units.
- Inspect the Fins: The thin metal fins on the condenser coils can easily bend. If you notice bent fins, you can gently straighten them with a fin comb (available at most hardware stores).
Safety First: Always turn off the power to the AC unit at the breaker box before cleaning the condenser coils.
Step 4: Inspect the Vents
Make sure all supply and return vents are open and unobstructed. Furniture, rugs, or curtains can block airflow and reduce cooling efficiency.
- Open all vents: Ensure all vents are fully open to allow for maximum airflow.
- Clear obstructions: Move any furniture, rugs, or curtains that are blocking vents.
- Check for closed vents: Make sure no vents are accidentally closed, especially in rooms that feel warmer than others.
Step 5: Check for Leaks and Insulation
Poor insulation and leaky ductwork can significantly reduce the effectiveness of your AC. While some fixes require professional help, there are some things you can check yourself.
- Seal Window and Door Gaps: Use weather stripping or caulk to seal any gaps around windows and doors. This will prevent hot air from entering your home.
- Inspect Ductwork (Visually): If possible, visually inspect exposed ductwork in the attic or basement for any obvious leaks or damage. Seal small leaks with duct tape (not regular tape). For larger or more complex ductwork issues, consult a professional.
- Assess Insulation: Check the insulation levels in your attic. Insufficient insulation allows heat to enter your home more easily. Add more insulation if necessary.
Step 6: Check the Circuit Breaker
Ensure the circuit breaker for your AC unit hasn't tripped. A tripped breaker can cut power to the AC unit, preventing it from running. If the breaker has tripped, reset it by switching it off and then back on. If the breaker trips repeatedly, there may be an electrical problem that requires professional attention.
Safety First: If you're uncomfortable working with electrical components, call a qualified electrician.
When to Call a Professional
While the above steps can address many common AC problems, some issues require the expertise of a qualified HVAC technician. Here are some situations where you should call a professional:
- Refrigerant Leaks: Refrigerant leaks are a serious problem that can damage your AC unit and harm the environment. A professional can locate and repair the leak and recharge the refrigerant.
- Compressor Problems: The compressor is the heart of the AC unit. If it fails, the AC won't cool. Compressor repairs are complex and require specialized tools and knowledge.
- Electrical Problems: If you suspect an electrical problem with your AC unit, such as a repeatedly tripping breaker or unusual electrical noises, call a qualified electrician.
- Ductwork Repairs: Major ductwork repairs or replacements require specialized knowledge and equipment.
- Oversized or Undersized AC Unit: If you suspect that your AC unit is not properly sized for your home, consult an HVAC professional to determine the appropriate size.
- You've Tried Everything Else: If you've followed all of the troubleshooting steps above and your AC is still not cooling properly, it's time to call a professional.
Preventative Maintenance Tips
Regular maintenance can help prevent AC problems and extend the life of your unit. Here are some preventative maintenance tips:
- Change the air filter regularly: As mentioned earlier, replace your air filter every 1-3 months.
- Clean the condenser coils annually: Clean the condenser coils at least once a year, preferably in the spring before the cooling season begins.
- Schedule professional maintenance: Have your AC unit professionally inspected and serviced at least once a year. A technician can identify and address potential problems before they become major issues.
- Keep the area around the outdoor unit clear: Ensure there's adequate clearance around the outdoor unit to allow for proper airflow.
- Monitor your energy bills: A sudden increase in your energy bills could indicate a problem with your AC unit.
DIY Part Replacements (With Caution)
There are a few simple part replacements that homeowners can attempt, but only if they are comfortable and confident in their abilities. Always disconnect the power to the unit before attempting any repairs.
- Capacitor Replacement: A failing capacitor can cause the AC unit to not start or run properly. Replacing a capacitor involves working with electricity and requires caution. You must discharge the capacitor before handling it to avoid electric shock. This procedure is best left to a professional, but experienced DIYers can find tutorials online. Always prioritize safety!
- Contactor Replacement: The contactor is an electrical switch that controls the flow of power to the compressor. A failing contactor can prevent the AC unit from running. Replacing a contactor also involves working with electricity. Similar to capacitor replacement, proceed with extreme caution or consult a professional.
- Fan Motor Replacement: Replacing a fan motor is a more involved process, but can be done by experienced DIYers. Make sure to match the new fan motor to the existing one.
Important Safety Note: Working with electrical components can be dangerous. If you are not comfortable or experienced, call a qualified electrician or HVAC technician.
Conclusion
By following these troubleshooting steps, you can often identify and resolve common AC problems. Remember to prioritize safety and call a professional when necessary. With a little effort, you can keep your AC running efficiently and stay cool all summer long!