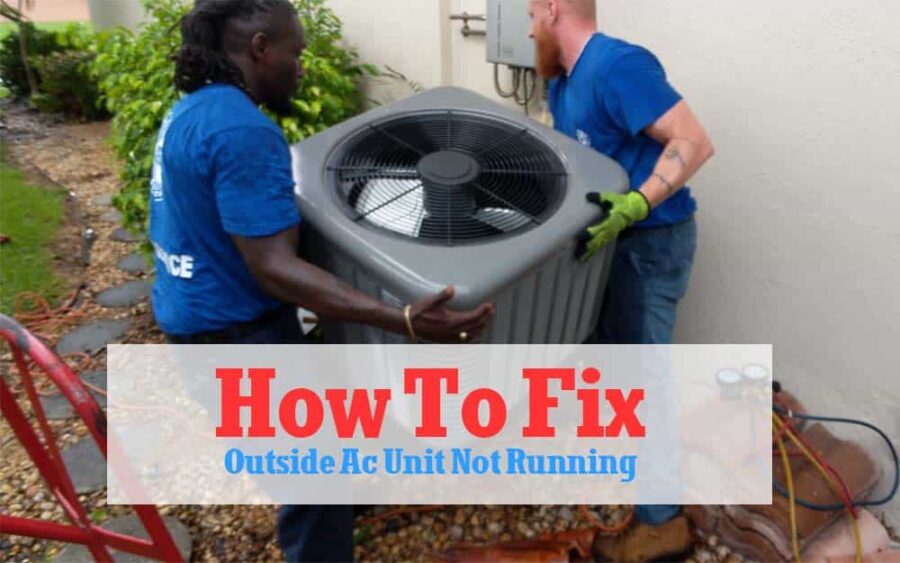
Air Conditioner Outside Unit Not Running

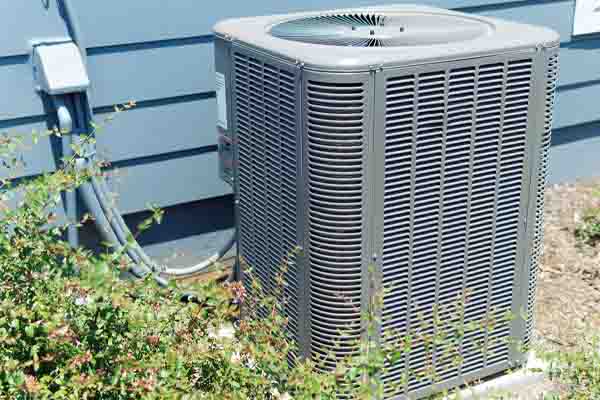
It's a sweltering summer day, and your air conditioner seems to be working... sort of. You can hear the indoor fan blowing, but the air coming out of the vents isn't as cold as it should be. You head outside to investigate, and that's when you notice it: Your outside AC unit isn't running at all. This is a common problem for homeowners, and thankfully, many times it's something you can diagnose and even fix yourself before calling in a costly professional.
This guide will walk you through a step-by-step troubleshooting process. We'll cover common causes, simple DIY fixes, and, most importantly, when it's time to call in the pros. Remember to always prioritize your safety when working with electrical appliances.
Step 1: Is the Thermostat Set Correctly?
This may seem obvious, but it's the first and easiest thing to check. Make sure your thermostat is:
- Set to the "Cool" mode.
- Set to a temperature lower than the current room temperature. Lowering the temperature a few degrees to ensure the AC kicks on is a good test.
- If you have a programmable thermostat, ensure it's not on a schedule that prevents the AC from running.
- Check the batteries in your thermostat. A dead battery can prevent it from communicating with the AC unit.
If the thermostat is set correctly and the indoor fan is running, but the outside unit isn't, proceed to the next step.
Step 2: Check the Breaker
A tripped breaker is a very common reason for an AC unit to stop working. Locate your electrical panel (usually in the basement, garage, or utility room). Look for the breaker labeled "AC," "Air Conditioner," or something similar. If the breaker is in the "tripped" (middle) position, flip it all the way to the "off" position and then back to the "on" position.
Important: If the breaker trips again immediately, do not keep resetting it. This indicates a serious electrical problem that requires a qualified electrician. Repeatedly resetting a tripped breaker can be dangerous and potentially damage your equipment.
If the breaker stays on after resetting it, wait a few minutes and check if the outside unit starts running. If it does, congratulations! You've solved the problem.
Step 3: Inspect the Disconnect Switch
Most outdoor AC units have a dedicated disconnect switch located near the unit itself. This switch is a safety feature that allows you to cut power to the unit for maintenance or repairs. The disconnect switch can be in the form of a pull-out block, a breaker switch, or a simple on/off switch.
- Ensure the disconnect switch is in the "on" position. If it's a pull-out block, make sure it's fully inserted. If it's a switch, ensure it's flipped to the "on" position.
- Visually inspect the disconnect switch for any signs of damage, such as burns, cracks, or loose wires. If you see any damage, do not attempt to repair it yourself. Call a qualified electrician.
After ensuring the disconnect switch is on, wait a few minutes to see if the AC unit starts running.
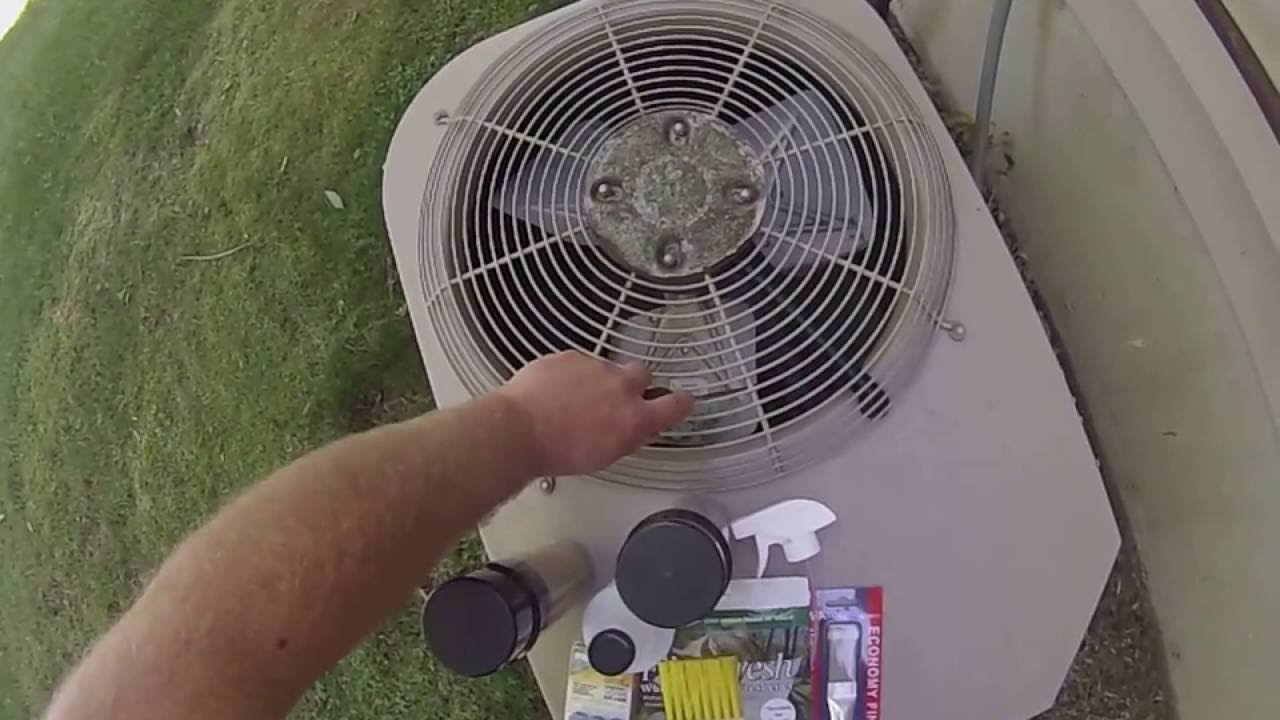
Step 4: Examine the Condenser Fan
The condenser fan is the large fan located on top of the outdoor AC unit. Its purpose is to dissipate heat from the refrigerant. If the fan is not running, the AC unit will overheat and shut down.
- Visually inspect the fan blades for any obstructions. Common obstructions include leaves, twigs, debris, or even small animals. Carefully remove any obstructions you find.
- Check if the fan blades are bent or damaged. Bent or damaged blades can prevent the fan from spinning freely. If the blades are only slightly bent, you may be able to carefully straighten them. However, if they are severely damaged, you will need to replace the fan blade assembly.
- (Power Off First!) Before attempting to manually spin the fan, ensure the power to the AC unit is turned off at the disconnect switch. Then, try to gently spin the fan blades by hand. If the fan spins freely, the motor may be faulty. If the fan is difficult to turn, the motor bearings may be seized.
Important: Never stick your fingers or any objects into the fan while the power is on. Even if the fan isn't running, it could start unexpectedly.
Step 5: Clean the Condenser Coils
The condenser coils are located around the perimeter of the outdoor AC unit. These coils dissipate heat from the refrigerant. Over time, they can become covered in dirt, dust, pollen, and other debris, which reduces their efficiency and can cause the AC unit to overheat. Cleaning the coils can often restore proper operation.
Tools you'll need:
- Garden hose with a spray nozzle
- Fin comb (optional, but recommended)
- Screwdriver (to remove access panels, if necessary)
Cleaning procedure:
- Turn off the power to the AC unit at the disconnect switch.
- Remove any access panels that are blocking the coils.
- Use the garden hose with a spray nozzle to gently spray the coils from the inside out. Avoid using a high-pressure spray, as this can damage the delicate fins.
- If the fins are bent or crushed, use a fin comb to carefully straighten them.
- Reinstall the access panels.
- Turn the power back on at the disconnect switch.
Important: Be careful not to bend the fins while cleaning the coils. The fins are very delicate and can be easily damaged.
Step 6: Check the Capacitor
The capacitor is an electrical component that helps start and run the AC unit's motor. A failing capacitor is a common cause of AC unit problems. This step requires caution as capacitors can store an electrical charge even after the unit is powered off.
Warning: Working with capacitors can be dangerous. If you are not comfortable working with electrical components, do not attempt this step. Call a qualified HVAC technician.
Steps to check the capacitor (proceed with extreme caution):
- Turn off the power to the AC unit at both the breaker and the disconnect switch. Double-check that the power is off using a non-contact voltage tester.
- Locate the capacitor inside the AC unit's control panel. It's usually a cylindrical metal component.
- Discharge the capacitor using a screwdriver with an insulated handle. Carefully touch the screwdriver blade to both terminals of the capacitor simultaneously. This will discharge any stored electricity. Be prepared for a small spark.
- Visually inspect the capacitor for any signs of damage, such as bulging, leaking, or corrosion. If you see any damage, the capacitor needs to be replaced.
- If you have a multimeter, you can test the capacitance of the capacitor to see if it's within the specified range. However, this requires specialized knowledge and should only be done by someone who is qualified.
If you suspect the capacitor is faulty, it's best to call a qualified HVAC technician to replace it. Replacing a capacitor requires specialized tools and knowledge, and it's important to use the correct replacement capacitor.
When to Call a Professional
While many AC unit problems can be resolved with simple DIY fixes, there are some issues that require professional attention. It's time to call a qualified HVAC technician if:
- The breaker trips repeatedly after resetting it. This indicates a serious electrical problem that could be dangerous.
- You see signs of refrigerant leaks, such as oily residue or hissing sounds near the AC unit. Refrigerant is a hazardous substance, and leaks should be handled by a trained professional.
- The compressor is not running. The compressor is the heart of the AC unit, and if it's not working, it's usually a sign of a major problem.
- You suspect a problem with the electrical wiring or components inside the AC unit. Working with electrical components can be dangerous, and it's best to leave it to the experts.
- You've tried all the DIY fixes and the AC unit is still not working. At this point, it's likely that there's a more complex problem that requires specialized tools and knowledge.
- You are not comfortable performing any of the DIY fixes. It's always better to be safe than sorry. If you're not comfortable working with electrical appliances, it's best to call a qualified HVAC technician.
- The fan motor is not running or makes strange noises. Replacement can be tricky.
Finding a reputable HVAC technician:
- Ask for recommendations from friends, family, or neighbors.
- Check online reviews and ratings.
- Make sure the technician is licensed and insured.
- Get a written estimate before any work is performed.
Preventative Maintenance:
Consider scheduling annual maintenance for your AC unit with a qualified technician. Regular maintenance can help prevent problems, extend the life of your unit, and improve its efficiency. Technicians often check refrigerant levels, clean the coils, lubricate moving parts, and inspect electrical components.
By following these troubleshooting steps, you can often diagnose and fix common problems with your outdoor AC unit. Remember to always prioritize your safety and when in doubt, call a qualified HVAC technician. With a little bit of knowledge and effort, you can keep your AC unit running smoothly and stay cool all summer long.