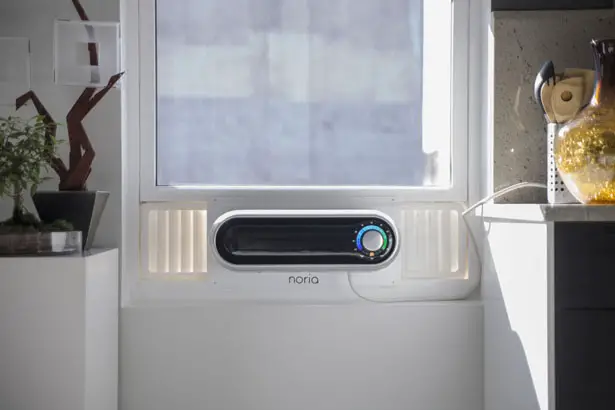
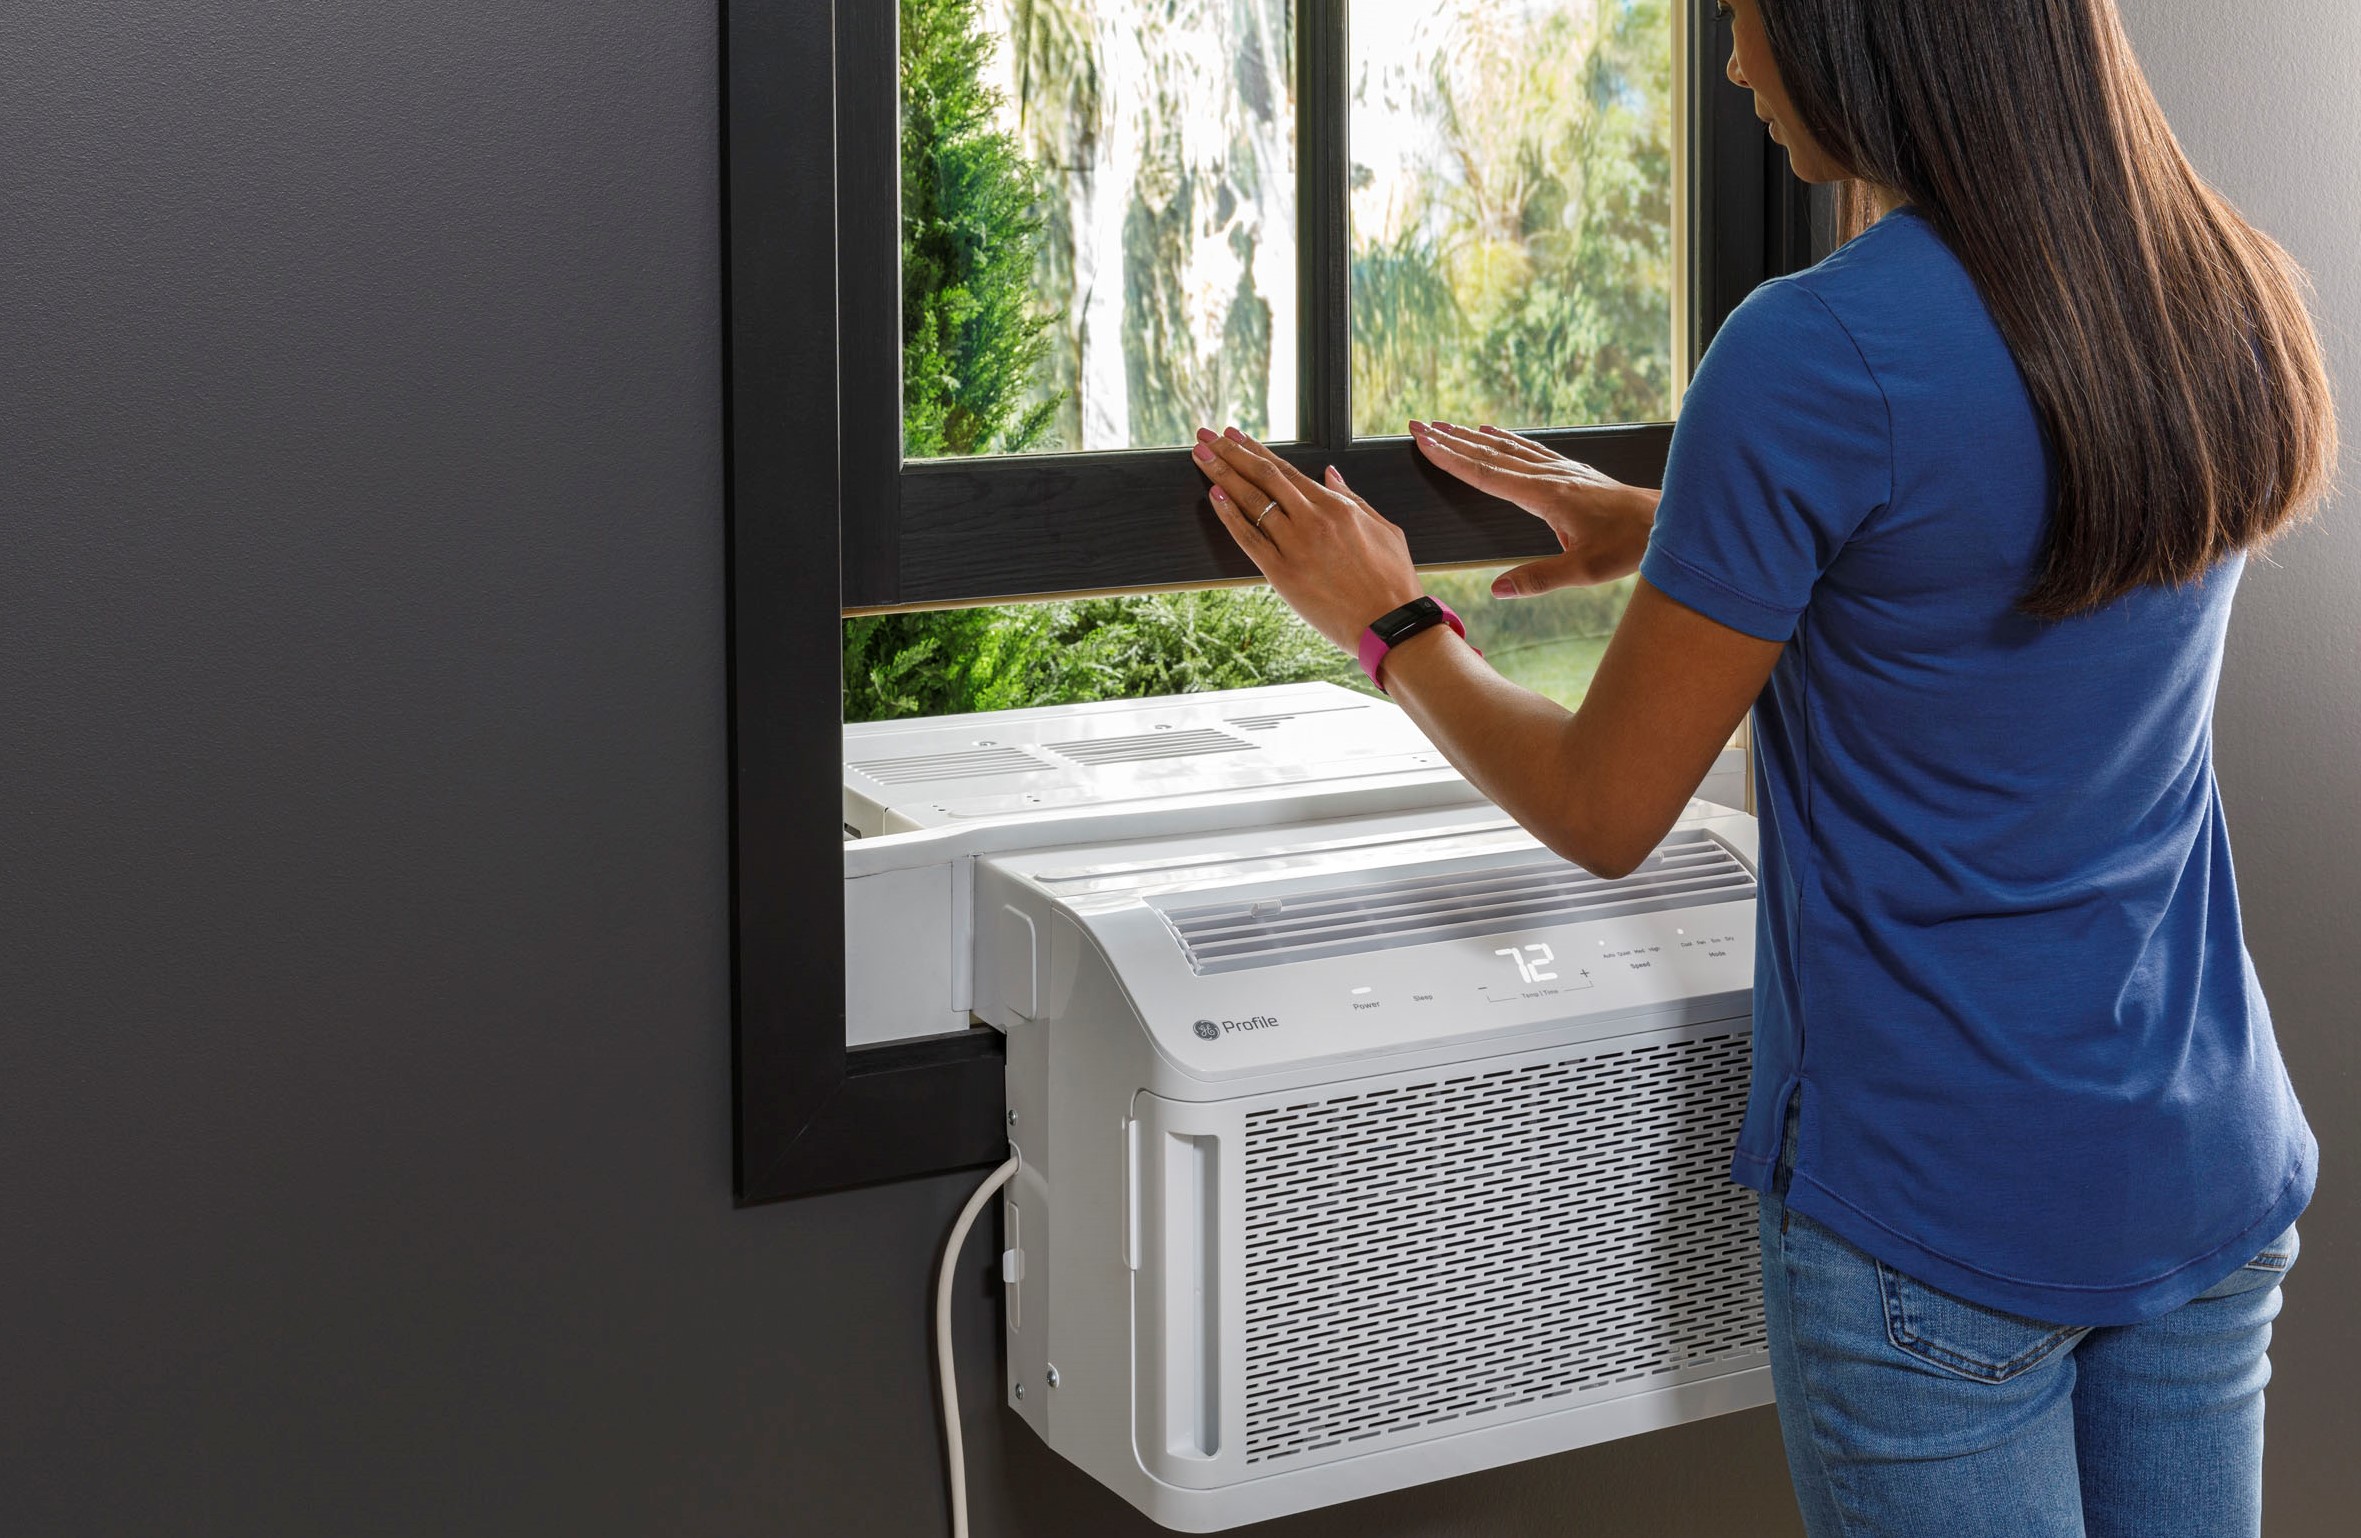
Air Conditioner That Fits In Small Window
:max_bytes(150000):strip_icc():focal(599x0:601x2)/amazon-basics-window-mounted-air-conditioner-with-mechanical-control-tout-281d0a126a354e0b923903a71cc08284.jpg)
Living in an apartment or small home often means dealing with limited space, and that includes your windows. When summer heat hits, finding the right air conditioning solution can be tricky. A full central air system might be overkill, and traditional window AC units can be bulky and inefficient. Luckily, there are air conditioners that fit in small windows designed specifically for these situations. This article will explore your options, help you understand the pros and cons, guide you through installation, and provide troubleshooting tips, all while keeping safety in mind.
Understanding Your Options: Small Window AC Units
Before diving in, it's essential to understand the types of AC units suitable for smaller windows. These generally fall into a few categories:
- Standard Window AC Units (Smaller Sizes): Some standard window AC units are simply smaller than others. Look for units with lower BTU (British Thermal Units) ratings, which typically correspond to a smaller physical size. These are a readily available and usually the most cost-effective option.
- Vertical Window AC Units: Designed for windows that are taller than they are wide, these units have a vertical orientation and often come with specialized mounting hardware. They can be a good solution for casement or awning windows.
- Portable Air Conditioners: While not installed directly in the window, portable ACs use a window kit to vent hot air outside. The unit sits inside your room and connects to the window via a hose. These are versatile but can be less energy-efficient than window units.
- Casement Window AC Units: Specifically designed for casement windows that crank open, these units often have unique mounting systems to ensure a secure and airtight fit.
Choosing the Right BTU for Your Space
BTU measures the cooling capacity of an air conditioner. Selecting the right BTU is crucial for efficient cooling and energy savings. An undersized unit will struggle to cool the room, while an oversized unit can lead to short cycling (turning on and off frequently), which wastes energy and can reduce the unit's lifespan.
Here's a general guideline:
- 100-300 square feet: 5,000 - 6,000 BTU
- 300-350 square feet: 7,000 - 8,000 BTU
- 350-400 square feet: 9,000 - 10,000 BTU
Important Considerations:
- Room Insulation: Poorly insulated rooms require higher BTU.
- Sun Exposure: Rooms with a lot of sunlight need more cooling power.
- Number of Occupants: More people in the room generate more heat.
- Kitchen Appliances: If the room includes a kitchen, factor in additional heat.
Tools and Materials for Installation
Before you begin, gather the necessary tools and materials. This will make the installation process smoother and safer.
- Screwdriver (Phillips and Flathead): For tightening screws and securing the unit.
- Adjustable Wrench: For tightening nuts and bolts.
- Level: To ensure the unit is installed straight.
- Measuring Tape: To measure the window opening and AC unit dimensions.
- Utility Knife: For trimming foam or weather stripping.
- Foam Weather Stripping: To seal gaps and prevent air leaks.
- Safety Glasses: To protect your eyes from debris.
- Work Gloves: To protect your hands.
- Drill (Optional): May be needed for certain mounting brackets.
- Window Support Brackets (Optional): For added stability, especially for heavier units.
Step-by-Step Installation Guide
Safety First! Before starting any work, disconnect the AC unit from the power source.
- Prepare the Window: Clean the window frame and sill. Remove any old weather stripping or debris.
- Measure and Adjust: Measure the window opening and compare it to the dimensions of the AC unit. Some units come with adjustable side panels; extend these as needed to fill the gap.
- Install Support Brackets (If Necessary): If your unit requires support brackets, install them according to the manufacturer's instructions. Make sure they are securely attached to the window frame.
- Position the AC Unit: Carefully lift the AC unit and position it in the window opening. Ensure it's centered and level.
- Secure the Unit: Use screws to secure the unit to the window frame, following the manufacturer's guidelines.
- Install Side Panels: Extend the side panels to fill any remaining gaps between the unit and the window frame. Secure them with screws or clips.
- Seal Gaps: Use foam weather stripping to seal any gaps around the unit. This will prevent air leaks and improve energy efficiency.
- Test the Unit: Plug in the AC unit and turn it on. Make sure it's cooling properly and that there are no unusual noises or vibrations.
Troubleshooting Common Issues
Even with careful installation, you might encounter some issues. Here are some common problems and how to address them:
- AC Not Cooling:
- Check the air filter. A dirty filter restricts airflow.
- Ensure the thermostat is set to a low enough temperature.
- Clean the condenser coils (the outside part of the unit).
- Make sure the unit is not blocked by furniture or curtains.
- Verify the BTU rating is appropriate for the room size.
- AC Leaking Water:
- Check the drain hole. It may be clogged.
- Ensure the unit is level. A tilted unit can cause water to pool.
- If the humidity is high, the unit may be producing more condensation than usual.
- AC Making Loud Noises:
- Check for loose screws or parts.
- The fan blades may be hitting something.
- The compressor may be failing (call a professional).
- AC Not Turning On:
- Check the power cord and outlet.
- Check the circuit breaker.
- The unit may have a safety switch that needs to be reset.
Safety Precautions
Working with electrical appliances always carries risks. Follow these safety precautions to protect yourself:
- Disconnect Power: Always disconnect the AC unit from the power source before performing any maintenance or repairs.
- Wear Safety Gear: Wear safety glasses and work gloves to protect your eyes and hands.
- Avoid Water: Never work on the AC unit while it's wet.
- Use a GFCI Outlet: Plug the AC unit into a ground fault circuit interrupter (GFCI) outlet to protect against electrical shock.
- Lift Properly: When lifting the AC unit, bend your knees and keep your back straight to avoid injury.
- Consult a Professional: If you are not comfortable performing any of these tasks, call a qualified HVAC technician.
When to Call a Professional
While many AC repairs can be handled by homeowners, some situations require the expertise of a qualified HVAC technician. Call a professional if:
- You suspect a refrigerant leak. Handling refrigerant requires specialized equipment and training.
- The compressor is failing. Compressor repairs are complex and expensive.
- You are uncomfortable working with electrical components. Electrical work can be dangerous.
- The unit is under warranty. Attempting repairs yourself may void the warranty.
- You have tried troubleshooting and the problem persists. A professional can diagnose the issue and recommend the best solution.
Cost Considerations
The cost of an air conditioner that fits in a small window can vary depending on several factors:
- BTU Rating: Higher BTU units typically cost more.
- Features: Units with features like remote control, energy-saving modes, and smart technology will be more expensive.
- Brand: Well-known brands often command a premium price.
- Installation Costs: If you hire a professional to install the unit, factor in labor costs.
Here's a general estimate:
- Small Window AC Unit: $150 - $500
- Professional Installation: $100 - $300
Energy Costs: Remember to factor in the ongoing energy costs of running the AC unit. Look for units with high Energy Efficiency Ratio (EER) ratings to save money on your electricity bill. Consider features like timers and sleep mode to further reduce energy consumption.
Maintenance Tips for Longevity
Regular maintenance can extend the lifespan of your small window air conditioner and ensure it operates efficiently. Here are some tips:
- Clean the Air Filter Regularly: Clean the air filter every month, or more often if you have pets or allergies.
- Clean the Condenser Coils: Clean the condenser coils (the outside part of the unit) at least once a year. Use a soft brush and a coil cleaner specifically designed for AC units.
- Check for Leaks: Inspect the unit for leaks and address them promptly.
- Store Properly During Off-Season: When you're not using the AC unit, store it in a dry, covered location.
- Schedule Professional Maintenance: Consider scheduling a professional maintenance checkup every few years.
Finding the right air conditioner that fits in a small window can be a challenge, but with careful planning and the right knowledge, you can create a comfortable and cool living space, even in the tightest of quarters. Remember to prioritize safety, follow the manufacturer's instructions, and don't hesitate to call a professional when needed.


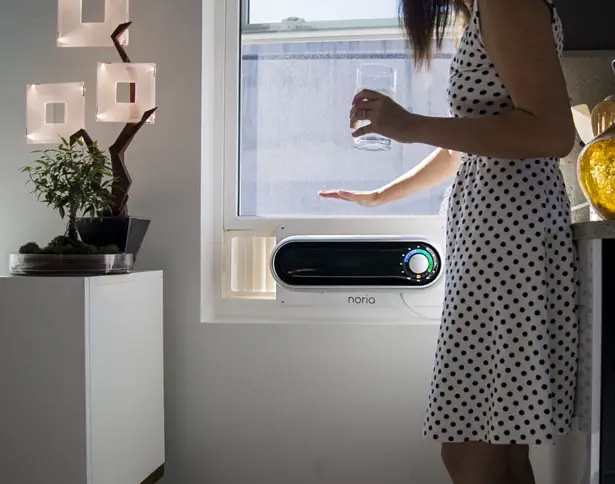

:max_bytes(150000):strip_icc()/soleus-ws3-06e-201-6000-btu-saddle-window-air-conditioner-3aaac5575b5f4d1eb6de63ea06a936a8.jpg)