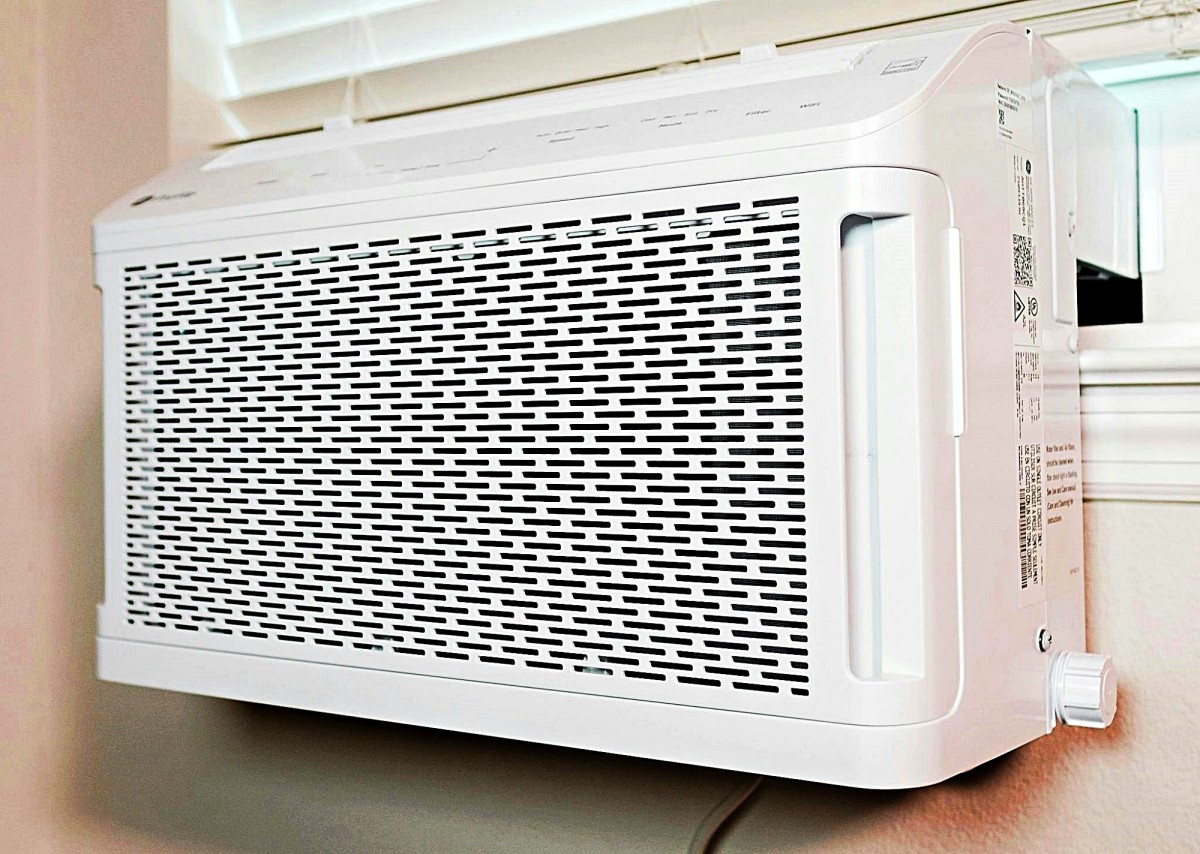
Air Conditioner Window Unit Smells Musty

One of the most common and unpleasant experiences for homeowners, especially during hot and humid weather, is a musty or moldy smell coming from their window air conditioner. This isn't just an annoyance; it can indicate an underlying issue that affects air quality and potentially your health. But don't panic! Often, the problem is easily addressed with a few simple steps.
Diagnosing the Musty Odor: A Step-by-Step Approach
Before calling a professional, let's systematically investigate the source of the smell. This methodical approach will save you time and possibly money.
Step 1: Initial Observation (No Tools Required)
Start by simply observing the unit while it's running.
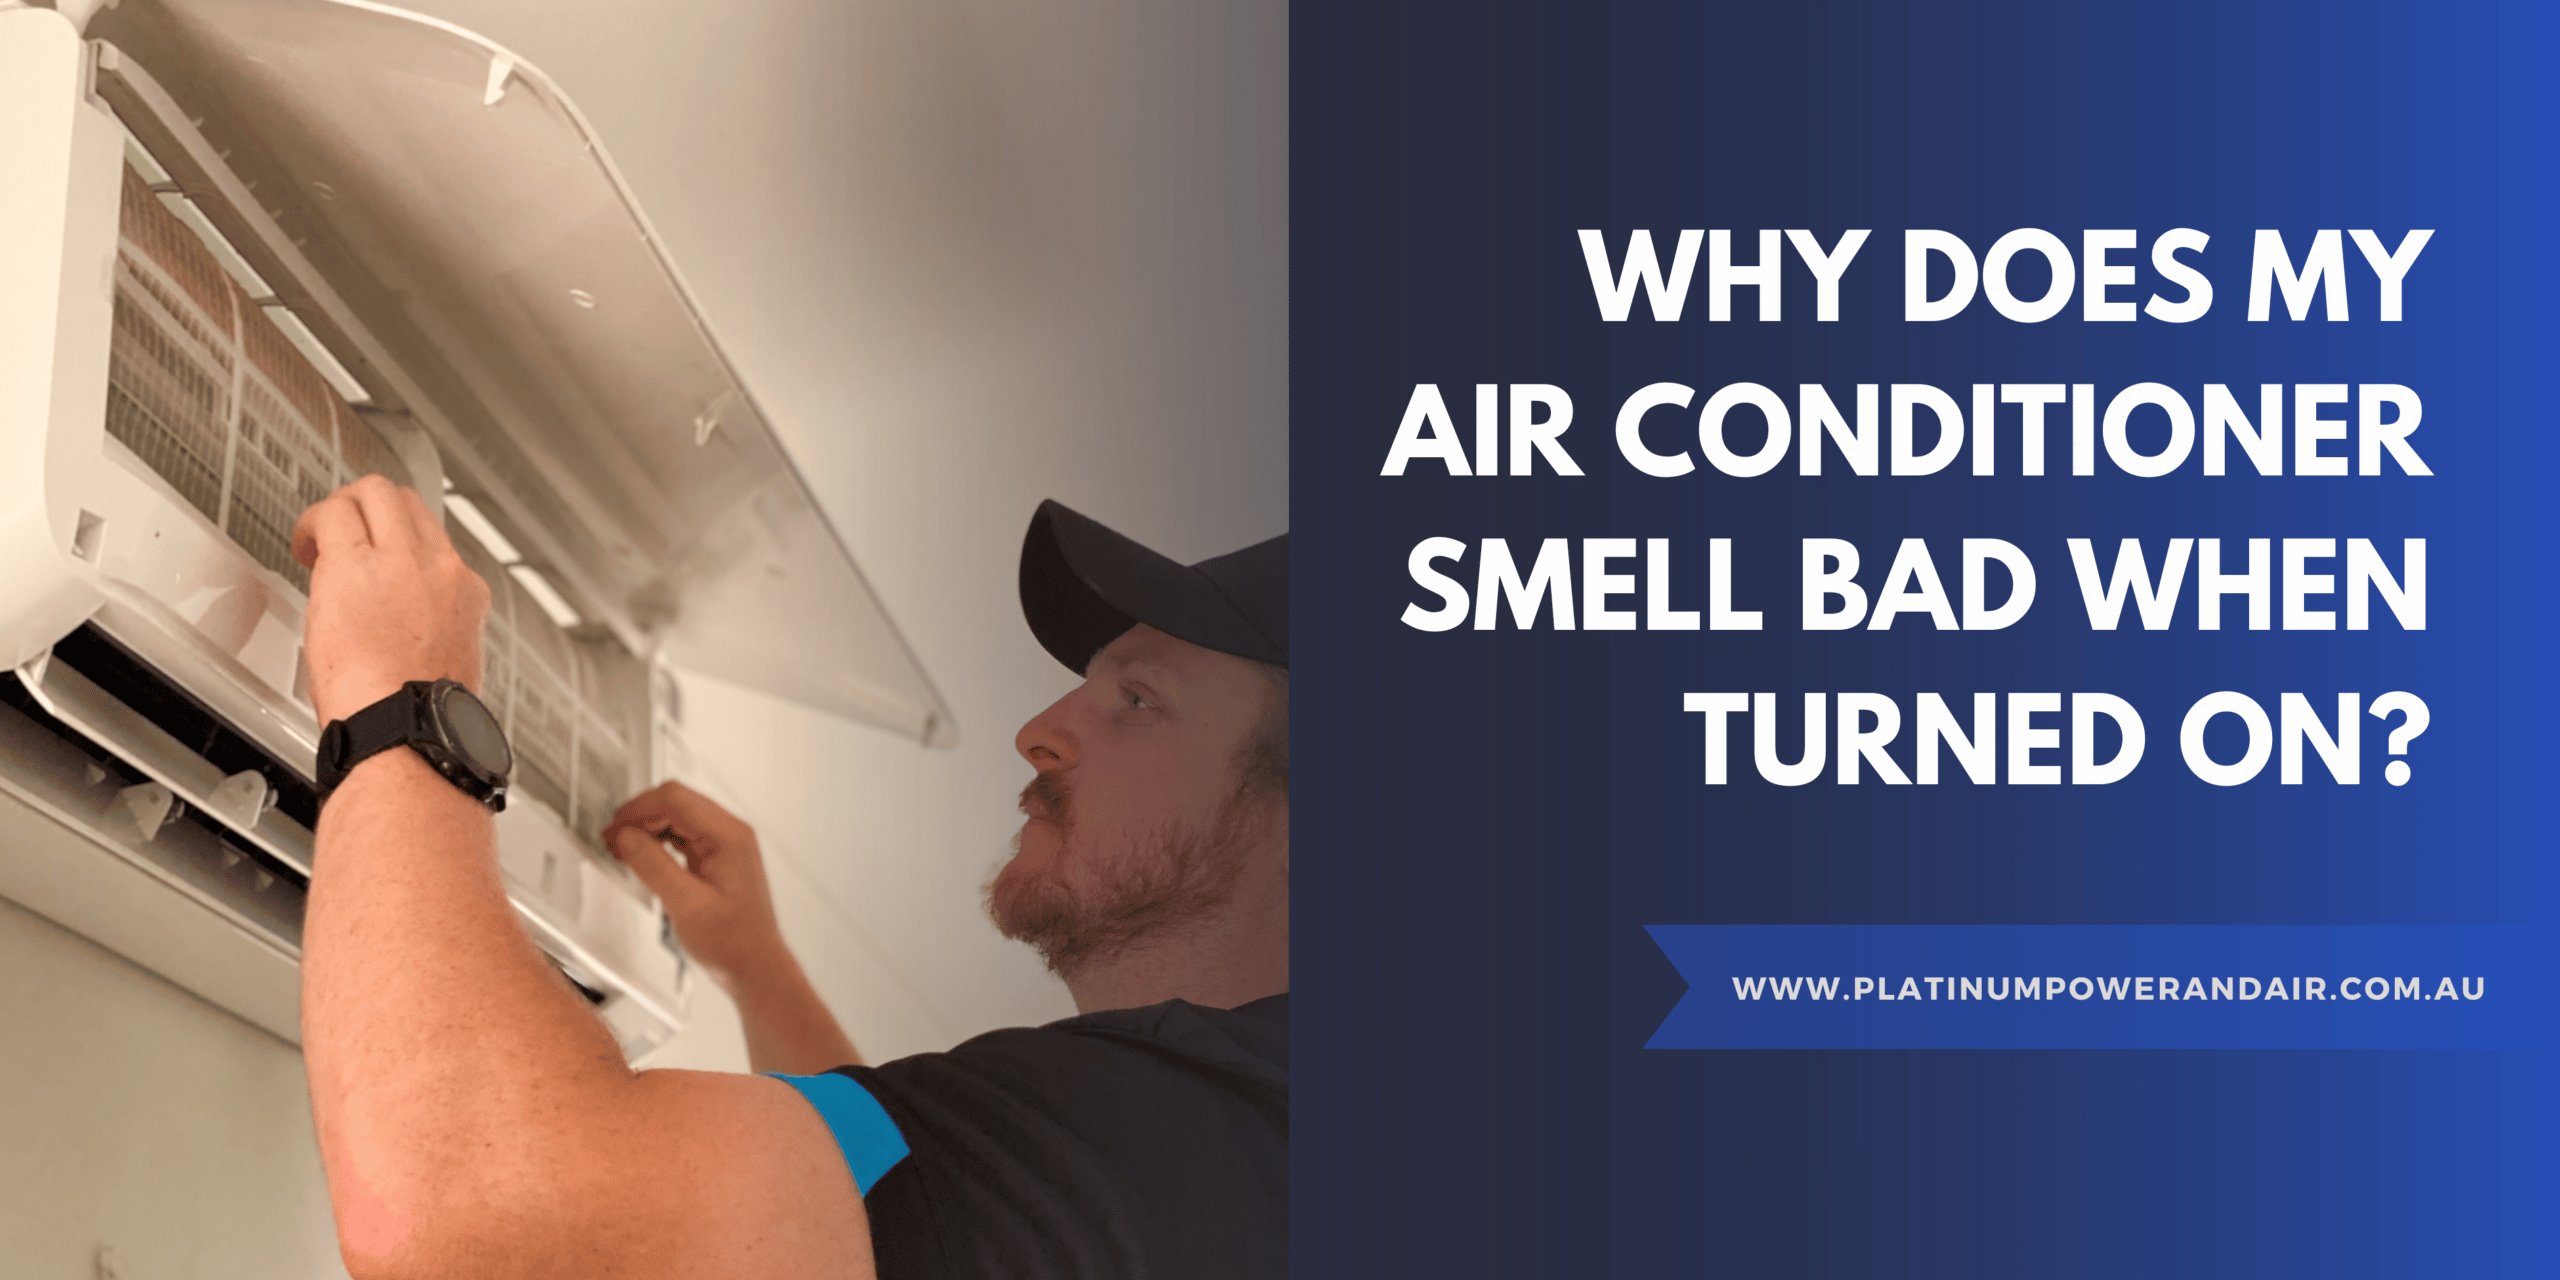
- Smell the air: Is the musty smell constant, or does it only appear when the unit first turns on? Is it stronger in certain areas near the unit?
- Listen carefully: Are there any unusual noises coming from the unit, like rattling, buzzing, or hissing? These sounds can indicate problems with internal components.
- Visually inspect: Look at the front grille, the sides, and the back of the unit. Is there any visible mold, mildew, dust accumulation, or signs of leaks around the unit and the window seal? Is the unit level, allowing proper drainage?
The intensity and timing of the smell, combined with any unusual sounds or visible signs, can provide valuable clues.
Step 2: Check the Air Filter (No Tools Required)
The air filter is the first and most likely culprit. A dirty or clogged filter restricts airflow, creating a damp environment where mold and mildew thrive. It is advisable to inspect the filter even before you start using the AC for the season.
To check the filter:
- Locate the filter access: This is usually behind the front grille. Refer to your unit's manual if you're unsure.
- Remove the filter: Carefully slide it out.
- Inspect the filter: Is it visibly dirty, dusty, or clogged? Does it have a musty odor?
If the filter is visibly dirty, it's almost certainly contributing to the smell.
Step 3: Inspect the Cooling Fins (Requires Basic Tools)
The cooling fins, located behind the filter, are another potential breeding ground for mold. Moisture condenses on these fins, and if they're dirty, mold can easily grow.
What you'll need:
- Screwdriver (usually Phillips head)
- Flashlight
To inspect the cooling fins:
- Unplug the unit: Safety first! Always disconnect the power before attempting any internal inspection.
- Remove the outer case: Use the screwdriver to remove the screws securing the front or side panels. Again, consult your manual if needed.
- Shine a flashlight on the fins: Look for any signs of mold, dust, or debris buildup.
Be careful when handling the cooling fins, as they are delicate and easily bent.
Step 4: Check the Drain Pan and Drain Hole (Requires Basic Tools)
The drain pan collects condensation, and the drain hole allows it to escape. If either is blocked, stagnant water can accumulate, creating a perfect environment for mold growth. This is more likely if the AC isn't installed level, so the water does not drain properly.
What you'll need:
- Flashlight
- Small, flexible wire or pipe cleaner
To check the drain pan and drain hole:
- Locate the drain pan: It's usually at the bottom of the unit, behind the cooling fins.
- Check for standing water: Use a flashlight to inspect the pan. Is there any water sitting in it?
- Locate the drain hole: It's a small opening near the bottom of the pan, usually on the exterior of the unit.
- Check for blockage: Gently insert a small, flexible wire or pipe cleaner into the drain hole to clear any obstructions. You may need to wiggle it around to break up any buildup.
If you find standing water in the drain pan and successfully clear the drain hole, the musty smell should gradually dissipate.
Step 5: Check the Installation (No Tools Required)
A poorly installed unit can exacerbate moisture problems and contribute to mold growth.
Check for these common issues:
- Proper Sealing: Ensure there are no gaps between the AC unit and the window frame. Use weather stripping or sealant to close any openings that allow drafts or moisture to enter.
- Unit Tilt: Window AC units should be slightly tilted towards the outside to allow for proper drainage of condensation. Use a level to confirm the unit is correctly angled.
- Window Stability: Make sure the window is securely closed and supported. Any movement or instability can compromise the seal and lead to leaks.
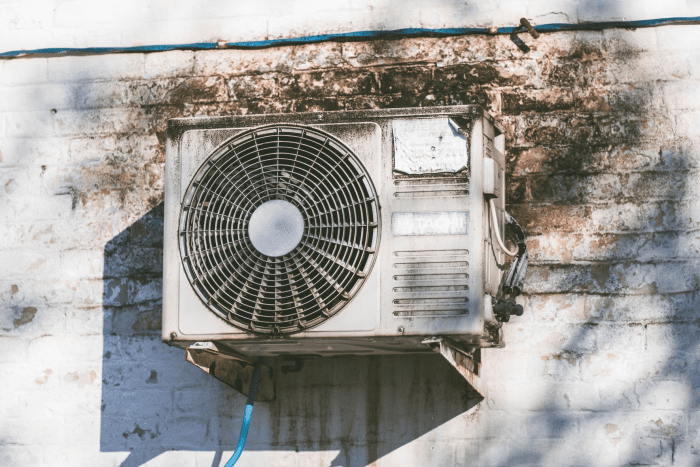
- Exterior Obstructions: Check the outside of the unit for any obstructions that might block airflow or drainage, such as overgrown plants or debris.
DIY Actions to Eliminate the Musty Smell
Now that you've diagnosed the problem, let's tackle the solutions. These are simple, safe DIY actions you can take to eliminate the musty smell.
1. Clean or Replace the Air Filter
This is the most crucial step.
- Cleanable filters: If your filter is washable, rinse it thoroughly with warm water and mild detergent. Allow it to dry completely before reinstalling.
- Disposable filters: Replace the old filter with a new one of the correct size and type. Consult your unit's manual for specifications.
Aim to clean or replace your air filter every 1-3 months, depending on usage and environmental conditions.
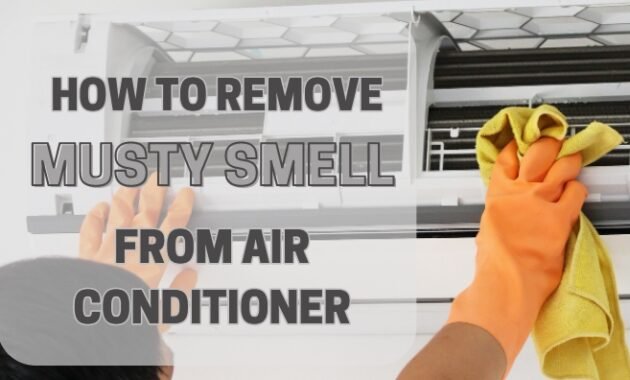
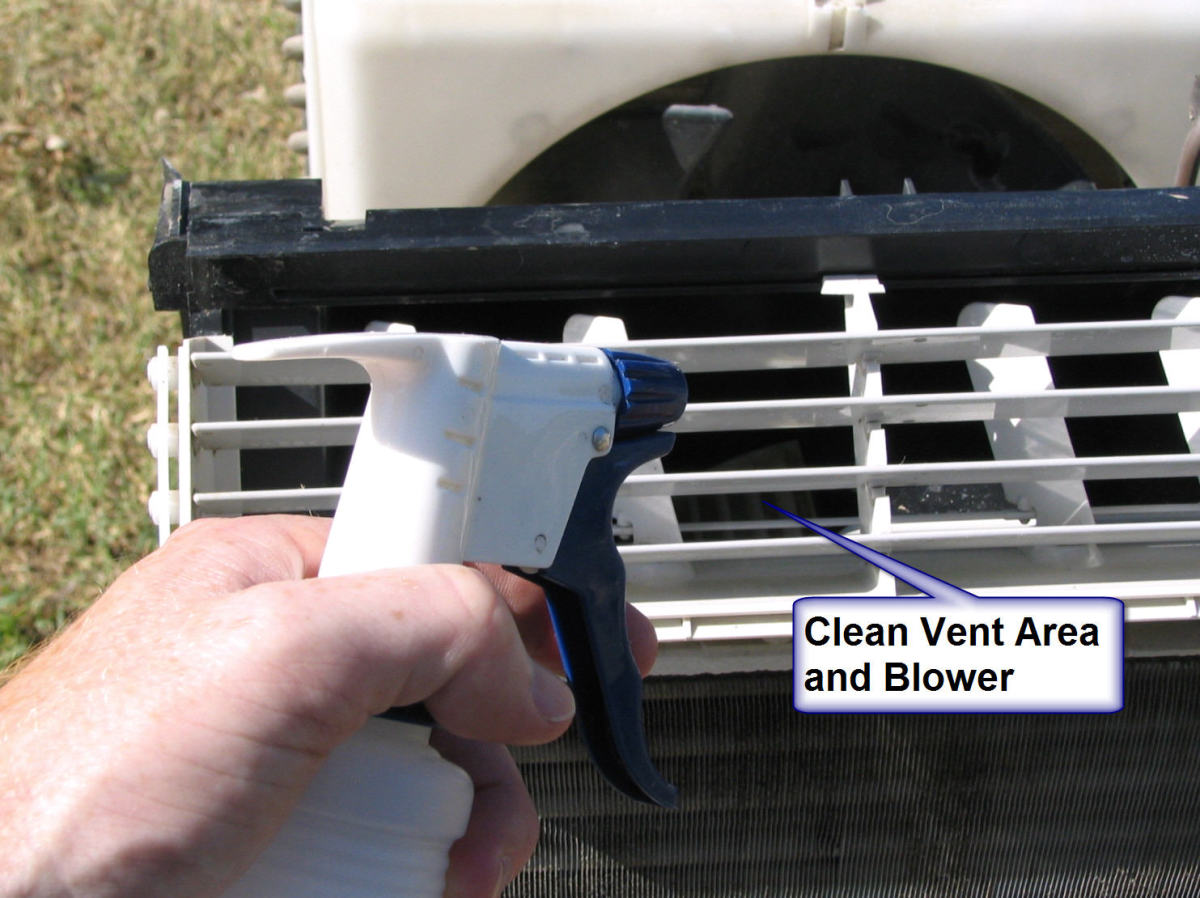
2. Clean the Cooling Fins
Removing mold and dust from the fins will significantly improve air quality and reduce the smell.
What you'll need:
- Soft brush (paintbrush or fin comb)
- Vacuum cleaner with hose attachment
- Mild disinfectant spray (specifically designed for HVAC systems)
To clean the cooling fins:
- Vacuum the fins: Use the brush attachment to gently remove loose dust and debris.
- Brush the fins: Use a soft brush to dislodge any stubborn dirt or mold. Be gentle to avoid bending the fins.
- Spray with disinfectant: Apply the disinfectant spray according to the manufacturer's instructions. Make sure the area is well-ventilated.
- Allow to dry completely: Before reassembling the unit, ensure the fins are completely dry.
Avoid using harsh chemicals or abrasive cleaners, as these can damage the fins.
3. Clean the Drain Pan and Drain Hole
Ensuring proper drainage is essential for preventing mold growth.
What you'll need:
- Small container or towel
- Mild bleach solution (1 part bleach to 10 parts water)
- Funnel (optional)
To clean the drain pan and drain hole:
- Absorb standing water: If there's water in the drain pan, use a small container or towel to absorb it.
- Pour bleach solution: Slowly pour the mild bleach solution into the drain pan. Use a funnel if needed to avoid spills.
- Flush the drain hole: Allow the solution to sit for a few minutes, then flush the drain hole with more solution to disinfect it.
Be careful when handling bleach. Wear gloves and avoid contact with skin and eyes.
4. Deodorize the Unit
Even after cleaning, a lingering odor may persist. Use these methods to deodorize the unit:
- Baking Soda: Place an open box of baking soda near the AC unit to absorb odors.
- Vinegar: Leave a bowl of white vinegar near the unit overnight to neutralize smells.
- Essential Oils: Diffuse essential oils like tea tree or eucalyptus, which have antifungal properties, near the AC.
5. Improve Air Circulation
Good air circulation can help prevent moisture buildup and reduce the likelihood of mold growth.
- Open Windows: When the AC is not in use, open windows to allow fresh air to circulate through the room.
- Use Fans: Use ceiling fans or portable fans to improve air movement and reduce stagnant air pockets.
- Minimize Humidity: Address any sources of excess humidity in the room, such as leaky pipes or poor ventilation.
When to Call a Professional HVAC Technician
While many musty odor problems can be resolved with DIY methods, some situations require professional help. It's time to call an HVAC technician if:
- The smell persists after cleaning: If you've thoroughly cleaned the unit and the musty odor remains, there may be a more serious underlying issue, such as mold growth deep within the unit or ductwork (if applicable).
- You see visible mold inside the unit: Extensive mold growth requires professional remediation to prevent health risks.
- The unit is leaking refrigerant: Refrigerant leaks are dangerous and require specialized equipment and training to repair. You might notice a sweet, slightly chemical smell accompanying the musty odor.
- You're uncomfortable disassembling the unit: If you're not confident in your ability to safely disassemble and reassemble the unit, it's best to leave it to the professionals.
- The unit is making unusual noises or not cooling properly: These can indicate more complex mechanical problems that require professional diagnosis and repair.
Ignoring these issues can lead to further damage to the unit, reduced energy efficiency, and potential health problems.
By following these steps, you can confidently troubleshoot and address a musty smell coming from your window air conditioner. Remember to prioritize safety, take your time, and don't hesitate to call a professional when needed. With a little effort, you can enjoy fresh, clean air and a comfortable home.