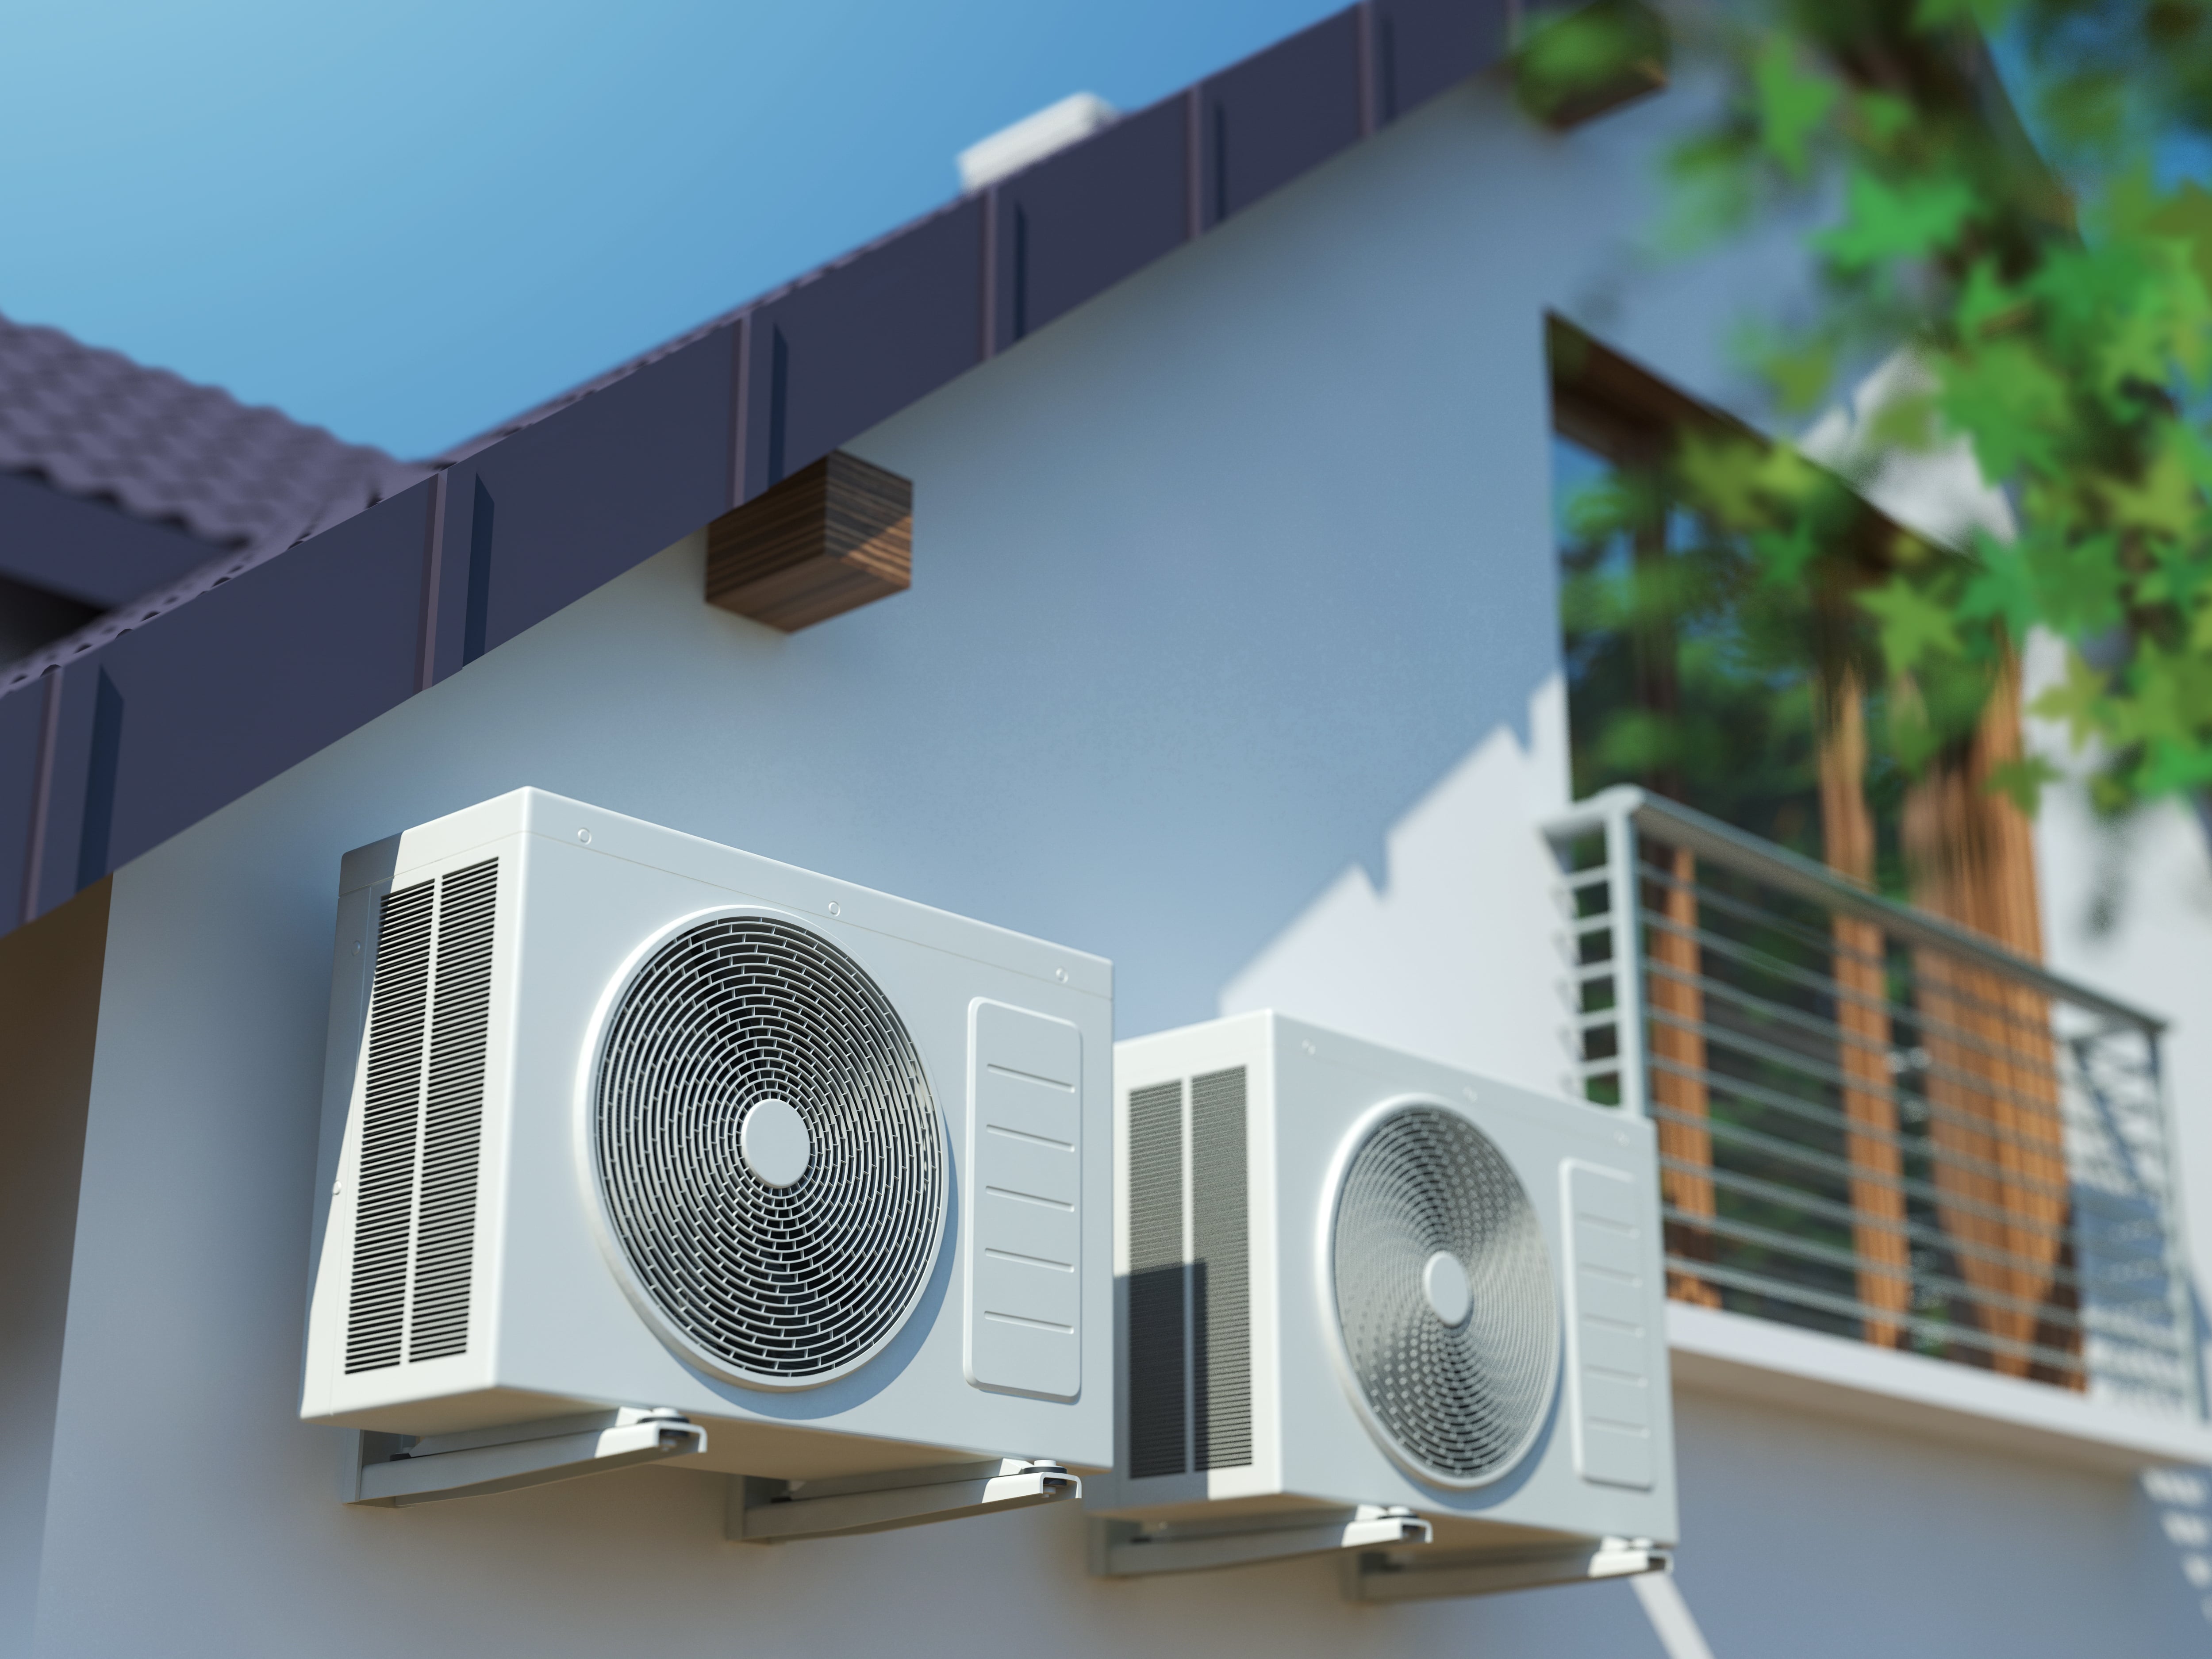
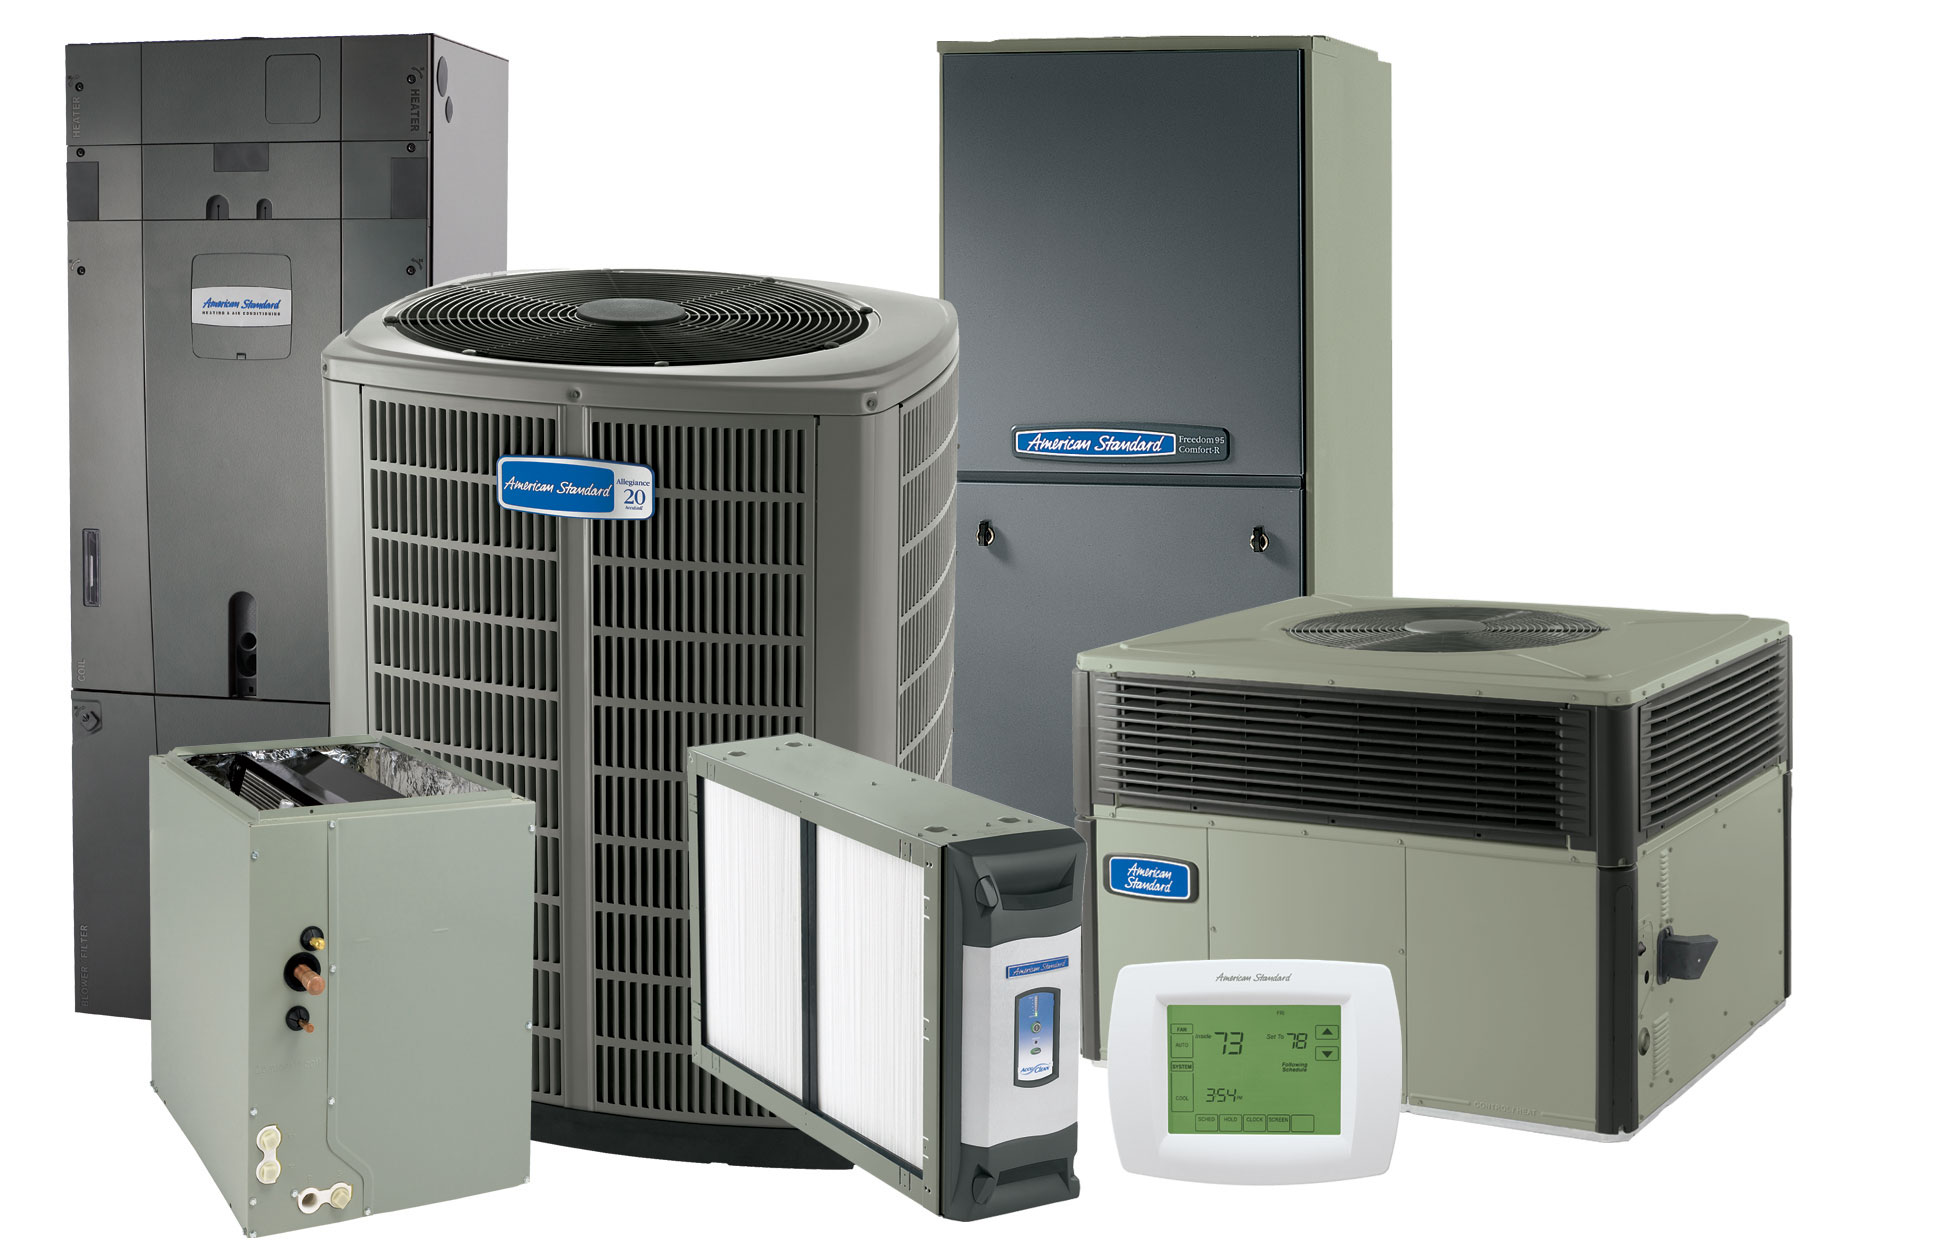
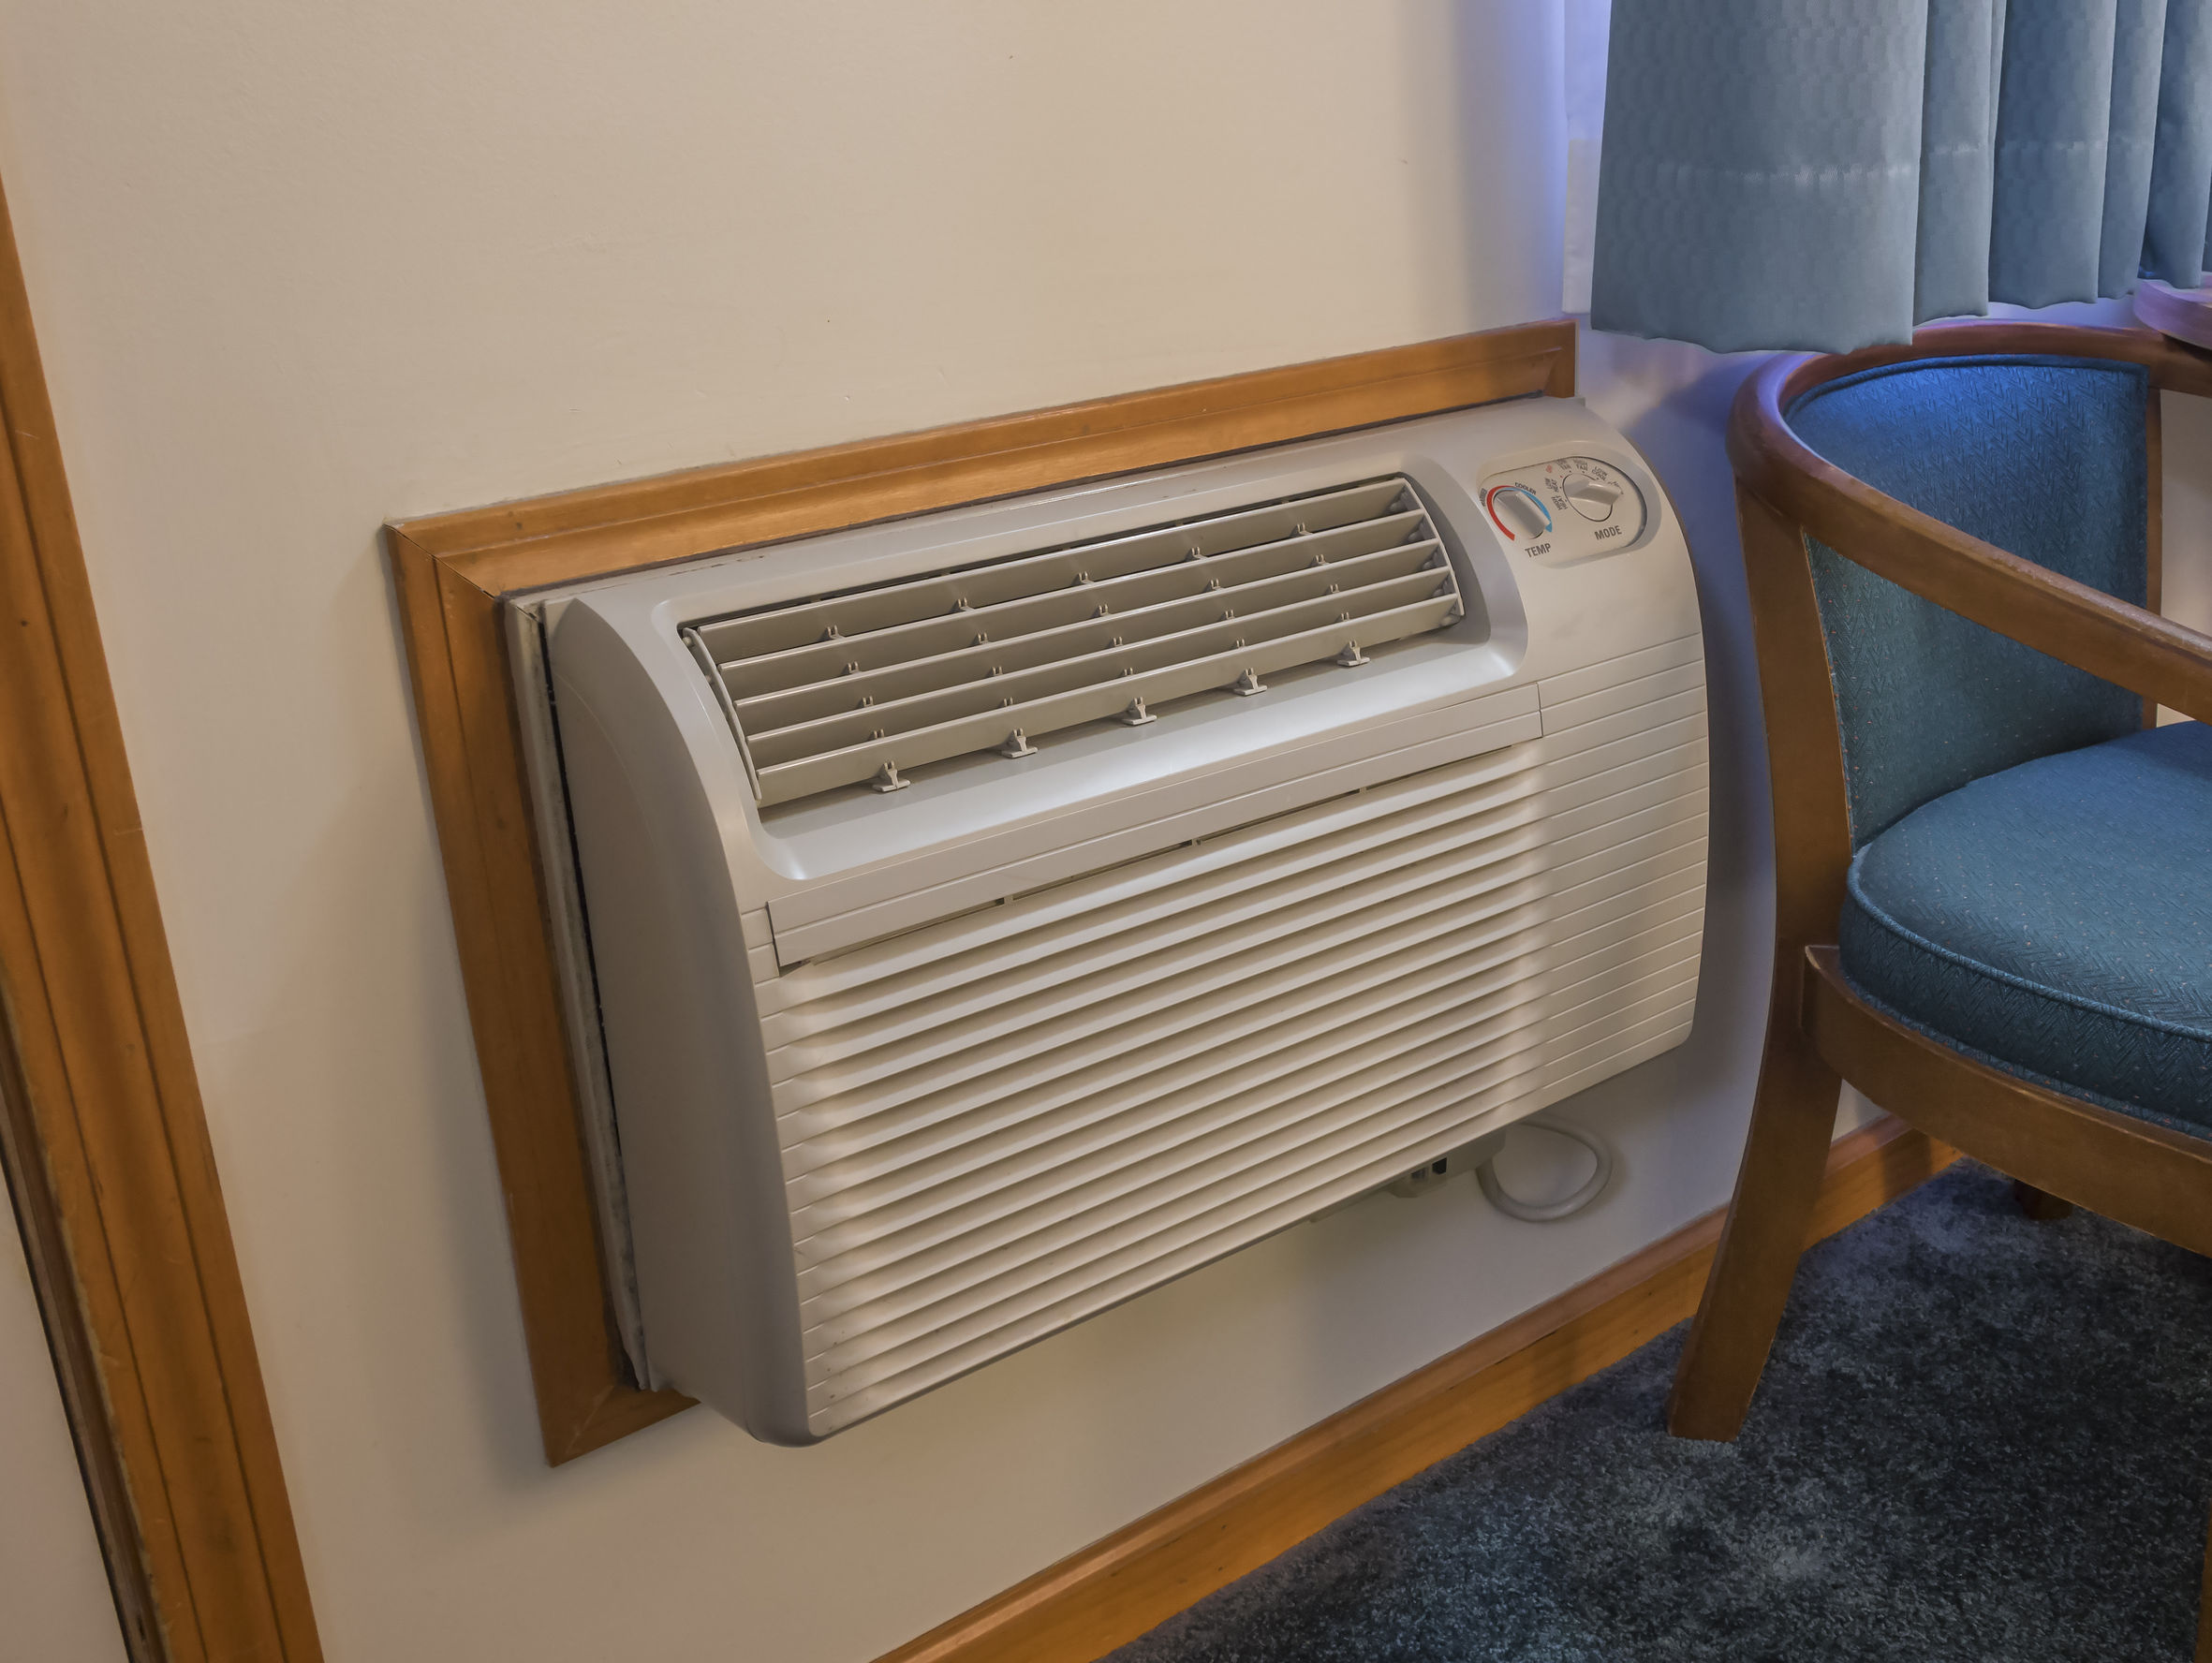
Air Conditioner With Heating And Cooling
Many homeowners experience a common frustration with their air conditioner and heating units: inconsistent heating or cooling. One day, your system seems to be working fine, and the next, it’s struggling to maintain the set temperature, leaving you either shivering or sweating. Before calling for expensive professional help, let's explore some troubleshooting steps you can take to diagnose and potentially fix the problem yourself.
Understanding the Problem: Inconsistent Heating/Cooling
Inconsistent heating or cooling doesn't necessarily mean your entire system is broken. It often points to a specific issue affecting its performance. This can manifest in various ways:
- Some rooms are colder/hotter than others.
- The system runs constantly without reaching the set temperature.
- The air coming from the vents is weak or not at the desired temperature.
- The system cycles on and off frequently (short cycling).
Before diving into the troubleshooting process, it's crucial to ensure the basics are covered. Double-check that your thermostat is set correctly for heating or cooling, depending on the season. Verify the set temperature is reasonable and within a comfortable range. Also, make sure the system is set to "Auto" rather than "On." Setting it to "On" will run the fan continuously, which can sometimes make temperature inconsistencies more noticeable.
Step-by-Step Troubleshooting Guide
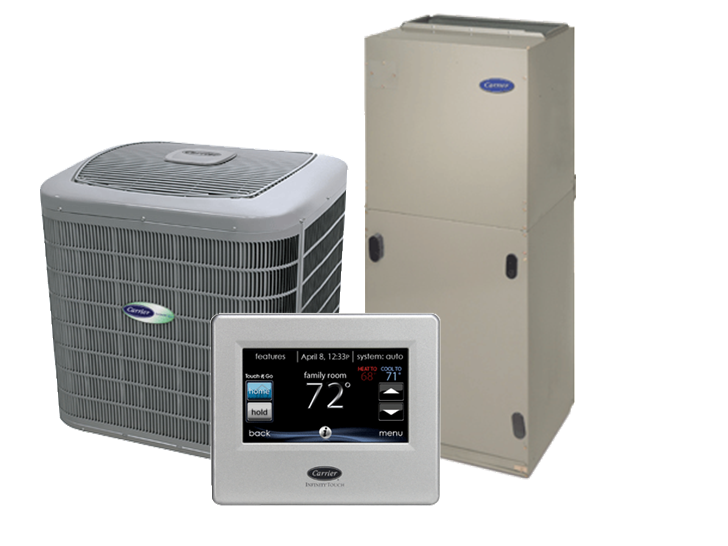
Step 1: The Thermostat Check-Up
The thermostat is the brain of your HVAC system. A malfunctioning thermostat can lead to all sorts of problems. Here’s how to check it:
- Check the Batteries: This might seem obvious, but dead or weak batteries are a common culprit. Replace them with fresh batteries.
- Ensure Proper Settings: As mentioned earlier, confirm the thermostat is in the correct mode (Heat or Cool) and the set temperature is appropriate.
- Clean the Thermostat: Dust and debris can interfere with the thermostat's sensors. Gently clean the thermostat with a soft, dry cloth. For older thermostats with bimetallic strips, a gentle brush can remove dust.
- Check for Level: If you have an older mechanical thermostat, ensure it's level. An unlevel thermostat can provide inaccurate temperature readings.
- Recalibrate (if applicable): Some digital thermostats allow for calibration. Consult your thermostat's manual for instructions on how to recalibrate it. If your thermostat consistently displays inaccurate temperature readings even after cleaning and calibration, it might need to be replaced.
When to call a professional: If you’ve tried all the above steps and the thermostat still isn’t functioning correctly, it's time to consult an HVAC technician. They can diagnose more complex issues within the thermostat or its wiring.
Step 2: Air Filter Inspection and Replacement
A dirty air filter is the number one cause of many HVAC problems, including inconsistent heating and cooling. A clogged filter restricts airflow, making your system work harder and less efficiently.
- Locate the Air Filter: The air filter is typically located in the air handler unit, either inside or near the furnace/air conditioner. It might also be behind a return air vent in a wall or ceiling.
- Inspect the Filter: Remove the filter and hold it up to the light. If you can’t see light through it, it’s definitely time for a replacement.
- Replace the Filter: Purchase a new filter of the correct size and MERV rating. The size should be printed on the old filter. The MERV rating indicates the filter's efficiency in capturing particles. Consult your HVAC system's manual or an HVAC professional for the recommended MERV rating.
- Install the New Filter: Ensure the new filter is installed with the correct arrow direction, as indicated on the filter frame. The arrow should point in the direction of airflow towards the furnace/air conditioner.
Regular filter replacement is crucial for maintaining your HVAC system's efficiency and lifespan. As a general rule, replace your filter every 1-3 months, depending on the type of filter, the presence of pets, and other factors like construction or allergies.
When to call a professional: If you notice excessive dust buildup inside your vents even after replacing the filter, it could indicate a leak in your ductwork or a more serious filtration issue. Contact an HVAC professional for a ductwork inspection.
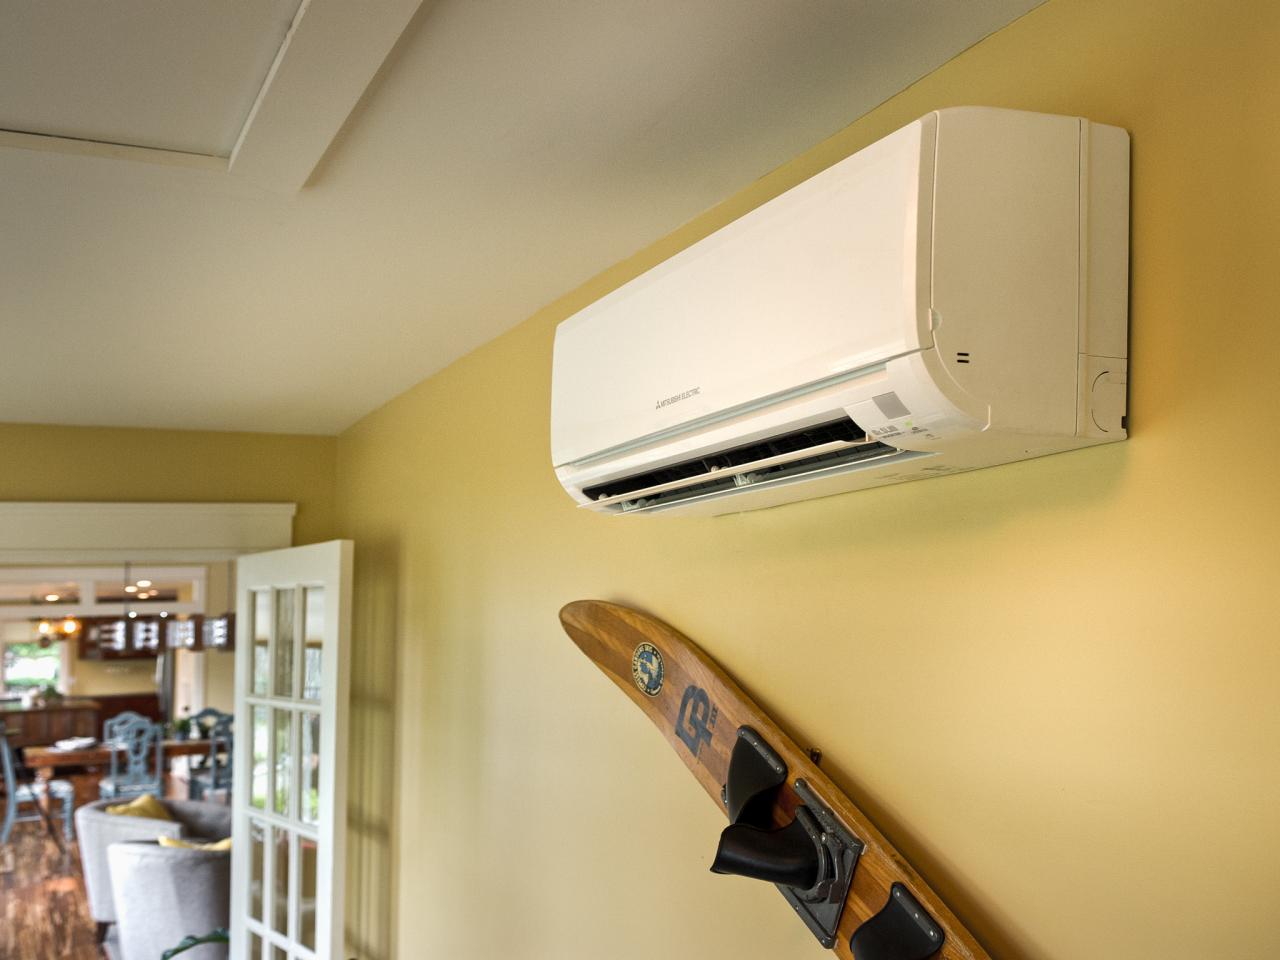
Step 3: Checking the Vents and Registers
Sometimes, the issue isn't with the system itself, but with the way air is distributed throughout your home. Ensuring proper airflow from each vent is essential for consistent temperatures.
- Inspect All Vents: Walk through your home and check each supply and return air vent. Make sure they are open and unobstructed by furniture, rugs, or curtains.
- Adjust Vent Dampers: Most vents have dampers that allow you to control the airflow to that specific room. Experiment with adjusting the dampers to balance the airflow throughout your home. For example, in rooms that are consistently colder, open the dampers fully, while in rooms that are consistently warmer, partially close them.
- Clean Vents and Registers: Dust and debris can accumulate in the vents and registers, restricting airflow. Use a vacuum cleaner with a brush attachment to clean them thoroughly. You can also remove the registers and wash them with soap and water. Ensure they are completely dry before reinstalling them.
Zoning systems are sometimes used to control temperatures in different areas of a home, which are controlled by dampers. If you have a zone system, you will need to ensure each zone is activated correctly and is set to the appropriate temperature.
When to call a professional: If you’ve adjusted the vent dampers and cleaned the vents, but some rooms still remain significantly colder or hotter than others, it could indicate a problem with your ductwork design or insulation. An HVAC professional can assess your ductwork and recommend solutions, such as adding insulation or modifying the ductwork layout.
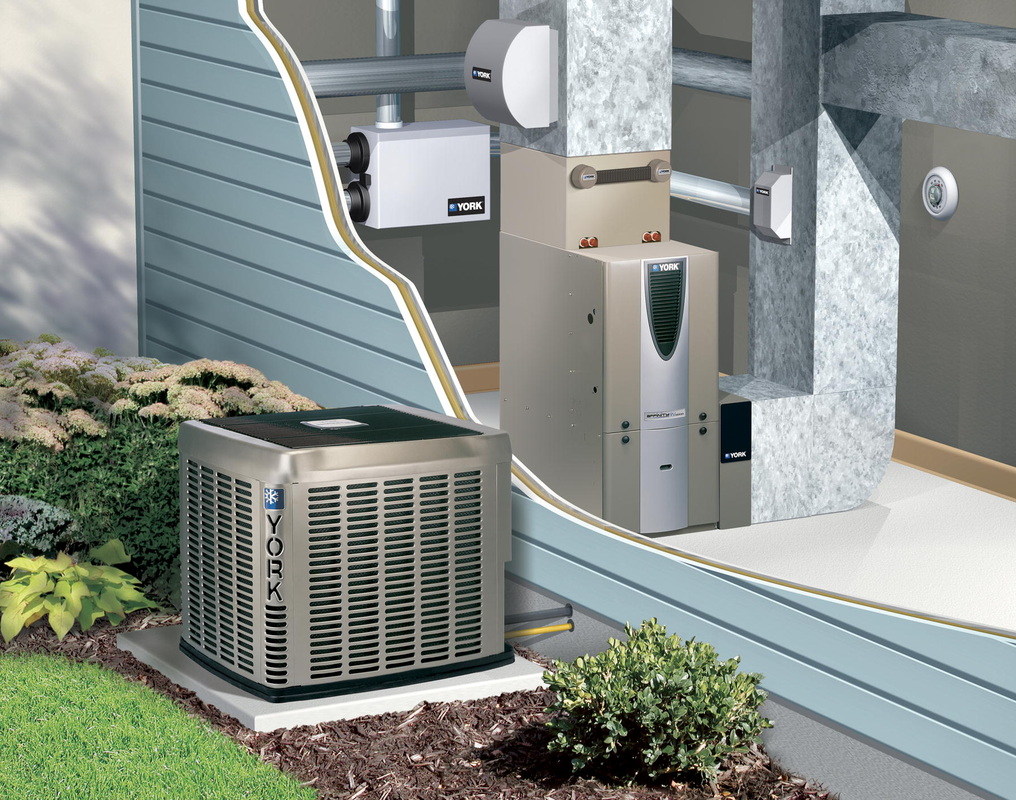
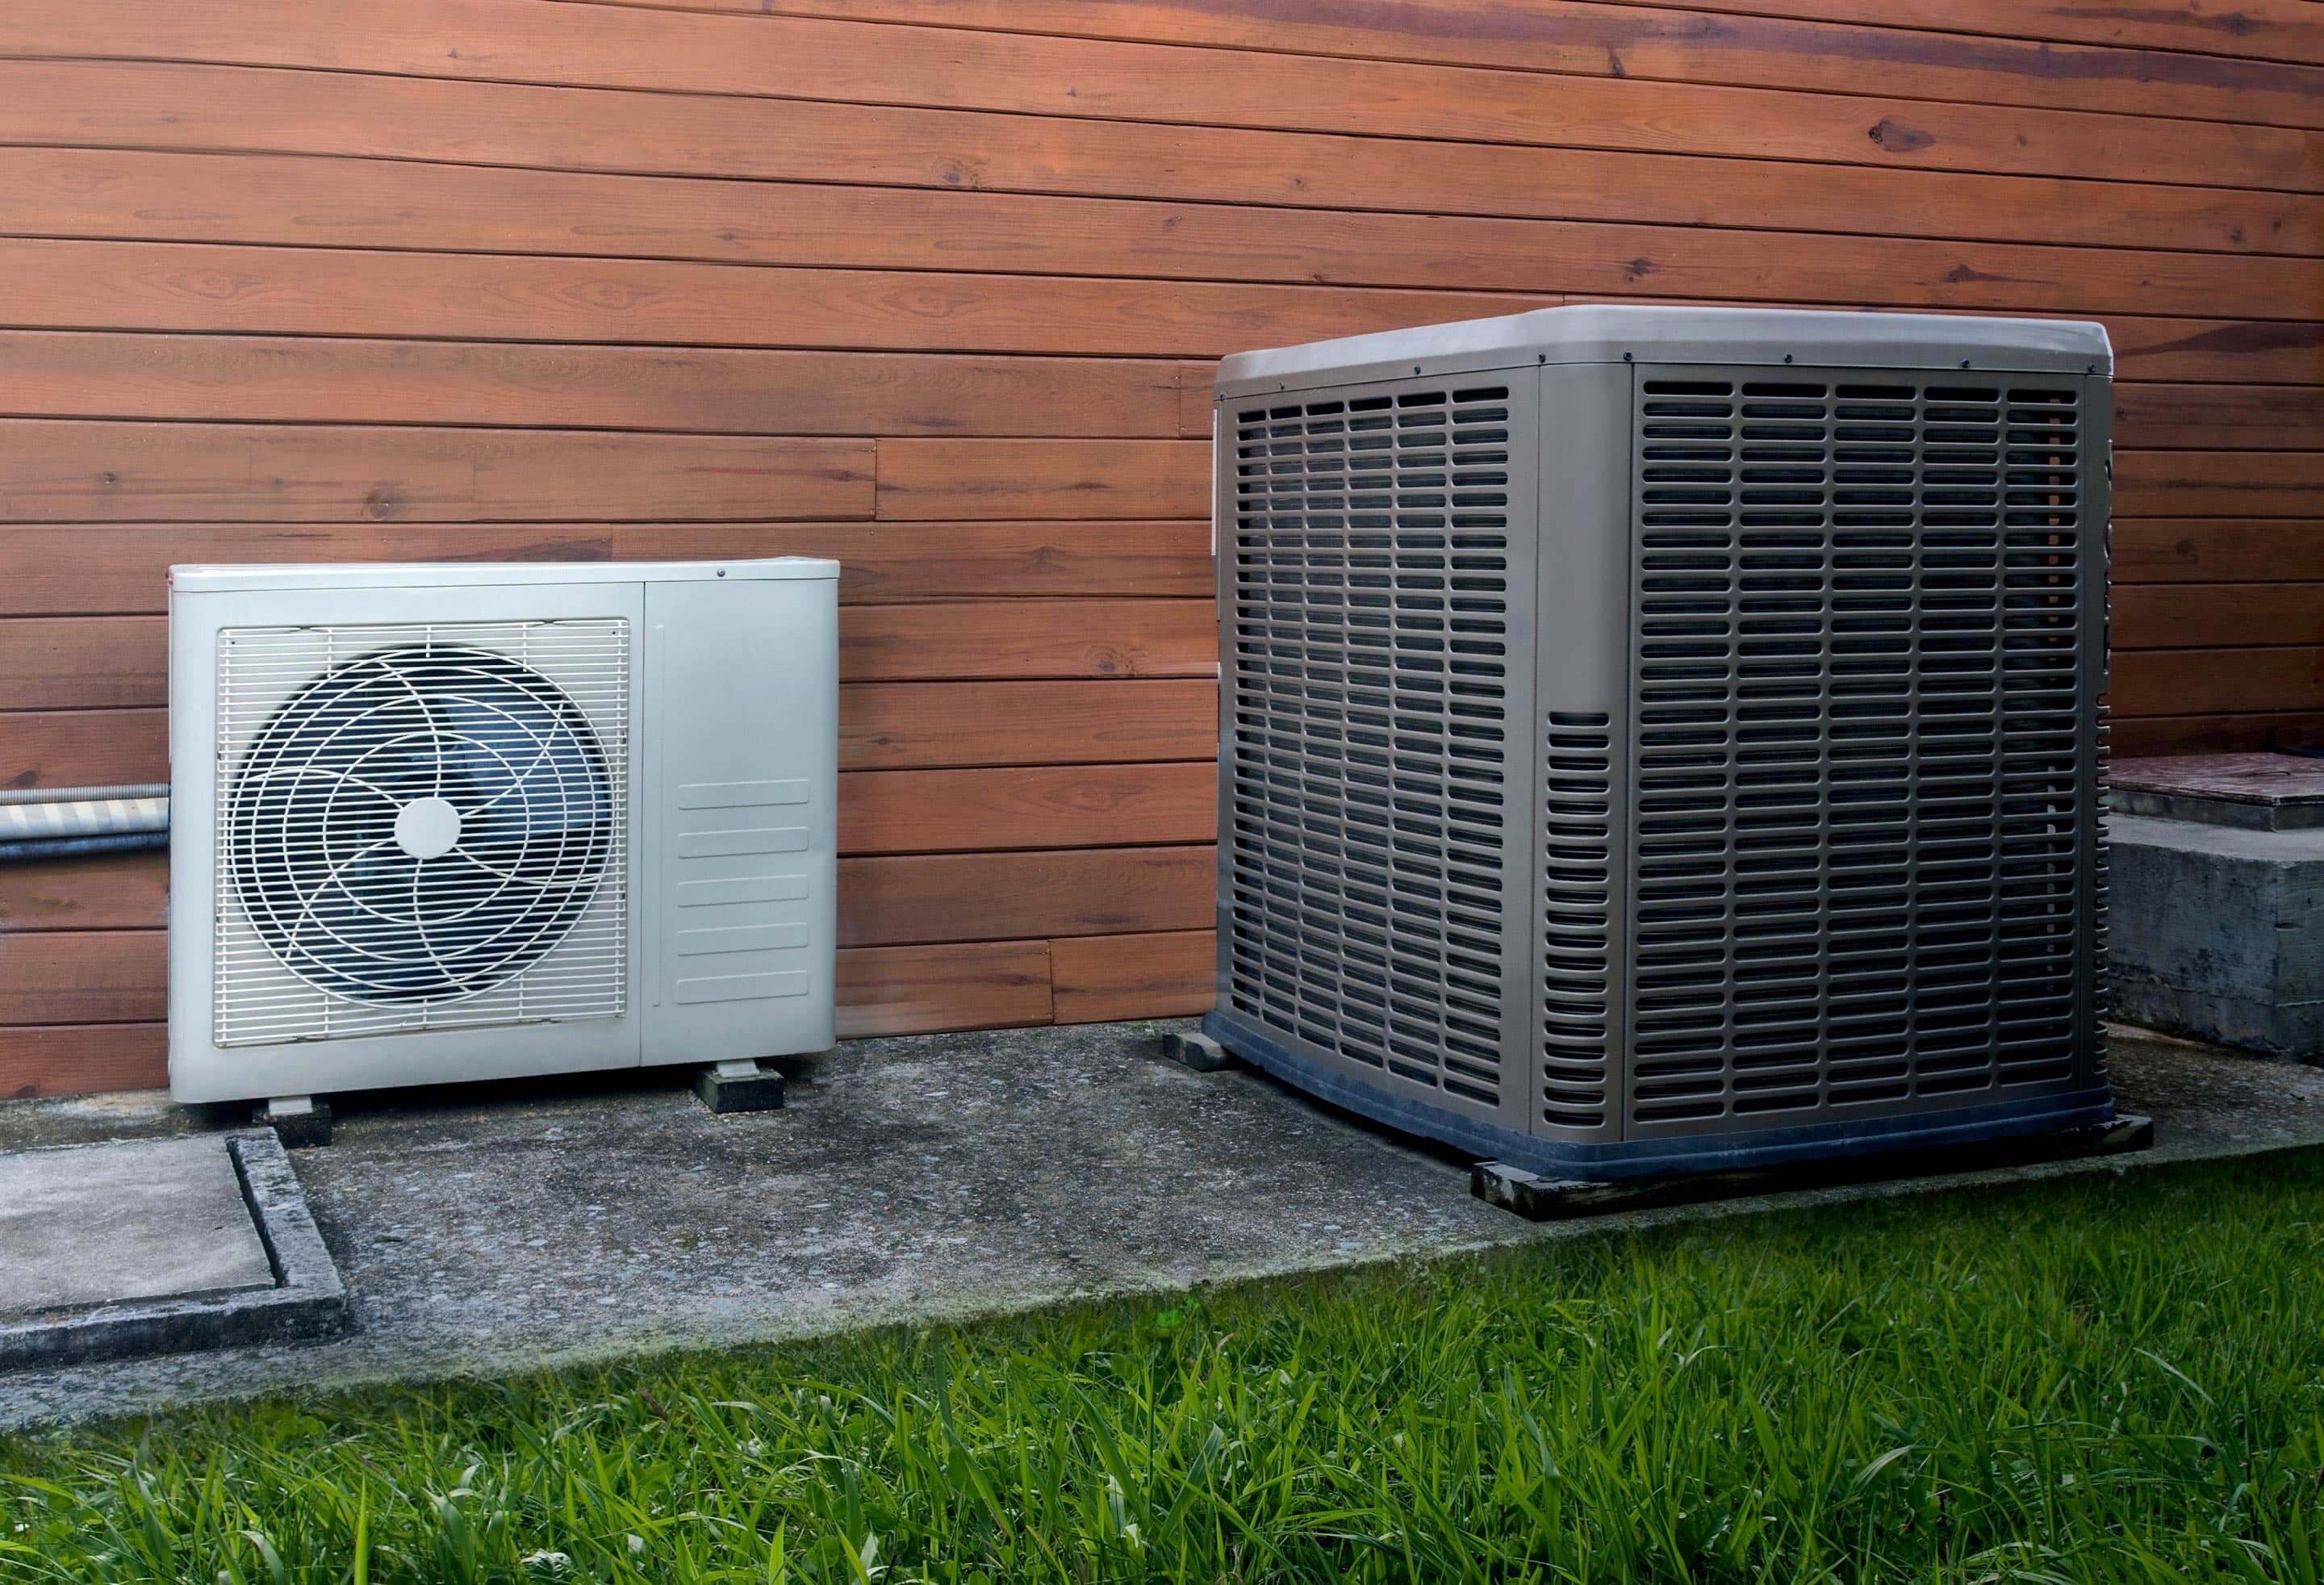
Step 4: Inspecting the Outdoor Unit (Condenser)
The outdoor unit, also known as the condenser, plays a vital role in both the cooling and heating process (if you have a heat pump). Proper maintenance of the outdoor unit is essential for optimal performance.
- Clear Debris: Remove any leaves, twigs, grass clippings, or other debris that may be blocking the condenser coils. Use a soft brush or a garden hose (with a gentle spray) to clean the coils. Be careful not to bend the delicate fins.
- Ensure Proper Airflow: Make sure there is adequate space around the outdoor unit for proper airflow. Remove any shrubs or bushes that are growing too close to the unit. The unit should have at least 2-3 feet of clearance on all sides.
- Check for Ice Buildup (Heating Season): If you are using your system for heating and notice ice buildup on the outdoor unit, it could indicate a problem with the defrost cycle. Consult your owner's manual for instructions on how to manually defrost the unit. However, if ice buildup is a recurring problem, it requires professional attention.
Important Safety Note: Always turn off the power to the outdoor unit at the circuit breaker before cleaning it.
When to call a professional: If you notice any of the following problems with your outdoor unit, contact an HVAC professional immediately: unusual noises, excessive vibration, refrigerant leaks (indicated by oily residue), or a complete lack of operation.
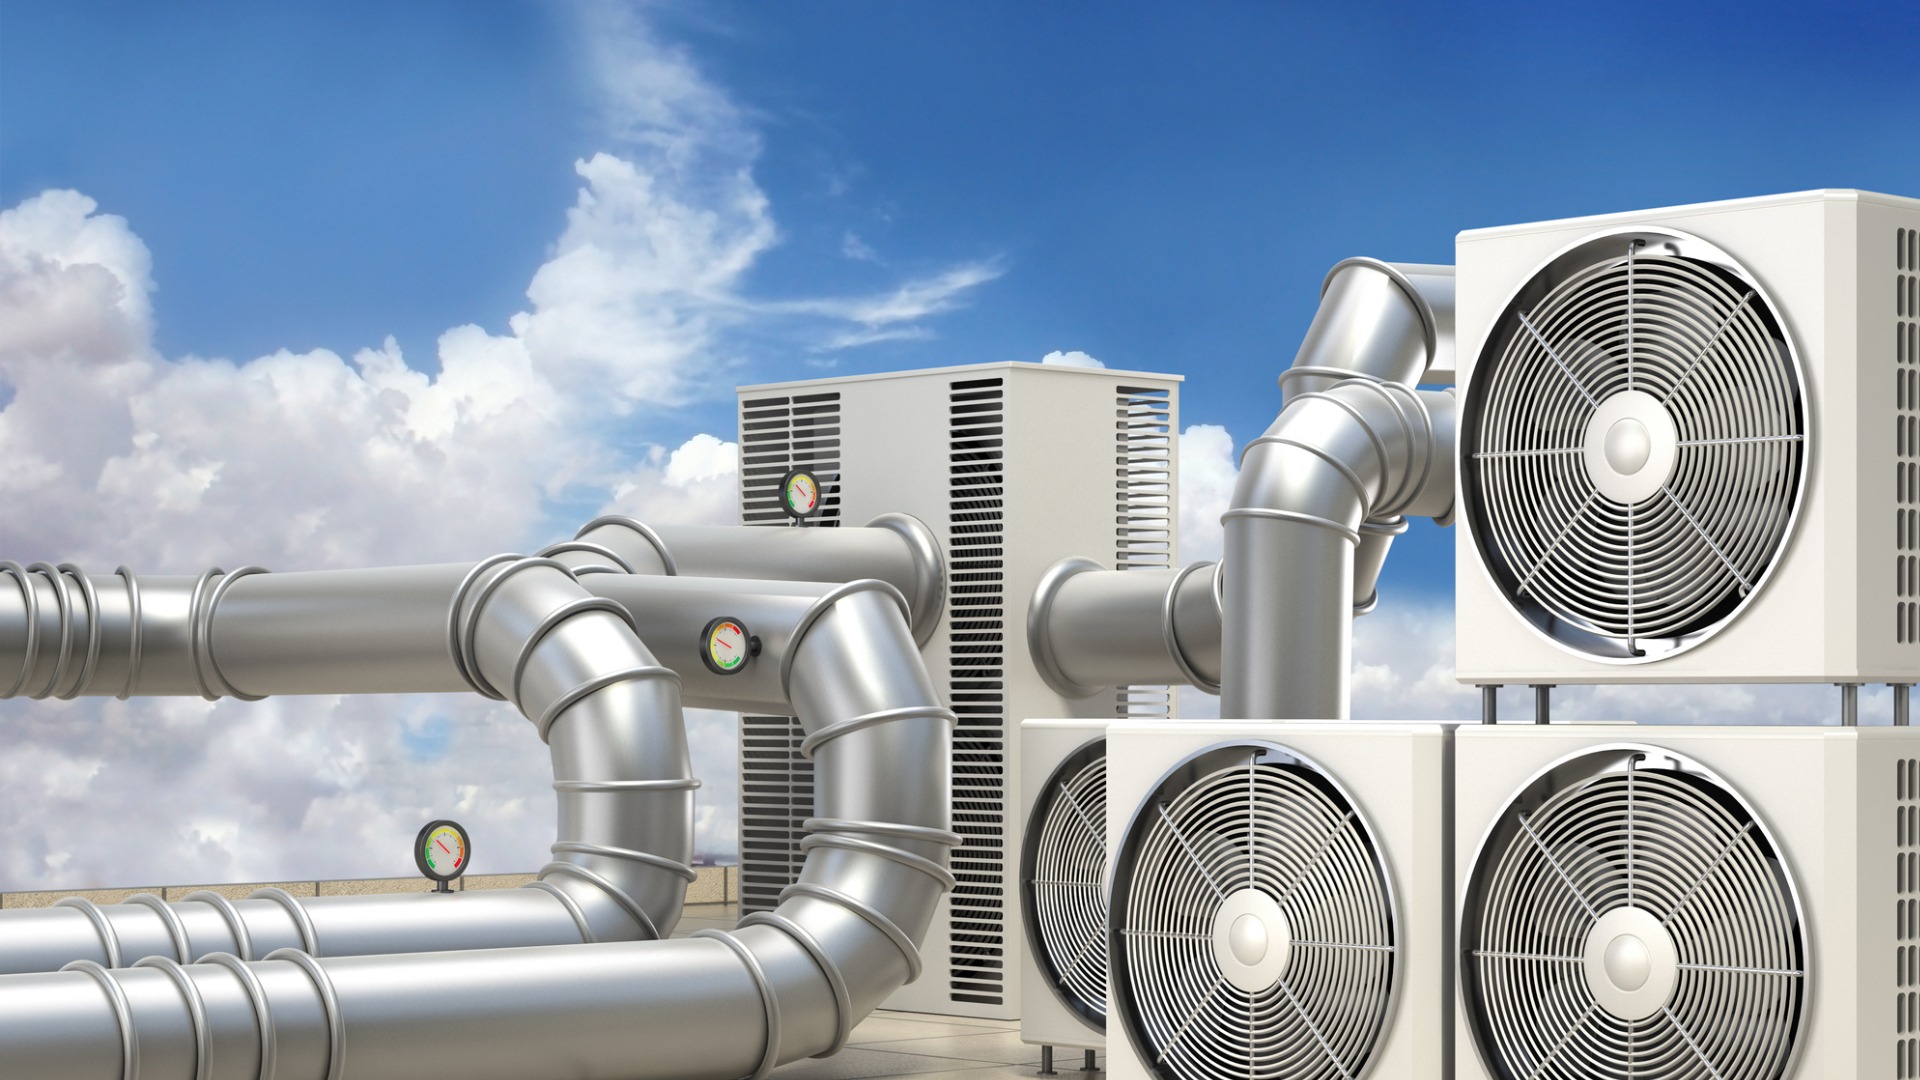
Step 5: Checking for Ductwork Leaks
Leaky ductwork can waste a significant amount of energy and contribute to inconsistent heating and cooling. Air leaks in your ductwork allow conditioned air to escape into unconditioned spaces, such as attics, crawl spaces, and wall cavities.
- Visually Inspect Accessible Ductwork: Start by visually inspecting any exposed ductwork in your attic, basement, or crawl space. Look for obvious signs of damage, such as tears, cracks, or loose connections.
- Feel for Air Leaks: With the HVAC system running, carefully feel around ductwork seams and connections for air leaks. You can use a piece of incense or a smoke pen to help visualize air movement.
- Seal Leaks with Duct Tape or Mastic Sealant: If you find any small leaks, you can seal them with duct tape or mastic sealant. Duct tape is a temporary fix, while mastic sealant provides a more permanent solution. For larger leaks, consult a professional.
When to call a professional: If you suspect significant ductwork leaks or if the ductwork is inaccessible, contact an HVAC professional for a ductwork inspection and sealing. They have specialized equipment, such as duct blasters and thermal imaging cameras, to locate and seal leaks effectively.
When to Call a Professional: Red Flags
While many HVAC issues can be resolved with simple DIY troubleshooting, some problems require the expertise of a qualified HVAC technician. Here are some red flags that indicate it's time to call a professional:
- Refrigerant Leaks: Refrigerant is essential for cooling your home. If you suspect a refrigerant leak (e.g., hissing sound, oily residue), do not attempt to fix it yourself. Refrigerant handling requires specialized equipment and training.
- Electrical Problems: Electrical issues can be dangerous. If you suspect any electrical problems with your HVAC system, such as a burning smell or sparking wires, turn off the power to the unit at the circuit breaker and call a professional immediately.
- Compressor Problems: The compressor is the heart of your air conditioning system. If the compressor is making unusual noises or not working at all, it requires professional diagnosis and repair.
- Frequent Short Cycling: Short cycling (the system turning on and off frequently) can be caused by various issues, including a low refrigerant charge, a dirty condenser coil, or a malfunctioning compressor. A professional can diagnose the underlying cause and recommend the appropriate repair.
- Old System: If your HVAC system is more than 10-15 years old, it may be nearing the end of its lifespan. A professional can assess the system's condition and recommend whether it's more cost-effective to repair or replace it.
Preventive Maintenance: Avoiding Future Problems
The best way to prevent inconsistent heating and cooling is to perform regular preventive maintenance on your HVAC system. Here are some tips:
- Schedule Annual Professional Maintenance: Have your HVAC system inspected and serviced by a qualified technician at least once a year, preferably in the spring or fall.
- Change Air Filters Regularly: As mentioned earlier, regular filter replacement is crucial for maintaining your system's efficiency and lifespan.
- Keep Outdoor Unit Clean: Regularly clean the outdoor unit to remove debris and ensure proper airflow.
- Trim Vegetation: Keep shrubs and bushes trimmed away from the outdoor unit.
- Inspect Ductwork Regularly: Visually inspect accessible ductwork for leaks and damage.
By following these troubleshooting steps and preventive maintenance tips, you can keep your HVAC system running efficiently and maintain a comfortable temperature in your home all year round. Remember, safety is paramount. If you are unsure about any step, or if you suspect a serious problem, don't hesitate to call a qualified HVAC technician.