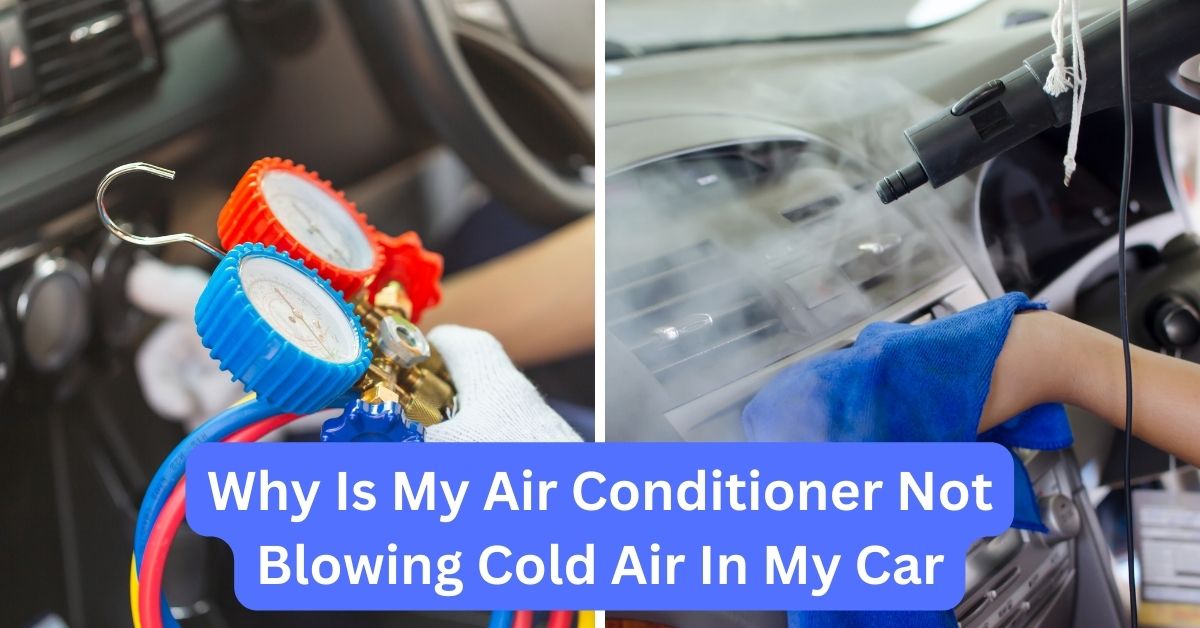
Air Conditioning Not Getting Cold In Car

Just like a home's HVAC system, your car's air conditioning is crucial for comfort. Nothing's worse than blasting hot air when you expect cool relief, especially during a scorching summer drive. Many homeowners face similar heating and cooling problems, and thankfully, many of these problems are easily diagnosed and fixed. Let's dive into a methodical approach to troubleshooting your car's AC and getting it blowing cold again.
Step 1: Initial Assessment (No Tools Required)
Before you grab any tools, start with a simple evaluation. This helps narrow down the possibilities and avoids unnecessary work.
1.1. Is the AC actually on?
It sounds obvious, but double-check that the AC button (often marked with a snowflake icon) is engaged. Sometimes, it can be accidentally turned off. Also, ensure the fan speed is set to a reasonable level. A very low fan speed might not circulate enough air to feel cool, even if the AC is functioning.
1.2. Listen for the compressor clutch engaging.
With the engine running and the AC on, listen closely near the front of the engine. You should hear a faint "click" as the compressor clutch engages. This indicates the compressor is attempting to turn on. If you don't hear this click, it could point to a problem with the compressor, the electrical system, or the refrigerant level.
1.3. Check the blower motor.
Ensure the blower motor is functioning at all speeds. If no air is coming out of the vents, even with the fan on high, the blower motor may be faulty or have a blown fuse. Check your car's owner's manual to locate the blower motor fuse and inspect it.
1.4. Evaluate the temperature.
Note the temperature of the air coming from the vents. Is it just warm, or is it noticeably hot? Is there any difference between the air temperature when the car is idling versus when you're driving at highway speeds? This information can be helpful in diagnosing the problem.
Step 2: Visual Inspection (No Tools Required)
A visual inspection can often reveal obvious issues. Again, no tools are needed for this step.
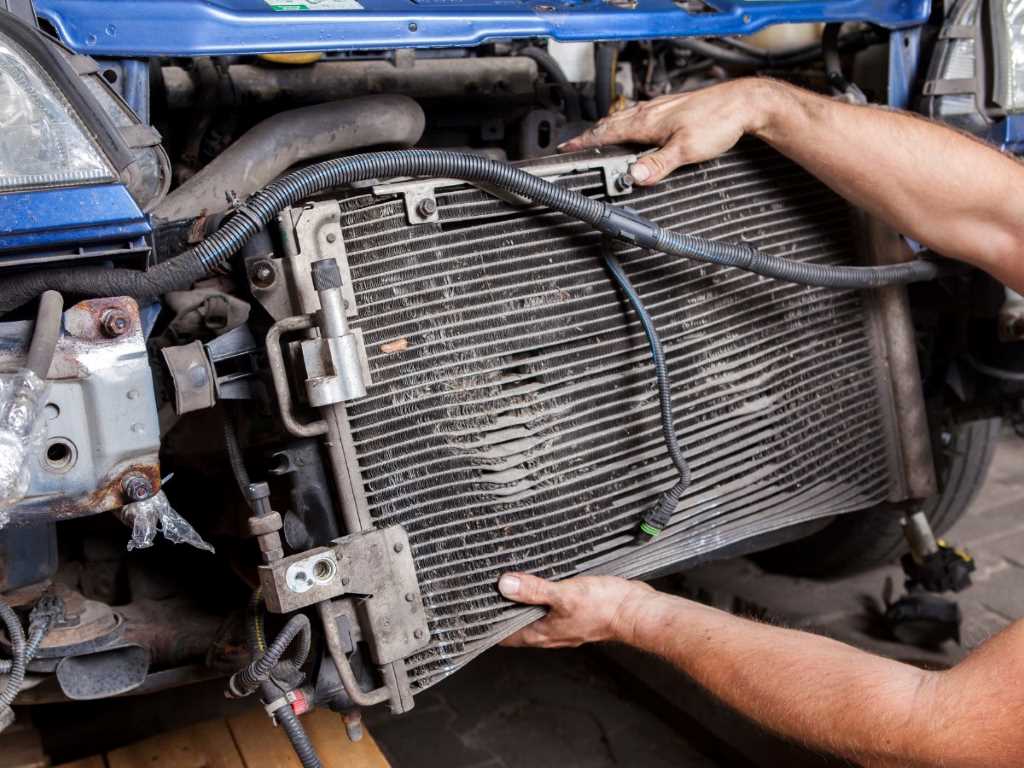
2.1. Inspect the condenser.
The condenser looks similar to a radiator and is usually located in front of it. Check for any obstructions like leaves, bugs, or debris blocking airflow through the condenser fins. A blocked condenser can significantly reduce the AC's cooling ability. Gently clean the condenser with a soft brush or garden hose, taking care not to damage the fins.
2.2. Check the refrigerant lines.
Visually inspect the refrigerant lines (the metal or rubber hoses connected to the compressor) for any signs of damage, such as kinks, cracks, or leaks. Look for oily residue around the connections, which can indicate a refrigerant leak.
2.3. Observe the compressor.
Take a closer look at the compressor itself. Is there any visible damage, such as cracks or leaks? Is the compressor belt in good condition and properly tensioned? A loose or damaged belt can prevent the compressor from functioning correctly.
Step 3: Basic Checks with Simple Tools
These checks require minimal and readily available tools. Safety first: Always wear safety glasses and gloves when working on your car, and never disconnect any refrigerant lines yourself.
3.1. Fuse Check (Requires Fuse Puller/Tester)
Refer to your car's owner's manual to locate the fuses related to the AC system (compressor, blower motor, etc.). Use a fuse puller or fuse tester to check each fuse. A blown fuse is a common culprit and easy to replace. Always replace a blown fuse with one of the same amperage.
3.2. Refrigerant Pressure Check (Requires AC Manifold Gauge Set – Proceed with Caution!)
This step involves working with refrigerant and should only be attempted if you are comfortable and knowledgeable about automotive AC systems. If you're unsure, seek professional help.
A manifold gauge set allows you to measure the high and low side pressures of the refrigerant in your AC system. Connect the gauge set according to the manufacturer's instructions. With the engine running and the AC on maximum, observe the pressure readings. Compare these readings to the specifications for your vehicle (usually found in the service manual or online).
Low Refrigerant: Low pressure on both the high and low sides indicates a refrigerant leak. Adding refrigerant yourself is generally not recommended as it's crucial to find and repair the leak first. Simply adding refrigerant will only be a temporary fix. High Refrigerant: Excessive pressure on the high side could indicate a blockage in the system, a faulty expansion valve, or overcharging of the system. Incorrect Readings: Any significant deviation from the specified pressure range suggests a problem that requires professional diagnosis.
3.3. Compressor Clutch Voltage Check (Requires Multimeter)
This step requires basic electrical knowledge. If you're uncomfortable working with electrical circuits, seek professional help.
Locate the electrical connector for the compressor clutch. With the engine running and the AC on, use a multimeter to check for voltage at the connector. You should see approximately 12 volts. If there's no voltage, the problem could be a faulty relay, a wiring issue, or a problem with the AC control unit.
Step 4: DIY Actions (If Applicable)
Based on your diagnosis, here are a few simple DIY actions you might be able to take:
4.1. Replace a Blown Fuse.
If you found a blown fuse, replace it with a new fuse of the same amperage rating.
4.2. Clean the Condenser.
Carefully remove any debris blocking the condenser fins with a soft brush or garden hose. Avoid using high pressure, as this can damage the fins.
4.3. Check and Tighten the Compressor Belt.
Ensure the compressor belt is properly tensioned and in good condition. If it's loose, you may be able to tighten it. If it's cracked or worn, it should be replaced. (Consult your car's repair manual for belt replacement instructions.)
4.4. Check Cabin Air Filter
A clogged cabin air filter can significantly reduce airflow and AC performance. Consult your car's owner's manual for the location of the cabin air filter, remove it, and inspect it. If it's dirty, replace it with a new one. This is a very easy and common maintenance item that can make a big difference.
When to Call a Professional
While some AC issues can be resolved with DIY solutions, certain problems are best left to qualified professionals. Here's when you should seek professional help:
Refrigerant Leaks
Refrigerant leaks require specialized equipment to detect and repair. Do not attempt to repair refrigerant leaks yourself. Refrigerant is harmful to the environment, and improper handling can be dangerous.
Compressor Problems
Compressor replacement is a complex and expensive repair that typically requires specialized tools and knowledge.
Electrical Issues
If you suspect a problem with the AC control unit, relays, or wiring harness, it's best to consult a qualified technician. Diagnosing electrical problems can be challenging and requires specialized equipment.
Expansion Valve or Orifice Tube Problems
The expansion valve and orifice tube regulate refrigerant flow and are located within the AC system. Replacing these components requires evacuating and recharging the refrigerant, which should only be done by a professional.
Evaporator Problems
The evaporator is located inside the dashboard and is responsible for cooling the air. Replacing the evaporator is a labor-intensive job that often requires removing the entire dashboard.
Uncertainty
If you've performed the basic checks and are still unsure of the cause of the problem, it's always best to err on the side of caution and seek professional help. A qualified technician can accurately diagnose the issue and perform the necessary repairs safely and effectively.
Conclusion
Troubleshooting a car's AC system can seem daunting, but by following these steps, you can often identify the problem and potentially fix it yourself. Remember to prioritize safety and seek professional help when necessary. With a little knowledge and effort, you can keep your car's AC blowing cold and enjoy comfortable drives all year round.