Air Conditioning Not Working In One Room

It’s a common household frustration: you're enjoying a comfortably cool home, but one room stubbornly refuses to cooperate with the air conditioning. While a whole-house AC failure screams for professional help, a single room issue is often addressable with some basic troubleshooting. This guide walks you through the steps to diagnose and potentially fix the problem, empowering you to take control and potentially save on expensive repair bills. Remember, safety first! If you're uncomfortable with any step, or if the problem involves electrical work, gas lines, or complex components, call a qualified HVAC technician.
Understanding the Problem: Why Only One Room?
Before diving into troubleshooting, it's helpful to understand why a single room might be warmer than others. Several factors can contribute:
- Airflow Restrictions: Blocked vents, closed dampers, or obstructions in the ductwork can restrict airflow to the affected room.
- Insulation Issues: Poor insulation in the walls, ceiling, or windows allows heat to enter the room more easily.
- Sun Exposure: Rooms facing direct sunlight tend to be warmer, especially during peak hours.
- Air Leaks: Gaps around windows, doors, or electrical outlets allow conditioned air to escape and warm air to enter.
- Thermostat Placement: If the thermostat isn't centrally located or is near a heat source, it may not accurately reflect the temperature in the problematic room.
- Ductwork Problems: Leaks, disconnections, or improperly sized ductwork can reduce airflow to specific areas.
- Dirty Air Filter: While this affects the entire system, a dirty filter can disproportionately impact rooms furthest from the air handler.
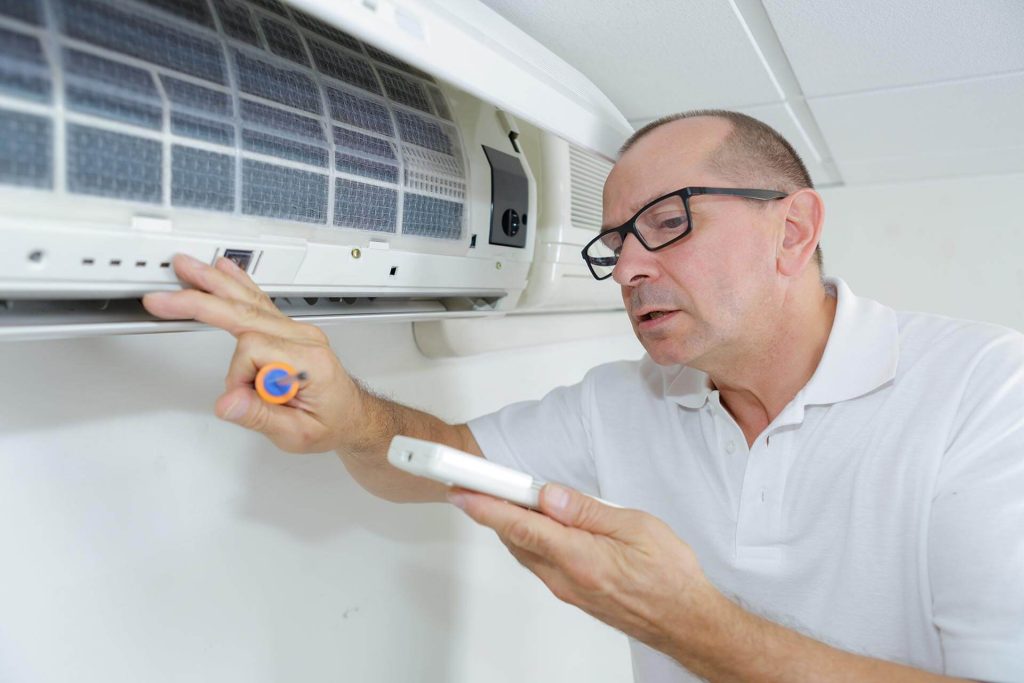
Step-by-Step Troubleshooting Guide
Step 1: The Obvious Checks
Start with the simple things. These are often overlooked and can save you a lot of time.
- Check the Thermostat Setting: Ensure the thermostat is set to "Cool" and the temperature is set low enough. Sounds basic, but mistakes happen! Make sure the fan is set to "Auto" for efficient cooling. If it's set to "On," the fan will run constantly, even when the AC isn't actively cooling, which can sometimes lead to temperature imbalances.
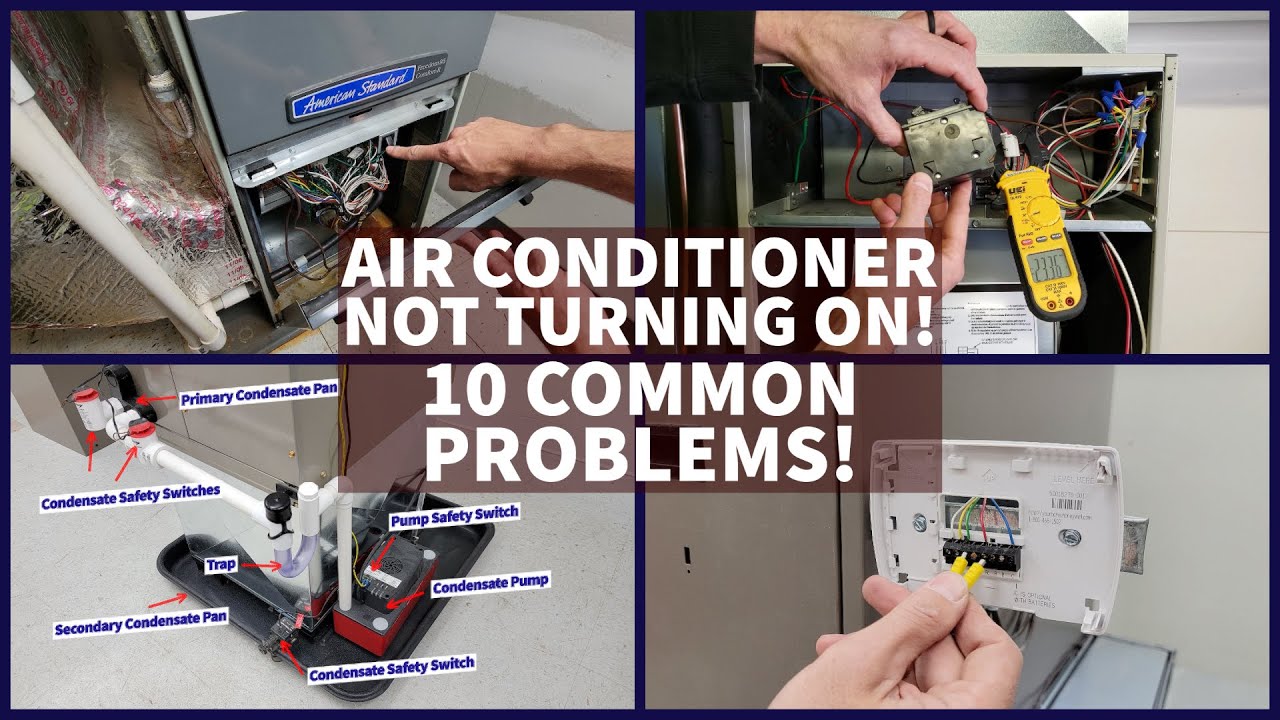
- Verify Power to the System: Check the circuit breaker for the AC unit. It might have tripped. Reset it if necessary. If it trips repeatedly, there's a more serious electrical issue that requires professional attention.
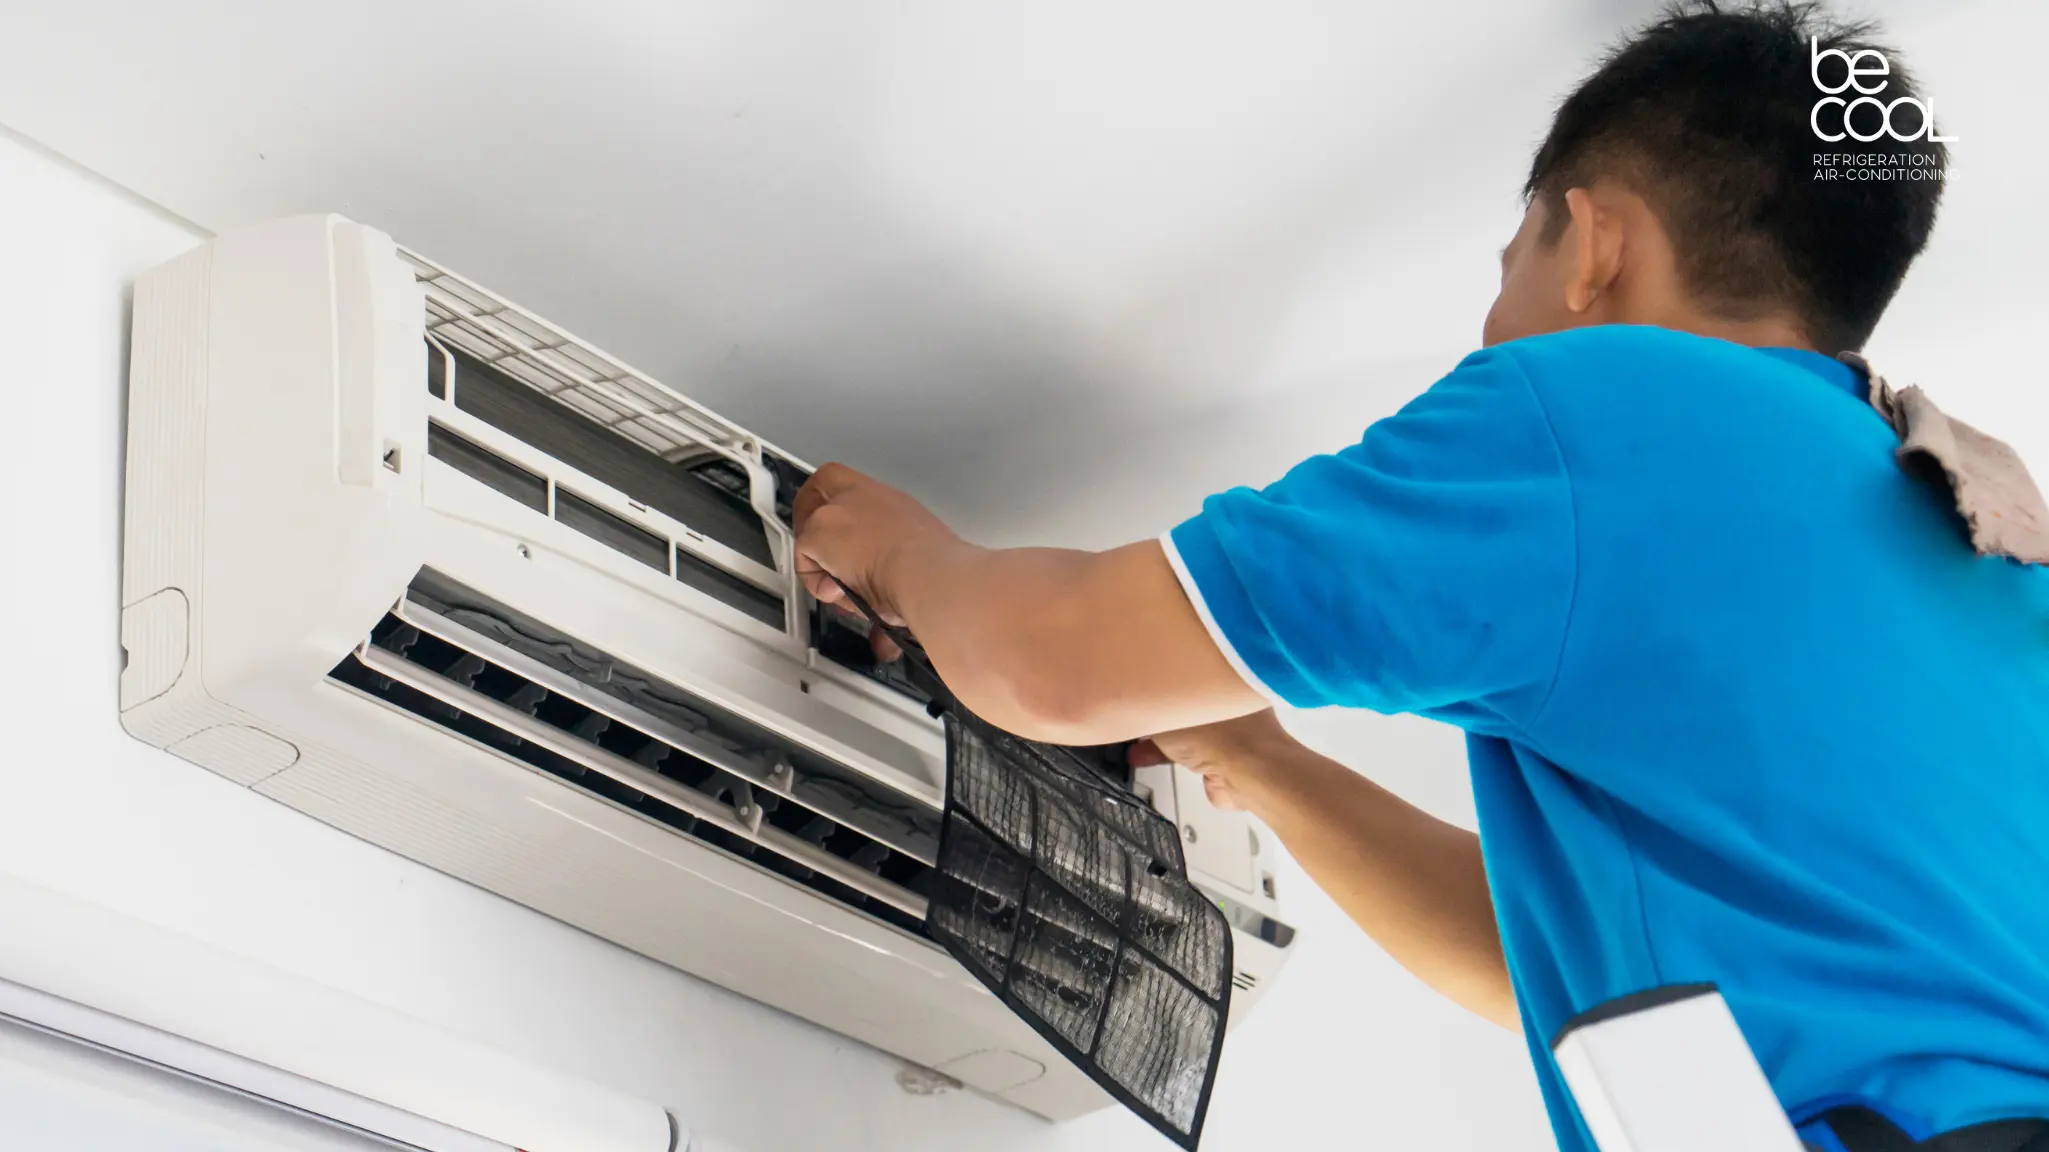
- Inspect the Air Filter: A clogged air filter restricts airflow throughout the entire system, making it harder to cool all rooms, especially those furthest from the air handler. Replace the filter with a clean one. Aim to change your air filter every 1-3 months, depending on the type of filter and your home's air quality.
Step 2: Airflow Investigations
The most common cause of a single room not cooling is an airflow issue. Here's how to investigate:
- Check the Vents: Make sure the supply vents (the ones blowing air into the room) are fully open and unobstructed. Furniture, curtains, or rugs can block airflow. Clear away any obstructions.
- Inspect the Return Vents: Ensure the return vents (the ones sucking air back into the system) are also clear. These vents are just as important for proper airflow.
- Examine the Dampers (if applicable): Some homes have dampers in the ductwork that allow you to control airflow to different zones. Check if the damper for the affected room is closed or partially closed. Adjust it to the open position. Important: Forcefully adjusting stuck dampers can damage them. If they are difficult to move, consult a professional.
- Feel for Airflow: Place your hand near the supply vent in the affected room. Do you feel a strong flow of cool air? If the airflow is weak, there's a restriction somewhere in the system. Compare the airflow to a vent in a room that *is* cooling properly.
Step 3: Sealing Air Leaks
Air leaks allow conditioned air to escape and warm air to enter, making it harder to cool the room. Focus on common leakage points:
- Windows and Doors: Check the weather stripping around windows and doors. If it's cracked, damaged, or missing, replace it. You can find weather stripping at most hardware stores.
- Caulking: Inspect the caulking around window and door frames, as well as around any penetrations in the walls (e.g., pipes, wires). Re-caulk any gaps or cracks.
- Electrical Outlets and Switches: These are often overlooked sources of air leaks. Install foam outlet seals behind the outlet covers to prevent air from escaping. This is a simple and inexpensive fix. Important: Turn off the power to the outlet at the breaker before removing the cover.
- Fireplace: If the room has a fireplace, make sure the damper is closed tightly when it's not in use. Fireplaces can be significant sources of air leakage.
Step 4: Investigating Insulation
Poor insulation can make a room significantly warmer. Assessing insulation can be trickier, but here are some things to look for:
- Visual Inspection: In unfinished attics or basements, you can visually inspect the insulation. Look for areas where the insulation is thin, compressed, or missing.
- Exterior Walls: On a hot day, touch the interior walls of the affected room. Do they feel warmer than the walls in other rooms? This could indicate insufficient insulation.
- Check for Drafts: On a windy day, hold your hand near windows, doors, and walls. Can you feel any drafts? Drafts indicate air leaks and potential insulation problems.
Important: Adding insulation is generally a project best left to professionals, especially if it involves working in attics or crawl spaces. Improperly installed insulation can cause moisture problems and reduce its effectiveness.
Step 5: Ductwork Inspection (Use Caution!)
Ductwork problems are a common culprit, but inspecting it can be challenging, especially if it's hidden behind walls or in ceilings.
- Visible Ductwork: If you have access to any exposed ductwork (e.g., in an unfinished basement), look for obvious signs of damage, such as tears, holes, or disconnections. Seal any small leaks with duct tape (but never use regular tape – it won't hold). For larger repairs, consult a professional.
- Listen for Leaks: With the AC running, listen for hissing or whistling sounds near ductwork joints. These sounds can indicate air leaks.
- Duct Cleaning: While not directly related to a single room issue, consider having your ducts professionally cleaned. Accumulated dust and debris can restrict airflow and reduce the efficiency of your AC system.
Important: Working with ductwork often involves climbing ladders and working in confined spaces. If you're uncomfortable with these tasks, or if you suspect a major ductwork problem, call a professional HVAC technician.
Step 6: Ceiling Fans
Make sure ceiling fans are rotating in the correct direction. During the summer, the fan should rotate counter-clockwise (when looking up at it) to push cool air down.
When to Call a Professional
While many of the steps above can be handled by homeowners, certain situations require the expertise of a qualified HVAC technician. Call a professional if:
- You're uncomfortable working with electricity. Electrical work is dangerous and should only be performed by qualified individuals.
- You suspect a refrigerant leak. Refrigerant leaks are harmful to the environment and can be dangerous to your health. They require specialized equipment and training to repair.
- The AC unit is making unusual noises. Unusual noises can indicate mechanical problems that require professional attention.
- The problem persists after trying all the troubleshooting steps. If you've exhausted all the DIY options and the room is still not cooling, it's time to call in the experts.
- You need to work on the ductwork inside the walls. Ductwork issues require special tools and knowledge.
- The unit is old. Older AC units have a higher chance of component failure.
Prevention is Key
To prevent future air conditioning problems, consider these tips:
- Regular Maintenance: Schedule annual maintenance for your AC system with a qualified HVAC technician. This includes cleaning the coils, checking the refrigerant levels, and inspecting the components for wear and tear.
- Change Air Filters Regularly: As mentioned earlier, change your air filter every 1-3 months.
- Keep Outdoor Unit Clear: Ensure the outdoor unit is free from obstructions, such as plants, debris, and snow.
- Seal Air Leaks: Regularly inspect and seal any air leaks around windows, doors, and other openings.
By following this troubleshooting guide, you can often identify and resolve the problem of a single room not cooling. Remember to prioritize safety and call a professional when needed. With a little effort, you can keep your entire home comfortably cool all summer long.