Air Conditioning Service China Spring Tx
Living in China Spring, TX, you know how crucial a working AC is to get through those hot Texas summers. One common problem homeowners face is an air conditioner that's blowing warm air instead of cold. Before you call for professional help, let's walk through some basic troubleshooting steps you can take yourself. This will save you time, potentially money, and help you understand your system better.
Diagnosing the Warm Air Issue
We'll follow a methodical approach, starting with the simplest checks and moving towards more complex ones. Remember, safety first! If at any point you feel uncomfortable or unsure, it's always best to call a qualified HVAC technician.
Step 1: Thermostat Check (No Tools Required)
The first and easiest thing to check is your thermostat settings. Sounds obvious, but it's surprising how often this is the culprit!
- Ensure your thermostat is set to "COOL." Accidentally setting it to "HEAT" or "AUTO" will obviously result in warm air.
- Verify the temperature setting. Make sure the desired temperature is set lower than the current room temperature. If it's already set low enough, try lowering it a few more degrees to see if the AC kicks on stronger.
- Check the thermostat batteries. A low battery can sometimes cause the thermostat to malfunction and not send the correct signals to your AC unit. Replace them with fresh batteries.
If the thermostat is set correctly, move on to the next step.
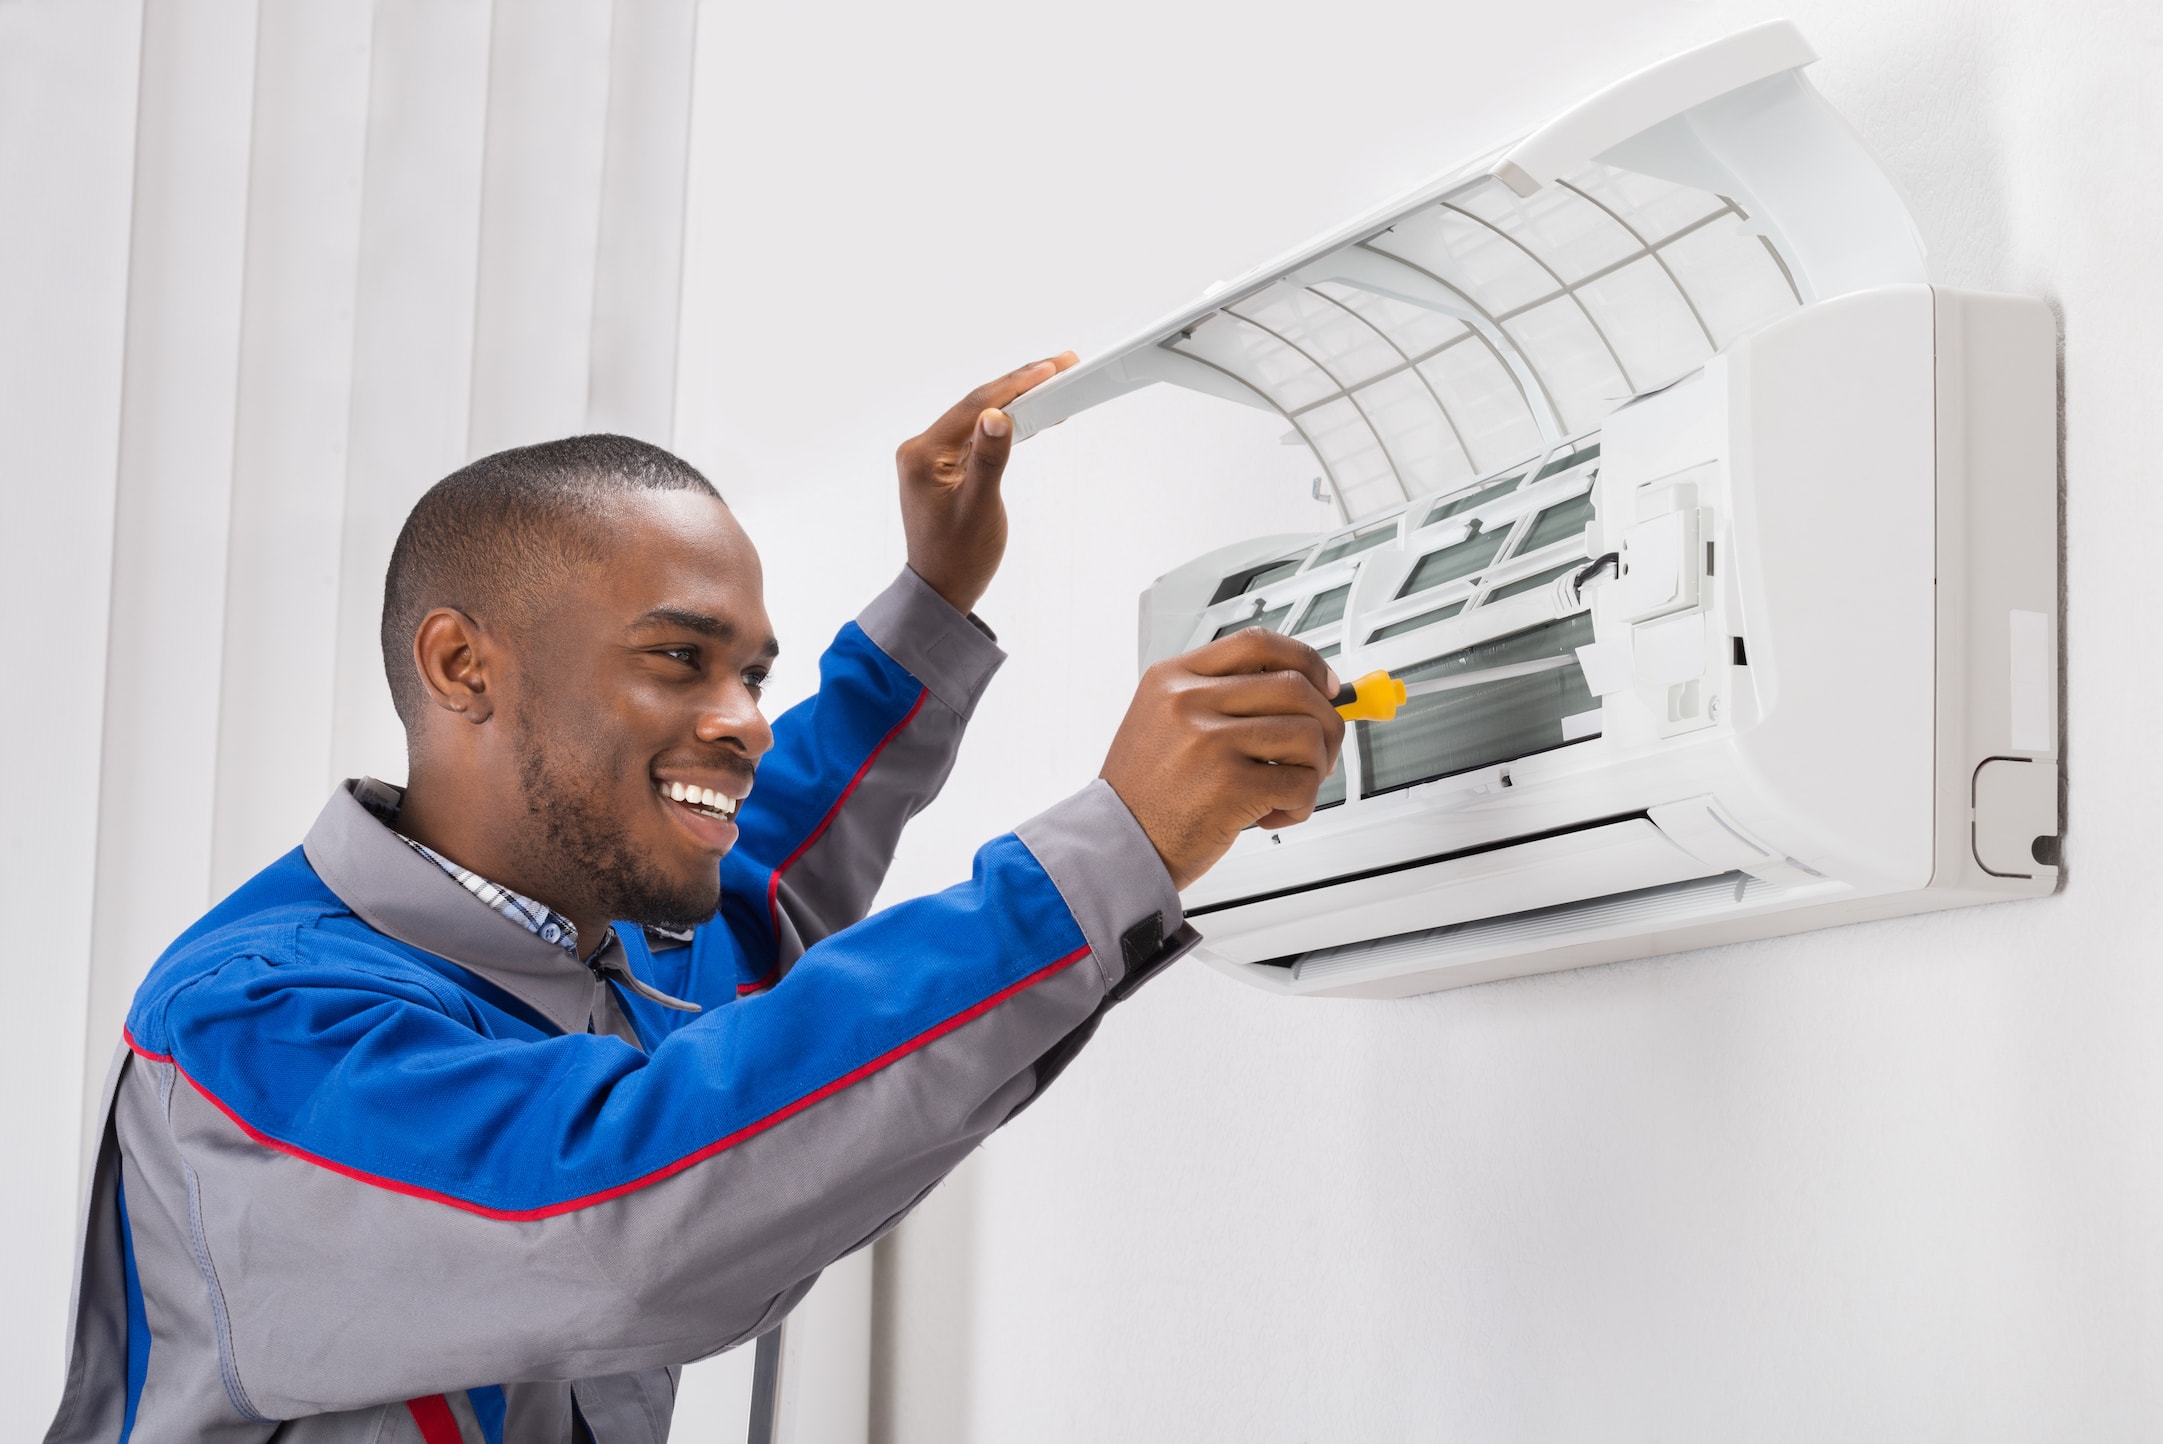
Step 2: Air Filter Inspection (No Tools Required)
A dirty air filter is a very common cause of AC problems. It restricts airflow, which can cause the unit to overheat and blow warm air. A clogged filter reduces efficiency and can even damage your AC unit in the long run.
- Locate your air filter. This is usually found in the return air vent (often in a hallway or near the floor) or within the indoor unit itself. Consult your AC unit's manual if you're unsure.
- Remove the air filter and visually inspect it. If it's visibly dirty with dust, dirt, and debris, it needs to be replaced.
- Replace the filter with a new one. Make sure you use the correct size and type of filter recommended for your unit. Check the old filter or your unit's manual for the proper specifications. Write the date on the filter to remind you when it was changed!
After replacing the filter, wait a few hours and see if the airflow improves and the air cools down. If not, continue troubleshooting.
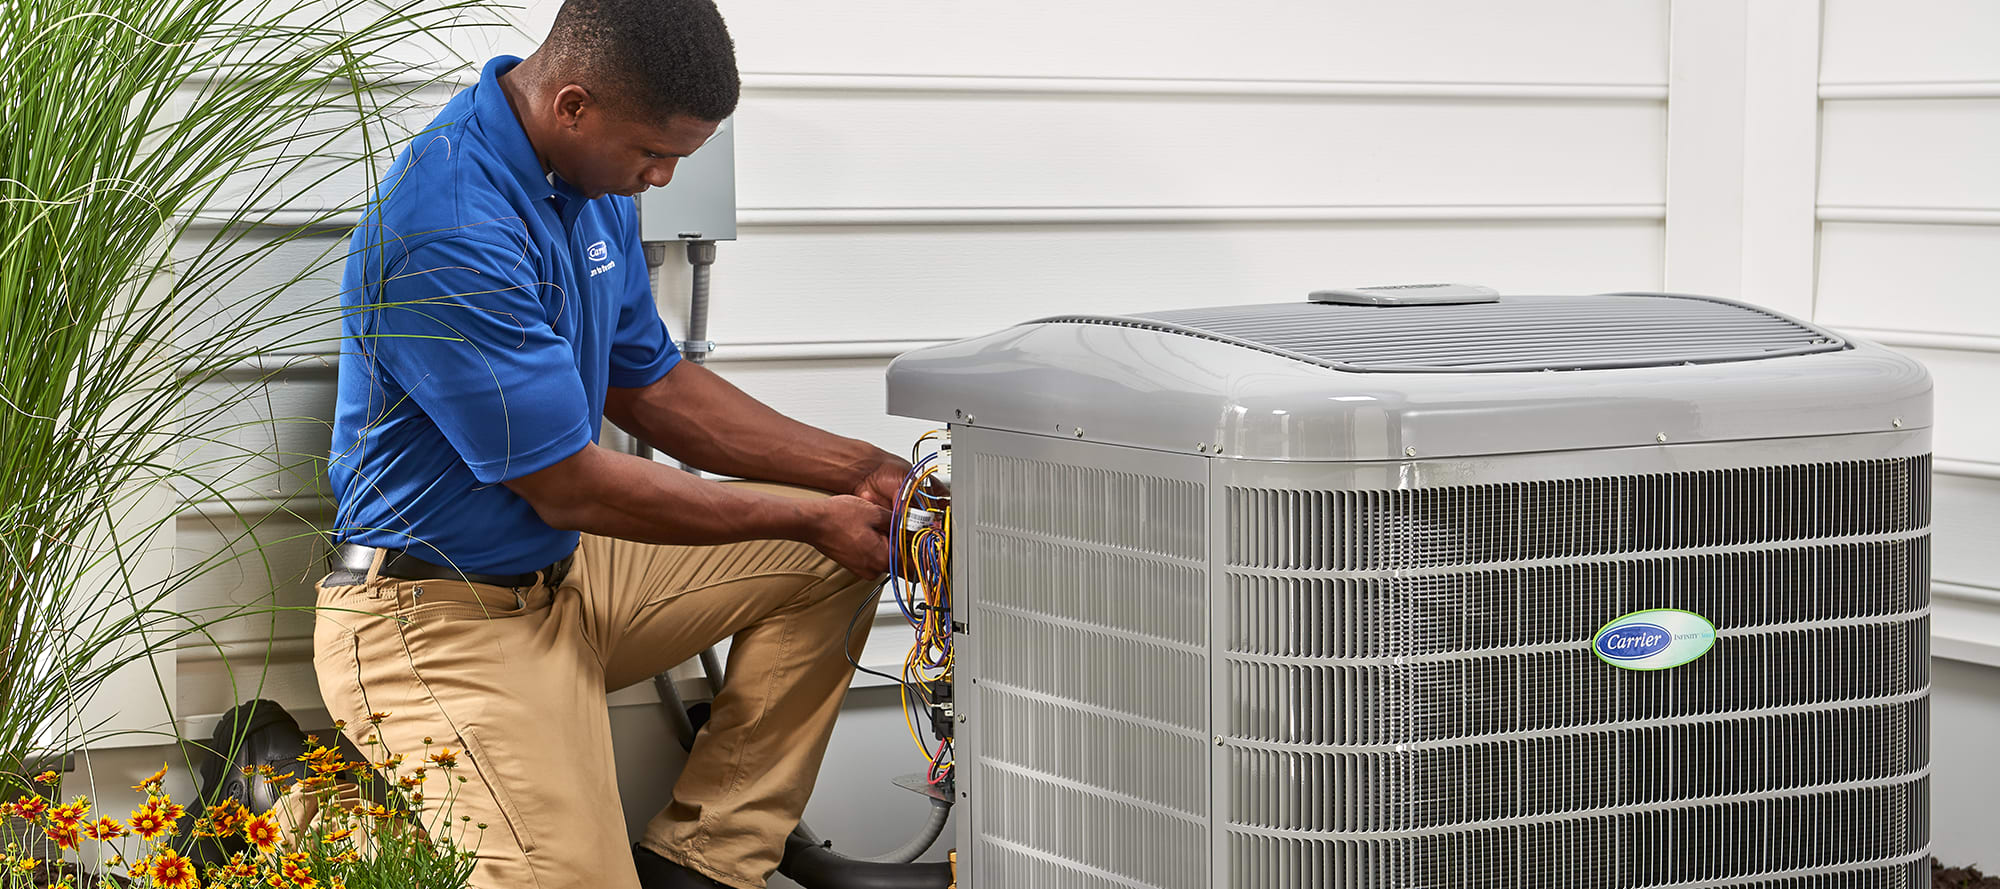
Step 3: Outdoor Unit Inspection (No Tools Required - Visual Only!)
The outdoor unit (condenser) plays a crucial role in cooling. Make sure it's not obstructed and is functioning properly. Do not attempt to open or disassemble the unit.
- Ensure the unit is clear of debris. Remove any leaves, branches, grass clippings, or other obstructions that may be blocking airflow around the unit. Give the unit at least 2-3 feet of clear space on all sides.
- Visually inspect the fan. Make sure the fan blades are intact and not damaged. If you see any damage, do not attempt to run the unit and call a professional.
- Listen for unusual noises. A buzzing, grinding, or rattling sound could indicate a problem with the compressor or other components. If you hear anything out of the ordinary, it's best to shut the unit off and call a technician.
Important Safety Note: Never stick your hand or any object into the outdoor unit while it's running. The fan blades are sharp and can cause serious injury.
Step 4: Circuit Breaker Check (No Tools Required)
A tripped circuit breaker can cut power to your AC unit, causing it to stop working. Check the circuit breaker panel to see if the breaker for your AC unit has tripped.
- Locate your circuit breaker panel. This is usually found in the garage, basement, or utility room.
- Identify the breaker for your AC unit. The breaker should be labeled (e.g., "AC," "Air Conditioner," or "HVAC"). If it's not labeled, you may need to experiment by switching breakers off and on to see which one affects the AC.
- If the breaker is tripped (in the "OFF" or middle position), reset it by flipping it all the way to the "OFF" position and then back to the "ON" position.
If the breaker trips again immediately after resetting it, this indicates a more serious electrical problem. Do not continue to reset the breaker. Call a qualified electrician to investigate.
Step 5: Condensate Drain Line Check (May Require Simple Tools)
The condensate drain line removes condensation from the indoor unit. If this line becomes clogged, it can cause the unit to shut down or leak water, eventually affecting the cooling performance.
- Locate the condensate drain line. This is usually a PVC pipe that runs from the indoor unit to an outside location or a drain.
- Check for clogs. You may be able to visually inspect the end of the drain line for obvious obstructions, like algae or debris.
- Use a wet/dry vacuum to clear the line. Place the vacuum hose over the end of the drain line and turn it on to suck out any clogs. You can also try using a stiff wire or a plumber's snake to break up any obstructions.
- Pour a cup of diluted bleach or white vinegar down the drain line periodically to prevent future clogs.
If you're still having problems after clearing the condensate drain line, the issue is likely more complex.
Step 6: Checking the Refrigerant Lines (Requires Caution and Basic Tools - Proceed with Care)
The refrigerant lines carry refrigerant to and from the outdoor unit. Sometimes, they can freeze up, especially if the refrigerant level is low or the airflow is restricted. Proceed with CAUTION. If you don't feel comfortable with this step, call a professional.
- Locate the refrigerant lines. These are typically copper pipes that connect the indoor and outdoor units.
- Visually inspect the lines for ice buildup. If you see ice on the lines, this indicates a problem.
- If you find ice, turn off the AC unit and allow the ice to melt. This can take several hours.
- Once the ice has melted, turn the unit back on and monitor the lines. If the ice returns, it could indicate a refrigerant leak or another underlying issue. This needs professional attention.
- Use an infrared thermometer to check the temperature of the refrigerant lines (optional). One line should be cool to the touch, while the other should be warm. If both lines are at the same temperature or if one is extremely hot, this could indicate a problem with the compressor or refrigerant levels.
Warning: Never attempt to repair or recharge refrigerant lines yourself. Refrigerant is a hazardous substance, and only a licensed HVAC technician is qualified to handle it.
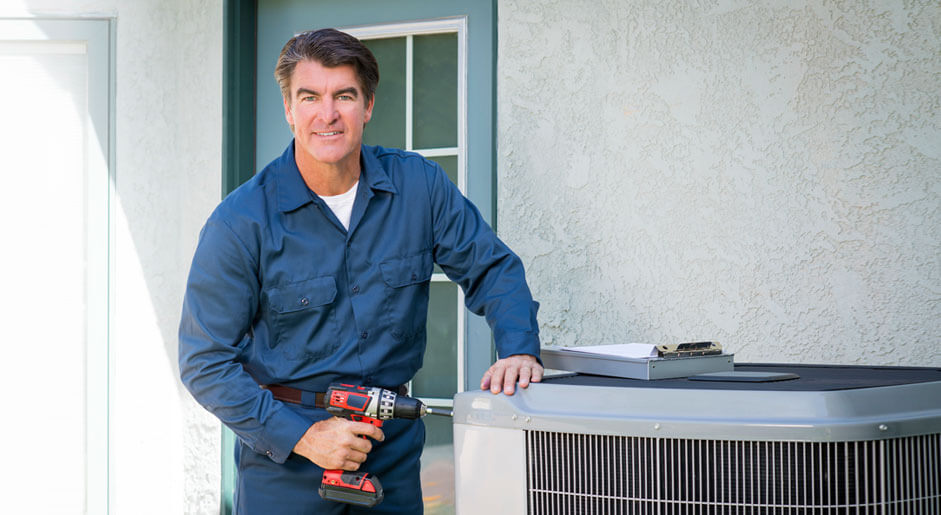
When to Call a Professional HVAC Technician
While these DIY steps can help resolve some common AC problems, there are situations where you should always call a professional HVAC technician in China Spring, TX.
- Refrigerant leaks: Handling refrigerant requires specialized equipment and training.
- Compressor problems: The compressor is the heart of your AC unit, and any issues with it require expert diagnosis and repair.
- Electrical issues: Working with electrical components can be dangerous if you're not properly trained.
- Recurring problems: If you've tried troubleshooting the issue yourself and the problem keeps coming back, it's time to call a professional.
- Strange noises: Loud or unusual noises coming from your AC unit can indicate a serious problem.
- You're uncomfortable working with your AC unit: Your safety and well-being are the most important things!
By following these troubleshooting steps, you can often identify and resolve minor AC issues yourself. However, remember to prioritize safety and call a qualified HVAC technician when necessary. With a little bit of knowledge and effort, you can keep your AC running smoothly and comfortably enjoy the China Spring, TX, summers!