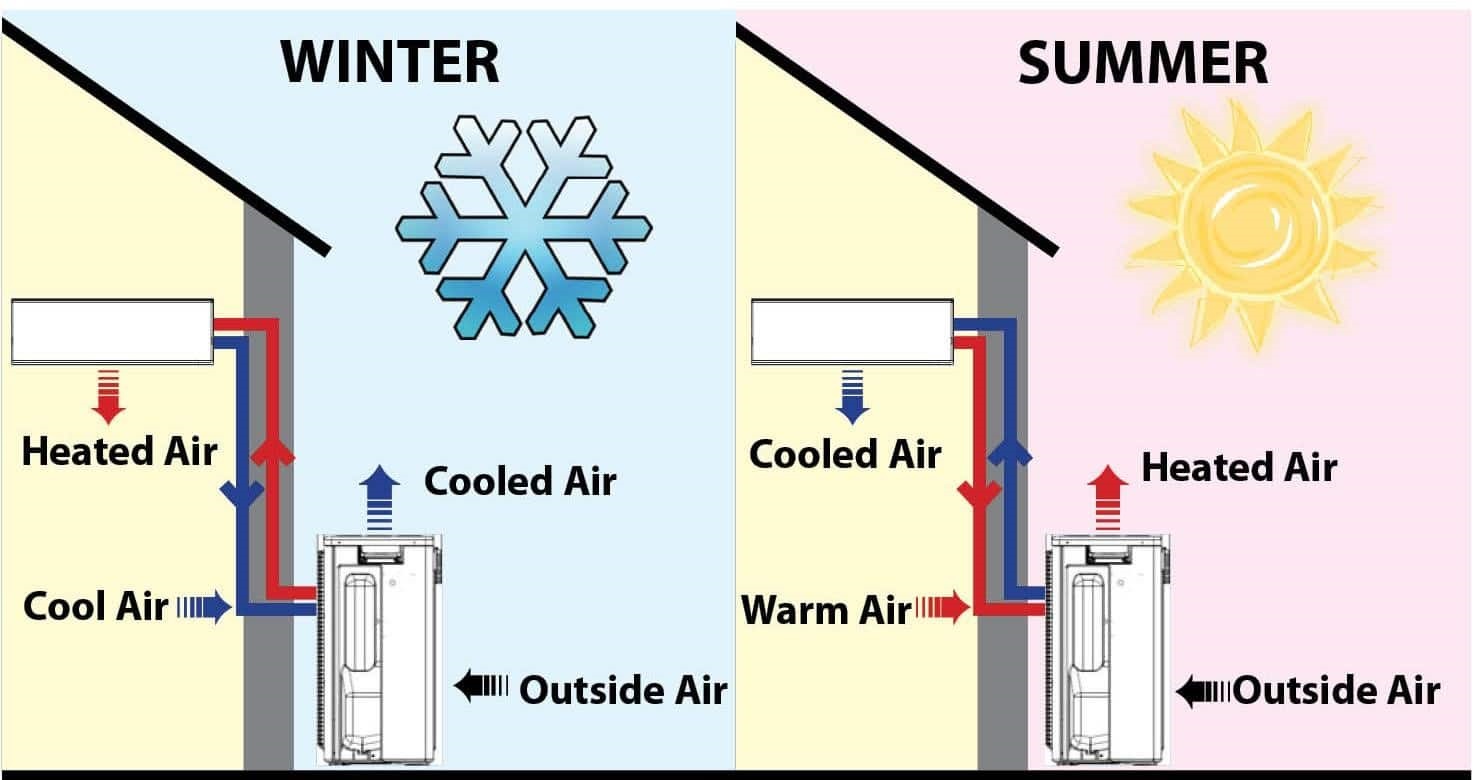
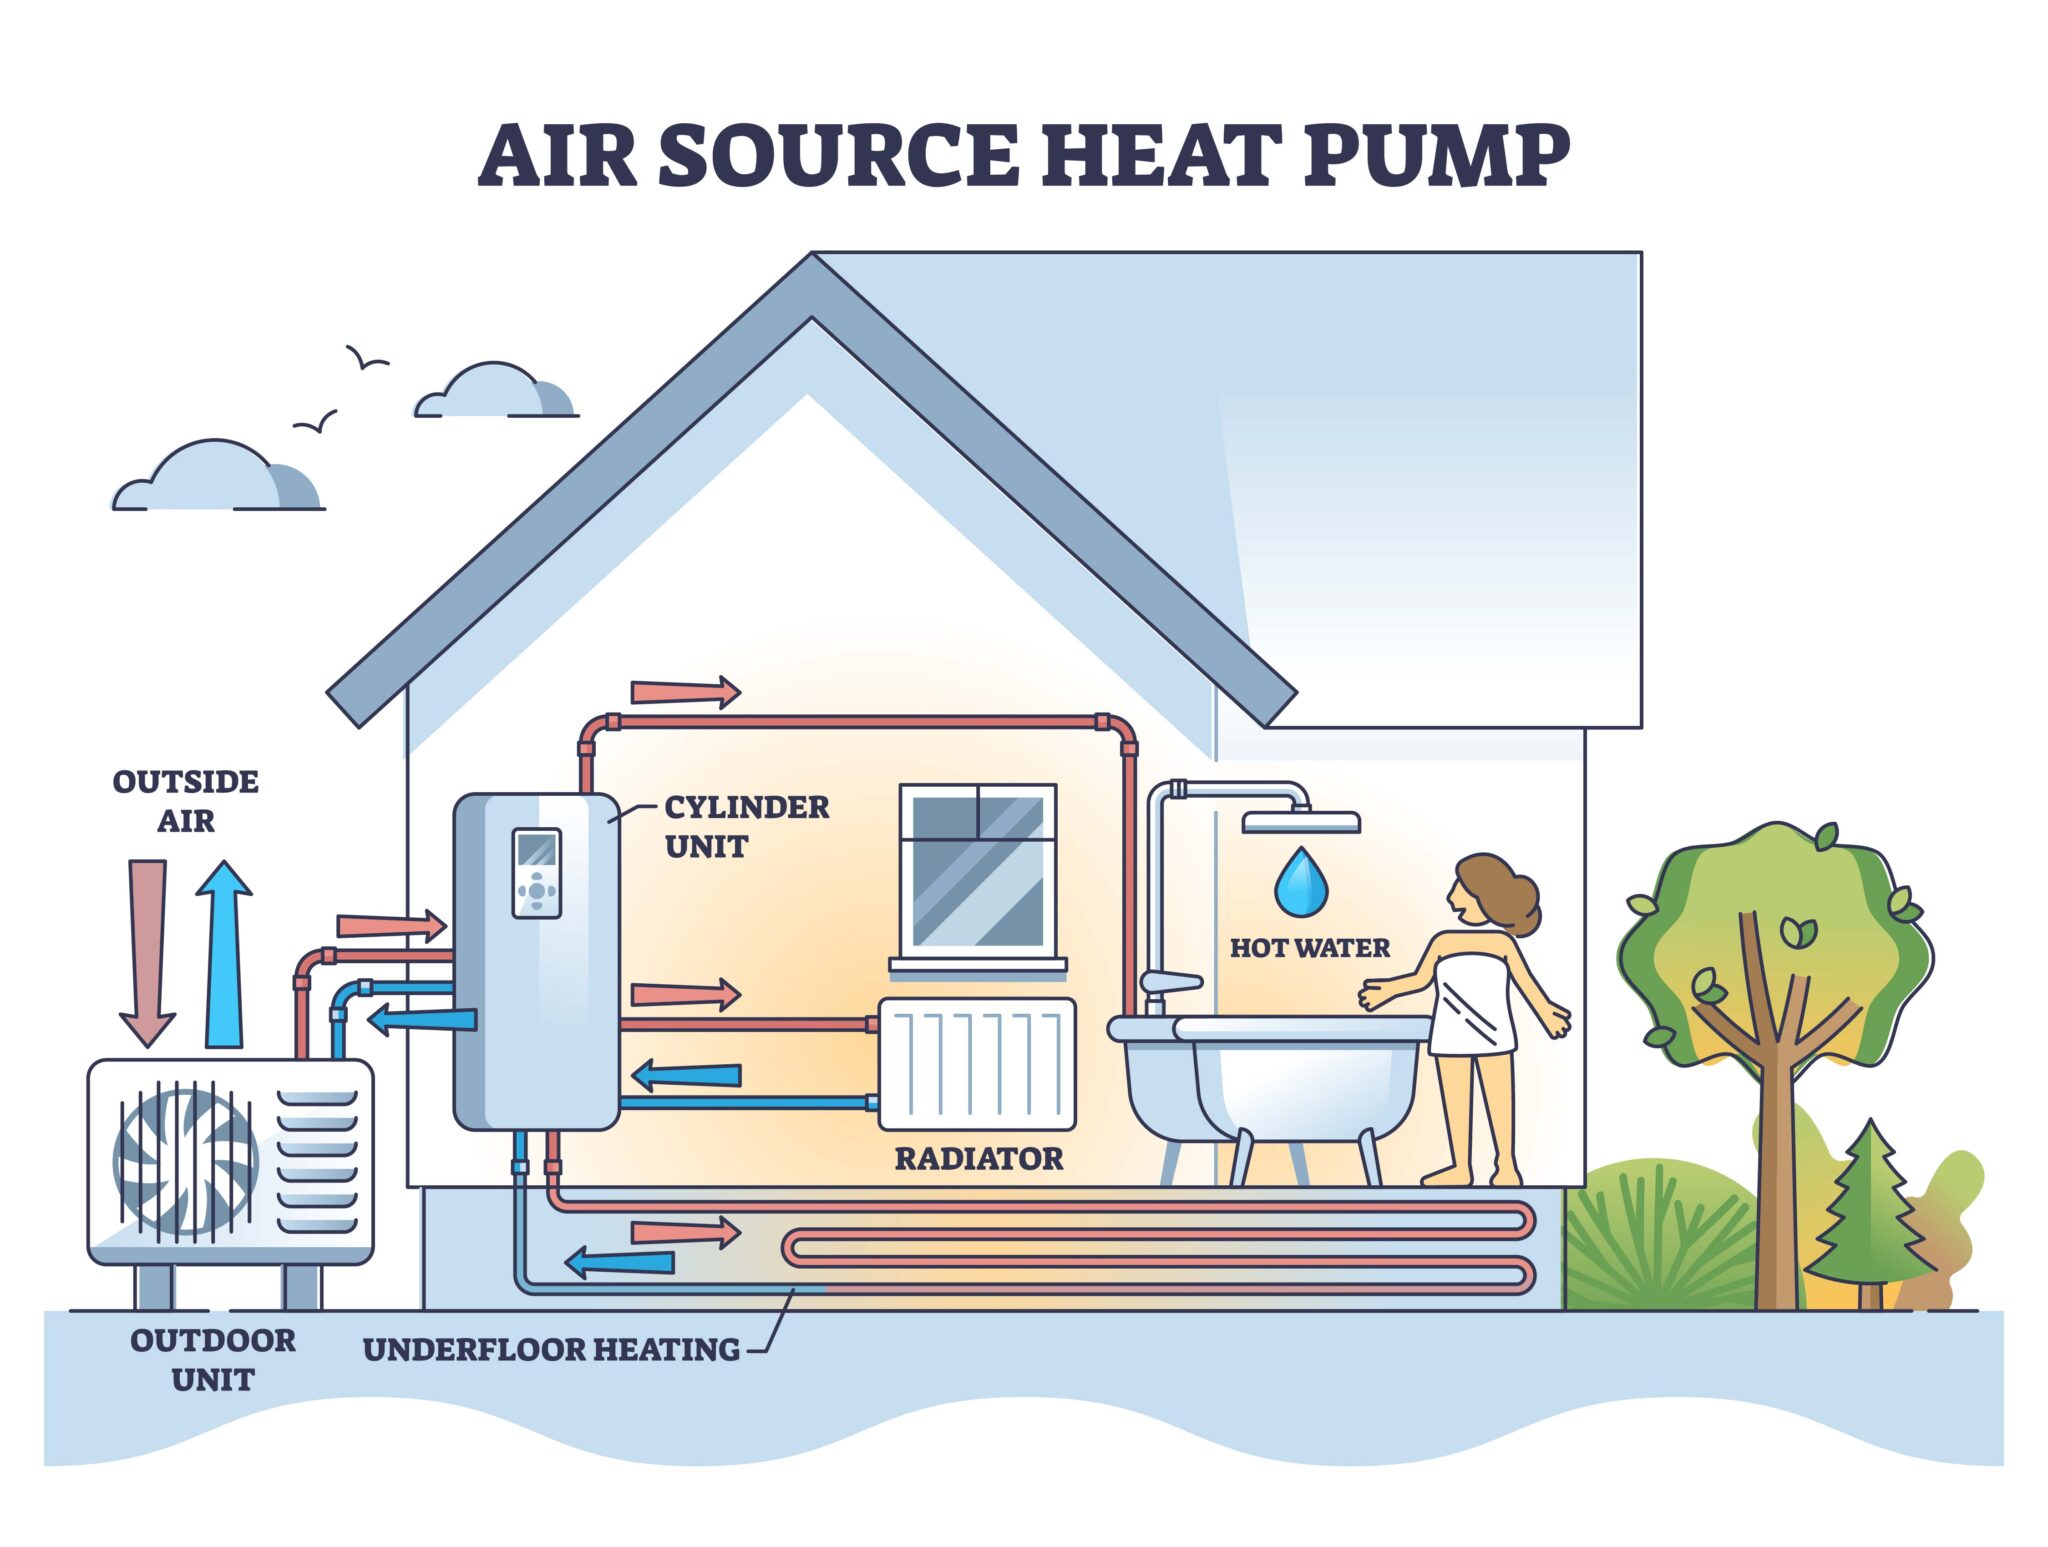
Air Source Heat Pump Heating And Cooling
One of the most common frustrations homeowners face with air source heat pumps is insufficient heating in cold weather. You might notice the system running constantly, yet your home never reaches the desired temperature. Or, conversely, during the summer, you may experience weak or warm air being circulated, even with the thermostat set low. Let's walk through a systematic troubleshooting approach to identify and potentially resolve these issues.
Step 1: Initial Assessment – No Tools Required
Before you grab any tools, let's start with some basic checks that require nothing more than your senses and a keen eye.
1. Thermostat Settings
This might seem obvious, but it's the most frequent culprit. Double-check the following:
- Mode: Is the thermostat set to HEAT in winter and COOL in summer? Accidentally setting it to "OFF" or "FAN ONLY" is surprisingly common.
- Temperature: Is the set temperature significantly different from the room temperature? A large gap will cause the system to run constantly.
- Program: Is the thermostat programmed correctly? Make sure the programmed settings align with your desired temperatures for different times of the day. An incorrect program could be overriding your intended settings.
- Battery: If your thermostat is battery-powered, check the battery level. A low battery can cause erratic behavior.
2. Airflow Obstruction – Indoor Unit
Poor airflow can drastically reduce your heat pump's efficiency. Inspect the following:
- Air Filter: This is the most critical step. A dirty air filter restricts airflow, forcing the system to work harder and reducing its ability to heat or cool effectively. Replace it immediately if it's visibly dirty. Aim to replace your filter every 1-3 months, depending on the filter type and air quality in your home.
- Registers & Vents: Ensure that all registers (supply vents) and return vents are open and unobstructed. Furniture, rugs, or curtains blocking vents can significantly reduce airflow.
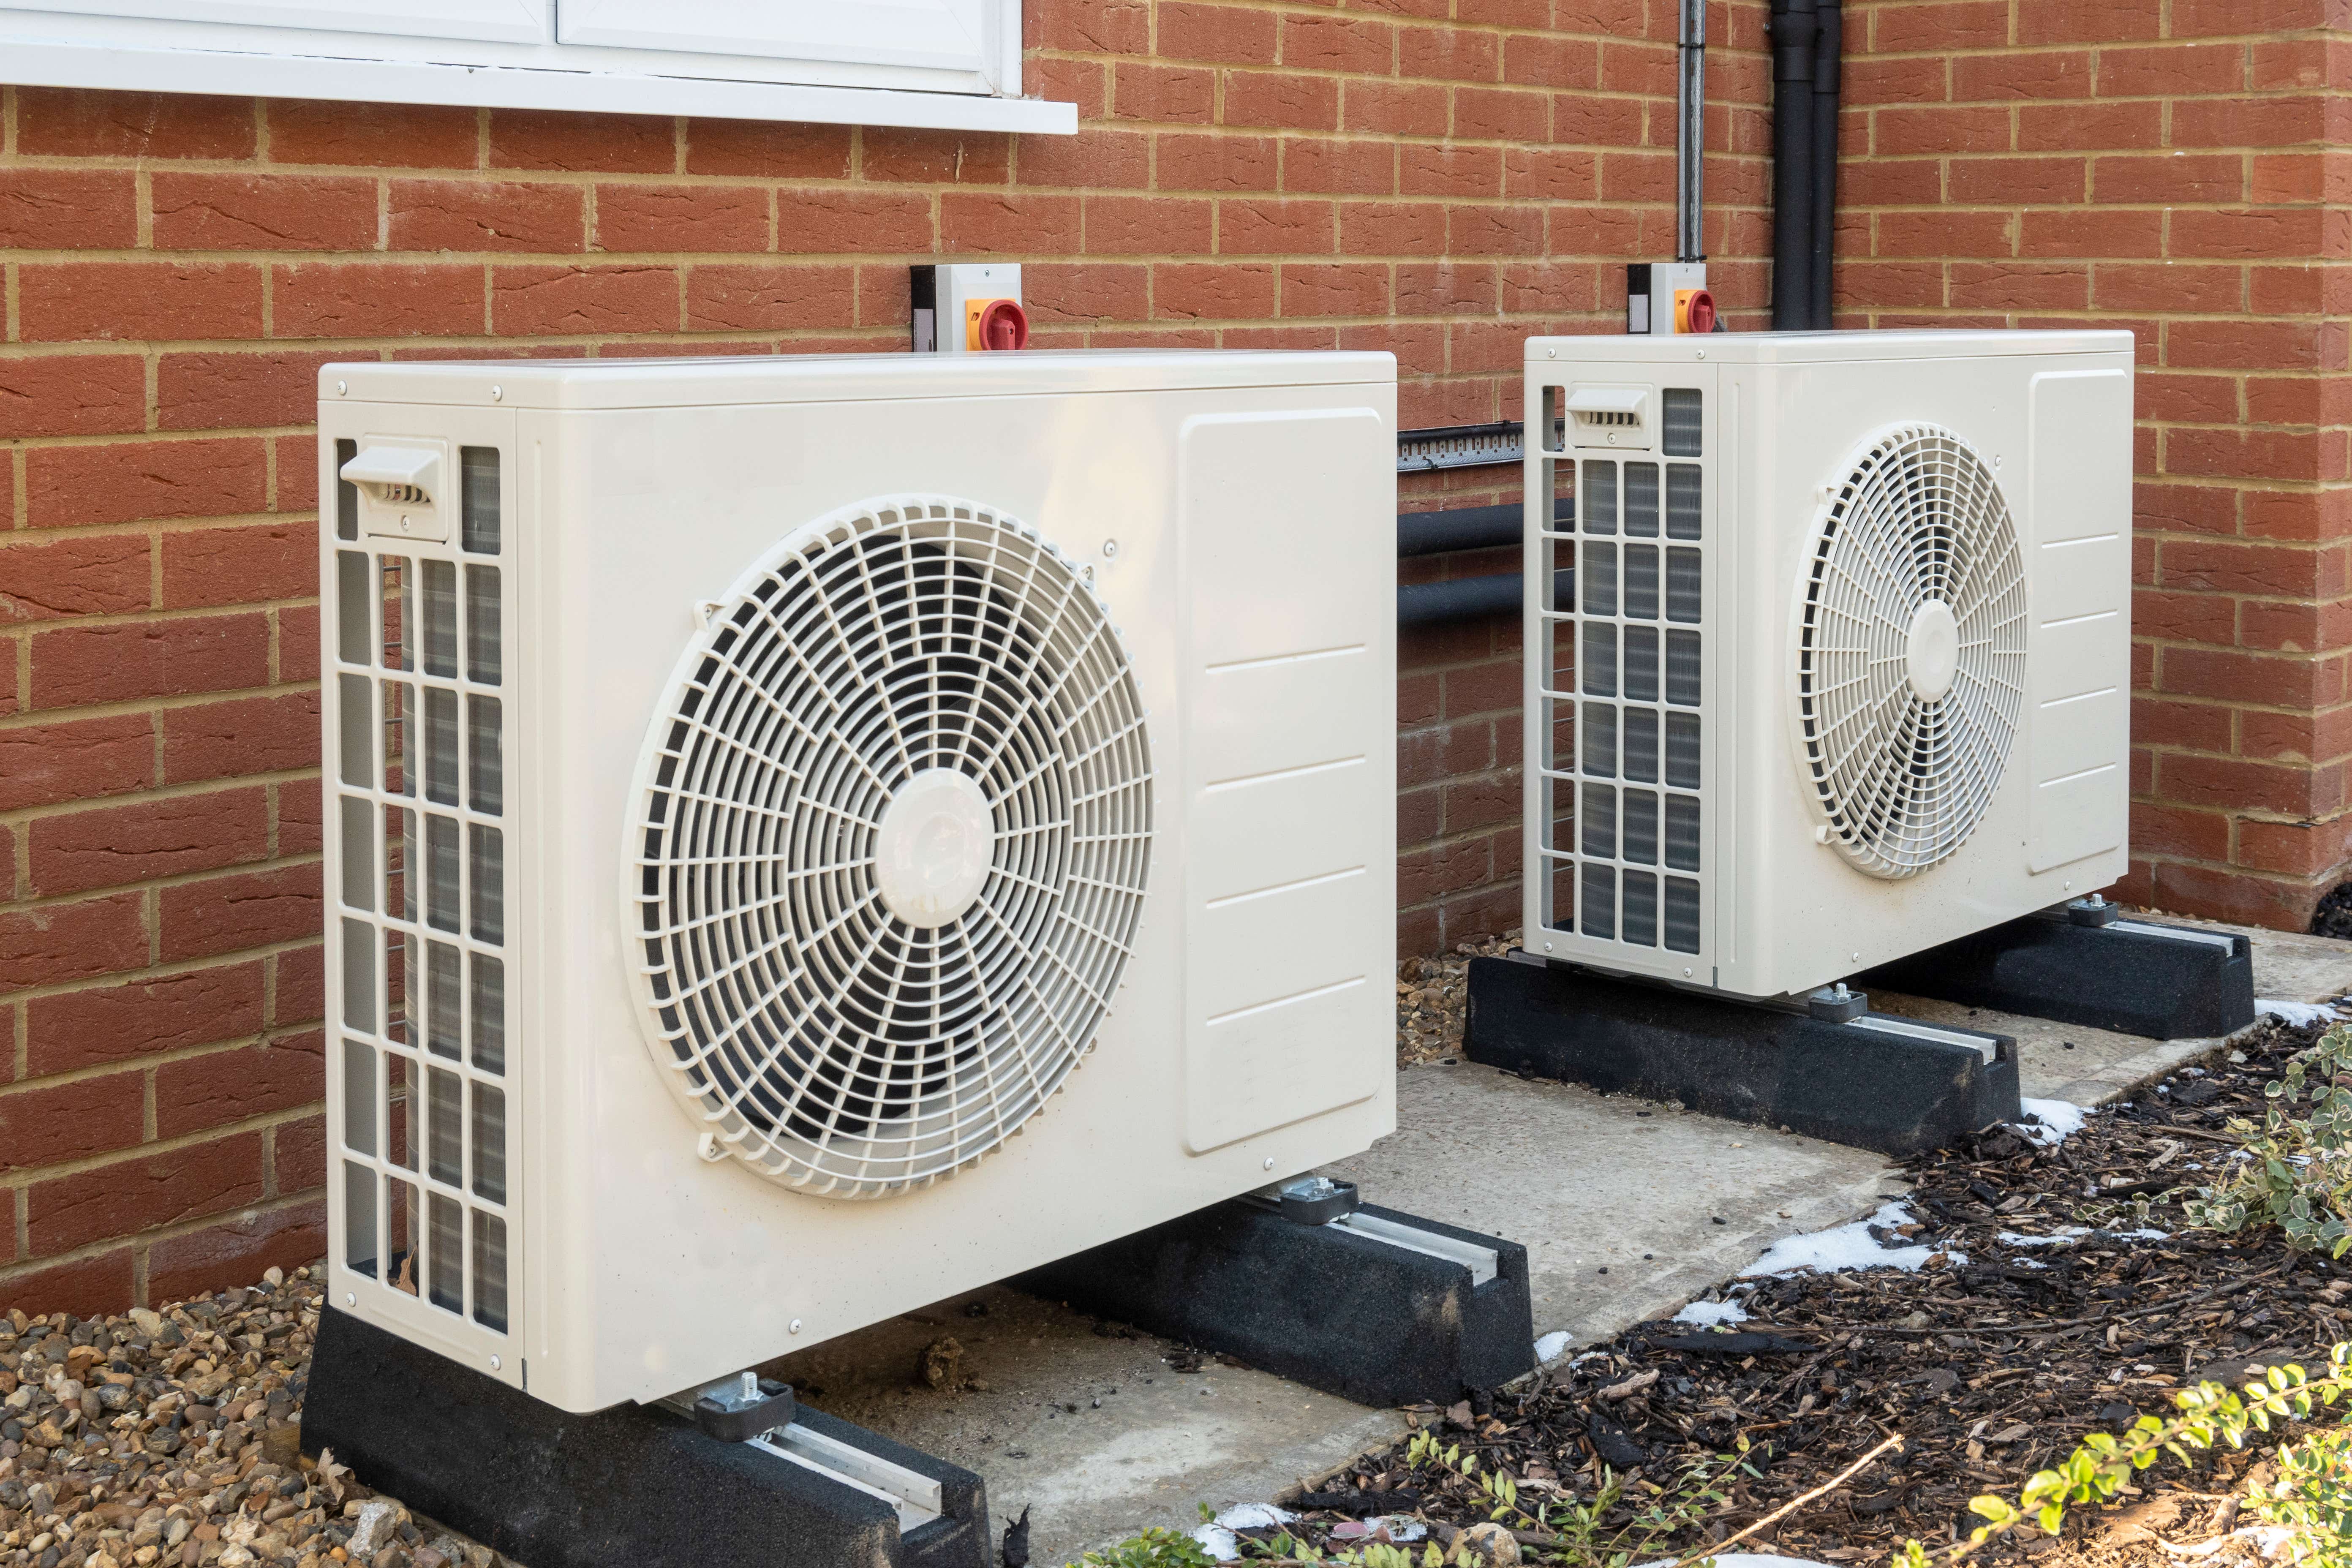
3. Airflow Obstruction – Outdoor Unit
The outdoor unit needs ample airflow to function correctly, especially in winter.
- Debris: Check the outdoor unit for any obstructions, such as leaves, snow, ice, branches, or other debris. Clear away anything that's blocking the unit.
- Vegetation: Make sure bushes and shrubs are trimmed back at least 2-3 feet from the unit.
Step 2: Basic Checks – Minimal Tools Required
Now, let's move on to checks that might require a few basic tools – a screwdriver, a flashlight, and possibly a multimeter.
1. Outdoor Unit Icing (Heating Mode Only)
It's normal for the outdoor unit to accumulate some frost during the heating season. However, excessive ice buildup can indicate a problem. Here's what to look for:
- Light Frost: A thin layer of frost on the coils is usually normal, especially in temperatures around freezing. The unit should periodically go into defrost mode to melt this frost.
- Excessive Ice: If the coils are completely encased in thick ice, or if the ice isn't melting during defrost cycles, there might be an issue. The defrost cycle may not be functioning properly, or there could be a refrigerant leak.
- Defrost Observation: Observe the outdoor unit for a full cycle. After a period of operation, the fan should stop, you may hear a hissing sound, and the unit should start to actively melt the ice. This cycle typically lasts for a few minutes. If the unit doesn't enter defrost mode, or if the defrost cycle is very short or ineffective, this indicates an issue requiring professional attention.
DIY Action: Carefully clear away any large pieces of ice blocking airflow, but do not chip away at the ice on the coils themselves, as you could damage them. If the unit isn't defrosting, move on to the next steps before calling a professional.
2. Breaker Check
A tripped breaker can cut power to the heat pump. Locate your electrical panel and check the breakers for the indoor and outdoor units. These are typically labeled.
DIY Action: If a breaker is tripped, reset it by switching it fully OFF and then back ON. If the breaker trips again immediately, do not continue to reset it. This indicates a serious electrical problem that requires a qualified electrician.
3. Condensate Drain (Cooling Mode Only)
During cooling, heat pumps produce condensation, which is drained away through a condensate drain line. A clogged drain line can cause water damage and affect performance.
Inspection: Locate the condensate drain line, usually a PVC pipe near the indoor unit. Check for any visible blockages or leaks.
DIY Action (Simple Clog Removal): If you suspect a simple clog, you can try using a wet/dry vacuum to suck out any debris from the drain line opening. Be careful not to damage the drain line during this process.
4. Capacitor Check (CAUTION: Requires Knowledge of Electrical Safety)
This step is only for those comfortable working with electrical components and who understand the risks of electrical shock. If you are not comfortable, skip this step and call a professional. Capacitors can store a dangerous electrical charge even when the unit is turned off.
The capacitor provides the jolt of electricity needed to start the compressor and fan motors. A failing capacitor is a common cause of heat pump problems.
Safety First: Turn off the power to the heat pump at the breaker before attempting any capacitor checks. Wait several minutes for the capacitor to discharge. Use a multimeter to verify that the capacitor is fully discharged before touching it.
Visual Inspection: Locate the capacitor inside the outdoor unit's control panel. Look for signs of bulging, leaking, or corrosion. If any of these are present, the capacitor needs to be replaced.
Multimeter Test (Advanced): If the capacitor looks okay visually, you can use a multimeter with a capacitance setting to test its capacity. Compare the reading to the capacitor's rated capacity (usually printed on the capacitor). A reading that is significantly lower (e.g., more than 10% below the rated value) indicates a failing capacitor.
Replacing a capacitor is generally a job for a qualified HVAC technician, as it involves handling electrical components and ensuring proper connections.
Step 3: When to Call a Professional
If you've gone through the steps above and are still experiencing problems, it's time to call a qualified HVAC technician. Here are some situations that definitely require professional help:
- Refrigerant Leaks: Low refrigerant levels will severely impact the system's ability to heat or cool. Refrigerant handling requires specialized equipment and certifications. You cannot legally add refrigerant yourself.
- Compressor Problems: The compressor is the heart of the heat pump. If it's making strange noises, not running, or tripping the breaker, it likely needs to be repaired or replaced. Compressor repairs are complex and expensive.
- Defrost Issues (Beyond Simple Icing): If the unit isn't defrosting properly, or if the defrost cycle is very short or ineffective, there could be a problem with the defrost control board, sensors, or reversing valve.
- Electrical Problems (Beyond Tripped Breakers): Repeatedly tripping breakers, burning smells, or any signs of electrical arcing are serious safety hazards that require immediate attention from a qualified electrician or HVAC technician.
- Complex Control System Issues: Modern heat pumps have sophisticated control systems. If you suspect a problem with the control board, sensors, or other electronic components, it's best to leave the diagnosis and repair to a professional.
- If You're Uncomfortable: If at any point you feel uncomfortable or unsure about performing a task, stop and call a professional. Your safety and the proper functioning of your heat pump are paramount.
Preventative Maintenance is Key
The best way to avoid heat pump problems is to schedule regular preventative maintenance with a qualified HVAC technician. A professional tune-up will include:
- Coil Cleaning: Cleaning the indoor and outdoor coils improves heat transfer efficiency.
- Refrigerant Charge Check: Ensuring the correct refrigerant level maximizes performance.
- Electrical Connection Inspection: Tightening loose connections prevents problems.
- Component Inspection: Identifying and addressing potential problems before they become major issues.
By following these troubleshooting steps and investing in preventative maintenance, you can keep your air source heat pump running efficiently and reliably for years to come. Remember, safety is always the priority. When in doubt, call a professional!