Are Heat Pumps And Mini Splits The Same

Imagine this: It's a sweltering summer day, and you walk into your home expecting a cool oasis, only to be greeted by stagnant, humid air. Your air conditioning system, the trusty warrior against the heat, has failed you. Before you resign yourself to a sticky afternoon and a hefty repair bill, let's explore some basic troubleshooting steps you can take to diagnose and potentially fix the issue yourself. This guide focuses on situations where the HVAC system uses either a heat pump or mini-split, and clarifies if the units are the same.
Are Heat Pumps and Mini-Splits the Same? Let's Clarify!
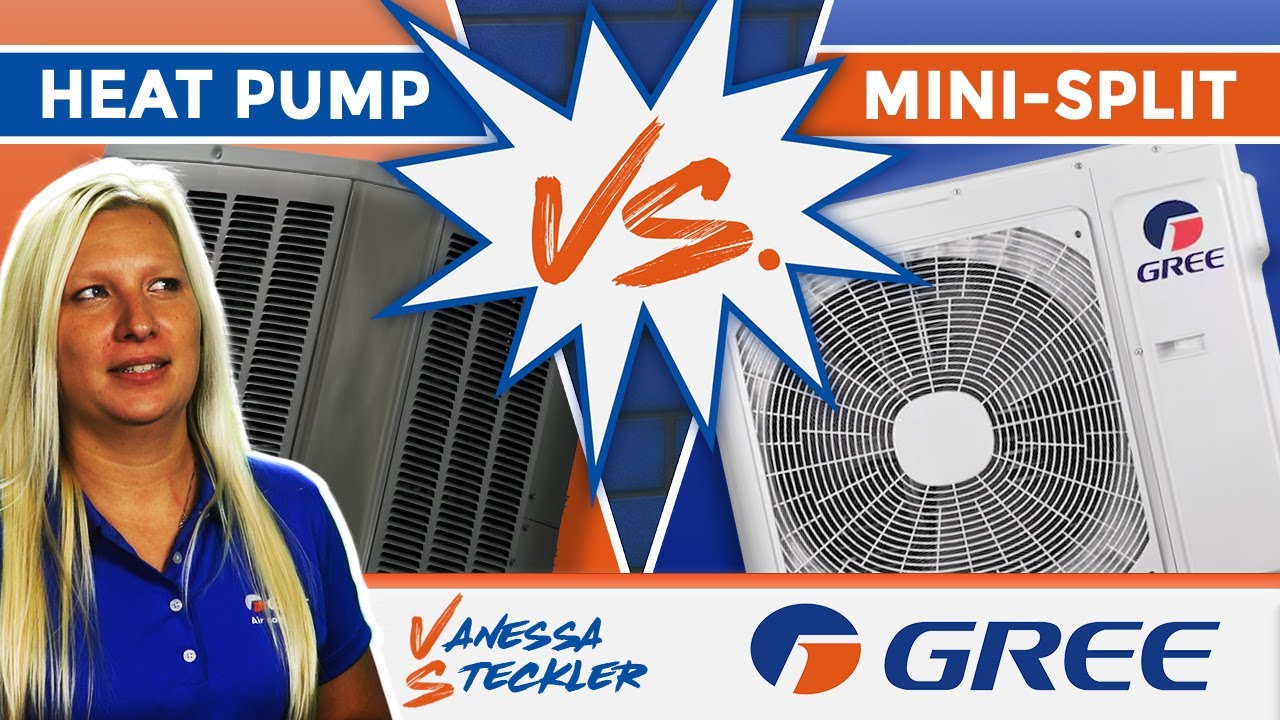
This is a very common question. The simple answer is: No, they are not exactly the same, but they are related. A mini-split *can* be a heat pump, but not all heat pumps are mini-splits. Think of it like this: a square is a rectangle, but not all rectangles are squares.
Heat Pumps: The Broad Category
A heat pump is a device that transfers heat from one place to another. In the winter, it extracts heat from the outside air (even when it's cold!) and pumps it inside to warm your home. In the summer, it reverses the process, removing heat from inside and releasing it outside to cool your home. Heat pumps can be used in central HVAC systems, where they connect to ductwork that distributes air throughout your house.
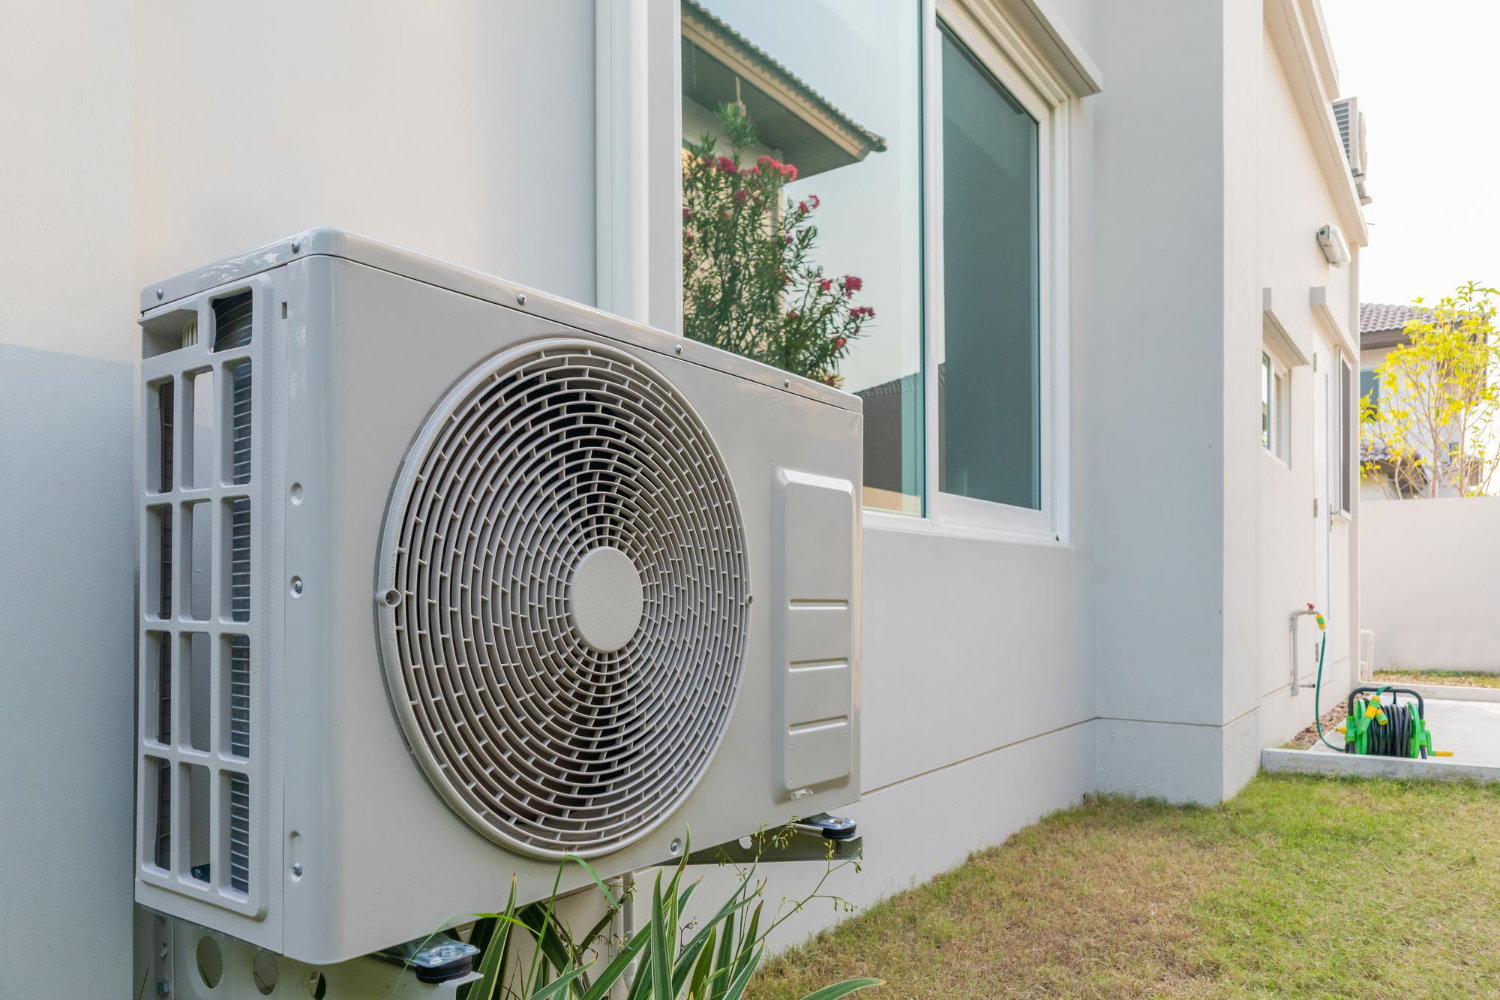
Mini-Splits: A Specific Type of Heat Pump System
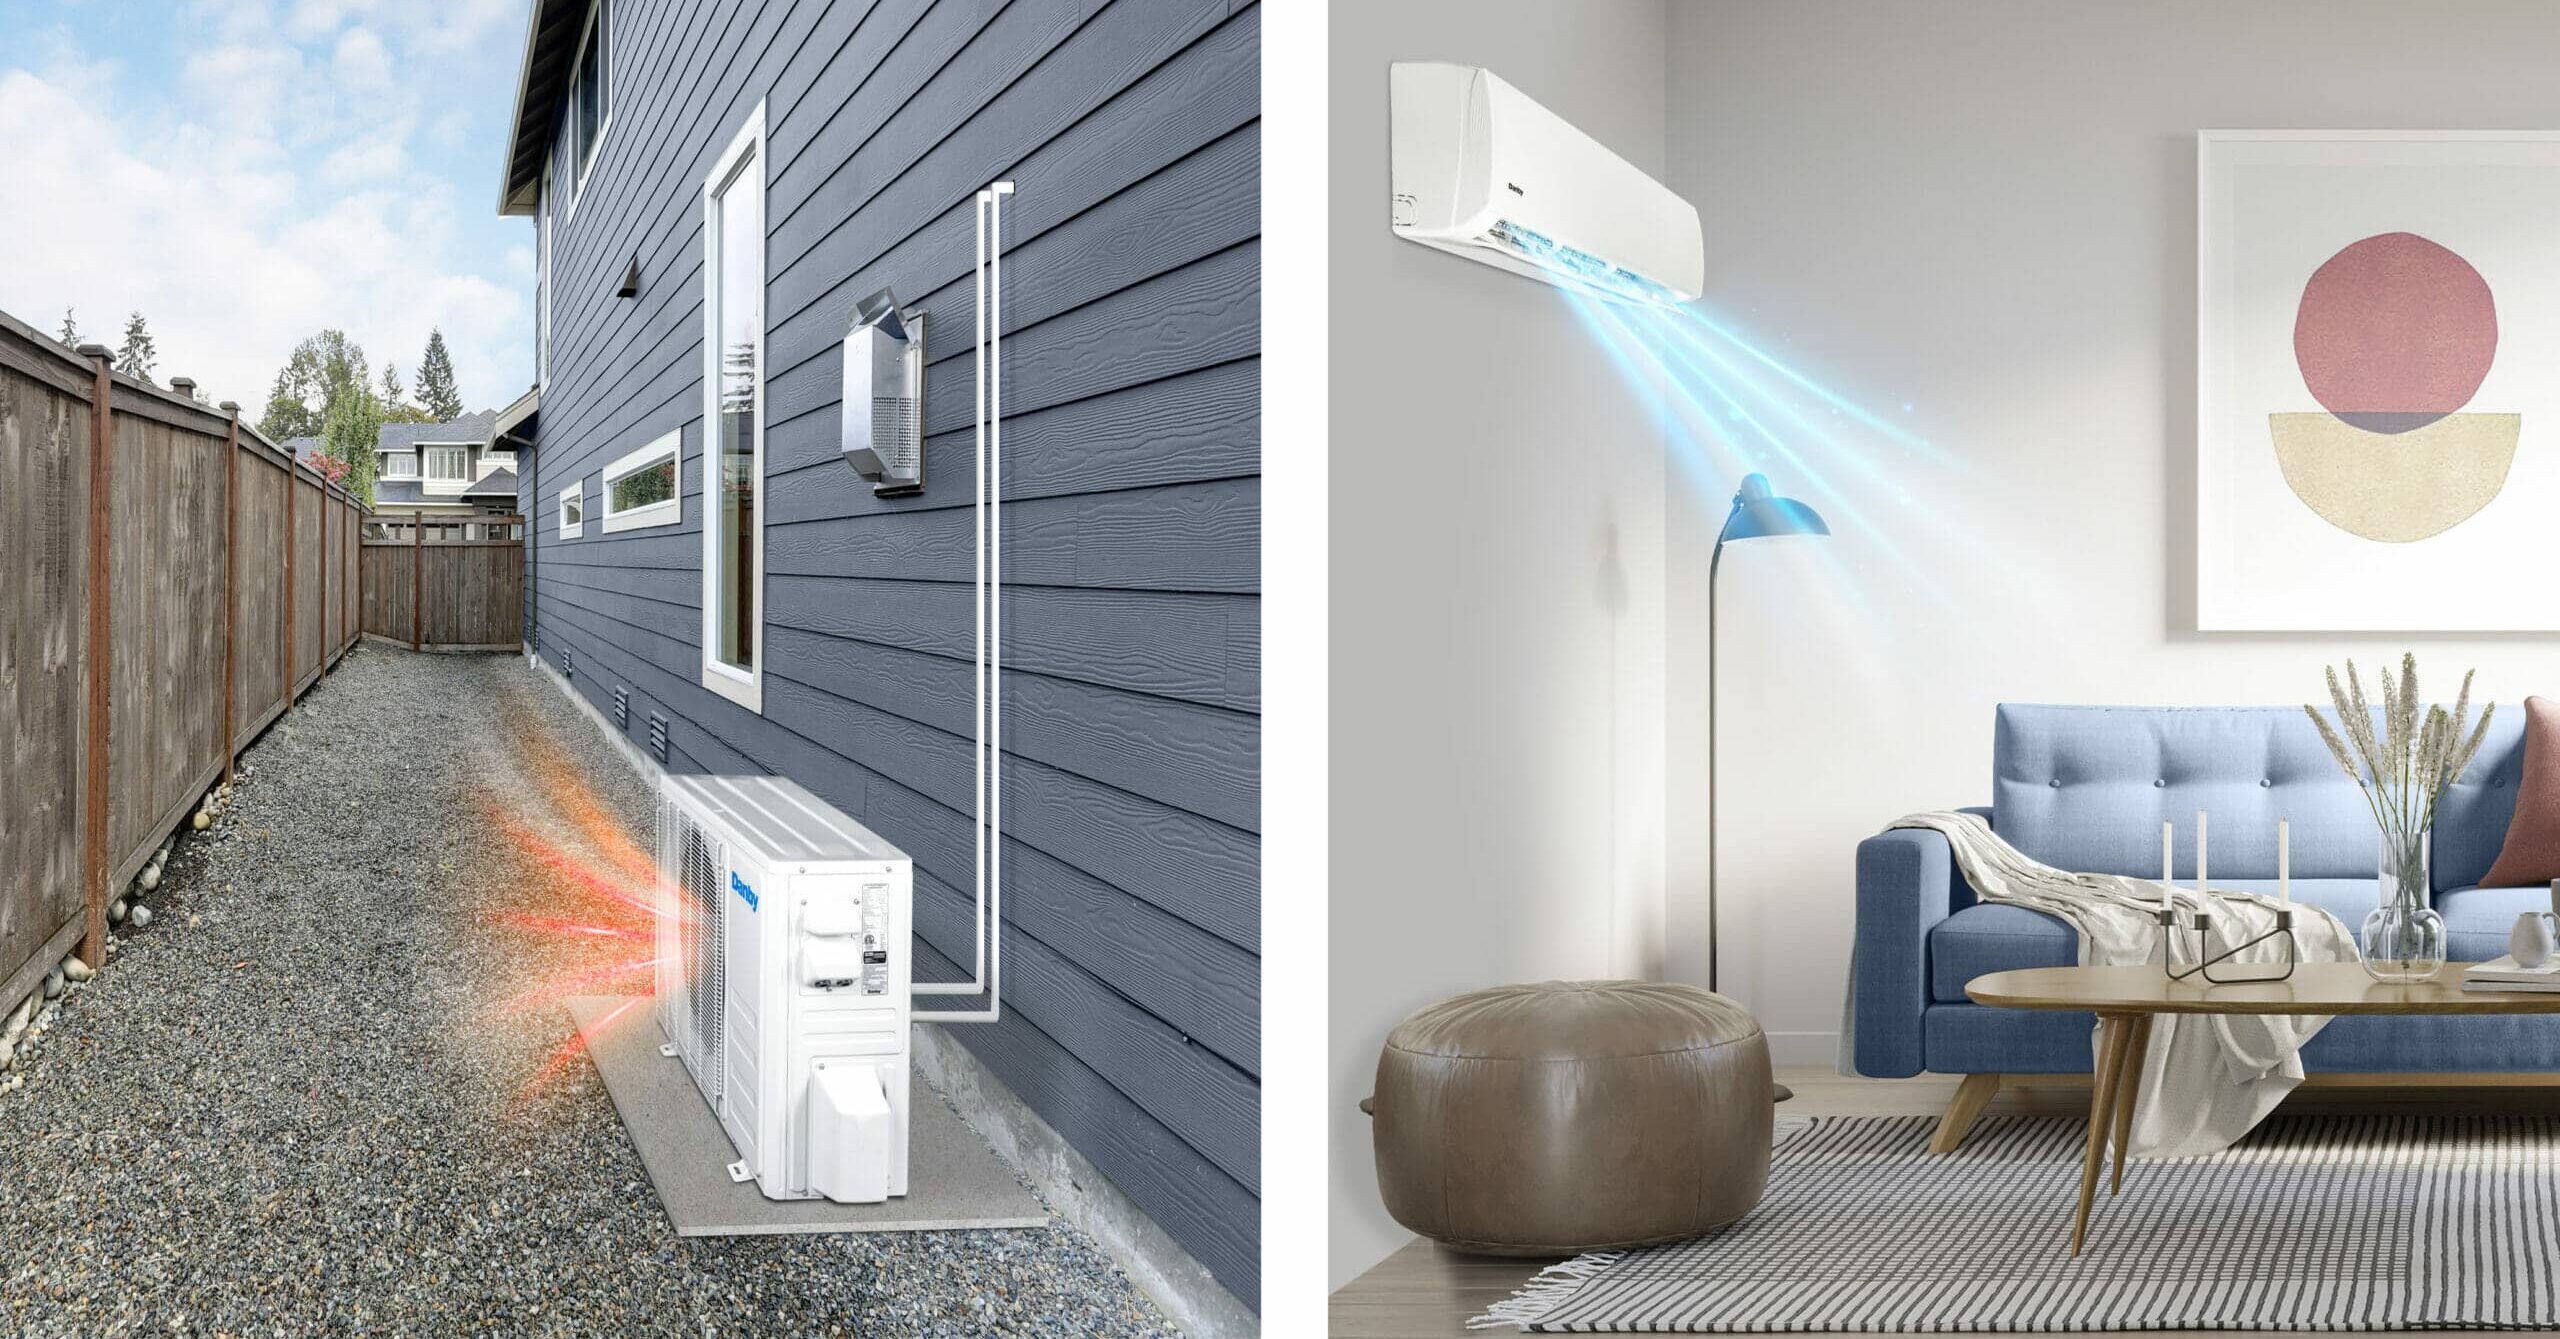
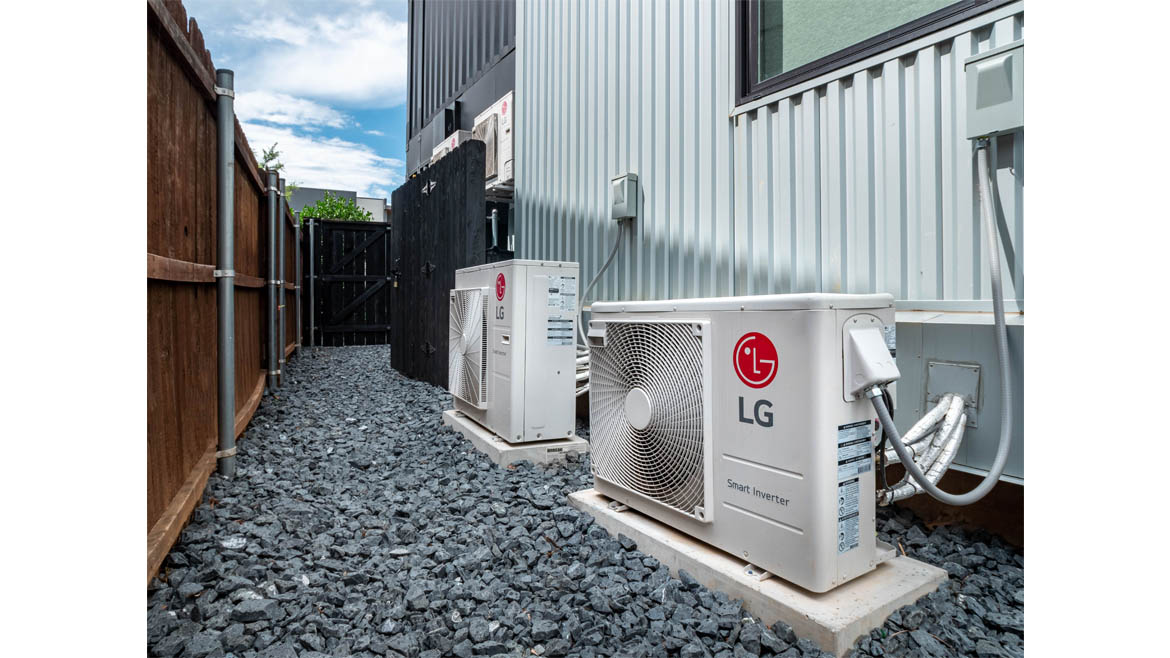
A mini-split system, also known as a ductless mini-split, is a type of heat pump that doesn't require ductwork. It consists of an outdoor unit (containing the compressor and condenser) and one or more indoor units (air handlers) that are mounted on walls or ceilings. These indoor units are connected to the outdoor unit via refrigerant lines and electrical wiring. Because they don't use ducts, mini-splits are very efficient and are a great option for adding heating and cooling to individual rooms or areas without existing ductwork.
Key Differences Summarized:
- Ductwork: Heat pumps (in central systems) use ductwork; mini-splits do not.
- Zoning: Mini-splits are ideal for zoned heating and cooling, allowing you to control the temperature in individual rooms. Central heat pumps heat or cool the entire house.
- Installation: Mini-splits are generally easier to install than central heat pump systems as they don't require ductwork installation.
- Efficiency: Mini-splits often boast higher energy efficiency ratings due to the lack of duct losses.
Troubleshooting a Non-Working Heat Pump or Mini-Split
Now that we've established the relationship between heat pumps and mini-splits, let's get to troubleshooting. The following steps apply to both types of systems.
Step 1: The Obvious – Check the Thermostat
This sounds simple, but it's often the culprit! Make sure the thermostat is:
- Powered on: Ensure the display is lit. If not, replace the batteries.
- Set to the correct mode: Select "Cool" for cooling or "Heat" for heating.
- Set to a temperature lower (cooling) or higher (heating) than the current room temperature: Give the system a few minutes to respond.
- Fan setting: Try setting the fan to "Auto" instead of "On." "On" will run the fan continuously, even when the unit isn't actively heating or cooling, which can mask other problems.
Step 2: Check the Power Supply
A surprising number of HVAC issues stem from power problems. Here's what to check:
- Circuit Breaker: Locate the circuit breaker for your HVAC system in your electrical panel. Make sure it's in the "On" position. If it's tripped (in the "Off" or middle position), flip it fully to the "Off" position and then back to "On." If it trips again immediately, do not continue to reset it. This indicates a serious electrical issue, and you need to call a qualified electrician.
- Disconnect Switch: Most outdoor units (both heat pumps and mini-split outdoor units) have a disconnect switch located near the unit. This is a safety switch that allows you to cut power to the unit for maintenance. Make sure this switch is in the "On" position. These disconnects can take several forms: a simple toggle switch, a pull-out handle, or a small breaker within a box.
- Voltage Check (Advanced - Professional Only): This step requires a multimeter and knowledge of electrical safety. If you're not comfortable working with electricity, skip this and call a professional. Using a multimeter, check the voltage at the disconnect switch and at the unit itself to ensure it's receiving the correct voltage.
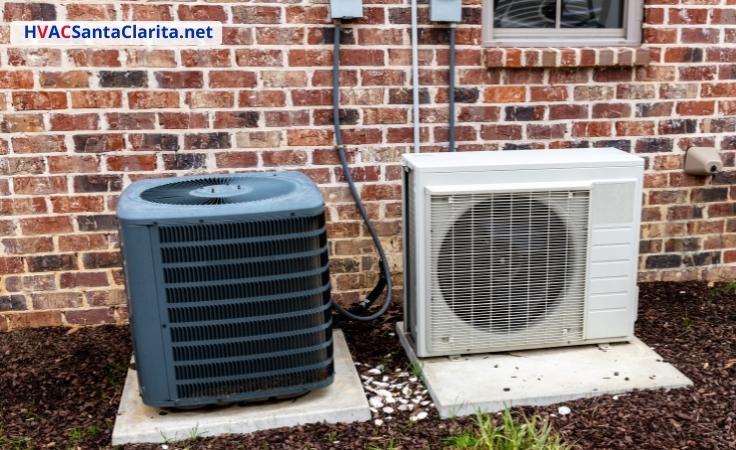
Step 3: Inspect the Outdoor Unit
The outdoor unit is the workhorse of the system. Here's what to look for:
- Debris: Check for any obstructions around the unit, such as leaves, grass clippings, snow, or ice. These can restrict airflow and cause the unit to overheat or freeze up. Clear away any debris to allow for proper ventilation.
- Fan Operation: When the unit is running (and the thermostat is calling for cooling or heating), the fan should be spinning. If the fan isn't turning, do not attempt to manually spin it or force it. This could indicate a motor problem or an obstruction that needs professional attention.
- Ice Buildup: In heating mode, it's normal for some frost to accumulate on the outdoor unit, especially in cold weather. However, excessive ice buildup can indicate a problem with the defrost cycle. If you notice a thick layer of ice, try turning the system off for a few hours to allow it to thaw. If the icing problem persists, call a technician.
- Coil Condition: Inspect the coils (the fins that surround the unit) for any damage or buildup of dirt and debris. You can gently clean the coils with a fin comb (available at most hardware stores) and a garden hose. Be careful not to bend or damage the fins.
Step 4: Inspect the Indoor Unit(s)
For mini-splits, inspect each indoor unit individually. For central heat pumps, inspect the vents in the rooms and the indoor air handler unit, if accessible.
- Air Filters: Dirty air filters are the number one cause of HVAC problems. A clogged filter restricts airflow, forcing the system to work harder and reducing its efficiency. Replace your air filter every 1-3 months, or more frequently if you have pets or allergies. The filter is usually located in a slot in the indoor unit or at the return air vent.
- Airflow: Check that the vents in each room are open and unobstructed. Make sure furniture or curtains aren't blocking airflow. For mini-splits, ensure the louvers (the adjustable fins that direct airflow) are set to the desired position.
- Leaks: Look for any signs of water leaks around the indoor unit. Leaks can indicate a problem with the condensate drain line. For mini-splits, this drain line usually runs to the outside of the house. Check that the drain line is clear of obstructions. You can try flushing it with a wet/dry vacuum or a mixture of warm water and vinegar. If you're uncomfortable working with the drain line, call a professional.
- Strange Noises: Pay attention to any unusual noises coming from the indoor unit, such as rattling, buzzing, or squealing. These noises can indicate a problem with the fan motor or other components. Do not attempt to disassemble the indoor unit to diagnose the problem. Call a professional.
Step 5: Check for Error Codes (Mini-Splits)
Many mini-split systems have a display panel that shows error codes when a problem is detected. Consult your owner's manual to identify the meaning of the error code and the recommended course of action. Some error codes may indicate a simple problem that you can fix yourself, while others may require professional assistance.
When to Call a Professional
While many basic HVAC problems can be resolved with simple troubleshooting steps, there are certain situations where it's best to call a qualified HVAC technician. Never attempt to repair any components that involve electricity, gas, or refrigerant unless you are a trained and certified professional.
Here are some signs that you need professional help:
- Refrigerant Leaks: Refrigerant is a hazardous substance, and handling it requires specialized equipment and training. If you suspect a refrigerant leak (e.g., hissing sound, oily residue), do not attempt to repair it yourself. Call a professional immediately.
- Electrical Issues: Working with electricity can be dangerous. If you're not comfortable working with electrical components, do not attempt to repair the system yourself. Call a qualified electrician.
- Compressor Problems: The compressor is the heart of the HVAC system, and repairing or replacing it requires specialized knowledge and equipment. If you suspect a compressor problem, call a professional.
- Strange Noises: Persistent or unusual noises coming from the unit (other than a simple rattling due to loose debris) could indicate a serious mechanical problem that requires professional attention.
- Icing Issues: Persistent or excessive icing of the outdoor unit, despite attempting the thawing procedure described above, indicates a problem with the defrost cycle or other components. Call a professional.
- Repeated Breakdowns: If your system is constantly breaking down, it may be time to replace it with a new, more efficient model. A professional can help you choose the right system for your needs and budget.
- You're Unsure: If you're unsure about any aspect of troubleshooting or repairing your HVAC system, it's always best to err on the side of caution and call a professional.
Preventative Maintenance Tips
The best way to avoid HVAC problems is to perform regular preventative maintenance. Here are some tips:
- Change Air Filters Regularly: As mentioned earlier, this is the most important thing you can do to keep your system running efficiently.
- Clean Outdoor Unit: Keep the outdoor unit free of debris and dirt.
- Schedule Professional Maintenance: Have your system professionally inspected and serviced at least once a year. A technician can identify potential problems before they become major issues.
- Keep Vents Clear: Ensure that vents are free from obstructions to allow for proper airflow.
By following these troubleshooting steps and preventative maintenance tips, you can keep your heat pump or mini-split system running smoothly and efficiently for years to come. Remember, safety always comes first. When in doubt, call a professional.