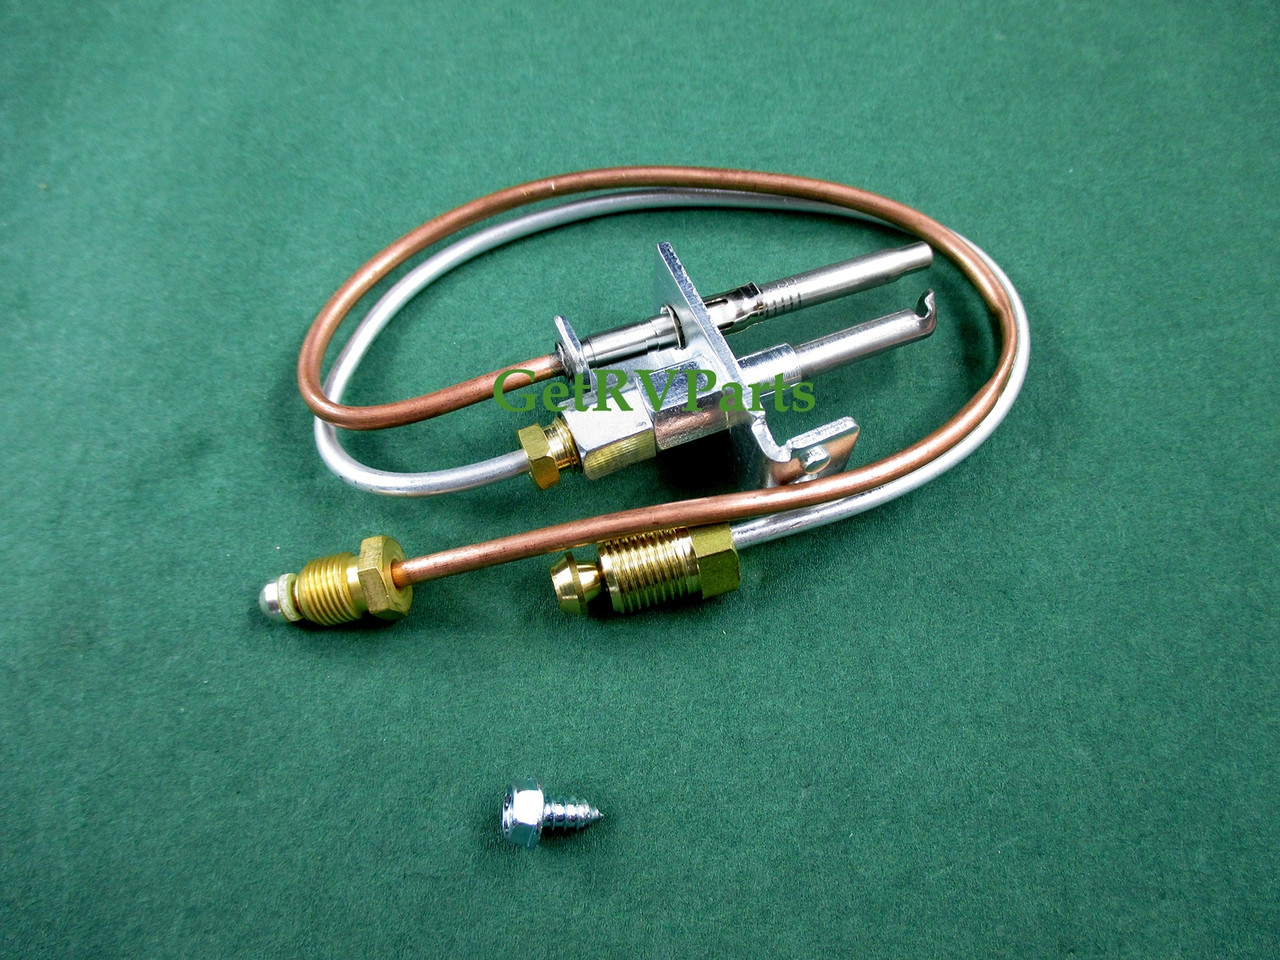
Atwood Rv Water Heater Parts

RV water heaters are a modern convenience, but like all appliances, they can occasionally experience problems. One very common issue homeowners face with their Atwood RV water heaters is lack of hot water, or inconsistent heating. This can be frustrating, especially when you're counting on a warm shower after a long day of travel. Before you call a professional, let's walk through some troubleshooting steps you can take yourself. Always remember to disconnect the power and gas supply before attempting any repairs!
Troubleshooting Lack of Hot Water: A Step-by-Step Guide
We'll start with the simplest checks and gradually move towards more complex diagnostics. This process is designed to be safe and methodical, so take your time and follow each step carefully.
Step 1: Check the Basics
Before diving into the mechanics, make sure the basics are covered:
- Is the water heater switched ON? It sounds obvious, but double-check the switch inside your RV. Some models have separate switches for gas and electric.
- Is there propane in the tank? If you're relying on propane, confirm that your tanks aren't empty. Check other propane-powered appliances to be sure.
- Is the water heater tank full? Make sure the bypass valve is in the correct position to allow water to flow into the tank. This valve is often used to bypass the water heater during winterization.
If all these checks pass, move on to the next step.
Step 2: Inspect the Pilot Light (Gas Models)
If you're using propane, the pilot light might be the culprit. Here's how to check it:
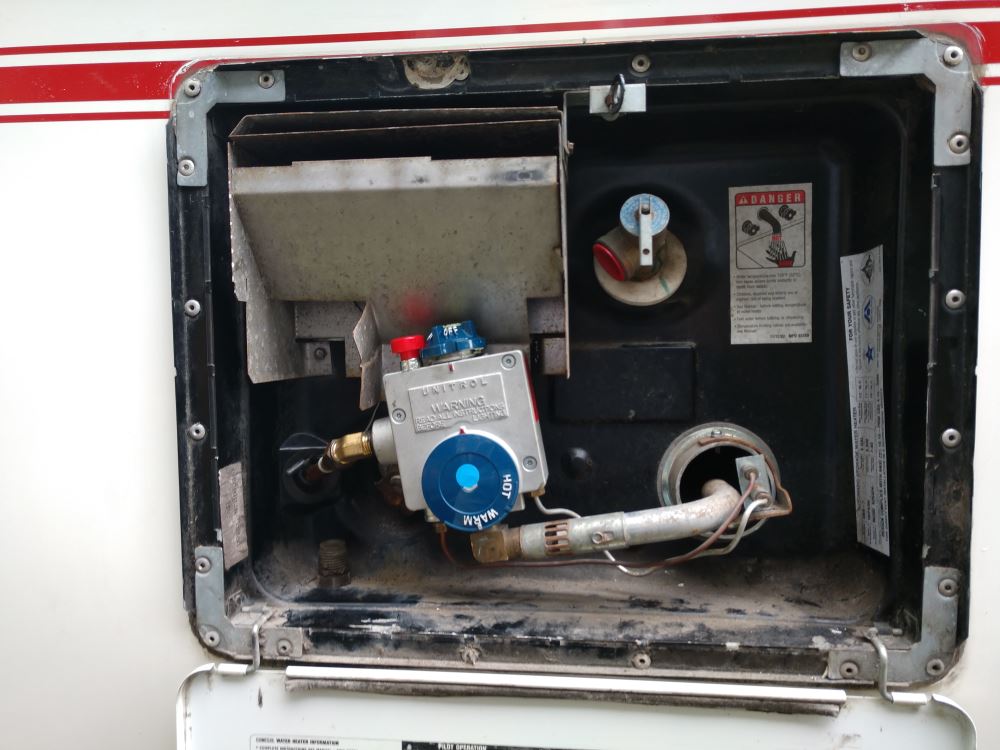
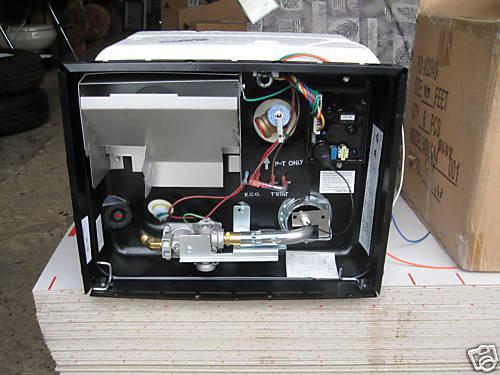
- Access the burner assembly. This is usually behind an access panel on the outside of your RV.
- Look for the pilot light. If it's not lit, follow the instructions on your water heater for relighting it. This usually involves holding down a button while igniting the gas.
- Observe the flame. A healthy pilot light flame should be steady and blue. A yellow or flickering flame indicates a problem, possibly with a dirty burner or low gas pressure.
If the pilot light won't stay lit, even after repeated attempts, the thermocouple might be faulty. This is a small, heat-sensitive device that senses the pilot flame and allows gas to flow to the main burner. Replacing the thermocouple is a relatively simple DIY task, but if you're uncomfortable working with gas, call a professional.
Step 3: Examine the Burner Assembly (Gas Models)
If the pilot light is lit but the main burner isn't firing, the burner assembly itself might be dirty or blocked. Here's how to inspect it:
- Turn off the gas supply! This is crucial for safety.
- Remove the burner assembly. The exact procedure varies depending on your model, but it usually involves unscrewing a few bolts or screws.
- Inspect the burner ports. Look for any signs of rust, debris, or insect nests. These can block the flow of gas and prevent the burner from firing properly.
- Clean the burner. Use a wire brush or compressed air to clean out any blockages. Be gentle to avoid damaging the burner.
- Reassemble the burner. Make sure all connections are tight.
- Turn the gas supply back on and test the burner.
If the burner still doesn't fire, the gas valve may be malfunctioning. This is a more complex repair that usually requires professional attention.
Step 4: Check the Electric Heating Element (Electric Models)
If you're using the electric heating element and not getting hot water, the element itself might be burned out. Here's how to check it:
- Turn off the power to the water heater! Disconnect it from the power source. This is essential to avoid electric shock.
- Locate the heating element access panel. This is usually on the side of the water heater tank.
- Remove the access panel.
- Disconnect the wires to the heating element.
- Test the heating element with a multimeter. Set the multimeter to the Ohms setting (resistance). Touch the probes to the two terminals on the heating element. A working element will show a resistance reading (usually between 10 and 20 Ohms). If the multimeter reads "OL" (open line) or a very high resistance, the element is burned out and needs to be replaced.
Replacing a heating element is a relatively simple DIY task. However, you'll need to drain the water heater tank first. Make sure the water is cool before draining! Also, use Teflon tape on the threads of the new element to ensure a watertight seal.
Step 5: Inspect the High-Temperature Limit Switch
The high-temperature limit switch is a safety device that shuts off the water heater if it overheats. If this switch has tripped, it can prevent the water heater from working. Here's how to check it:
- Turn off the power and gas to the water heater!
- Locate the high-temperature limit switch. It's usually a small, rectangular box with a reset button located near the heating element or burner assembly.
- Press the reset button. If the switch has tripped, you'll feel a click when you press the button.
- Turn the power and gas back on and test the water heater.
If the high-temperature limit switch trips repeatedly, it indicates a more serious problem, such as a faulty thermostat or a build-up of sediment in the tank. This requires professional attention.
Step 6: Check the Thermostat
The thermostat controls the temperature of the water. If it's faulty, it may not be calling for heat, even when the water is cold. This usually requires professional testing with a multimeter to check for continuity and proper function across a range of temperatures, and therefore should not be attempted by an amateur.
When to Call a Professional
While many RV water heater problems can be resolved with simple DIY repairs, some issues require the expertise of a qualified technician. Here are some situations where you should call a professional:
- Gas Leaks: If you suspect a gas leak, immediately turn off the gas supply and call a professional. Gas leaks are dangerous and should never be taken lightly.
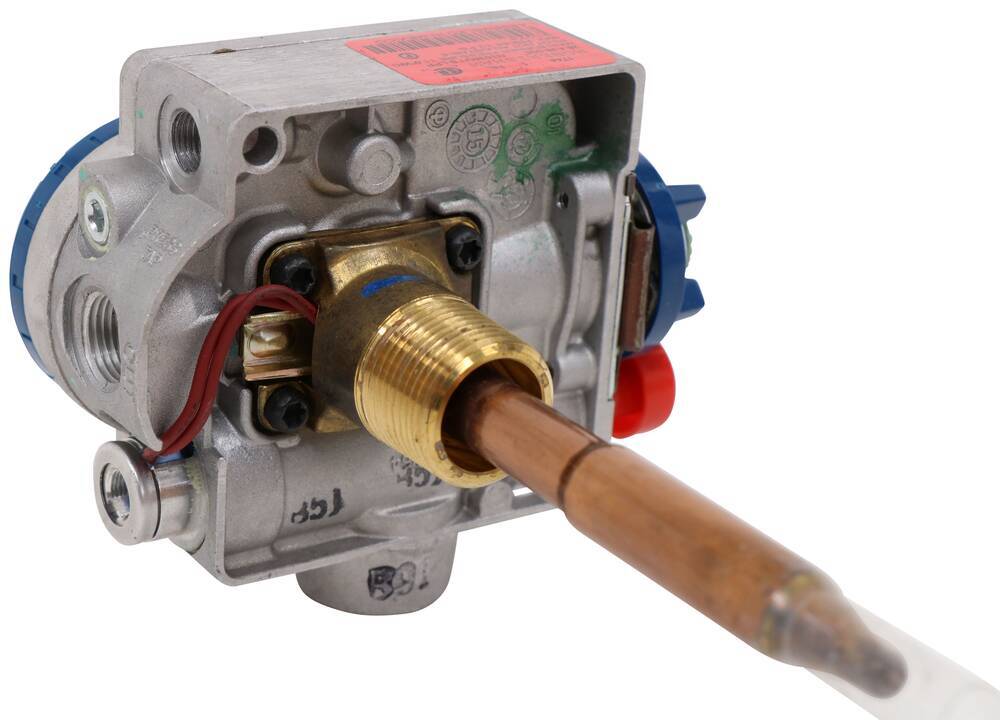
- Faulty Gas Valve: If the gas valve is not working properly, it should be replaced by a professional.
- Recurring Problems: If you're constantly having to reset the high-temperature limit switch or relight the pilot light, it indicates a more serious underlying problem that needs to be addressed.
- Complex Electrical Issues: If you're not comfortable working with electricity, it's best to leave electrical repairs to a professional.
- Water leaks around the tank: Water leaks originating from the tank itself often indicates a rupture or corrosion issue that requires specialized tools or tank replacement.
Safety is always the top priority. If you're unsure about any aspect of the repair process, or if you're dealing with gas or electrical issues, don't hesitate to call a professional. A small investment in professional repair can prevent costly damage and ensure your safety.
Preventative Maintenance
Regular maintenance can help prevent many common RV water heater problems. Here are some tips:
- Flush the tank regularly. At least twice a year, flush the water heater tank to remove sediment build-up. This can improve heating efficiency and prevent corrosion.
- Inspect the anode rod. The anode rod is a sacrificial metal rod that protects the tank from corrosion. Check it annually and replace it when it's significantly corroded.
- Winterize properly. If you live in a cold climate, properly winterize your water heater to prevent freezing and damage. This usually involves draining the tank and bypassing the water heater.
- Keep the burner assembly clean. Regularly inspect and clean the burner assembly to ensure proper combustion.
By following these troubleshooting steps and preventative maintenance tips, you can keep your Atwood RV water heater running smoothly and enjoy reliable hot water on your travels. Remember to always prioritize safety and consult a professional when needed. Happy travels!