Bathroom Exhaust Fan Venting Through Roof

A bathroom exhaust fan is a crucial component in maintaining a healthy and comfortable home environment. It removes moisture, prevents mold growth, and eliminates unpleasant odors. When your exhaust fan, especially one vented through the roof, malfunctions, it can lead to significant problems. This article provides a step-by-step guide to troubleshooting common issues, empowering you to identify and address simple fixes while recognizing when to call in a professional.
Common Bathroom Exhaust Fan Problems
Several issues can affect the performance of your bathroom exhaust fan. Recognizing the symptoms is the first step in effective troubleshooting.
- Fan Not Turning On: This is often due to a power issue, a faulty switch, or a burned-out motor.
- Fan Runs But Doesn't Exhaust Air Properly: This can be caused by a clogged vent, a loose connection, or a malfunctioning damper (especially important for roof vents).
- Excessive Noise: Noises can indicate a loose fan blade, a worn-out motor, or debris caught in the fan housing.
- Water Leaking Around the Fan: With roof-vented fans, leaks are often related to compromised roof flashing around the vent pipe or condensation issues.
- Condensation Problems: Even with a functioning fan, excessive condensation can occur if the fan isn't used long enough after showering, or if the ductwork isn't properly insulated.
Safety First!
Before you begin any troubleshooting, always turn off the power to the bathroom exhaust fan at the circuit breaker. This is a critical safety precaution to prevent electric shock. Verify the power is off by testing the fan switch with a non-contact voltage tester. Never work with electricity without taking this fundamental step.
Step-by-Step Troubleshooting Guide
1. Checking the Power Supply
A lack of power is the most common reason for a fan not turning on.
- Verify the Circuit Breaker: Go to your electrical panel and ensure the breaker for the bathroom circuit is in the "on" position. If it's tripped, reset it. If it trips again immediately, there's likely a short circuit, and you should call an electrician.
- Test the Switch: Use a non-contact voltage tester to check for power at the switch. If there's no power, the problem lies upstream (possibly the breaker or wiring). If there is power, the switch itself may be faulty.
- Replace the Switch (DIY - proceed with caution): If you're comfortable working with electrical wiring, and after double-checking the power is off at the breaker, you can replace the switch. Purchase a replacement switch of the same type. Carefully disconnect the wires from the old switch, noting their positions. Connect the wires to the new switch in the same configuration. Secure the switch and replace the cover plate.
2. Inspecting the Fan Unit
Once you've confirmed power, examine the fan unit itself.
- Remove the Fan Cover: Most bathroom exhaust fans have a cover that snaps or screws into place. Gently remove it to access the fan and motor assembly.
- Check for Obstructions: Look for dust, debris, or even small objects that might be preventing the fan from spinning freely. Clean the fan blades and housing with a brush or vacuum cleaner.
- Manually Spin the Fan Blade: With the power still off, try spinning the fan blade by hand. It should rotate smoothly. If it feels stiff or doesn't move easily, the motor may be failing.
- Listen for Humming: If the fan hums when you turn it on (after re-engaging the breaker!), but the blade doesn't turn, the motor is likely struggling and needs replacement.
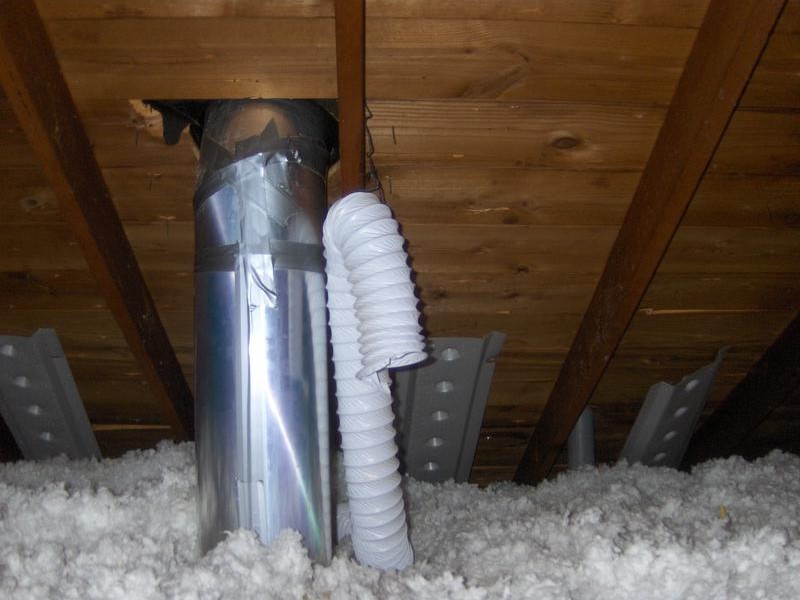
3. Examining the Vent Ductwork (Critical for Roof Vents)
A blocked or improperly installed vent duct is a frequent cause of poor exhaust performance. Since this fan is vented through the roof, inspecting the entire duct run is vital.
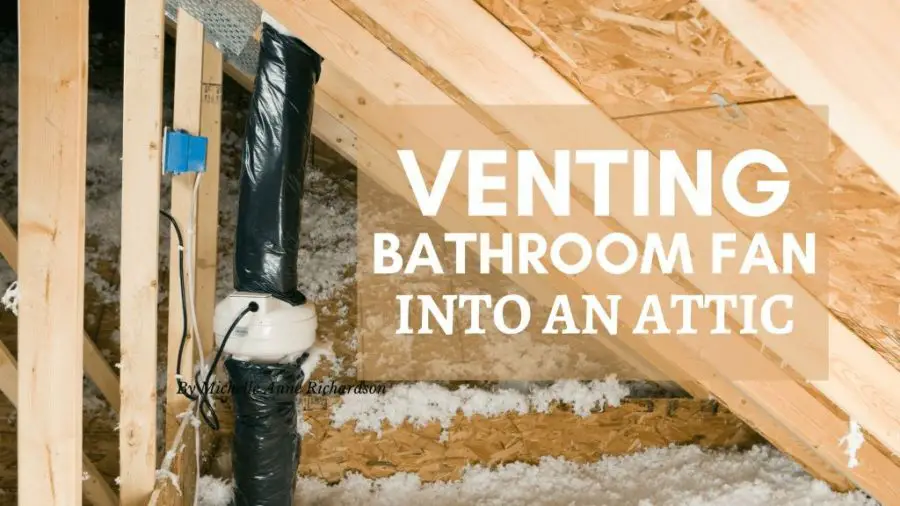
- Access the Ductwork (From Inside the Attic if Possible): The ideal scenario is to access the ductwork from inside your attic. This allows you to inspect the entire run without going on the roof.
- Check for Kinks or Crushes: Flexible ductwork can easily kink or get crushed, restricting airflow. Ensure the duct is as straight as possible with gentle curves. Replace any damaged sections.
- Look for Disconnections: Check all connections between the fan housing, duct sections, and the roof vent. Ensure they are securely connected with clamps or foil tape (never use duct tape – it dries out and fails).
- Inspect for Blockages: Use a flashlight to look inside the ductwork for nests (birds or insects), debris, or accumulated lint. A long brush or vacuum hose can help remove blockages.
- Examine the Roof Vent Cap: If you can safely access the roof (or use binoculars from the ground), inspect the vent cap. Make sure the flapper moves freely and isn't stuck shut by debris, ice, or rust. Clean or replace the cap if necessary.
- Safety Note: Working on a roof is dangerous. If you are not comfortable with heights or lack proper safety equipment (ladder, safety harness), do not attempt to access the roof yourself. Hire a professional roofer or HVAC technician.
- Verify Proper Insulation: For roof-vented fans, especially in colder climates, the ductwork should be properly insulated to prevent condensation inside the duct, which can lead to water damage and reduced airflow. Wrap the ductwork with fiberglass or foam insulation.
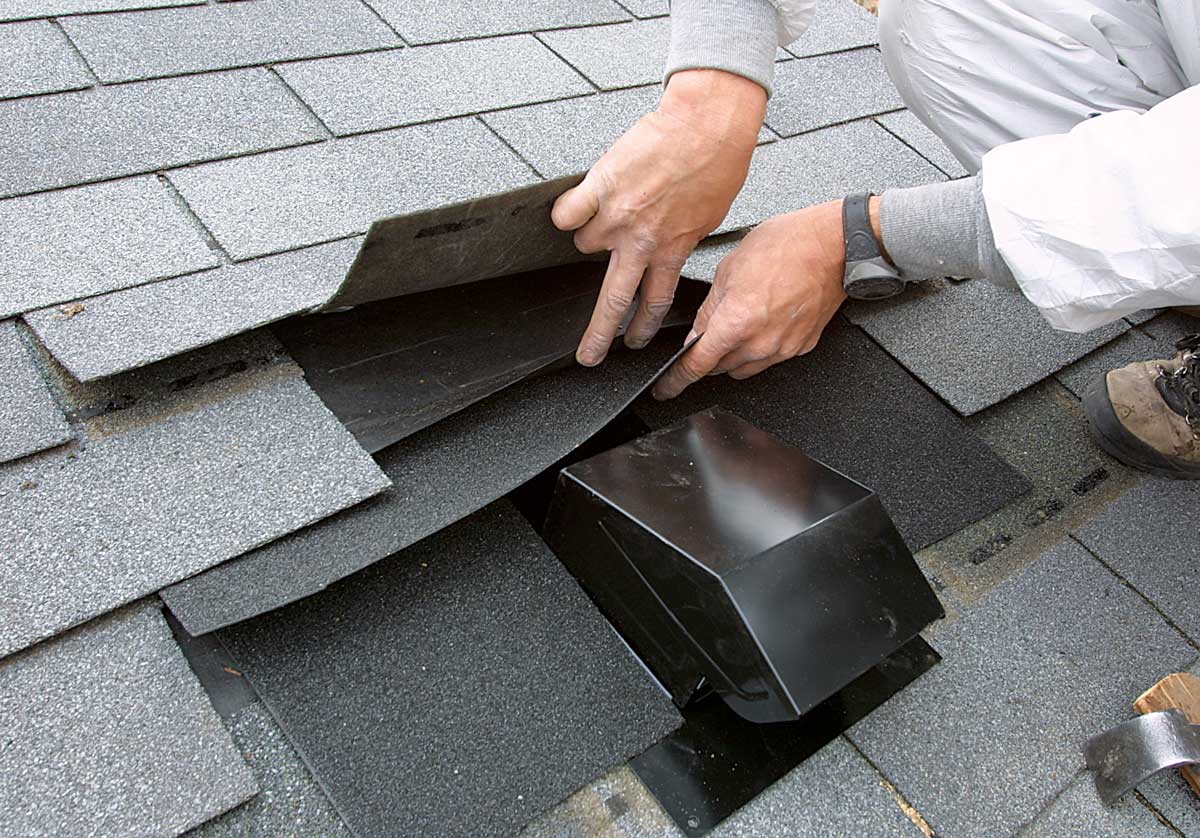
4. Addressing Water Leaks (Roof Vent Specific)
Leaks around a roof-vented exhaust fan can cause significant damage. Identifying the source is crucial.
- Check the Roof Flashing: The flashing is the metal material that seals the vent pipe to the roof. Inspect it for cracks, rust, or damage. Damaged flashing will require professional repair or replacement.
- Examine the Sealant: Look for deteriorated or missing sealant around the base of the vent pipe where it meets the flashing. Reapply a high-quality roofing sealant to create a watertight seal.
- Condensation Issues: As mentioned earlier, inadequate insulation can lead to condensation inside the ductwork, which can then leak back into the bathroom. Ensure the ductwork is properly insulated. Also, consider running the fan for a longer period after showering to remove all the moisture.
- If the Leak Persists: If you've addressed the flashing, sealant, and insulation, and the leak continues, there may be a more serious underlying roofing issue. Contact a professional roofer immediately.
5. Reducing Excessive Noise
A noisy exhaust fan can be annoying. Here are some common causes and solutions.
- Loose Fan Blade: Tighten the screw or nut that secures the fan blade to the motor shaft. If the blade is damaged or warped, replace it.
- Worn-Out Motor: If the motor is making a grinding or rattling noise, it's likely worn out and needs replacement. Motor replacement can be a DIY project, but it's often more cost-effective to replace the entire fan unit.
- Debris in the Fan Housing: Carefully remove any debris that may be caught in the fan housing.
- Vibrations: Ensure the fan unit is securely mounted to the ceiling joists. Add shims or rubber grommets to dampen vibrations.
Simple Part Replacements (DIY with Caution)
Some parts of a bathroom exhaust fan can be replaced relatively easily.
- Fan Blade: Replacement fan blades are readily available at hardware stores. Make sure to get the correct size and type for your fan model.
- Switch: As mentioned earlier, replacing the switch is a straightforward task if you're comfortable working with electrical wiring.
- Vent Cap: If the roof vent cap is damaged, replacing it is usually a simple matter of unscrewing the old cap and screwing on a new one. Remember roof safety!
When to Call a Professional
While many bathroom exhaust fan problems can be addressed with DIY solutions, certain situations require the expertise of a qualified professional.
- Electrical Issues: If you're uncomfortable working with electrical wiring, or if you suspect a more complex electrical problem, call an electrician. Never attempt electrical repairs if you're not confident in your abilities.
- Roof Repairs: If the roof flashing is damaged, or if you suspect a leak is originating from a source other than the fan vent, contact a professional roofer. Roof repairs can be dangerous and require specialized skills and equipment.
- Complex Ductwork Issues: If the ductwork is difficult to access, or if you suspect a major blockage or disconnection, consider hiring an HVAC technician.
- Motor Replacement (Sometimes): While motor replacement can be a DIY project, it can be tricky to find the correct replacement motor. Often, replacing the entire fan unit is more cost-effective and simpler.
- Persistent Problems: If you've tried the troubleshooting steps outlined in this article and the problem persists, it's best to call a professional. They can diagnose the underlying issue and provide a lasting solution.
Preventative Maintenance
Regular maintenance can help prevent bathroom exhaust fan problems.
- Clean the Fan Cover Regularly: Dust and debris can accumulate on the fan cover, reducing airflow. Clean it every few months with a vacuum cleaner or damp cloth.
- Inspect the Vent Ductwork Annually: Check for kinks, blockages, and disconnections.
- Run the Fan Regularly: Run the fan for at least 20 minutes after showering to remove moisture and prevent mold growth.
By following this troubleshooting guide and performing regular maintenance, you can keep your bathroom exhaust fan running smoothly and efficiently for years to come. Remember to prioritize safety and don't hesitate to call a professional when needed.