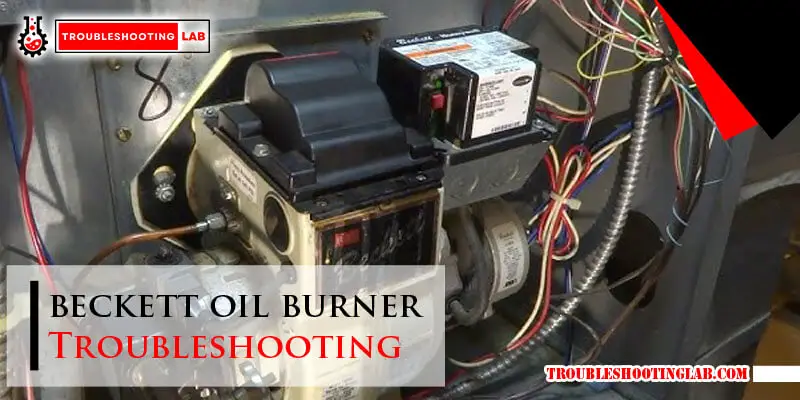
Beckett Oil Burner Troubleshooting
Oil-fired heating systems remain a common choice for homeowners, especially in regions where natural gas isn't readily available. The Beckett oil burner is a widely used and trusted component within these systems. However, like any mechanical device, they can experience issues that require troubleshooting. This comprehensive guide provides homeowners, HVAC technicians, and facility managers with the knowledge to diagnose and address common Beckett oil burner problems.
Understanding the Beckett Oil Burner
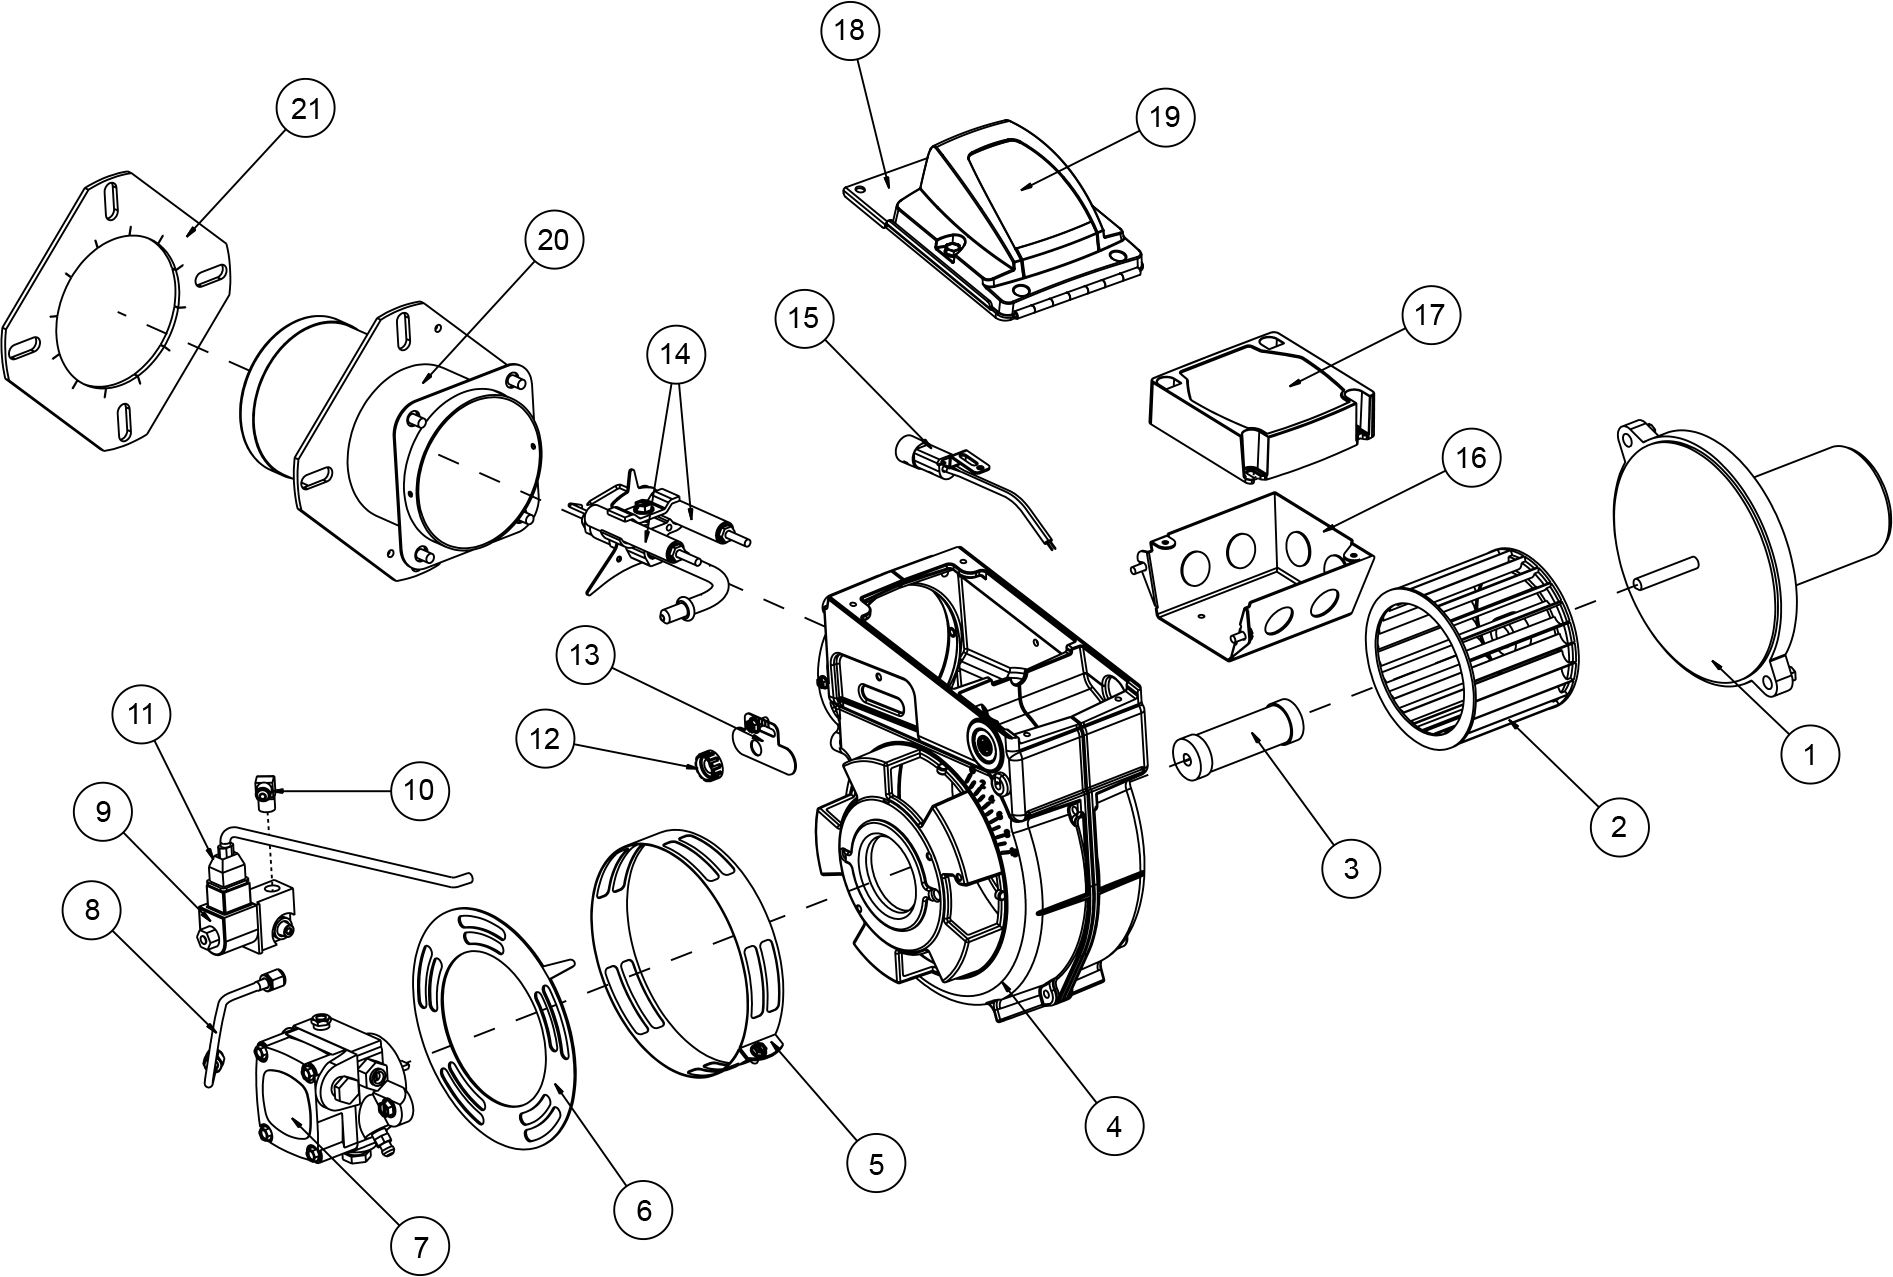
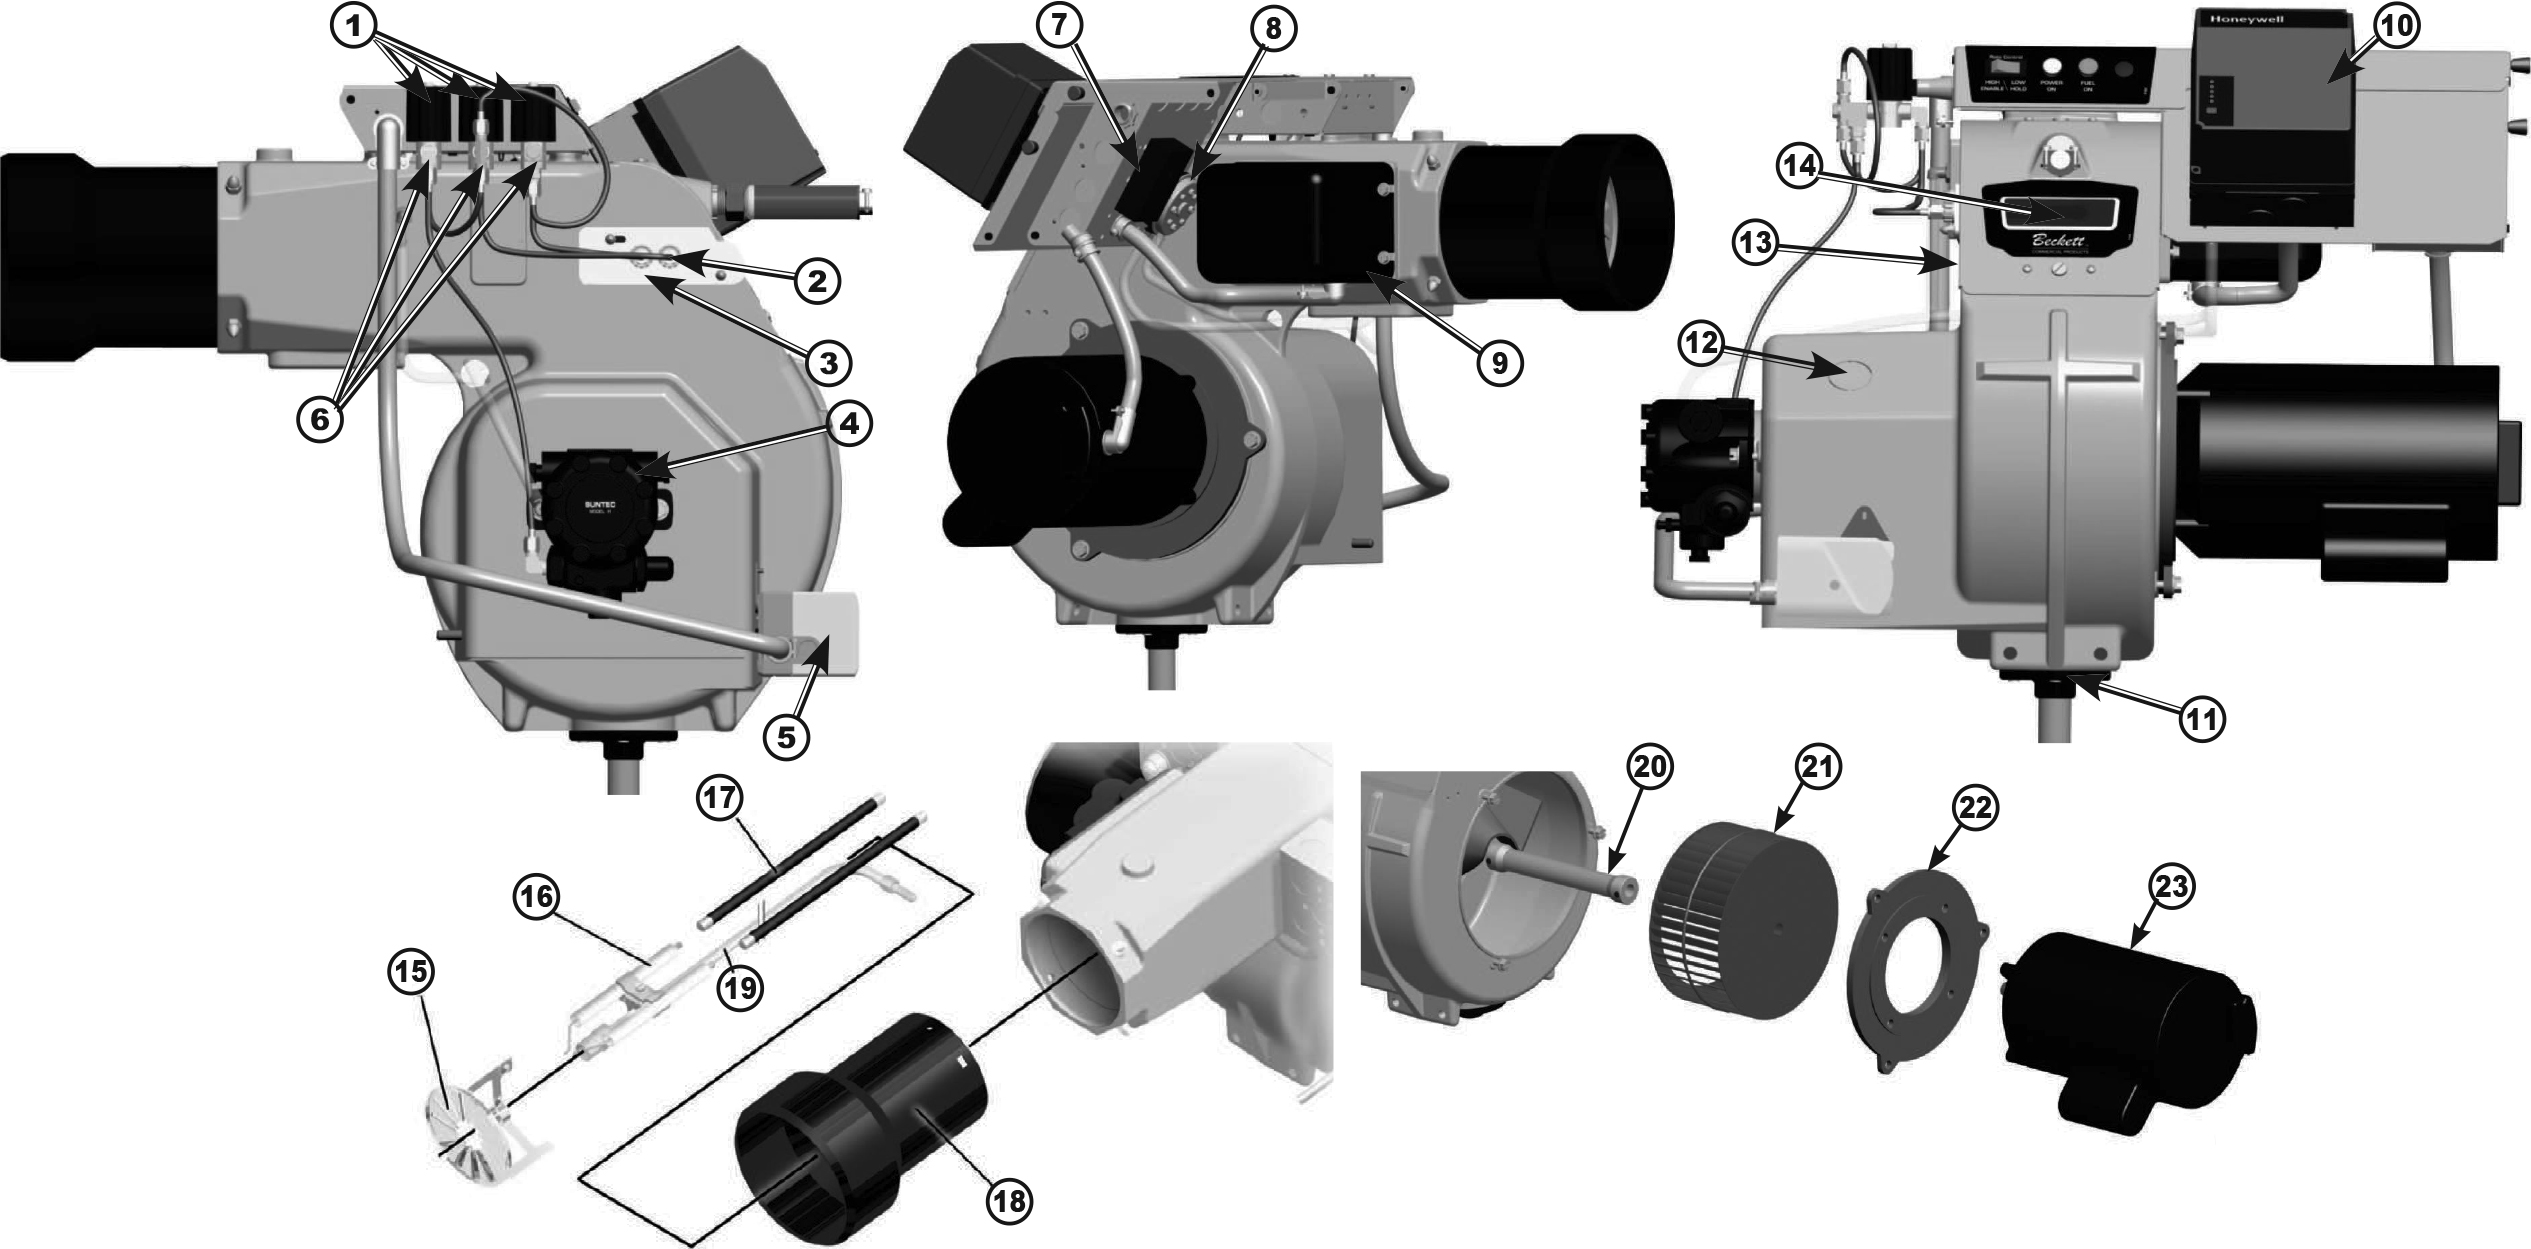
Before diving into troubleshooting, it's crucial to understand the basic components and function of a Beckett oil burner. The burner's primary job is to atomize fuel oil, mix it with air, and ignite the mixture to create a controlled flame for heating. Key components include:
- Oil Pump: Draws oil from the tank and delivers it to the nozzle at a specific pressure.
- Nozzle: Atomizes the oil into a fine mist for efficient combustion.
- Ignition System: Typically consists of electrodes that generate a high-voltage spark to ignite the oil mist. Some newer models use a hot surface igniter.
- Blower Motor: Provides the necessary air for combustion.
- Cad Cell (Flame Sensor): Detects the presence of a flame and signals the control module to keep the burner running.
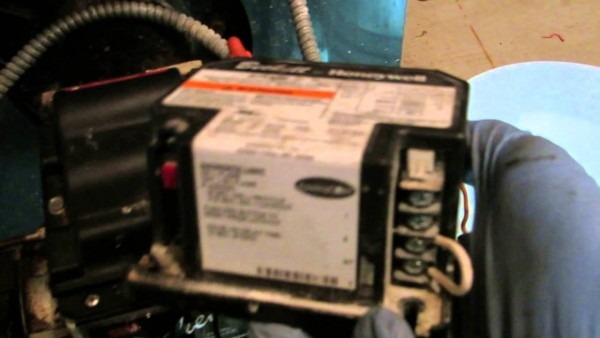
- Control Module (Primary Control): The "brain" of the burner, managing the ignition sequence, flame monitoring, and safety shutoffs.
- Fuel Unit: Combines pump, pressure regulation and shut-off valve.
Common Beckett Oil Burner Problems and Troubleshooting
Here's a breakdown of common issues, their potential causes, and troubleshooting steps:
1. No Heat or Burner Fails to Start
This is a frequent complaint. Here's how to approach it:
- Check the Power: Ensure the burner switch is on and the circuit breaker hasn't tripped. A simple mistake, but often overlooked.
- Check the Oil Supply: Verify the oil tank isn't empty. Low oil levels can also introduce air into the system, causing problems. Check the oil filter for blockage. Replace if necessary. Consider adding oil stabilizer.
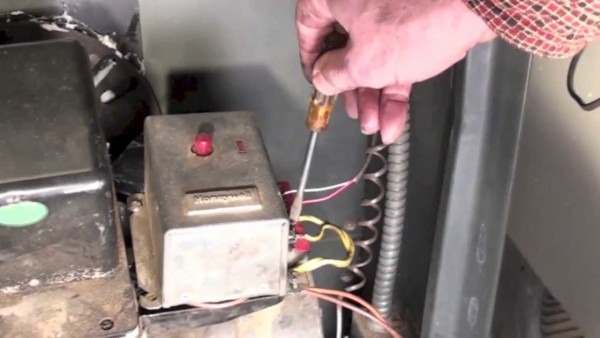
- Reset the Burner: Locate the reset button on the primary control (usually a red button). Press it once. If the burner still doesn't start after a few attempts, there's a more serious problem. Repeatedly resetting the burner can damage it.
- Check the Flame Sensor (Cad Cell): A dirty or faulty cad cell is a common culprit. If it doesn't detect a flame, the burner will shut down as a safety measure. Clean the cad cell with a clean cloth. If that doesn't work, replacement is necessary. A multimeter can be used to test its resistance.
- Ignition Problems: Inspect the electrodes for cracks, carbon buildup, or incorrect positioning. Clean or replace as needed. The gap between the electrodes is critical. A high-voltage transformer provides power to the electrodes; test it with a multimeter or voltage tester if suspecting failure.
- Blocked Nozzle: A clogged nozzle prevents proper atomization. Replacing the nozzle annually is a good preventative measure. Be sure to use the correct nozzle size and spray pattern as specified by the manufacturer.
- Faulty Primary Control: If other components check out, the primary control module may be defective. This is often best left to a qualified technician, as it requires specialized knowledge and tools.
2. Burner Starts and Stops (Short Cycling)
This indicates a problem with flame detection or fuel delivery:
- Dirty Flame Sensor: As above, a dirty cad cell can cause intermittent flame detection.
- Draft Issues: A strong draft can extinguish the flame intermittently. Check the chimney for obstructions and ensure proper draft regulation.
- Restricted Airflow: Check the burner's air inlet for obstructions. Ensure the blower motor is functioning properly.
- Oil Pump Problems: A failing oil pump may not maintain consistent pressure, leading to flame instability.
3. Smoky or Sooty Flame
A smoky flame indicates incomplete combustion, which wastes fuel and can lead to soot buildup:
- Improper Air/Fuel Mixture: Adjust the air shutter on the burner to optimize the air-fuel ratio. This requires experience and specialized tools (combustion analyzer) to measure CO2 levels and draft.
- Dirty Nozzle: Replace the nozzle.
- Oil Pressure Issues: Check the oil pressure at the burner. It should be within the manufacturer's specified range.
- Chimney Problems: A blocked or improperly sized chimney can prevent proper venting, leading to smoky combustion. Have the chimney inspected and cleaned by a professional.
- Incorrect Nozzle Size: Using the wrong nozzle for your system can result in poor combustion. Consult the manufacturer's specifications.
4. Unusual Noises
Unusual noises can signal various problems:
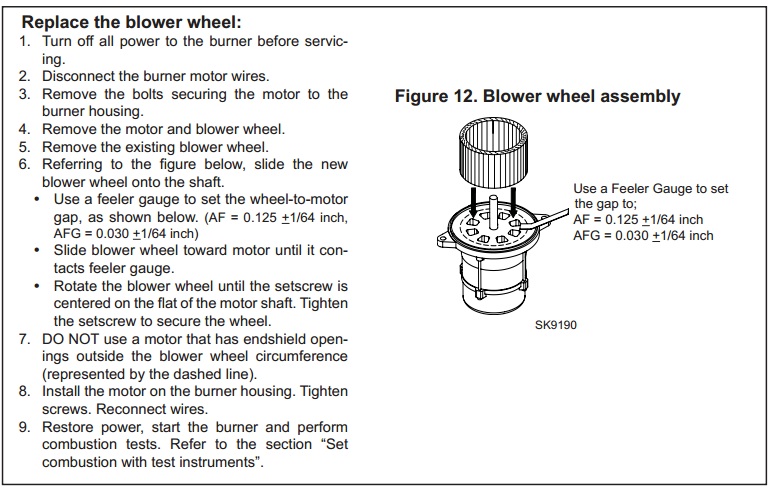
- Blower Motor Noise: A squealing or grinding noise from the blower motor indicates worn bearings or a failing motor. Replacement is usually necessary.
- Oil Pump Noise: A loud buzzing or grinding noise from the oil pump suggests internal damage or wear.
- Pulsating Flame Noise: Can indicate delayed ignition or improper combustion. Check the ignition system and air/fuel mixture.
5. Oil Leaks
Oil leaks are a serious safety hazard and should be addressed immediately:
- Inspect Oil Lines: Check all oil lines and fittings for leaks. Tighten loose fittings or replace damaged lines.
- Oil Pump Seals: Leaks around the oil pump seals indicate that the seals are failing. The pump may need to be rebuilt or replaced.
- Tank Leaks: Inspect the oil tank for signs of corrosion or leaks. Repair or replace the tank as needed.
Preventative Maintenance for Beckett Oil Burners
Regular maintenance is key to preventing problems and extending the life of your Beckett oil burner. Here's a recommended schedule:
- Annual Tune-Up: Have a qualified HVAC technician perform an annual tune-up, including cleaning the burner, replacing the nozzle and oil filter, adjusting the air/fuel mixture, and inspecting all components.
- Oil Tank Inspection: Regularly inspect the oil tank for signs of corrosion or leaks.
- Chimney Inspection: Have the chimney inspected and cleaned every 1-2 years to ensure proper venting.
- Keep Area Clean: Keep the area around the burner clean and free of debris to ensure proper airflow.
Cost Considerations
Repair costs for Beckett oil burners vary depending on the specific problem. Simple repairs, such as cleaning the cad cell or replacing the nozzle, may cost $100-$300. More complex repairs, such as replacing the oil pump or primary control, can cost $500-$1000 or more. Replacing the entire burner unit can range from $1500 to $3000, depending on the model and installation costs.
While oil heat systems can be reliable, fuel oil prices can be volatile. When considering replacement, compare the long-term costs, efficiency, and environmental impact of alternative heating systems, such as natural gas (if available), propane, or heat pumps. Heat pumps offer significant efficiency advantages but may not be suitable for all climates.
Safety Precautions
Working with oil-fired heating systems can be dangerous. Always follow these safety precautions:
- Turn off the power to the burner before performing any maintenance or repairs.
- Never work on the burner while it is running.
- Wear appropriate safety gear, including gloves and eye protection.
- If you are not comfortable working on the burner yourself, hire a qualified HVAC technician.
- Be aware of the risk of fire and explosion.
- Always follow the manufacturer's instructions.
Conclusion
Troubleshooting a Beckett oil burner requires a systematic approach. By understanding the components, common problems, and troubleshooting steps outlined in this guide, homeowners, technicians, and facility managers can effectively diagnose and address many issues. Remember to prioritize safety and consult a qualified HVAC technician when in doubt. Regular maintenance is essential for ensuring efficient and reliable operation.