Become An Hvac Technician In Columbus Ga
Columbus, Georgia summers can be brutal, and winters, while milder than up north, still demand a reliable heating system. One of the most common frustrations homeowners face is a system that's blowing lukewarm air in summer or cool air in winter. Before you resign yourself to a hefty repair bill, let's walk through some troubleshooting steps you can take.
Diagnosing the Problem: A Step-by-Step Approach
The key to fixing any HVAC issue is a systematic diagnosis. Start with the simplest checks and progress to more involved ones. Never assume the worst right away.
Step 1: Verify Your Thermostat Settings (No Tools Needed)
This might sound obvious, but it's the most frequent culprit! Double-check these settings:
- Mode: Ensure your thermostat is set to "Cool" in summer and "Heat" in winter. Accidentally leaving it on "Off" or "Fan Only" is surprisingly common.
- Temperature: Is the set temperature significantly different from the room temperature? If you want 72°F, is the thermostat actually set to 65°F in heat mode?
- Fan Setting: The "Auto" setting is generally best. "On" will run the fan continuously, which can sometimes make the air feel less effectively cooled or heated.
- Schedule: Many thermostats have programmable schedules. Is it possible the system is set to a different temperature at the time you're experiencing the problem? Temporarily disable the schedule to see if that resolves the issue.
Action: Make any necessary adjustments to the thermostat settings. Wait at least 30 minutes to see if the system responds. Often, this simple fix resolves the problem.
Step 2: Check the Air Filter (No Tools Needed)
A dirty air filter is a major cause of HVAC problems. A clogged filter restricts airflow, forcing your system to work harder and less efficiently. This can lead to reduced heating or cooling capacity, and even system damage.
Location: The air filter is typically located in the return air duct, often near the indoor unit (furnace or air handler). It might be behind a removable grill or inside a dedicated filter compartment.
Inspection: Remove the filter and hold it up to the light. If you can barely see through it, it's dirty and needs replacing. Even if it looks relatively clean, consider replacing it if it's been a while (at least every 1-3 months, more frequently if you have pets or allergies).
Action: Replace the dirty air filter with a new one of the correct size. The filter size is usually printed on the side of the old filter. Always use the recommended filter size. After replacing the filter, wait at least 30 minutes to see if the system performance improves.
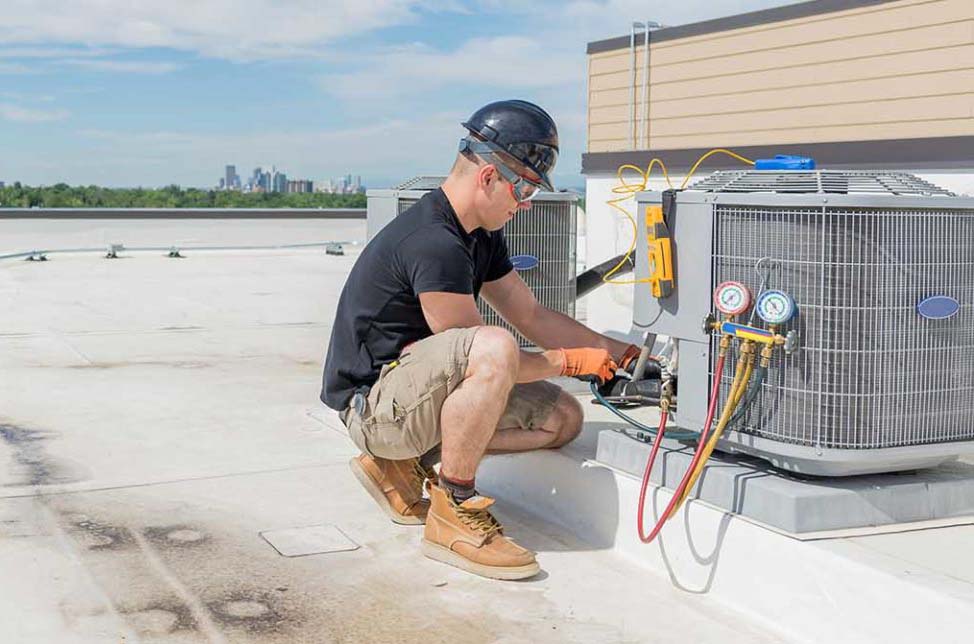
Step 3: Inspect the Outdoor Unit (Condenser) (No Tools Needed)
The outdoor unit, also called the condenser, is responsible for releasing heat in cooling mode and absorbing heat in heating mode (if you have a heat pump). Obstructions around the unit can severely impact its performance.
Visual Inspection:
- Debris: Are there leaves, grass clippings, branches, or other debris blocking the airflow around the unit? Pay particular attention to the fins (the thin metal plates around the unit).
- Clearance: Is there at least 2-3 feet of clear space around the unit? Shrubs, fences, or even piles of snow can restrict airflow.
- Ice: During winter, is the unit covered in ice? A thin layer of frost is normal during defrost cycles, but a thick layer of ice indicates a problem.
Action: Remove any debris blocking the airflow around the outdoor unit. Carefully straighten any bent fins with a fin comb (available at most hardware stores). If the unit is heavily iced over in winter, do not attempt to chip away the ice. Turn off the system and call a professional.
Step 4: Check the Circuit Breakers (No Tools Needed, but Exercise Caution!)
HVAC systems require a significant amount of power. A tripped circuit breaker can cut power to the entire system or just a component, causing it to malfunction.
Safety First: Before checking the circuit breaker, ensure your hands are dry and you are standing on a dry surface. Never touch any exposed wiring.
Location: The circuit breaker panel is usually located in a utility room, garage, or basement.
Inspection: Look for tripped breakers. They will be in the "Off" or "Tripped" position (usually in the middle). The breakers for your HVAC system are typically labeled.
Action: If you find a tripped breaker, switch it fully to the "Off" position and then back to the "On" position. Wait a few minutes to see if it trips again. If the breaker trips repeatedly, do not continue resetting it. This indicates a more serious electrical problem that requires professional attention.
Step 5: Inspect Supply Vents (No Tools Needed)
Sometimes the problem isn't the system itself, but a localized issue with airflow to a particular room. Check the supply vents in the affected room(s).
- Obstructions: Are the vents blocked by furniture, rugs, or drapes?
- Closed Dampers: Many vents have dampers that allow you to adjust the airflow. Ensure the dampers are open.
Action: Remove any obstructions blocking the vents and ensure the dampers are open. If some rooms are significantly warmer or cooler than others, you can adjust the dampers in other rooms to balance the airflow. (This is a common DIY trick for HVAC technician in Columbus GA!)
Step 6: Check for Obvious Leaks in Ductwork (No Tools Needed, but Requires Visual Inspection)
While you may not be an HVAC technician in Columbus GA, with some basic visual inspection, you can find obvious leaks in ductwork. Leaky ductwork can waste a significant amount of energy, causing your system to work harder and deliver less conditioned air.
Inspection: Visually inspect any exposed ductwork in attics, crawl spaces, or basements. Look for:
- Disconnections: Are any sections of ductwork disconnected?
- Tears or Holes: Are there any visible tears or holes in the ductwork?
- Loose Connections: Are any connections between sections of ductwork loose or poorly sealed?
Action: If you find minor leaks, you can temporarily seal them with duct tape (not regular tape!). However, duct tape is not a permanent solution. For larger leaks or disconnections, it's best to call a professional.
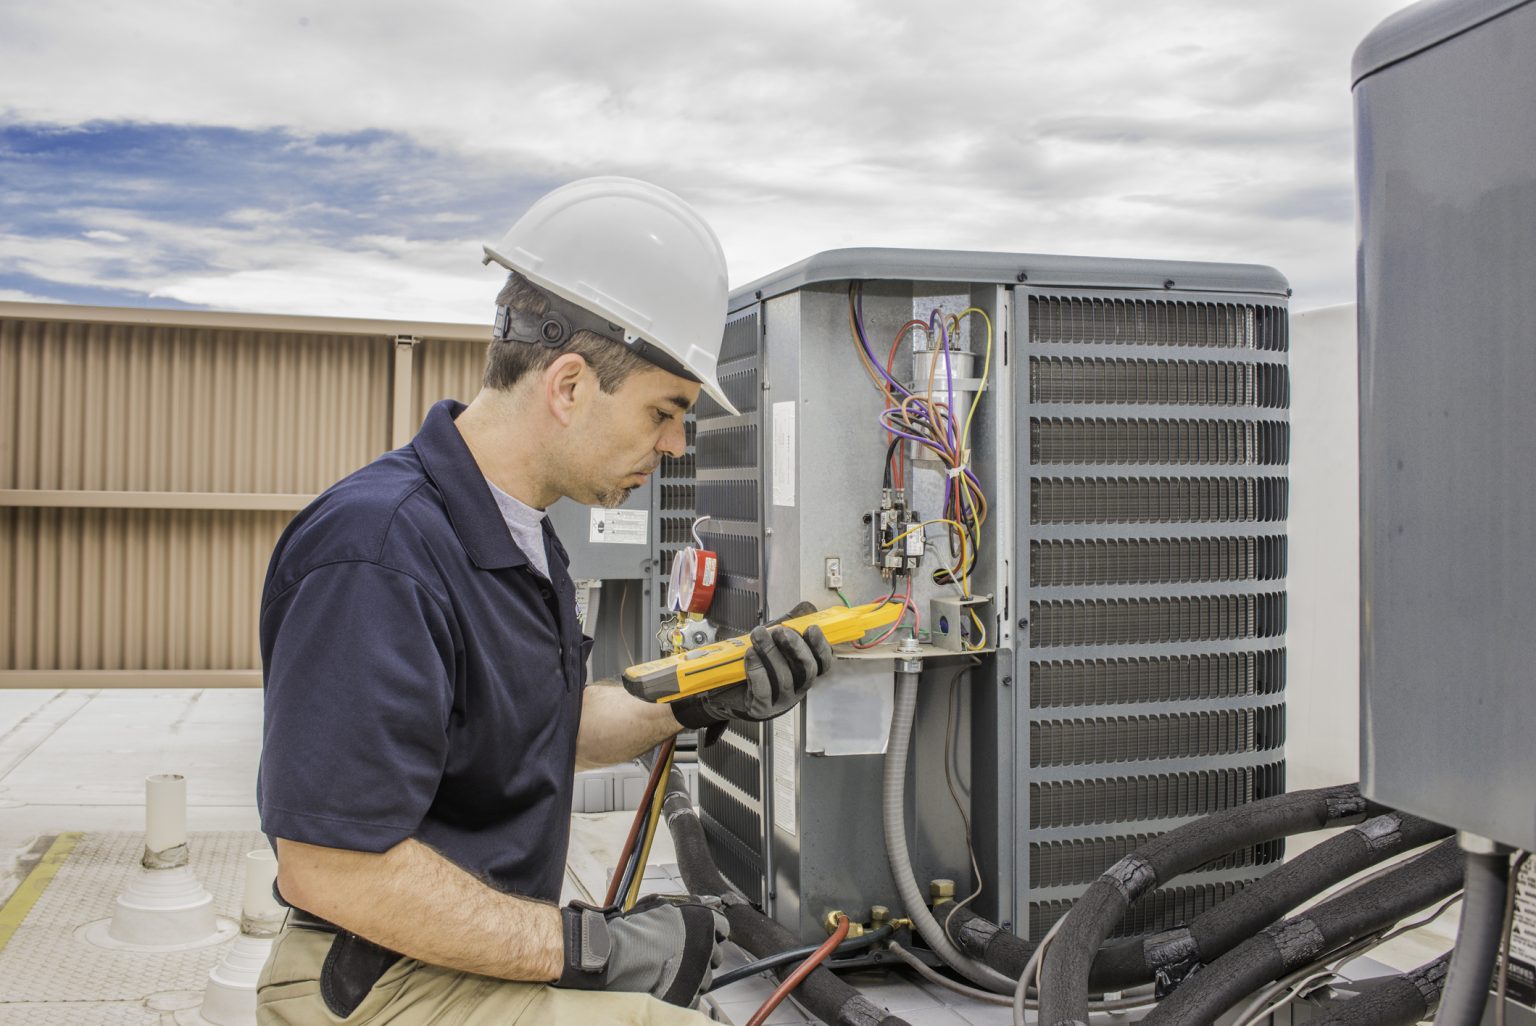
Step 7: Using a Multimeter to Check Capacitor (Requires Basic Tools and Electrical Knowledge – Proceed with Extreme Caution!)
WARNING: This step involves working with electricity. If you are not comfortable working with electricity, do not attempt this step. Call a qualified HVAC technician. Electricity can be dangerous, and improper handling can result in serious injury or death.
The capacitor is an electrical component that helps start and run the motor in your HVAC system. A failing capacitor is a common cause of system failure. However, testing a capacitor requires a multimeter and some electrical knowledge.
Safety First: Turn off the power to the HVAC system at the circuit breaker before proceeding. Discharge the capacitor using a screwdriver with an insulated handle by shorting across the terminals. (Search online for a video demonstrating how to safely discharge a capacitor). Confirm with your multimeter that the capacitor is discharged.
Testing: Use a multimeter to measure the capacitance of the capacitor. Compare the measured value to the rated capacitance (printed on the capacitor). If the measured value is significantly lower than the rated value (typically more than 10% off), the capacitor is likely failing and needs to be replaced. It may be physically bulged or leaking as well.
Action: If you are comfortable and knowledgeable, you can replace the capacitor with a new one of the same specifications. Ensure the power is off and the capacitor is discharged before replacing it. If you are not comfortable, call a professional.
When to Call a Professional HVAC Technician in Columbus, GA
While these troubleshooting steps can resolve many common issues, some problems are best left to the professionals. Here are some signs that it's time to call an HVAC technician:
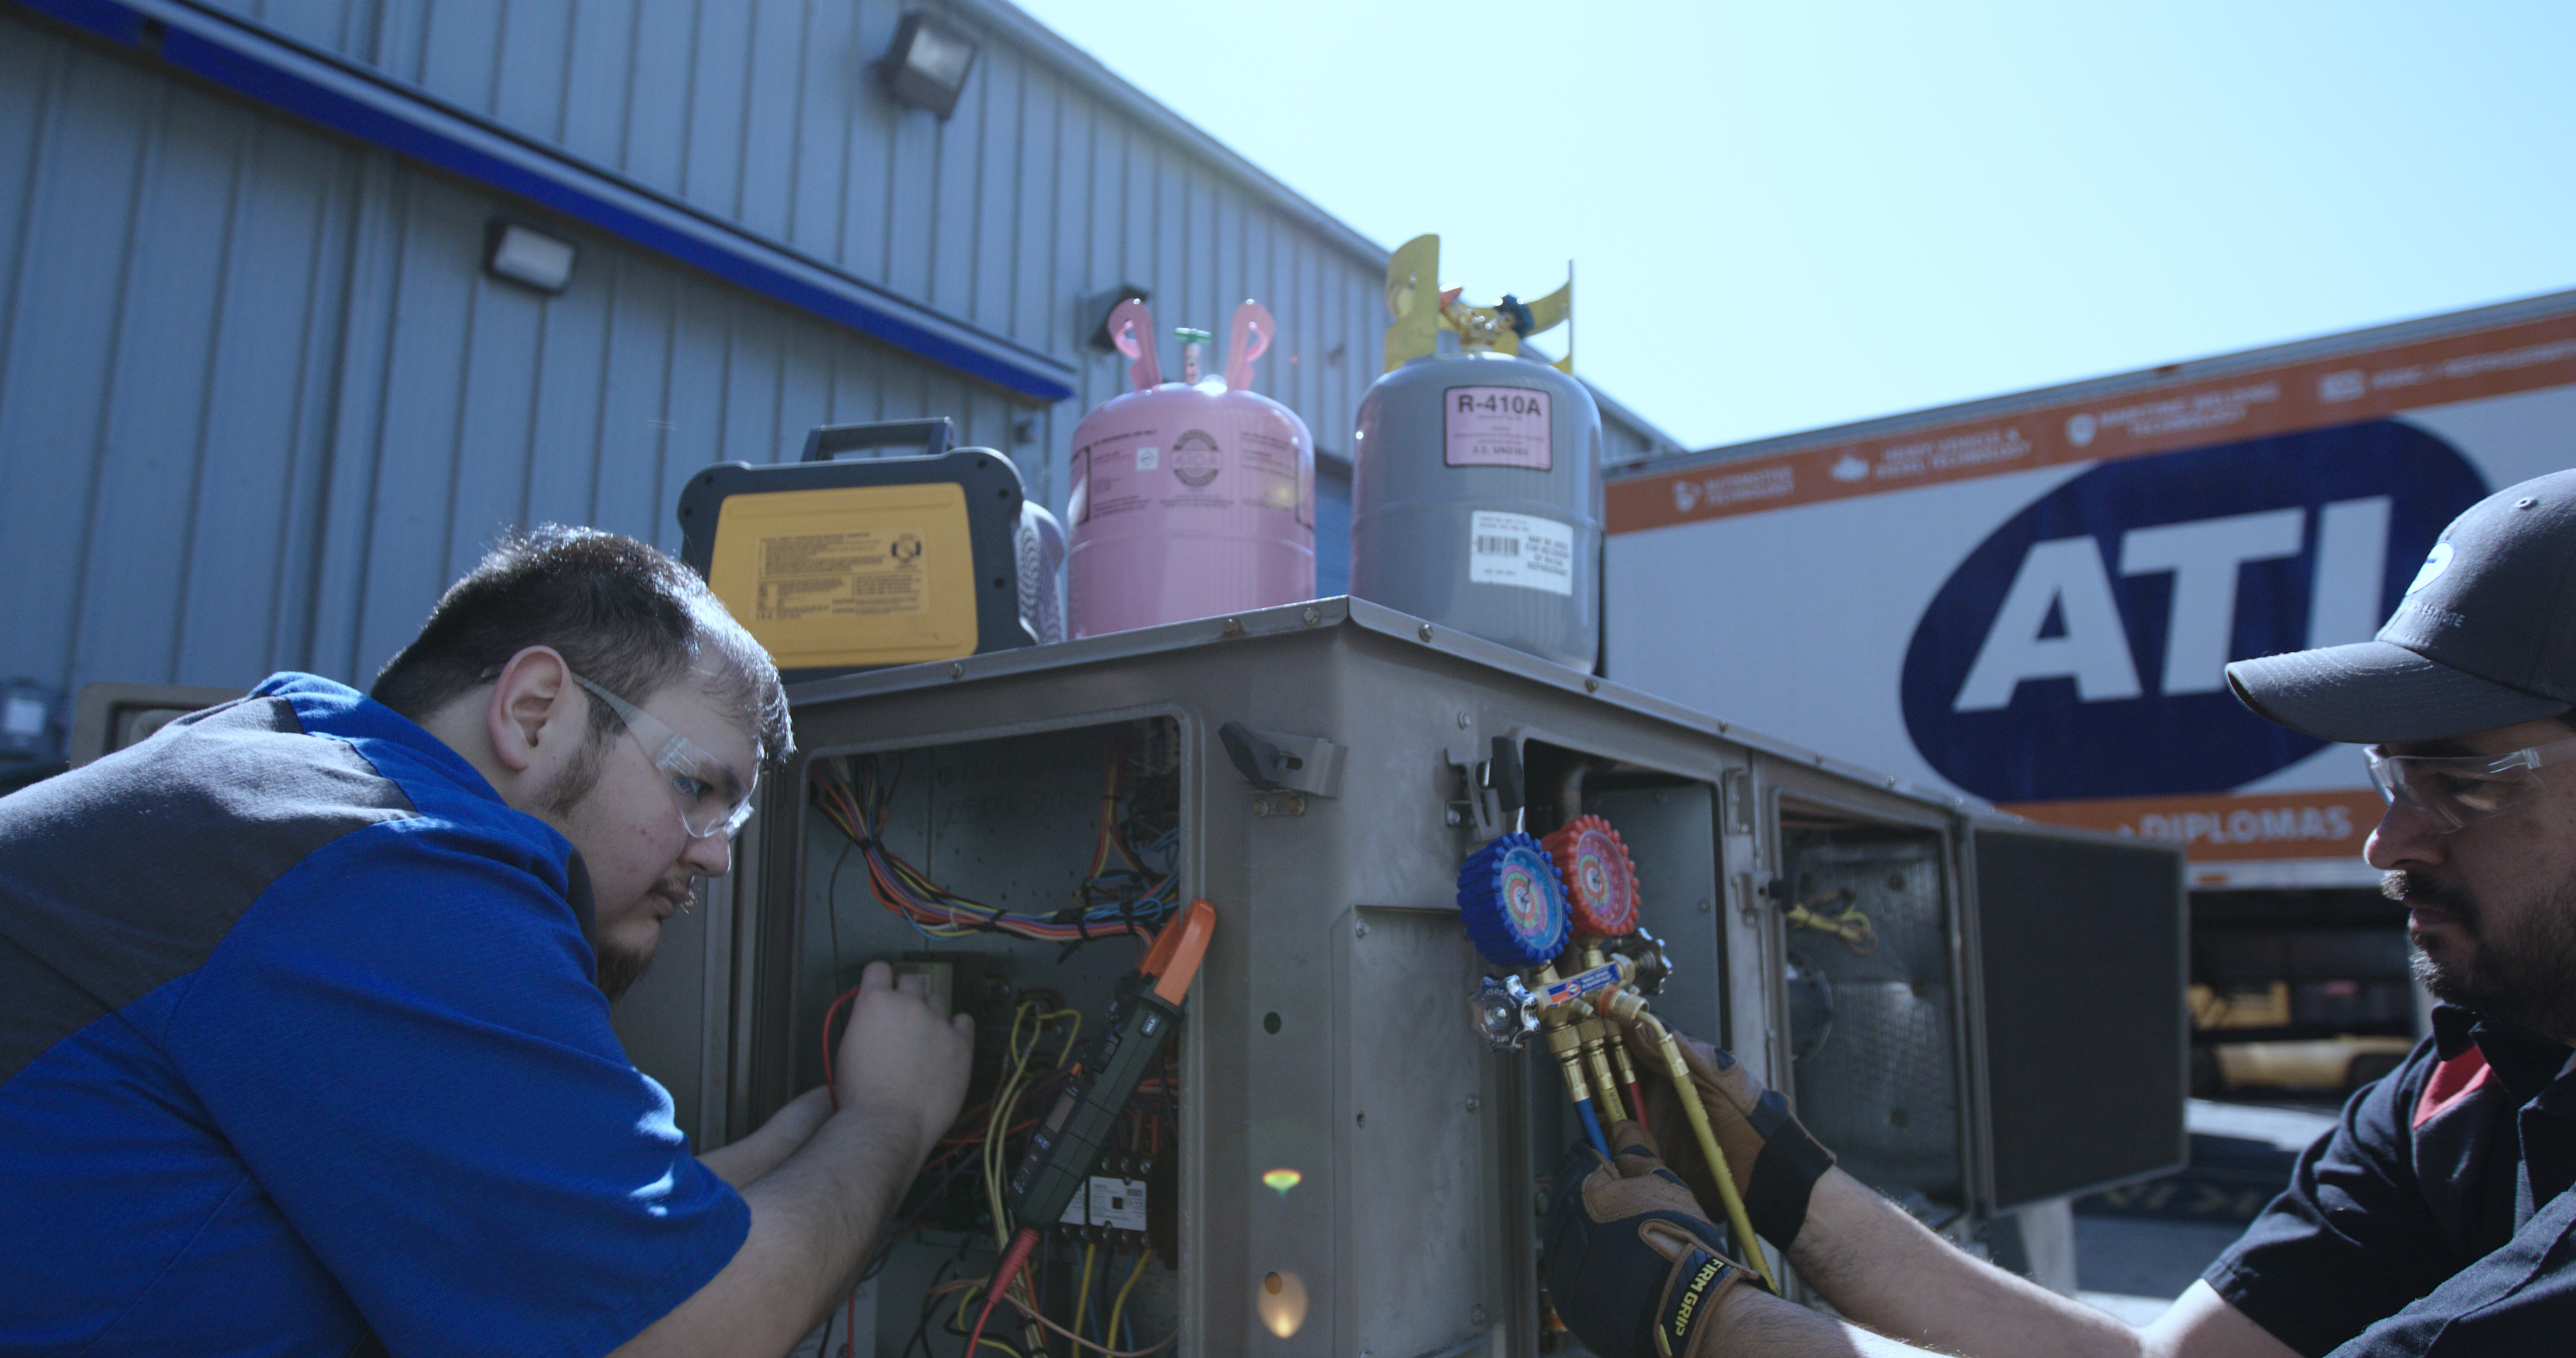
- Refrigerant Leaks: If you suspect a refrigerant leak (e.g., hissing sound, ice buildup on the refrigerant lines), do not attempt to fix it yourself. Refrigerant is a hazardous substance that requires specialized equipment and training to handle properly.
- Electrical Problems: If you are uncomfortable working with electricity, or if you suspect a serious electrical problem (e.g., repeatedly tripping breakers, burning smell), call a qualified electrician or HVAC technician.
- Compressor Issues: The compressor is the heart of your HVAC system. If you suspect a compressor problem (e.g., loud noises, system not cooling or heating), it's best to call a professional. Compressor repairs are complex and often expensive.
- Heat Exchanger Problems: If you suspect a problem with your furnace's heat exchanger (e.g., carbon monoxide leak), turn off the furnace immediately and call a professional. A cracked heat exchanger is a serious safety hazard.
- System is Old: Older systems require more frequent maintenance, and replacement may be a more cost effective route.
Don't hesitate to call a qualified HVAC technician in Columbus, GA if you are unsure about anything or if the problem persists after trying these troubleshooting steps. A professional can diagnose the problem accurately and perform the necessary repairs safely and efficiently.
By following these steps, you can save money on repair costs and keep your HVAC system running smoothly. Remember to prioritize safety and call a professional when needed. As you work through this process, you are essentially learning the basics of what it takes to become an HVAC technician in Columbus GA.