Best Carbon Monoxide Detector For Garage
One of the most unsettling discoveries a homeowner can make is a malfunctioning garage heater, especially when temperatures plummet. A chilly garage can render it unusable for hobbies, vehicle maintenance, or even safe storage. But before you resign yourself to wearing arctic gear every time you step inside, let's systematically diagnose the problem and explore some DIY fixes. This guide focuses on troubleshooting common garage heater issues, prioritizing safety and empowering you with the knowledge to tackle what you can, while knowing when to call in a professional.
Diagnosing the Problem: A Step-by-Step Approach
The key to fixing any problem is understanding its root cause. Let's break down the diagnostic process into manageable steps, starting with the easiest checks that require no tools:
Step 1: Verify Power and Fuel Supply (No Tools Needed)
This might seem obvious, but it's often the culprit! We’ll check the power source and the fuel source (if applicable).
- Check the Breaker: Locate the circuit breaker panel that controls your garage. Ensure the breaker for the heater hasn't tripped. If it has, reset it. If it trips again immediately, there's likely a short circuit, and you'll need a professional.
- Inspect the Power Cord: If the heater plugs into a standard outlet, check that the cord is securely connected. Look for any visible damage to the cord itself – frays, cuts, or exposed wires are definite hazards. Do not use the heater if the cord is damaged.
- Fuel Supply (Gas Heaters): If you have a gas-powered heater, verify that the gas supply is turned on. Check the gas valve on the heater itself and at the main gas meter. Also, ensure you haven't run out of propane if you are using a portable tank.
Step 2: Check the Thermostat (No Tools Needed)
The thermostat controls the heater's on/off cycle and temperature. A faulty thermostat can prevent the heater from running, even if everything else is working correctly.
- Thermostat Setting: Make sure the thermostat is set to "heat" and the temperature is set higher than the current room temperature. Increase the temperature setting significantly to see if the heater kicks on.
- Battery Check (Digital Thermostats): Many digital thermostats rely on batteries. If the display is dim or blank, try replacing the batteries. Low batteries can cause erratic behavior.
- Physical Obstructions: Ensure nothing is blocking the thermostat. Move any items that may be close to or directly in front of it.
Step 3: Inspect the Air Filter (No Tools Needed, Gloves Recommended)
A dirty air filter restricts airflow, making the heater work harder and potentially overheat or shut down. This applies mainly to forced-air type heaters.
- Locate the Filter: Consult your heater's manual to find the location of the air filter. It's usually behind a removable panel.
- Visual Inspection: Remove the filter and hold it up to the light. If you can barely see through it, it's clogged. A severely dirty filter needs to be replaced.
- Cleaning (If Applicable): Some filters are washable. If yours is, rinse it thoroughly with water and allow it to dry completely before reinstalling. Never operate the heater without a filter.
Step 4: Examine the Vents and Airflow (No Tools Needed)
Restricted airflow can prevent heat from circulating properly, making the garage feel cold even if the heater is running.
- Check for Obstructions: Ensure that supply and return vents are not blocked by boxes, furniture, or other items. Clear any obstructions to allow for free airflow.
- Vent Condition: Look for any signs of damage, such as dents or breaks, in the vent covers or ducts. Minor damage may restrict airflow.
- Feel for Airflow: Turn the heater on and feel the air coming out of the supply vents. Is the airflow strong? Is the air warm? Weak airflow or cool air indicates a problem.
Step 5: Basic Electrical Checks (Requires Multimeter – Use with Caution!)
Warning: Working with electricity can be dangerous. If you are not comfortable using a multimeter or unsure about electrical safety, skip this step and consult a qualified electrician.
- Voltage Check at the Outlet: Use a multimeter to check the voltage at the outlet where the heater is plugged in. Ensure the voltage matches the heater's requirements (usually 120V or 240V). A significantly lower voltage can prevent the heater from operating correctly.
- Continuity Check (After Disconnecting Power): After completely disconnecting the power to the heater, you can use a multimeter to check the continuity of the heating element. A broken heating element will show no continuity and will need to be replaced (usually by a professional).
DIY Actions You Can Take (With Caution!)
Based on your diagnosis, here are some DIY actions you might be able to take:
- Replace the Air Filter: This is a simple and often effective fix. Use the correct filter size recommended by the manufacturer.
- Clean Around the Heater: Remove any dust, debris, or obstructions around the heater. Pay attention to any vents or openings that might be blocked.
- Reset the High-Limit Switch: Some heaters have a high-limit switch that trips if the heater overheats. The switch is usually a small button that needs to be pressed to reset it. Consult your heater's manual to locate the high-limit switch.
- Check and Tighten Connections: After disconnecting power, carefully inspect any visible electrical connections. Tighten any loose connections, but do not overtighten.
When to Call a Professional HVAC Technician
Certain problems are beyond the scope of DIY repairs and require the expertise of a qualified HVAC technician. Here's when it's time to call in the pros:
- Gas Leaks: If you smell gas, immediately evacuate the area and call your gas company or the fire department. Do not attempt to repair a gas leak yourself.
- Electrical Problems: If you suspect a short circuit, see sparks, or smell burning electrical components, do not attempt any repairs. Contact a qualified electrician.
- Refrigerant Leaks (Heat Pumps): If you suspect a refrigerant leak (usually indicated by a hissing sound or ice buildup on the coils), do not attempt to repair it yourself. Refrigerant handling requires specialized equipment and training.
- Complex Mechanical Issues: If the heater makes unusual noises, fails to ignite, or exhibits other complex mechanical problems, it's best to leave the repairs to a professional.
- Lack of Experience: If you're uncomfortable working with electricity, gas, or mechanical components, don't risk it. It's always better to err on the side of caution and call a professional.
- If you have reset the breaker several times, and it continues to trip. This is a sign of a more serious electrical issue.
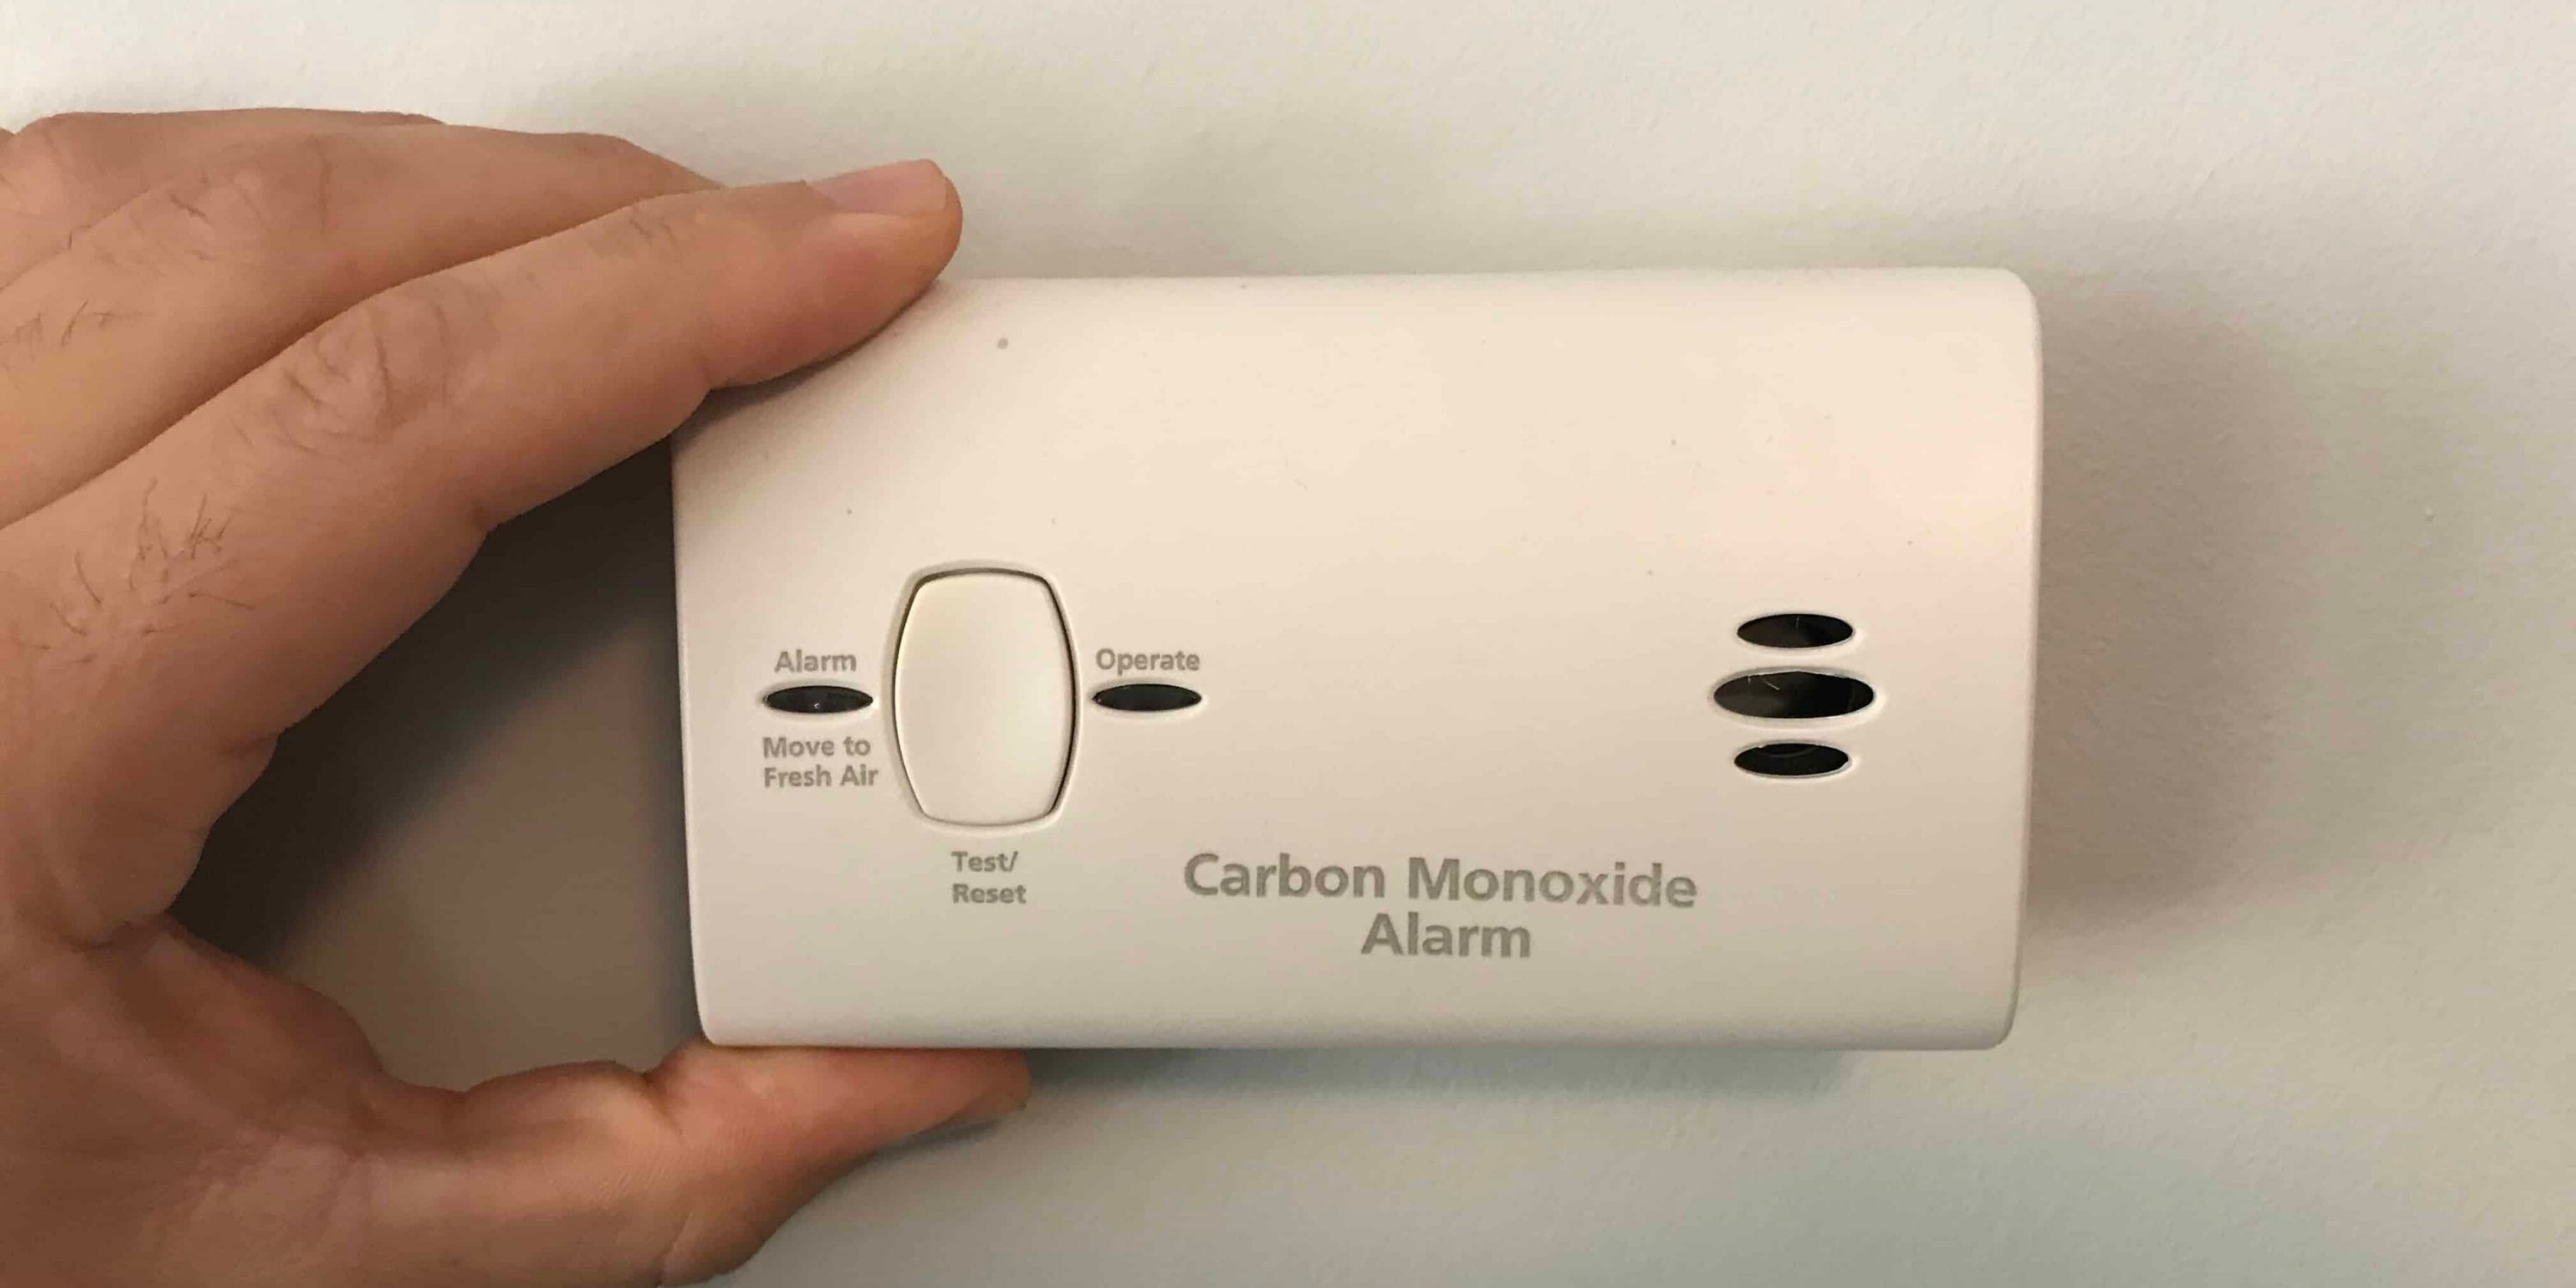
Carbon Monoxide Detectors: A Vital Safety Precaution
Crucially important, especially with any fuel-burning appliance in your garage (gas, propane, etc.), is a working carbon monoxide (CO) detector. Carbon monoxide is a colorless, odorless, and deadly gas. Even if your heater is electric, a vehicle running in the garage can produce CO. Battery backup is highly recommended.
- Placement: Install a CO detector outside the door leading from the garage into the house. If your garage is attached to the house, this placement is critical. Follow the manufacturer's instructions for the optimal height and location.
- Testing: Test your CO detector regularly (at least monthly) by pressing the test button. Replace the batteries at least every six months, or as recommended by the manufacturer.
- Replacement: CO detectors have a limited lifespan (typically 5-7 years). Replace your CO detector according to the manufacturer's recommendations, even if it seems to be working fine.
- Symptoms of CO Poisoning: Be aware of the symptoms of CO poisoning, which include headache, dizziness, nausea, vomiting, confusion, and loss of consciousness. If you suspect CO poisoning, immediately evacuate the area and call 911.
The Best Carbon Monoxide Detector For Garage
Choosing the right carbon monoxide (CO) detector for your garage is a critical safety decision. Here's a breakdown of features and recommendations to help you select the best option:
- Power Source: For garage use, a CO detector with battery backup is highly recommended. Garages are often subject to power outages, and a battery backup ensures continuous protection. Look for models with a 10-year sealed battery for maximum convenience.
- Sensor Technology: There are two main types of CO sensors: biomimetic and electrochemical. Electrochemical sensors are generally considered more accurate and reliable, especially in environments with temperature fluctuations like garages.
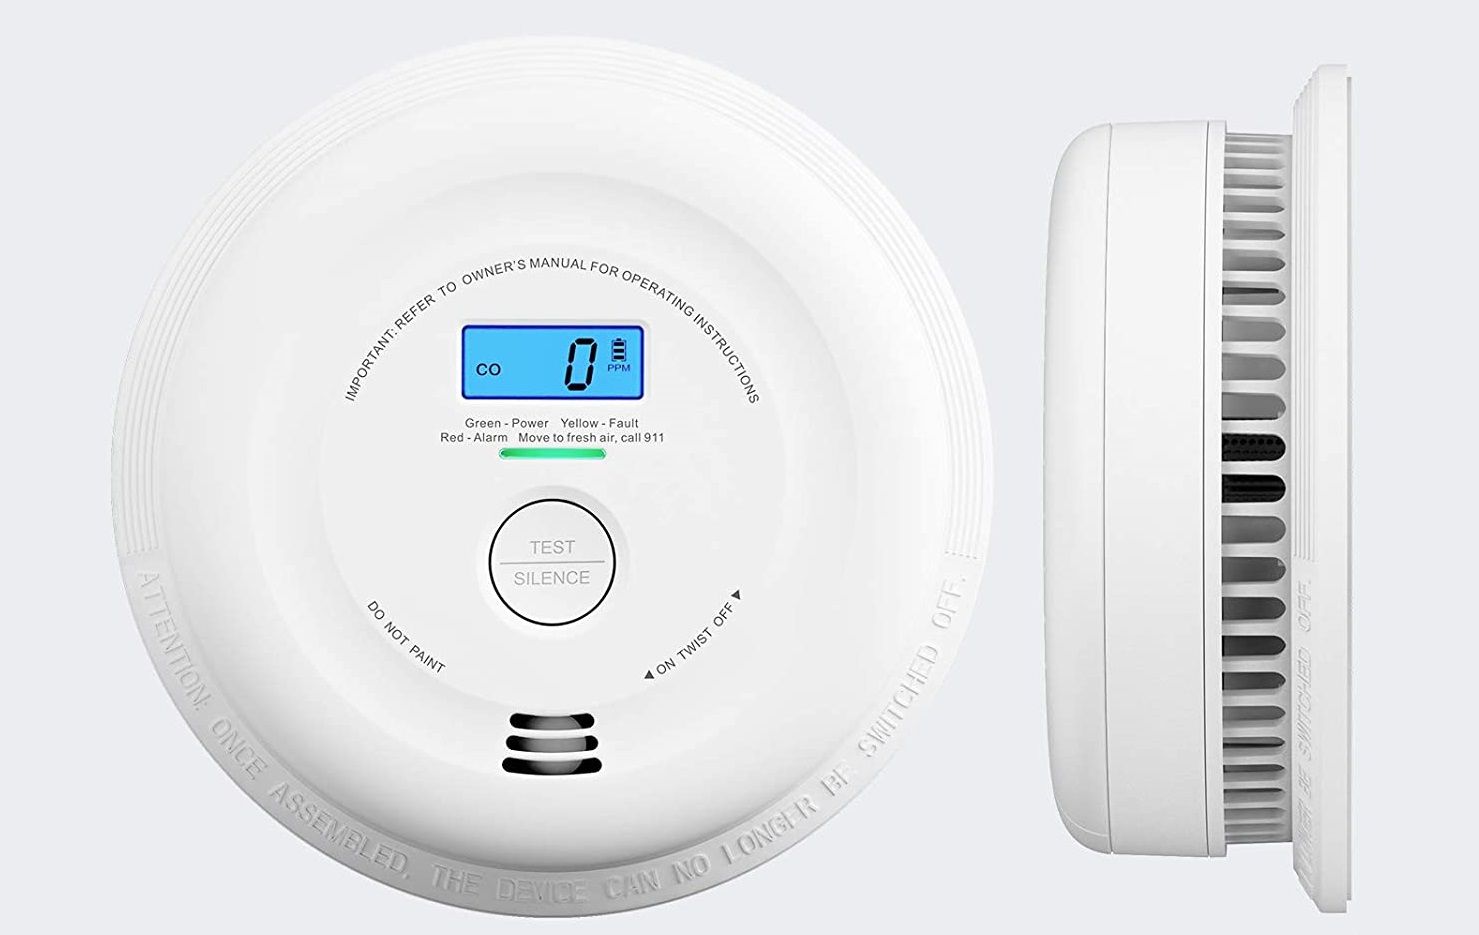
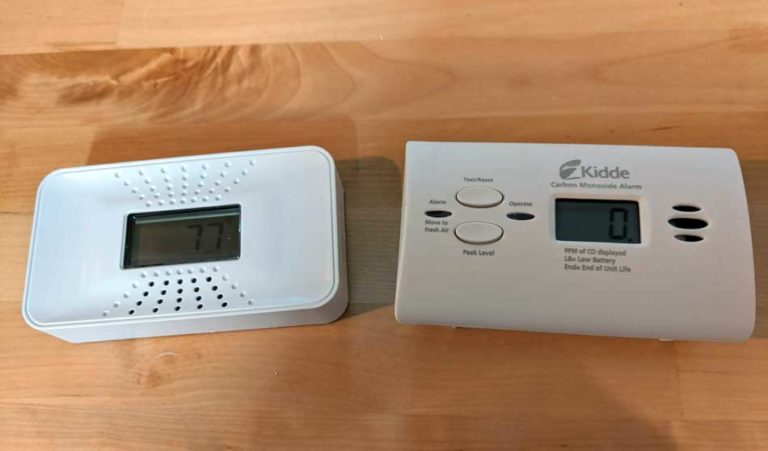
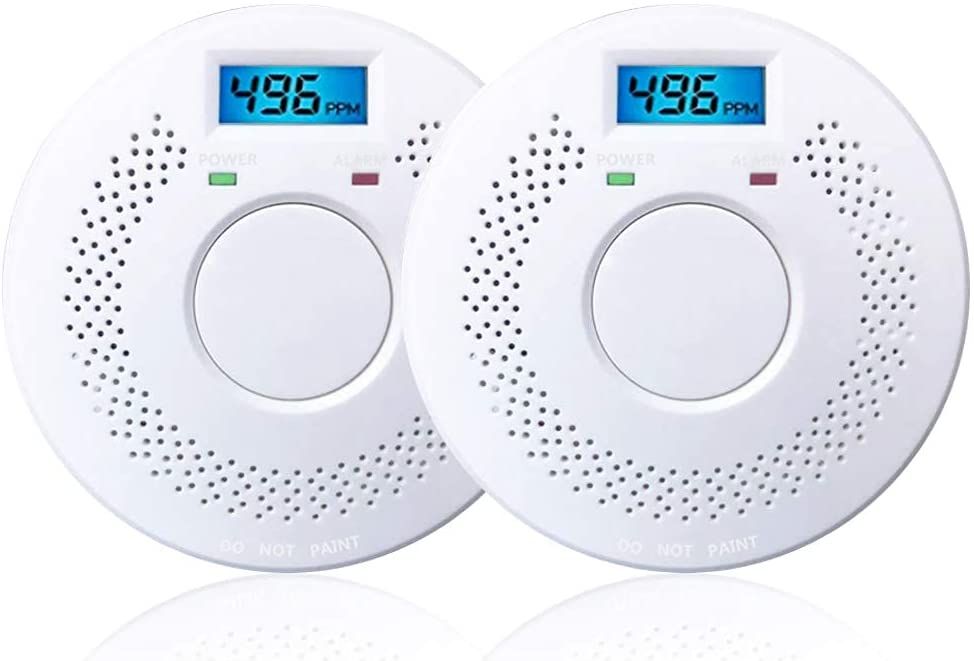
- Digital Display: A CO detector with a digital display that shows the CO concentration in parts per million (PPM) is highly beneficial. This allows you to monitor CO levels and identify potential problems before they become dangerous.
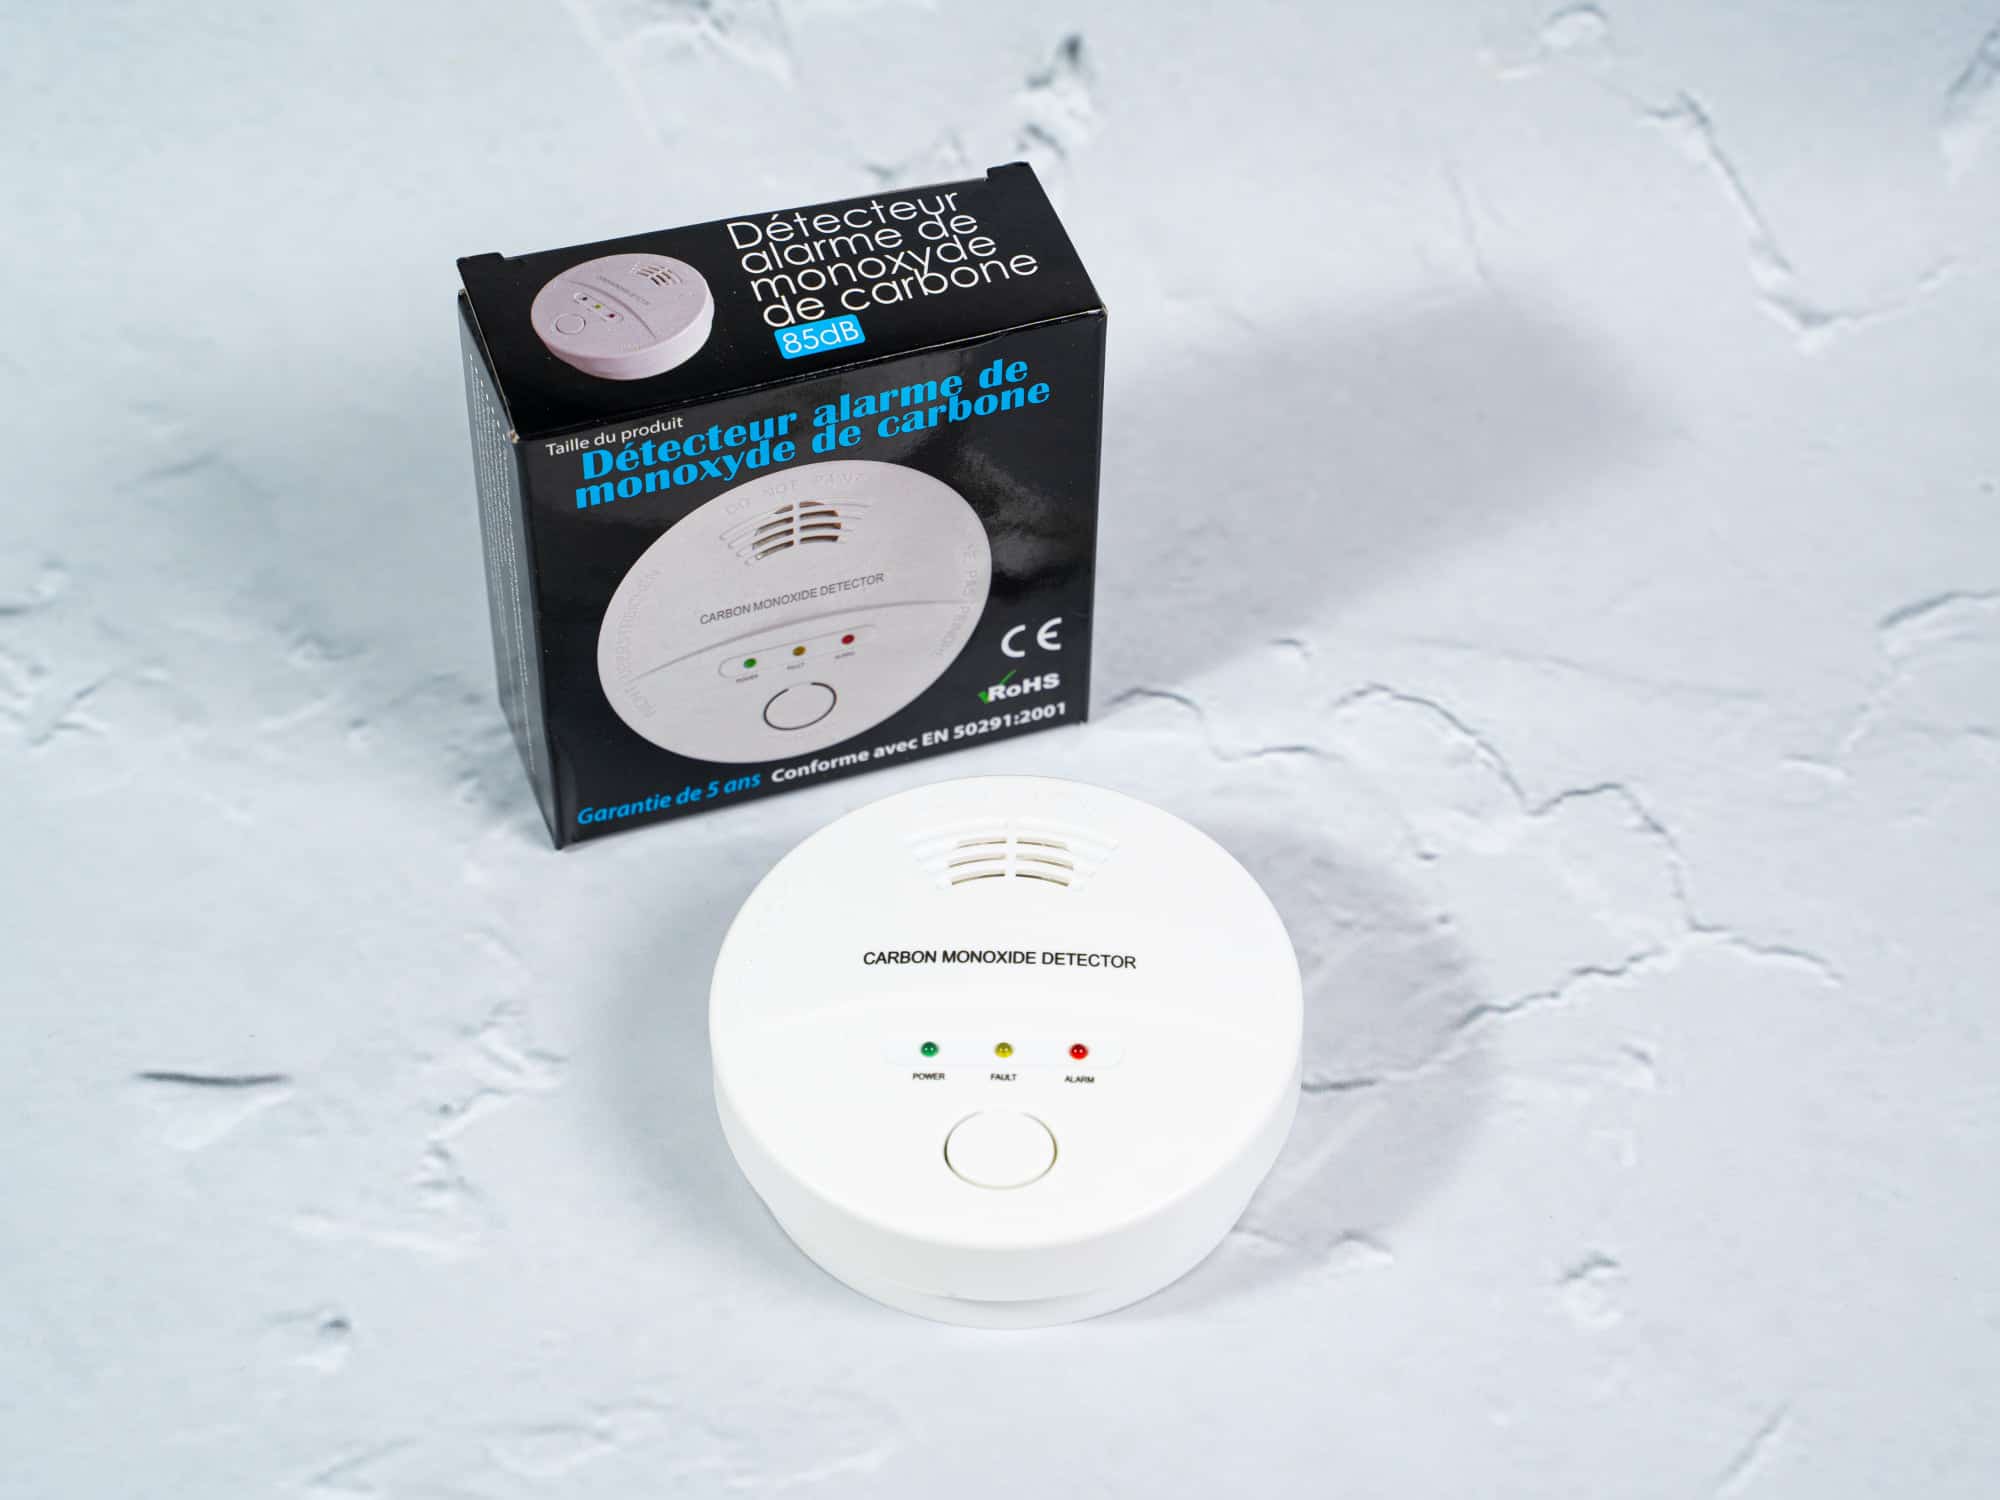
- Alarm Volume: Ensure the CO detector has a loud alarm (at least 85 decibels) that will wake you up even if you're sleeping.
- End-of-Life Warning: CO detectors have a limited lifespan (typically 5-10 years). Choose a model that provides an end-of-life warning to alert you when it's time to replace the unit.
- Features and Certifications:
- UL Certification: Look for a CO detector that is UL (Underwriters Laboratories) certified. This ensures that the detector has been tested and meets safety standards.
- Interconnectivity: Consider a CO detector that can be interconnected with other detectors in your home. This allows all detectors to alarm if one detects CO, providing whole-house protection.
- Smart Features: Some CO detectors offer smart features like smartphone notifications and remote monitoring. These can be helpful if you want to keep an eye on CO levels remotely.
Specific Recommendations
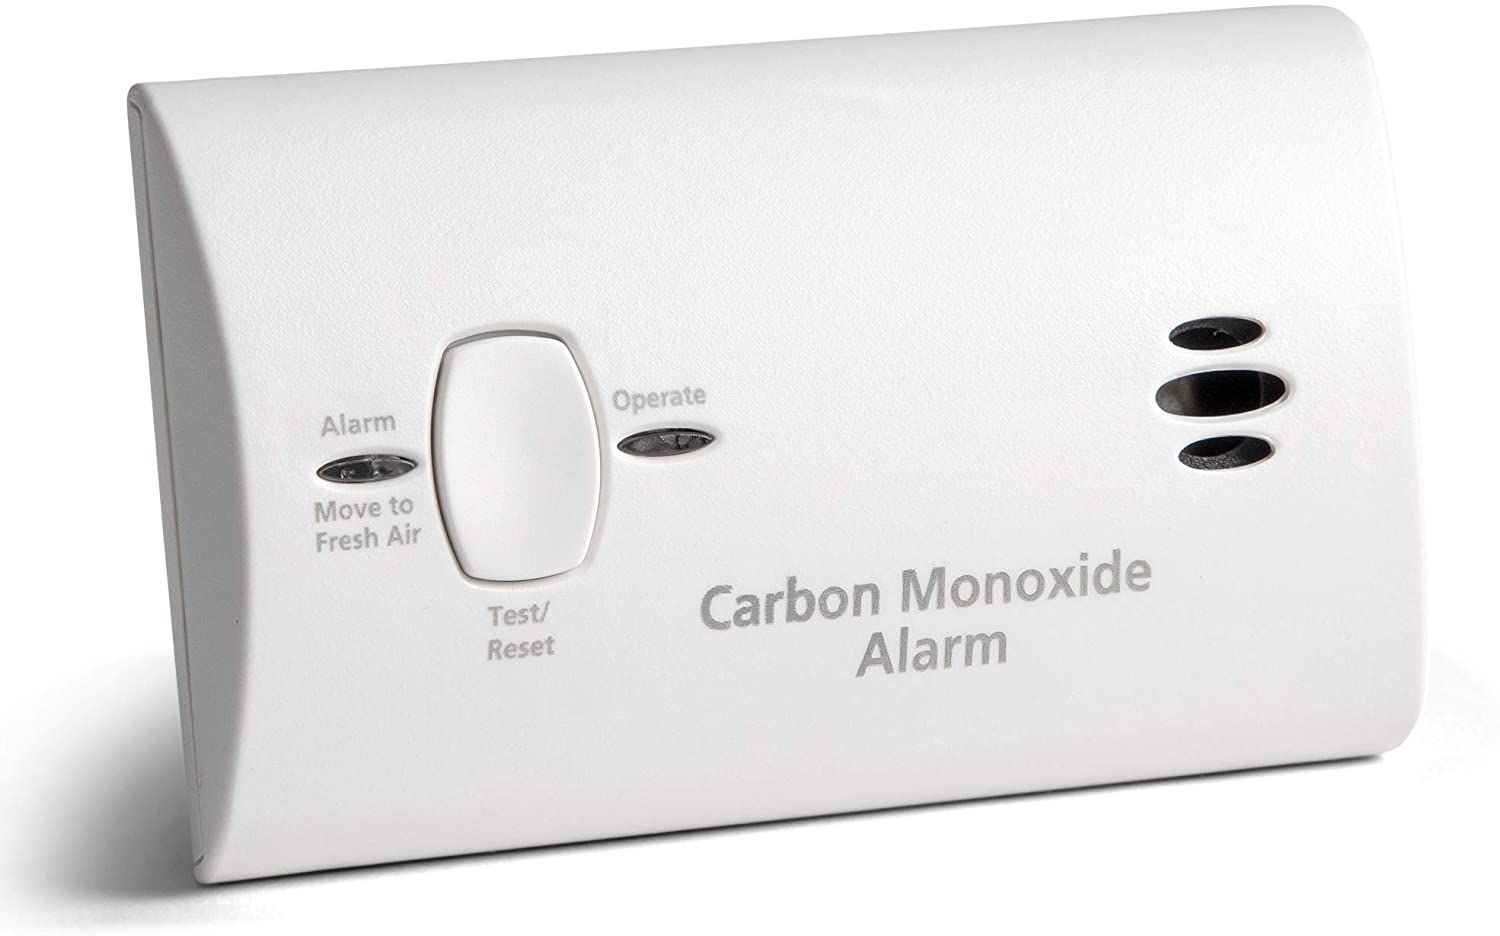
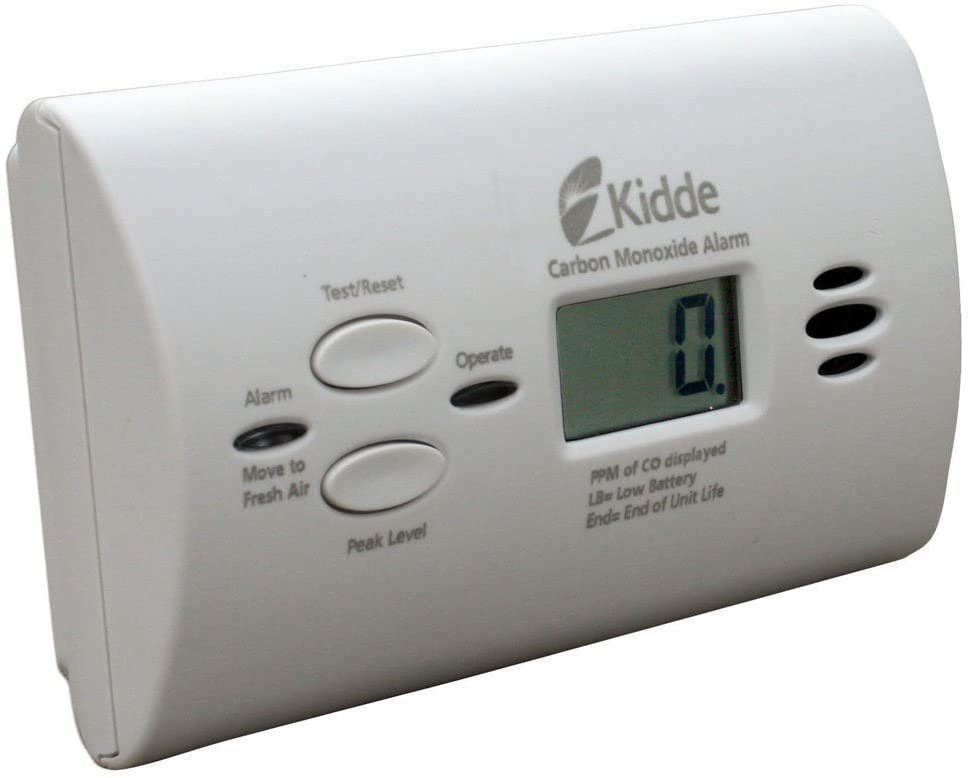
- First Alert SCO501CN-5ST: A popular choice known for its 10-year sealed battery and electrochemical sensor.
- Kidde Nighthawk XTRACare: Another reliable option with a digital display and loud alarm.
- Nest Protect (Wired or Battery): A smart CO detector with smartphone notifications and advanced features. However, consider the potentially higher cost.
Important Considerations:
- Placement: As mentioned earlier, proper placement is crucial. Install the CO detector outside the door leading from the garage into the house.
- Regular Testing: Test the CO detector monthly to ensure it's working correctly.
- Replacement: Replace the CO detector every 5-10 years, depending on the manufacturer's recommendations.
By carefully considering these factors and selecting a CO detector that meets your needs, you can significantly enhance the safety of your home and protect your family from the dangers of carbon monoxide poisoning.
By following these steps and prioritizing safety, you can often diagnose and resolve common garage heater problems yourself. Remember, knowing your limits and calling a professional when necessary is crucial for a safe and warm garage.

:max_bytes(150000):strip_icc()/Kidde-Battery-Operated-Smoke--Carbon-Monoxide-Detector-c8644729ab4d436a94c8144146e8288f.jpg)