Best In Home Air Filtration System
Many homeowners invest in in-home air filtration systems to improve indoor air quality, reduce allergens, and create a healthier living environment. However, a common frustration arises when the system seems to be running, but isn't effectively cleaning the air. You might still notice dust, lingering odors, or persistent allergy symptoms, despite having a seemingly functional air purifier.
Diagnosing a Weak or Ineffective Air Filtration System
Before assuming your unit is broken, let's systematically investigate the possible causes. This step-by-step guide will help you pinpoint the issue and potentially resolve it yourself.
Step 1: Check the Obvious – Power and Basic Functionality
This might seem basic, but it's crucial to rule out simple oversights:
- Power Cord: Ensure the unit is properly plugged into a functioning outlet. Test the outlet with another device to confirm it's providing power.
- Power Switch: Make sure the power switch is in the "on" position. Some units have multiple settings; try them all.
- Indicator Lights: Are any indicator lights illuminated? Consult your user manual to understand what these lights signify (e.g., filter replacement, low fan speed, error codes).
- Fan Operation: Listen carefully. Can you hear the fan running? If not, there might be an internal motor issue. If you don't hear the fan, proceed to Step 4 cautiously, after first unplugging the unit.
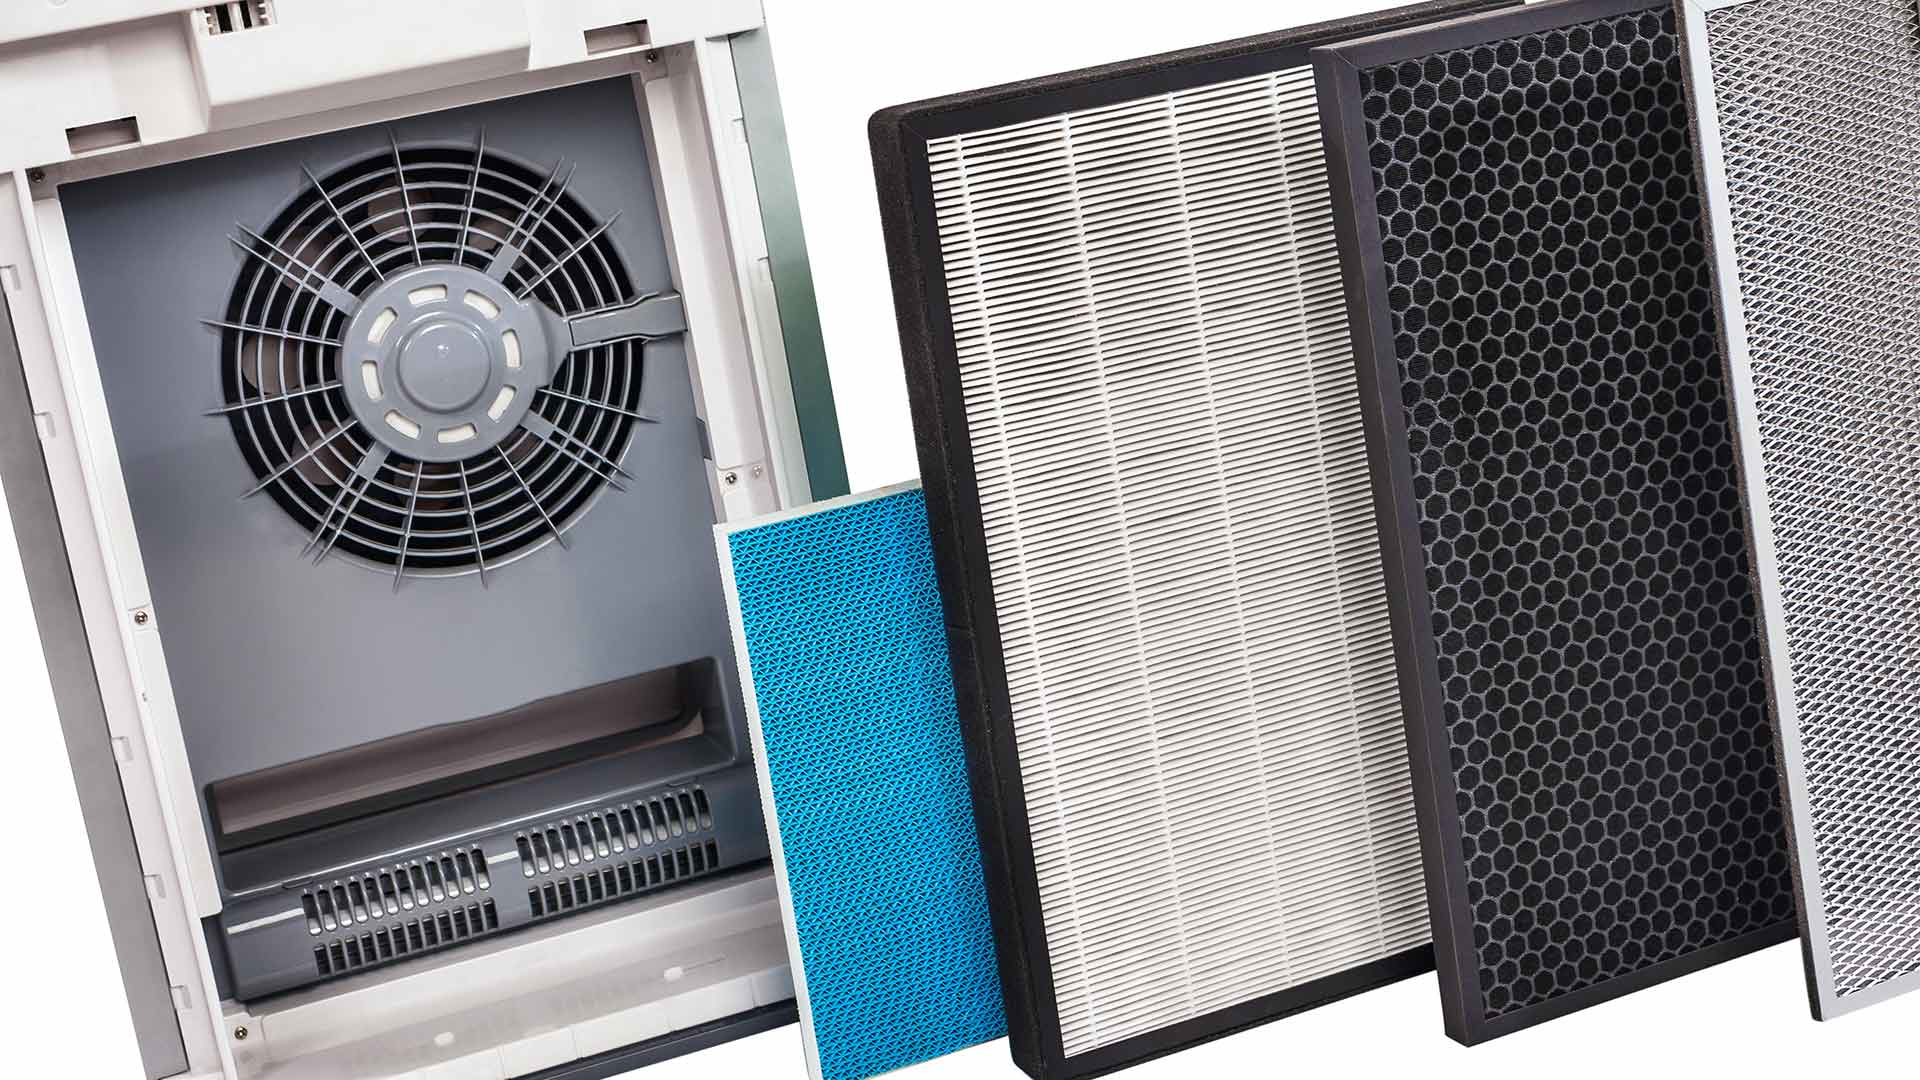
Step 2: Inspect and Replace the Filters
The most common cause of a poorly performing air purifier is a clogged or expired filter. Filters are designed to trap particles, and over time, they become saturated, restricting airflow and reducing efficiency. Ignoring this leads to the unit overworking and failing.
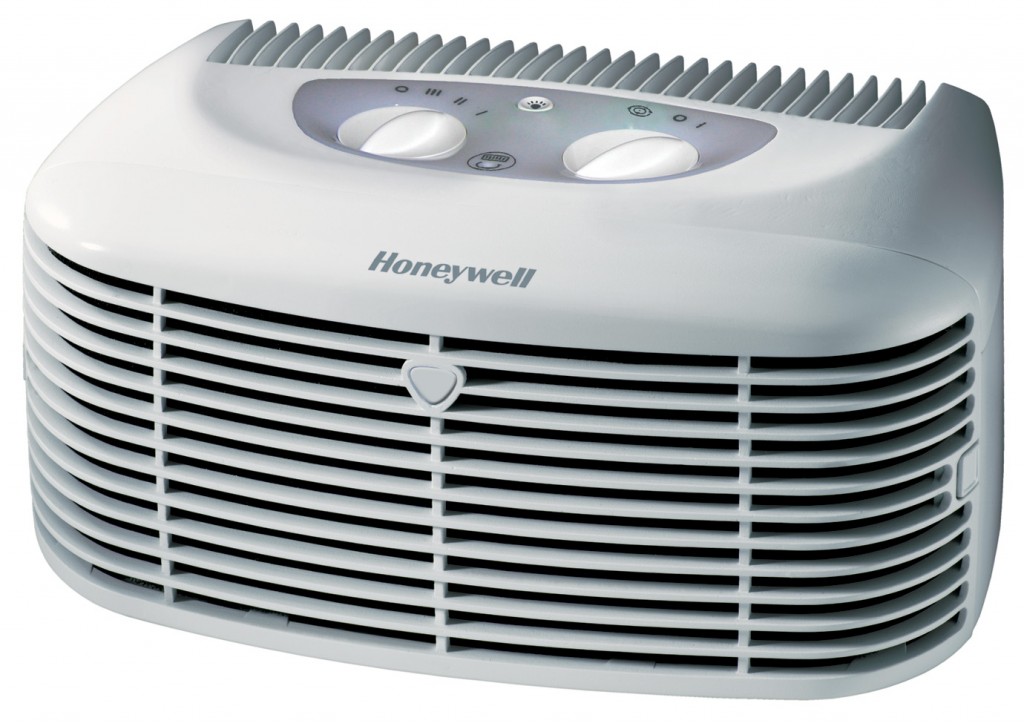
- Locate the Filters: Consult your user manual to find the location of the filters. Most air purifiers have at least one pre-filter and one main filter (often a HEPA filter). Some also include an activated carbon filter for odor removal.
- Visual Inspection: Carefully remove the filters and examine them. Are they visibly dirty? Caked with dust and debris? Compare them to a new filter of the same type. The difference should be obvious.
- Filter Replacement: If the filters are dirty, replace them with new ones according to the manufacturer's instructions. Always use the correct filter type and size specified for your model. Using an incorrect filter can damage the unit.
- Pre-Filter Cleaning (If Applicable): Some pre-filters are washable. If yours is, gently wash it with mild soap and water, allow it to dry completely, and then reinstall it. Never operate the air purifier without the pre-filter in place, as this will quickly clog the main filter.
After replacing the filters, run the air purifier at its highest setting for at least an hour. This will help to clear any residual dust or debris and allow the new filters to start working effectively.
Step 3: Check Airflow and Placement
Even with clean filters, an air purifier won't perform well if its airflow is obstructed or if it's placed in an unsuitable location.
- Obstructions: Ensure that nothing is blocking the air intake or exhaust vents of the unit. Keep it away from walls, furniture, curtains, and other objects that could restrict airflow.
- Room Size: Air purifiers are designed for specific room sizes. Using a unit that's too small for the room will result in inadequate air cleaning. Check the manufacturer's specifications to ensure your unit is appropriately sized for the space.
- Strategic Placement: Place the air purifier in a location where it can effectively circulate air throughout the room. A central location is often best. Avoid placing it in corners or behind furniture where airflow is limited. Consider areas where you spend the most time, or where allergens are most prevalent (e.g., near a pet bed, in a bedroom).
- Door and Window Management: Keep doors and windows closed as much as possible while the air purifier is running to prevent outside pollutants from entering the room and overwhelming the system.
Step 4: Investigate Unusual Noises
Unusual noises can indicate a mechanical problem. However, before you investigate internally, ALWAYS unplug the unit from the power outlet for safety.
- Rattling: Rattling noises could be caused by loose parts or debris inside the unit. Gently shake the unit (while unplugged) to see if you can dislodge anything. If you can identify and remove the debris through an accessible vent, do so carefully.
- Grinding or Squealing: These noises often indicate a problem with the fan motor. A worn bearing or other internal damage could be the culprit. Do NOT attempt to disassemble the fan motor yourself. This requires specialized knowledge and could be dangerous.
- Humming: A humming sound could indicate a problem with the electrical components. This is a serious issue that requires professional attention. Do NOT attempt to repair electrical components yourself.
Step 5: Check for Error Codes and Consult the User Manual
Many modern air purifiers have digital displays that show error codes. These codes provide valuable information about the nature of the problem. Always consult your user manual to understand the meaning of specific error codes and follow the recommended troubleshooting steps.
The user manual may also contain information about:
- Resetting the unit
- Cleaning specific components
- Replacing UV lamps (if applicable)
- Warranty information
When to Call a Professional
While many air purifier problems can be resolved with simple DIY troubleshooting, there are situations where professional help is essential. Attempting to repair complex electrical or mechanical components yourself can be dangerous and may void the warranty.
Here are some signs that it's time to call a qualified technician:
- Electrical Problems: If you suspect any electrical issues, such as humming noises, sparks, or a burning smell, disconnect the unit immediately and call a professional.
- Fan Motor Problems: If the fan is not working or making unusual grinding or squealing noises, do not attempt to repair it yourself. Fan motor repairs often require specialized tools and knowledge.
- Complex Disassembly Required: If you need to disassemble the unit beyond removing the filters or accessing easily accessible components, it's best to leave the repair to a professional.
- Persistent Error Codes: If you've tried all the recommended troubleshooting steps for a specific error code and the problem persists, it's likely a more complex issue that requires professional diagnosis and repair.
- Warranty Considerations: If your air purifier is still under warranty, attempting to repair it yourself may void the warranty. Contact the manufacturer or an authorized service center for assistance.
Preventative Maintenance for Optimal Performance
The best way to avoid air purifier problems is to perform regular preventative maintenance. Here are some tips:
- Replace Filters Regularly: Follow the manufacturer's recommendations for filter replacement. A good rule of thumb is to replace HEPA filters every 6-12 months and activated carbon filters every 3-6 months, depending on usage and air quality.
- Clean the Pre-Filter Frequently: Wash or vacuum the pre-filter regularly to prevent it from clogging the main filter.
- Wipe Down the Exterior: Wipe down the exterior of the unit with a damp cloth to remove dust and debris.
- Keep the Area Around the Unit Clear: Ensure that nothing is blocking the air intake or exhaust vents.
- Consider Air Quality: If you live in an area with high levels of air pollution or have pets, you may need to replace the filters more frequently.
Choosing the Right Air Filter
Knowing the types of air filters available is essential to address your particular need. Each filter has a specific function to consider when dealing with the air quality of a certain space.
- HEPA Filter: (High-Efficiency Particulate Air). The most popular filter type on the market, recommended by experts for its high-performance with airborne pollutants. It is great for allergens, pollen, dust, and even mold.
- Activated Carbon Filter: Great for removing odors, smoke, and volatile organic compounds (VOCs) from the air. Usually recommended for pet owners or for spaces such as the kitchen that accumulate a lot of smells during the preparation of meals.
- Pre-Filters: First line of defense, meant to capture larger particles such as dust, pet hair and larger pollutants extending the life of other filters like the HEPA or Carbon filters.
- UV-C Light Filters: These filters utilize ultraviolet (UV) light to neutralize and kill bacteria, viruses, and mold spores in the air. These are recommended for people with auto-immune diseases or anyone who needs sterile areas, such as a nursery.
By following these troubleshooting steps and performing regular maintenance, you can keep your in-home air filtration system running smoothly and effectively, ensuring a cleaner and healthier indoor environment for you and your family. Remember, when in doubt, consult a professional.