Best Rated Duct Cleaning Service Near Me
Have you noticed your home's air feeling stuffy, or are certain rooms consistently colder or warmer than others? Uneven heating and cooling is a very common problem for homeowners, and it can often stem from issues within your ductwork. Before you start searching for the "Best Rated Duct Cleaning Service Near Me," let's explore some troubleshooting steps you can take yourself. This will help you understand the problem and potentially save you money.
Diagnosing the Problem: A Step-by-Step Approach
We'll break down the diagnostic process into manageable steps. Start with the easiest checks and move to more involved inspections as needed.
Step 1: The Obvious – Check Your Filters
This is the most basic, yet often overlooked, step. A dirty air filter restricts airflow, forcing your HVAC system to work harder, leading to uneven temperatures and potentially damaging your equipment. No tools required.
- Locate your filter. It's usually near the air handler (the indoor unit) or in the return air vents (the vents that suck air in).
- Inspect the filter. Is it visibly dirty? Hold it up to the light – can you see through it easily?
- Replace the filter. A clean filter is crucial for efficient airflow. Use the correct size and type recommended by your HVAC manufacturer.
What to look for: Dust, debris, pet dander, or any visible buildup on the filter. Even if it looks relatively clean, replace it if it's been a while (typically every 1-3 months).
Step 2: Visual Inspection of Vents and Registers
Now, let's take a walk around your home and inspect each vent and register (the covers over your duct openings). No tools required.
- Airflow Strength: Feel the airflow coming from each vent. Is it consistent across all rooms? Are some vents barely pushing any air?
- Obstructions: Are any vents blocked by furniture, rugs, or curtains? Even partial blockage can significantly reduce airflow.
- Damaged Registers: Are any registers damaged or warped? This could restrict airflow or direct it in an unintended direction.
- Sealed Registers: Have any registers been intentionally sealed off? This is generally not recommended unless done by a professional, as it can unbalance your HVAC system.
What to look for: Noticeable differences in airflow between vents, any physical obstructions, and signs of damage to the registers.
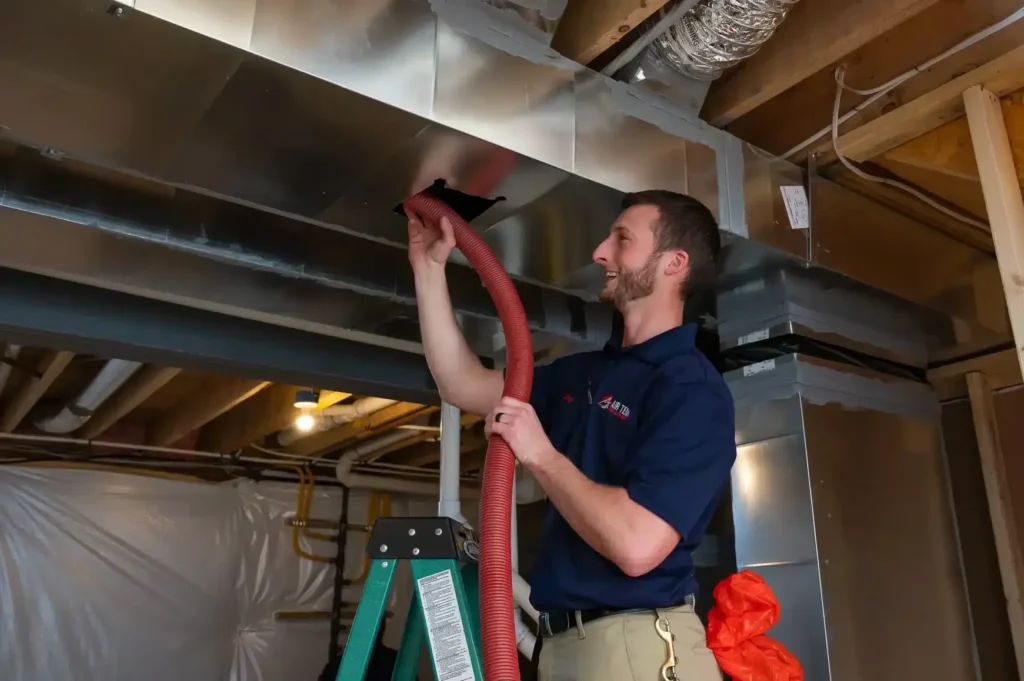
Step 3: Inspecting Visible Ductwork (Basement, Attic, Crawl Space)
This step requires a bit more effort and potentially a flashlight. We're looking for easily accessible and visible ductwork for signs of damage or leaks. Tools: Flashlight.
- Safety First: Wear appropriate clothing and safety glasses, especially when working in dusty environments like attics or crawl spaces.
- Visual Scan: Carefully examine the exposed ductwork for any visible tears, holes, or disconnections. Pay close attention to joints and seams.
- Dust Accumulation: Look for excessive dust accumulation around duct joints. This often indicates an air leak, as air is escaping and carrying dust with it.
- Insulation Condition: Check the condition of the duct insulation. Is it damaged, missing, or falling apart? Damaged insulation reduces the efficiency of your system.
What to look for: Any visible signs of damage, leaks, or compromised insulation. Large gaps or disconnections are critical to address.
Step 4: Testing Ductwork for Air Leaks (Simple DIY Test)
This simple test can help you identify significant air leaks in your ductwork. You'll need a stick of incense or a smoke pen (available at most hardware stores). Tools: Incense stick or smoke pen, lighter.
- Safety First: Be careful when using an open flame. Keep water nearby and avoid working near flammable materials.
- Turn on your HVAC System: Set your thermostat to either heating or cooling, depending on the season, and ensure the system is running.
- Introduce Smoke: Light the incense or activate the smoke pen and hold it near duct joints, seams, and any suspected leak areas.
- Observe Smoke Movement: Watch the direction of the smoke. If it's drawn towards the ductwork, it indicates an air leak.
What to look for: Obvious suction of smoke into cracks or holes in the ductwork. This indicates a significant air leak that needs to be addressed.
DIY Actions You Can Take (Safely and Effectively)
Based on your findings, here are some simple DIY actions you can take to improve your system's efficiency and airflow.
1. Replace Air Filters Regularly
As mentioned before, this is the most important and easiest step. Set a reminder to replace your air filter every 1-3 months, or more frequently if you have pets or allergies.
2. Clear Obstructions from Vents and Registers
Ensure that all vents and registers are free from obstructions. Rearrange furniture, move rugs, and trim any curtains that are blocking airflow.
3. Seal Small Duct Leaks with Duct Tape (Temporary Fix)
If you find small cracks or holes in your ductwork, you can use duct tape (specifically, foil-backed duct tape, not the cloth kind) as a temporary fix. Important: This is not a long-term solution. Duct tape can dry out and crack over time. Tools: Foil-backed duct tape.
- Clean the Area: Wipe down the area around the leak with a clean cloth to remove any dust or debris.
- Apply Duct Tape: Apply the foil-backed duct tape firmly over the leak, ensuring it's well-sealed. Overlap the tape slightly to ensure a good seal.
Note: For larger holes or significant damage, professional repair is recommended.
4. Insulate Exposed Ductwork (Simple Insulation Wrap)
If you notice that the insulation around your ductwork is damaged or missing, you can add new insulation wrap to improve energy efficiency. Tools: Insulation wrap (foil-faced), measuring tape, utility knife, foil tape.
- Measure the Ductwork: Measure the circumference and length of the ductwork you want to insulate.
- Cut the Insulation: Cut the insulation wrap to the appropriate size, adding a few extra inches for overlap.
- Wrap the Ductwork: Wrap the insulation around the ductwork, ensuring the foil side is facing outwards. Overlap the edges and secure with foil tape.
- Seal the Seams: Seal all seams and edges with foil tape to create a tight, airtight seal.
Safety Note: Wear gloves and a dust mask when working with insulation.
When to Call a Professional: Recognizing the Limits of DIY
While these DIY steps can address many common ductwork issues, some problems are best left to the professionals. Here are some signs that it's time to call a qualified HVAC technician or a reputable "Best Rated Duct Cleaning Service Near Me":
- Extensive Duct Damage: If you find significant damage to your ductwork, such as large holes, collapsed sections, or widespread rust, professional repair or replacement is necessary.
- Mold Growth: If you suspect mold growth inside your ductwork, do not attempt to clean it yourself. Mold can be hazardous to your health, and professional remediation is required.
- Asbestos: If you suspect your ductwork contains asbestos (common in older homes), do not disturb it. Contact a qualified asbestos abatement professional.
- Complex Ductwork Issues: If you've tried the DIY steps and are still experiencing uneven heating or cooling, or if you suspect a problem with the air handler or other HVAC components, it's time to call a professional.
- You're Uncomfortable or Uncertain: If you're not comfortable working in tight spaces, dealing with insulation, or handling tools, it's always best to err on the side of caution and call a professional.
- Persistent Odors: Strange or persistent odors coming from your vents can indicate a serious problem, such as mold, pests, or gas leaks. A professional can diagnose the source of the odor and recommend the appropriate solution.
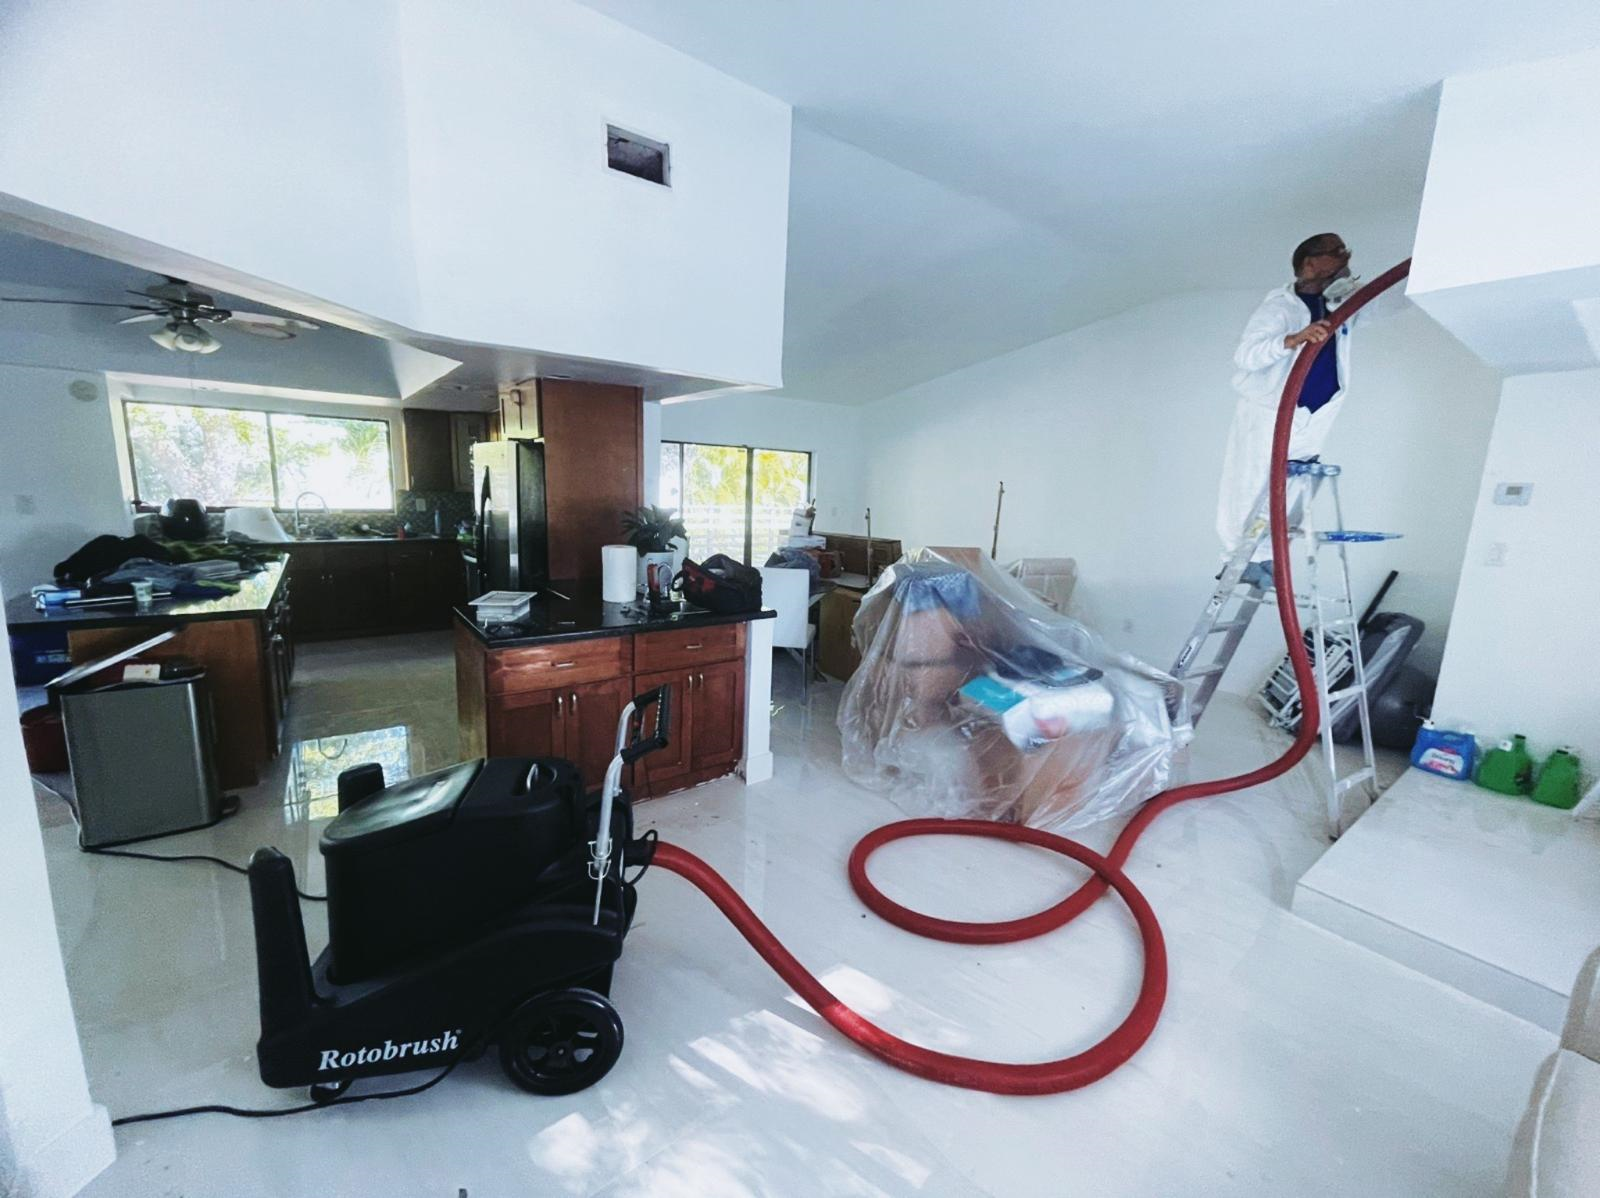
Why Consider Professional Duct Cleaning?
Even if your ductwork appears to be in good condition, it can still accumulate dust, allergens, and other contaminants over time. Professional duct cleaning can improve indoor air quality and system efficiency. However, it's important to choose a reputable company that uses proper techniques and equipment.
What to look for in a duct cleaning service:
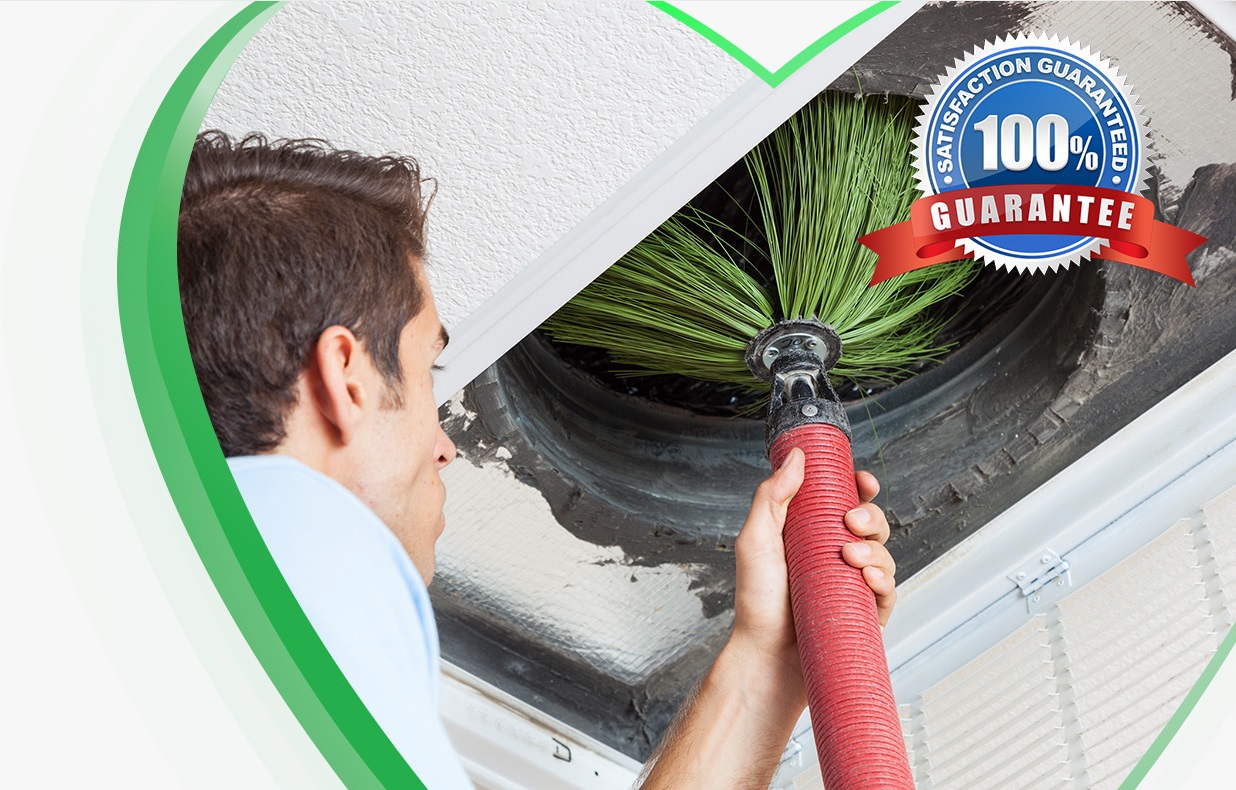
- NADCA Certification: The National Air Duct Cleaners Association (NADCA) is a professional organization that sets standards for duct cleaning. Look for a company that is NADCA certified.
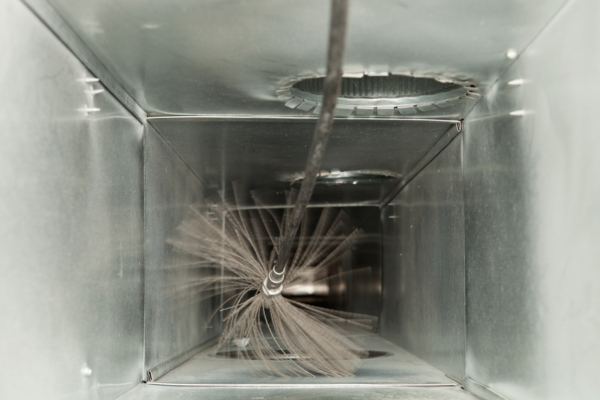
- Proper Equipment: Reputable companies use specialized equipment, such as high-powered vacuums and rotary brushes, to thoroughly clean the ductwork.
- Experience and Reputation: Check online reviews and ask for references to ensure the company has a good reputation and a track record of providing quality service.
- Clear Pricing: Get a detailed estimate of the cost of the duct cleaning service before you commit. Be wary of companies that offer extremely low prices, as they may cut corners or use substandard equipment.
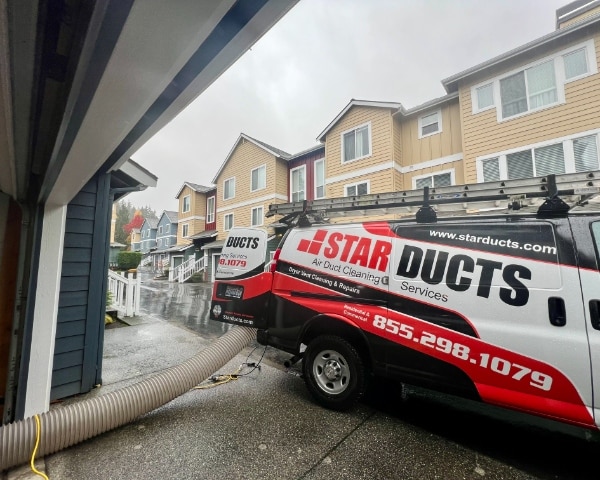
Finding the "Best Rated Duct Cleaning Service Near Me"
When searching for a duct cleaning service, don't just rely on online ads. Do your research and compare several companies before making a decision. Here are some tips:
- Ask for Recommendations: Ask friends, family, and neighbors for recommendations.
- Check Online Reviews: Read online reviews on websites like Google, Yelp, and Angie's List. Pay attention to both positive and negative reviews.
- Verify Credentials: Make sure the company is licensed and insured.
- Get Multiple Estimates: Contact several companies and get detailed estimates for the duct cleaning service.
- Ask Questions: Don't be afraid to ask questions about the company's experience, equipment, and techniques.
By following these steps, you can find a qualified and reputable duct cleaning service that will improve your indoor air quality and system efficiency.
Conclusion
Troubleshooting uneven heating and cooling can be a rewarding process. By taking the time to diagnose the problem and perform simple DIY repairs, you can improve your home's comfort and save money on energy bills. However, it's important to recognize the limits of DIY and call a professional when necessary. Remember, your safety and the proper functioning of your HVAC system are the top priorities. Good luck!