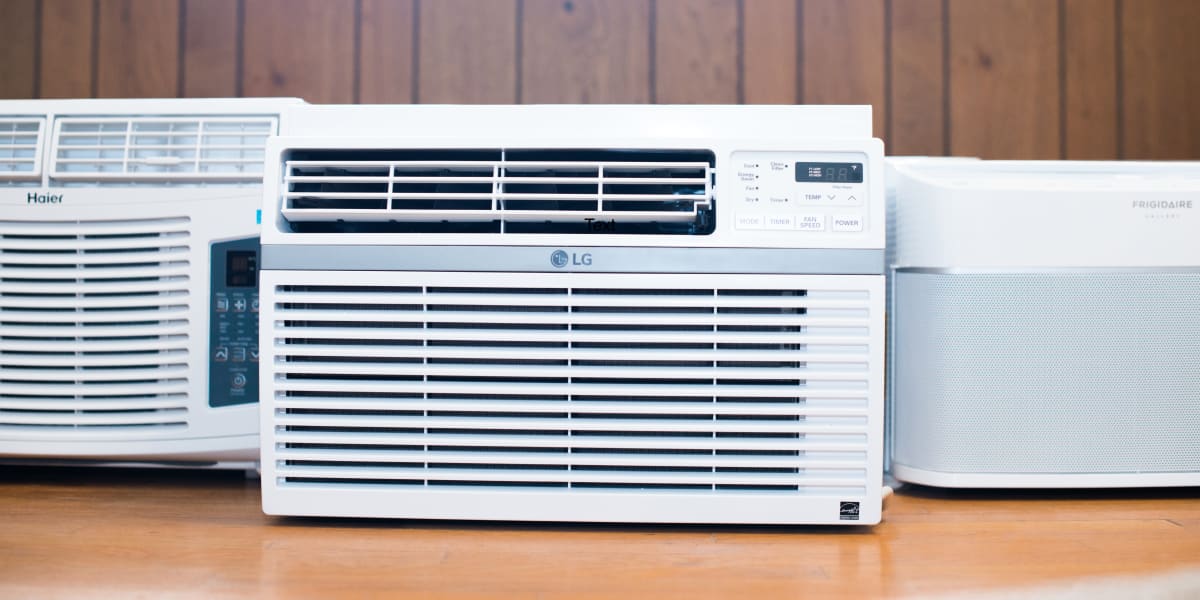
Best Rated Window Air Conditioning Units

Few things are as frustrating as a window air conditioning unit that suddenly stops working, especially during a heatwave. While some issues require professional attention, many can be resolved with simple troubleshooting steps. This guide will walk you through a methodical approach to diagnosing and potentially fixing common problems with your window AC unit. Remember, safety is paramount – if you're unsure about any step, or the repair involves electricity or complex components, always consult a qualified HVAC technician.
Common Window AC Issues & Initial Checks
Before diving into complex troubleshooting, start with the basics. Often, the problem is something simple that's easily overlooked.
Power & Basic Settings
The most common culprit is a lack of power. Here's what to check:
- Power Cord: Ensure the power cord is securely plugged into both the AC unit and the wall outlet.
- Outlet: Test the outlet with another appliance (a lamp, phone charger, etc.) to confirm it's working. If the outlet isn't working, check the circuit breaker.
- Circuit Breaker: Locate the circuit breaker for the AC unit (usually labeled) in your electrical panel. If it's tripped (in the "off" or middle position), flip it fully to the "off" position and then back to the "on" position.
- GFCI Outlet: If the AC unit is plugged into a GFCI (Ground Fault Circuit Interrupter) outlet (usually found in kitchens and bathrooms), press the "reset" button.
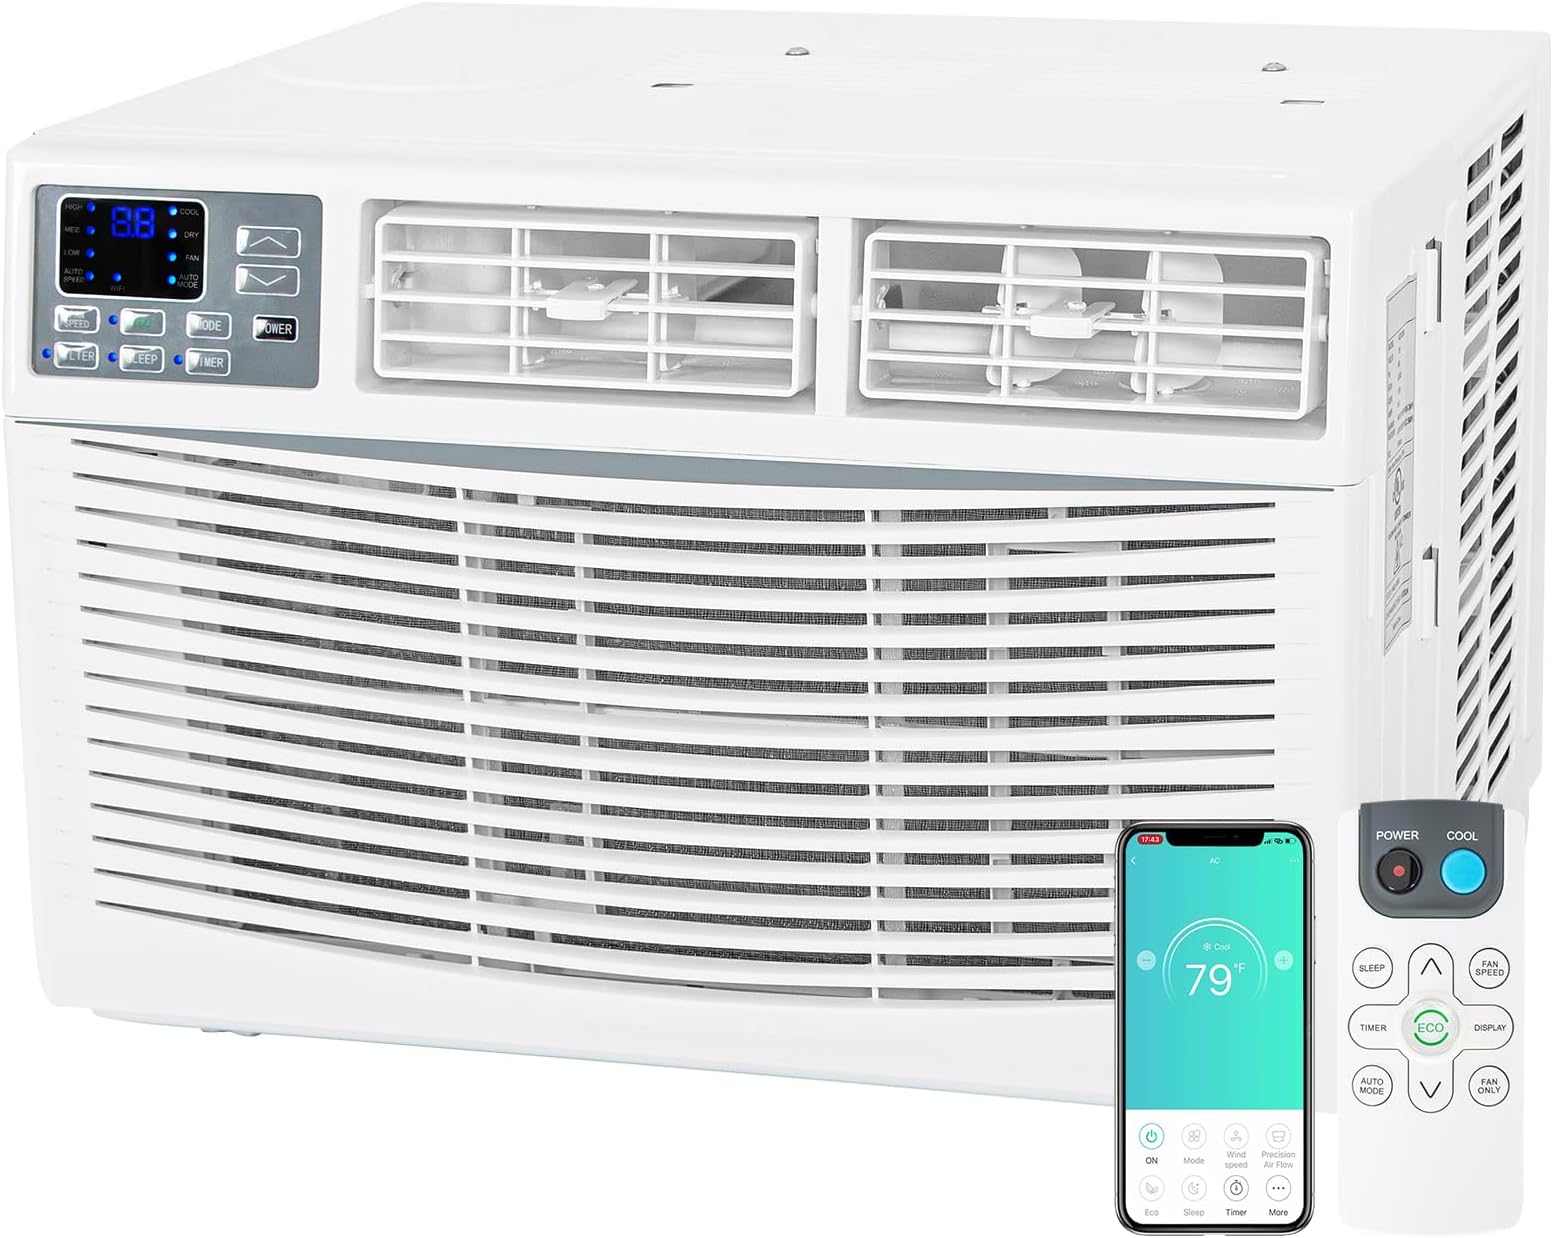
Remote Control & Unit Settings
Sometimes, the issue lies in the AC unit's settings or the remote control.
- Remote Control Batteries: Replace the batteries in the remote control. Ensure they are inserted correctly.
- Remote Control Sensor: Ensure there's a clear line of sight between the remote control and the AC unit's sensor. Obstructions can interfere with the signal.
- Mode Setting: Verify the AC unit is set to "Cool" mode and not "Fan Only" or "Heat" (if applicable).
- Temperature Setting: Make sure the temperature is set low enough that the AC unit is actually trying to cool. A setting close to the ambient room temperature won't trigger cooling.
- Timer Function: Check if a timer function is enabled. The AC unit might be programmed to turn off at a certain time.
- Sleep Mode: Some AC units have a sleep mode that gradually increases the temperature. Make sure this isn't causing the perceived lack of cooling.
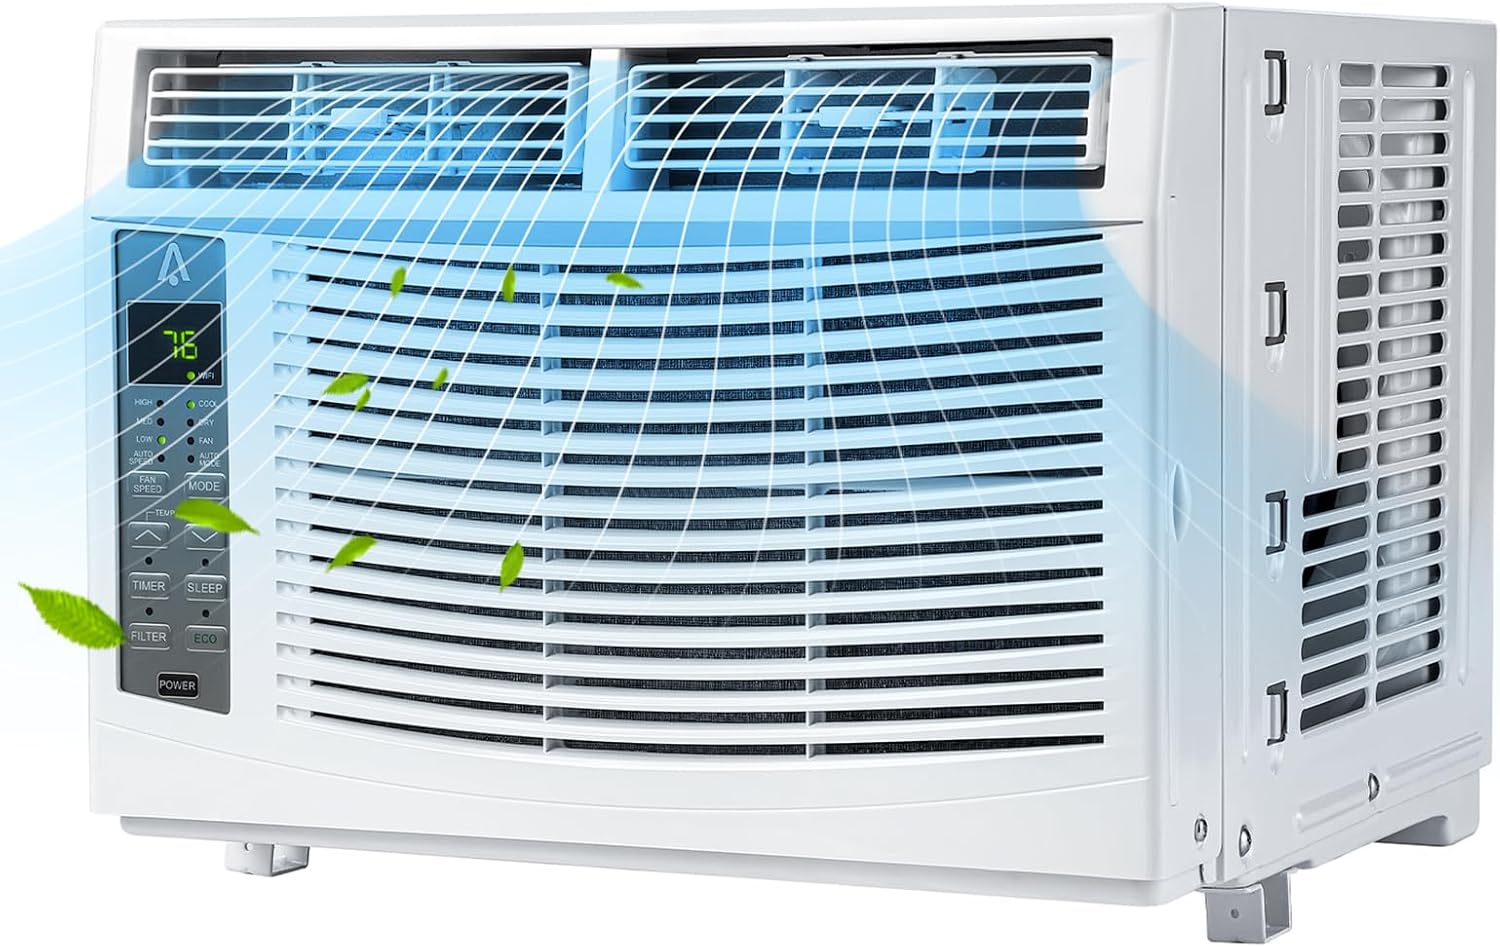
Airflow Obstructions
Restricted airflow can significantly reduce the AC unit's cooling efficiency.
- Air Filter: This is the most common cause of poor cooling. A dirty air filter restricts airflow, forcing the AC unit to work harder and potentially overheat. Always start by cleaning or replacing the air filter. Instructions for removing and cleaning the filter are usually found in the owner's manual. If the filter is washable, clean it with mild soap and water, allow it to dry completely, and then reinstall it. If it's a disposable filter, replace it with a new one of the correct size.
- External Obstructions: Ensure that the outside of the AC unit is not blocked by plants, furniture, or other objects. Keep at least 2 feet of clear space around the unit for proper ventilation.
- Inside Vents: Check the vents inside your room to ensure they are not blocked by curtains, furniture, or other items.
Troubleshooting Specific Issues
If the initial checks don't resolve the problem, you may need to investigate further. Here are some troubleshooting steps for specific issues.
AC Unit Not Cooling
If the AC unit is running but not cooling, consider these possibilities:
- Dirty Condenser Coils: The condenser coils are located on the outside of the AC unit and dissipate heat. Over time, they can become covered in dirt and debris, reducing their efficiency. Unplug the AC unit before attempting to clean the condenser coils. Use a soft brush attachment on a vacuum cleaner to gently remove dirt and debris. You can also use a fin comb to straighten any bent fins. Be careful not to damage the coils. If the coils are heavily soiled, you may need to use a coil cleaner specifically designed for AC units. Follow the instructions on the cleaner carefully.
- Frozen Evaporator Coils: If the evaporator coils (located inside the AC unit) freeze over, the AC unit will not cool properly. This can be caused by restricted airflow (a dirty air filter is a common cause) or low refrigerant. Turn off the AC unit and allow the ice to melt completely. This may take several hours. Once the ice has melted, clean or replace the air filter and ensure there is adequate airflow around the unit. If the problem persists, it may indicate a refrigerant leak, which requires professional repair.
- Refrigerant Leak: Refrigerant is essential for the cooling process. If the refrigerant is leaking, the AC unit will not cool effectively. A refrigerant leak is a serious issue that requires professional attention. Do not attempt to repair a refrigerant leak yourself. Refrigerant is a hazardous substance, and handling it requires specialized equipment and training.
- Compressor Failure: The compressor is the heart of the AC unit. If it fails, the AC unit will not cool. Compressor failure is a complex issue that requires professional diagnosis and repair. Replacing a compressor is usually expensive and may not be cost-effective for an older AC unit.
AC Unit is Leaking Water
Some water condensation is normal, but excessive leaking can indicate a problem.
- Clogged Drain: Window AC units have a drain to remove condensation. If the drain becomes clogged, water can leak inside. Unplug the AC unit. Locate the drain hole (usually on the back or bottom of the unit). Use a small wire or pipe cleaner to clear the drain. You can also try using a wet/dry vacuum to suck out any debris.
- Improper Installation: If the AC unit is not properly tilted, water can accumulate inside and leak. Ensure the AC unit is tilted slightly downward towards the outside to allow water to drain properly.
- Damaged Drain Pan: The drain pan collects condensation. If it's cracked or damaged, water can leak. A damaged drain pan may need to be replaced. This might be a repair best left to a professional, depending on the unit's design.
AC Unit is Noisy
Excessive noise can be a sign of a problem. Here's what to check:
- Loose Parts: Check for loose screws or panels that may be vibrating. Tighten any loose hardware.
- Fan Blades: Inspect the fan blades for damage or obstructions. Bent or broken fan blades can cause excessive noise. Unplug the AC unit before inspecting the fan blades. Remove any obstructions and carefully straighten any bent blades. If the blades are severely damaged, they may need to be replaced.
- Motor Bearings: Worn motor bearings can cause a grinding or squealing noise. Lubricating the motor bearings may help. However, this is a repair that is best left to a professional, as it requires disassembling the AC unit.
- Vibration: Ensure the AC unit is properly supported and not vibrating against the window frame or other surfaces. Use foam padding or shims to dampen vibrations.
AC Unit Won't Turn On
If the AC unit won't turn on at all, revisit the basic power checks and consider these points:
- Power Cord Damage: Carefully inspect the power cord for any signs of damage, such as cuts, fraying, or exposed wires. Never use an AC unit with a damaged power cord. Replace the power cord or consult a qualified electrician. This is a safety issue and should not be ignored.
- Thermal Overload Protector: Some AC units have a thermal overload protector that shuts off the unit if it overheats. If the AC unit has overheated, the protector may need to be reset. Consult the owner's manual for instructions on how to reset the thermal overload protector. Unplug the AC unit before attempting to reset the protector.
- Control Board Failure: The control board is the brain of the AC unit. If it fails, the AC unit will not turn on. Control board failure is a complex issue that requires professional diagnosis and repair.
- Capacitor Failure: Capacitors help start the compressor and fan motor. If a capacitor fails, the unit may not start. This repair requires electrical knowledge and should be done by a qualified technician. Capacitors can hold an electrical charge even after the unit is unplugged, posing a shock hazard.
When to Call a Professional
While many window AC unit problems can be resolved with basic troubleshooting, some repairs are best left to the professionals. Call a qualified HVAC technician if:
- You are uncomfortable working with electricity.
- The problem involves refrigerant.
- The problem involves complex components such as the compressor, control board, or motor.
- You are unsure about any step of the repair process.
- The AC unit is still under warranty.
- The problem persists after attempting basic troubleshooting steps.
By following these troubleshooting steps, you can often diagnose and fix common problems with your window AC unit, saving you time and money. Remember to always prioritize safety and consult a professional when necessary.


:max_bytes(150000):strip_icc():focal(749x0:751x2)/frigidaire-6000-btu-window-air-conditioner-576eba81e84640f49c0f1434a749de60.jpg)

:max_bytes(150000):strip_icc()/Best-window-air-conditioners-ffc2de9748b44340aa7408eaede788c3.jpg)
:max_bytes(150000):strip_icc():focal(749x0:751x2)/rovsun-5000-btu-window-air-conditioner-c8dda13a6ee24610830bf77fbd7d2ee8.jpg)