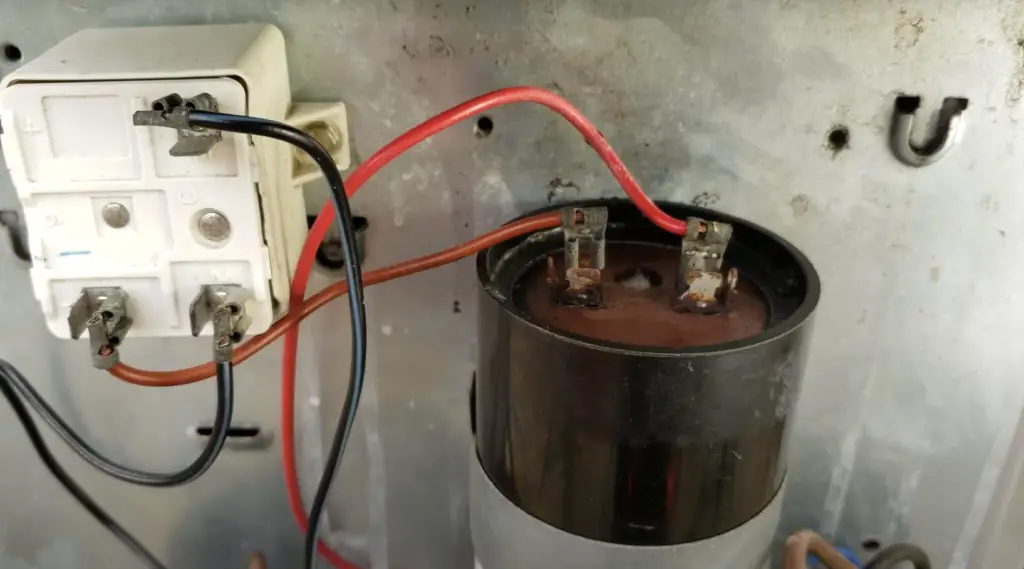
Blower Motor Capacitor Symptoms
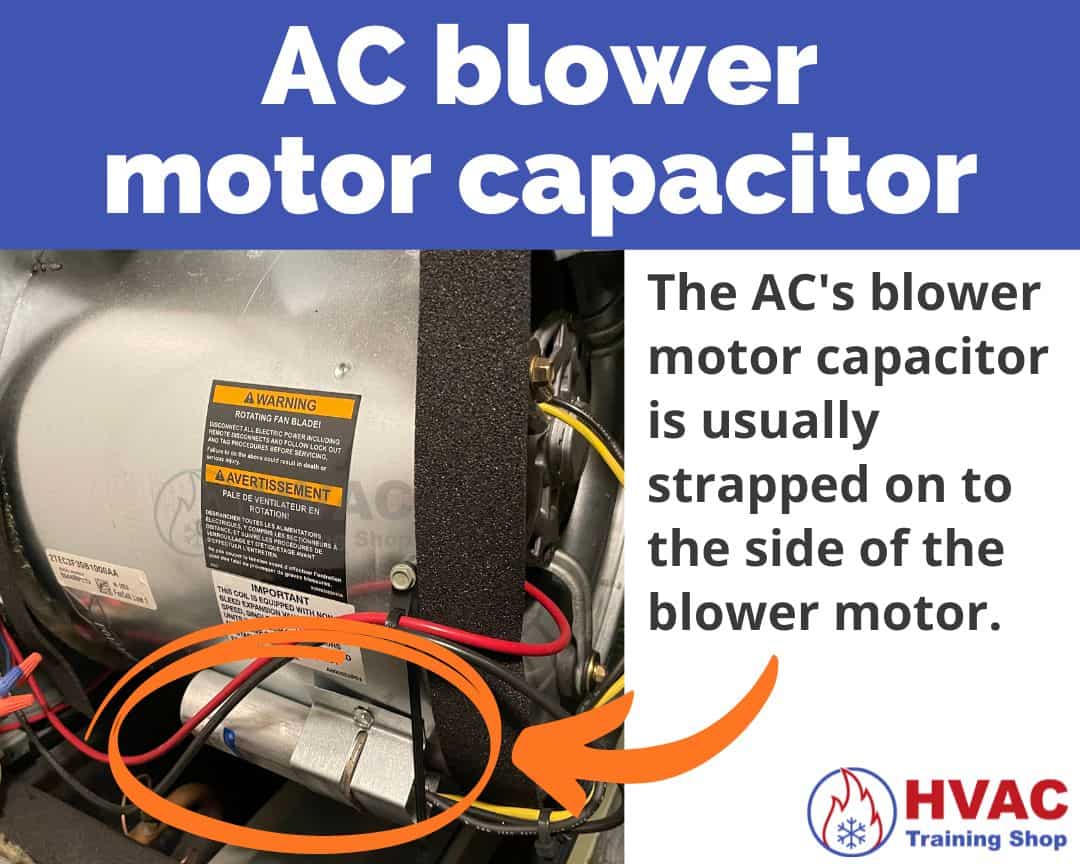
The blower motor capacitor is a small but crucial component in your HVAC system. It provides the initial jolt of energy needed to get your blower motor spinning, which is essential for circulating air throughout your home, whether it's heated or cooled. When this capacitor starts to fail, you'll notice several performance issues. Identifying these symptoms early can save you from a complete system breakdown and potentially costly repairs.
Understanding the Blower Motor Capacitor
Think of the capacitor as a rechargeable battery specifically designed for short bursts of high power. It stores energy and releases it to the blower motor during startup. Over time, capacitors degrade due to heat, age, and voltage fluctuations. This degradation leads to a decreased ability to provide that initial energy boost, resulting in the symptoms we'll discuss.
Common Blower Motor Capacitor Symptoms
Recognizing the signs of a failing capacitor is the first step towards addressing the problem. Here are the most common indicators:
- Humming Noise: A faint humming sound coming from your HVAC unit, particularly when it's trying to start, often indicates the motor is struggling to turn. The capacitor may be failing to provide enough power to overcome the initial inertia.
- Slow Starting or Failure to Start: The blower motor might start very slowly, or it might not start at all. You might hear clicking sounds as the system tries to engage the motor.
- Blower Fan Stops Intermittently: The blower fan might run for a while and then suddenly stop, only to start again later. This erratic behavior is a strong sign of a capacitor issue.
- Increased Energy Bills: A struggling blower motor draws more power as it tries to compensate for the failing capacitor. This inefficiency translates to higher energy bills.
- Overheating Motor: A failing capacitor can cause the blower motor to work harder and overheat. You might notice a burning smell coming from the unit. If you smell burning, immediately turn off the system.
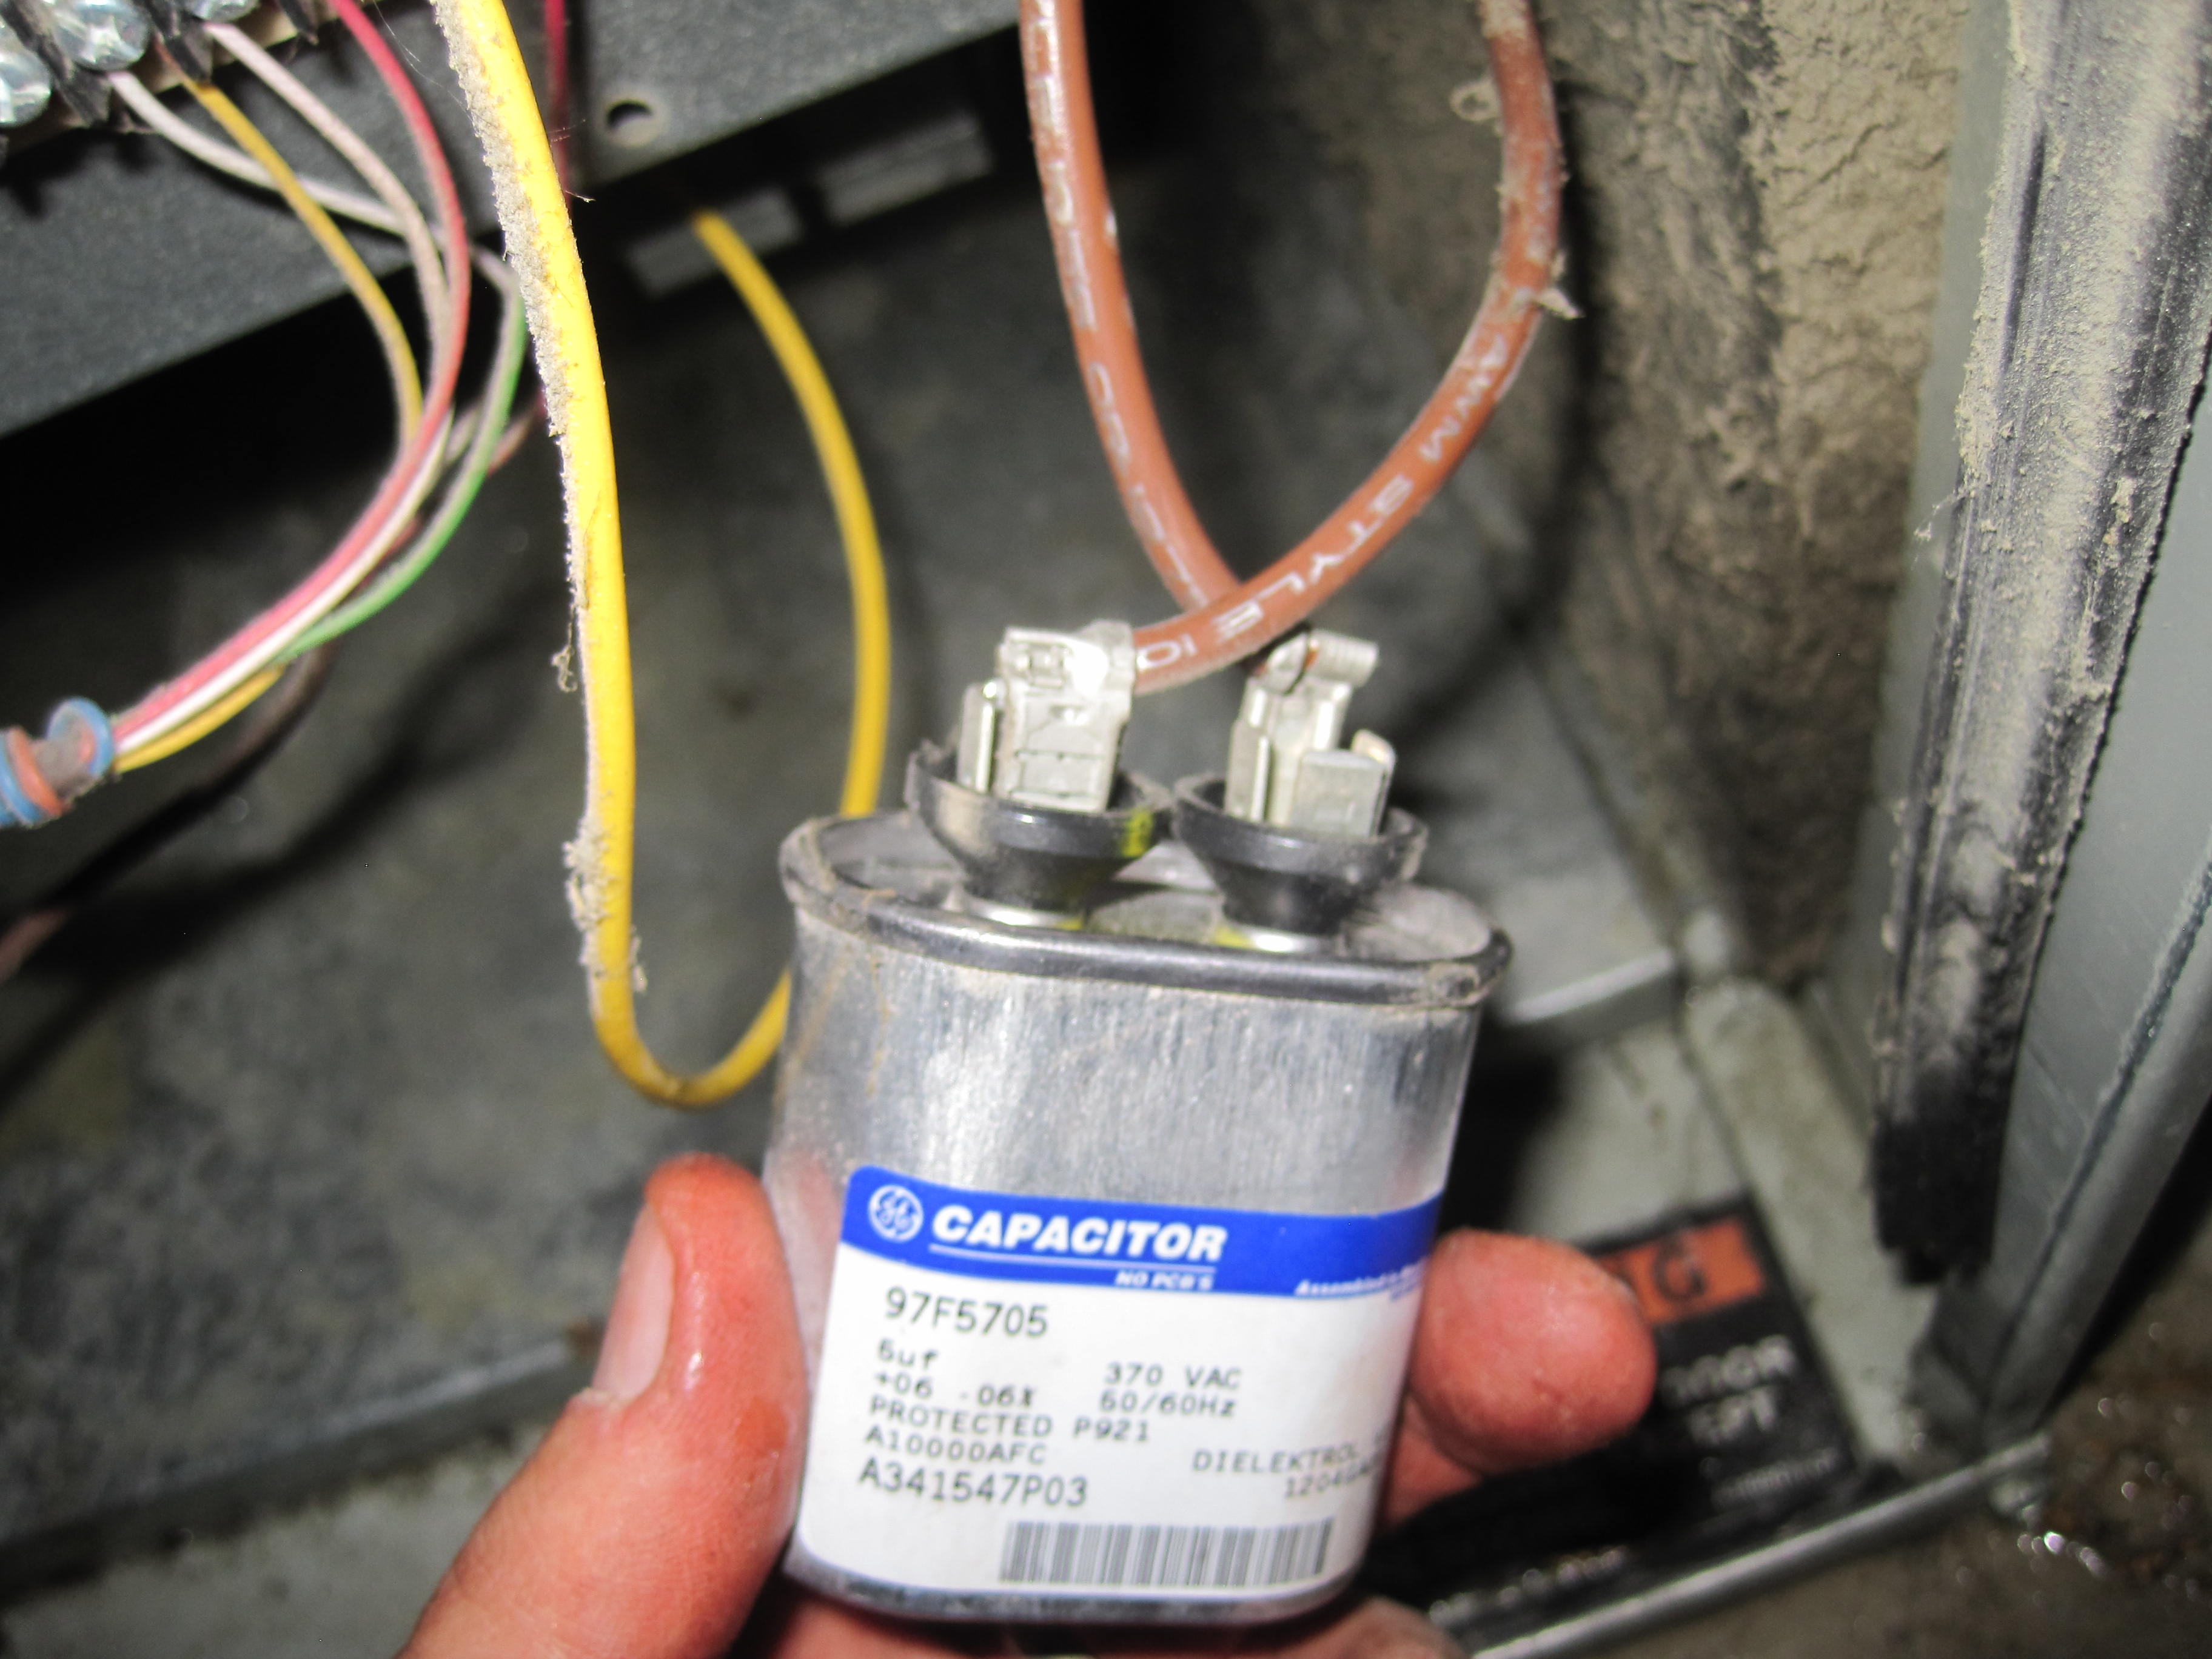
- Visible Capacitor Damage: If you're comfortable inspecting the capacitor (after safely disconnecting power!), look for signs of bulging, leaking, or corrosion. These are clear indicators of a failed capacitor.
Diagnosing a Faulty Capacitor
Before replacing any parts, it's important to confirm that the capacitor is indeed the culprit. Here's how you can troubleshoot the issue:
Tools You'll Need:
- Multimeter with Capacitance Function: This is essential for testing the capacitor's microfarad (µF) rating.
- Screwdrivers: Assorted sizes for opening the HVAC unit and accessing the capacitor.
- Needle-Nose Pliers: For safely disconnecting wires.
- Safety Glasses: Always protect your eyes.
- Gloves: Insulated gloves are recommended.
- Voltage Tester: To verify power is disconnected.
Step-by-Step Diagnostic Procedure:
- Safety First! Turn off the power to your HVAC unit at the breaker box. Double-check with a voltage tester to ensure the power is completely off.
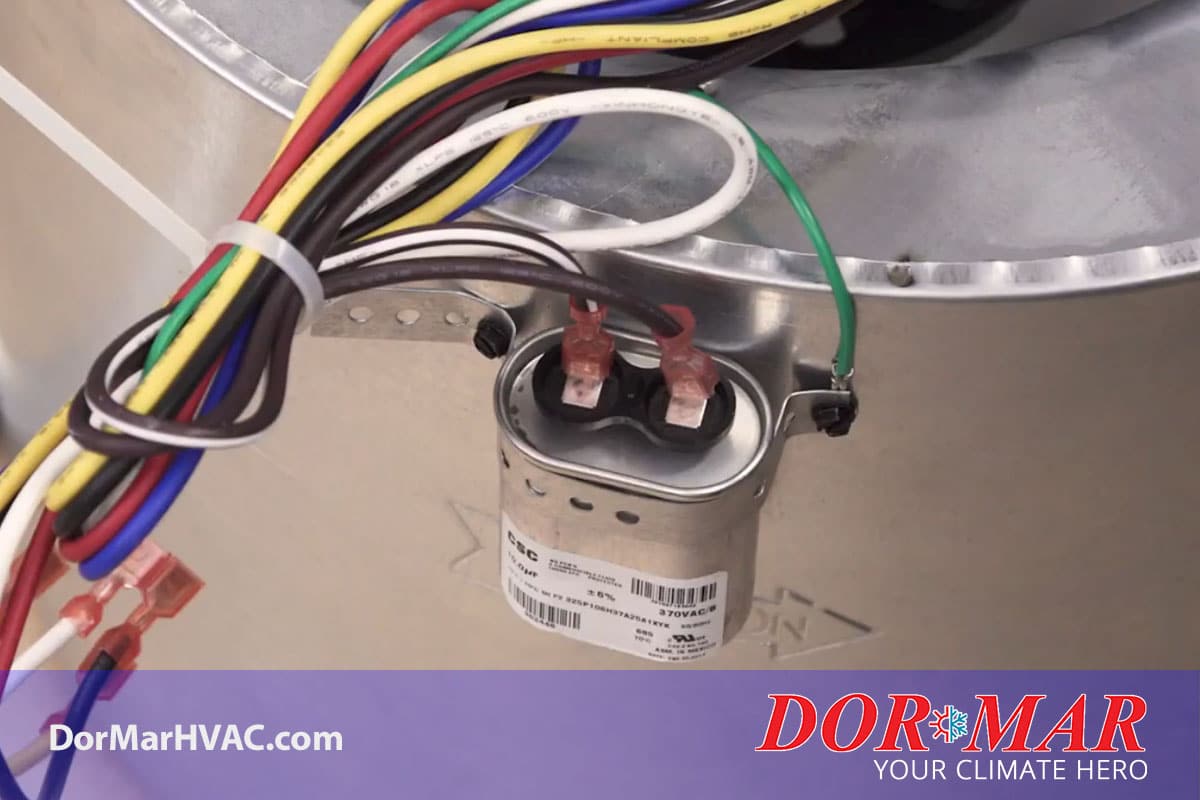
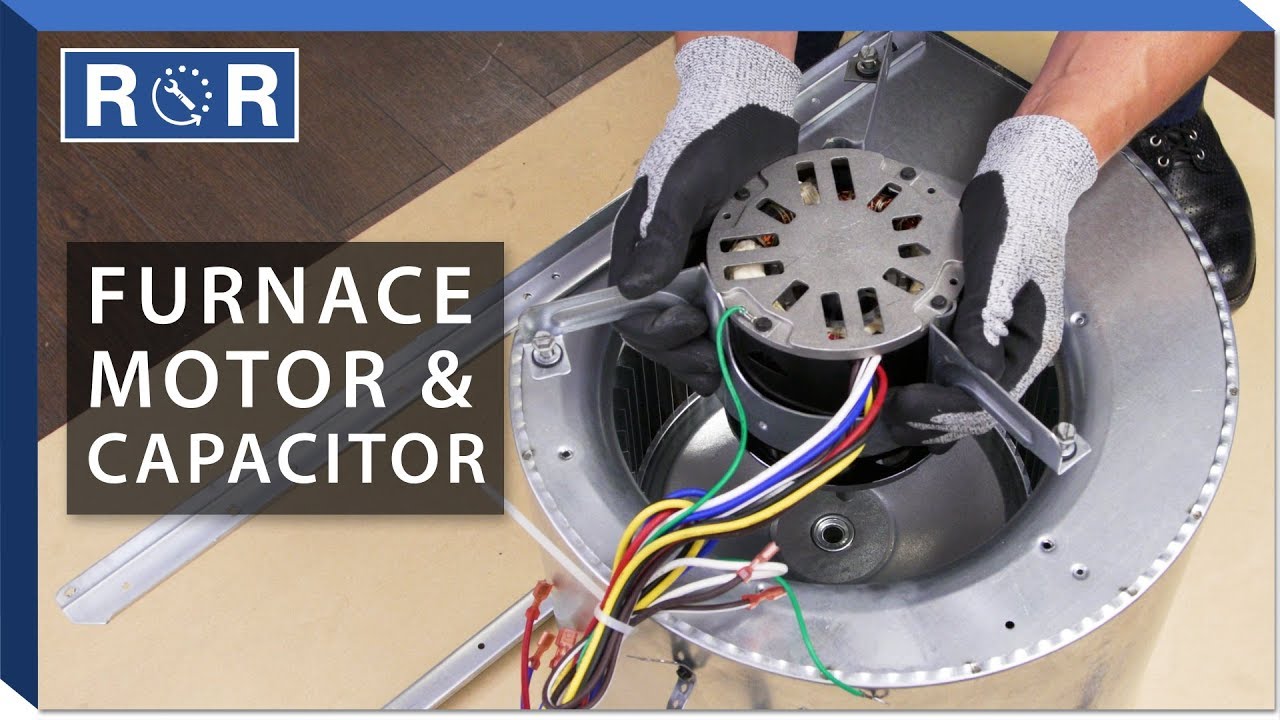
- Locate the Capacitor: The capacitor is usually found within the control panel of your HVAC unit, often near the blower motor. It's a cylindrical component, typically white, gray, or black.
- Discharge the Capacitor: This is crucial! Capacitors store electricity even when the power is off. Use a screwdriver with an insulated handle to carefully short the terminals of the capacitor. Touch the screwdriver blade to both terminals simultaneously. You might see a small spark. This discharges the capacitor.
- Disconnect the Wires: Use needle-nose pliers to carefully disconnect the wires attached to the capacitor terminals. Take a picture or label the wires to ensure you reconnect them correctly later.
- Test the Capacitance: Set your multimeter to the capacitance (µF) setting. Connect the multimeter probes to the capacitor terminals. Read the capacitance value displayed on the multimeter.
- Compare to Rating: Compare the measured capacitance value to the capacitor's rated value, which is printed on the capacitor itself. If the measured value is significantly lower (usually more than 10-20% below the rated value), the capacitor is likely failing and needs to be replaced.
Replacing the Blower Motor Capacitor
If your testing confirms that the capacitor is faulty, you can proceed with replacing it. Here's how:
Parts You'll Need:
- New Capacitor: Ensure the replacement capacitor has the same microfarad (µF) rating and voltage rating as the original. Using the wrong capacitor can damage your blower motor.
Step-by-Step Replacement Procedure:
- Safety First! Double-check that the power is still off at the breaker.
- Install the New Capacitor: Connect the wires to the new capacitor terminals, matching the picture or labels you made earlier. Connecting the wires incorrectly can damage the capacitor and the blower motor.
- Secure the Capacitor: Ensure the capacitor is properly secured in its mounting bracket.
- Restore Power: Turn the power back on at the breaker box.
- Test the System: Turn on your HVAC system and observe the blower motor. It should start smoothly and run without any unusual noises.
When to Call a Professional
While replacing a blower motor capacitor can be a relatively straightforward DIY project, there are situations where it's best to call a qualified HVAC technician:
- You're Uncomfortable Working with Electricity: Electricity can be dangerous. If you're not confident in your electrical skills, leave the repair to a professional.
- You Can't Identify the Correct Capacitor: Using the wrong capacitor can damage your HVAC system. A technician can ensure you get the right part.
- The Blower Motor is Also Damaged: If the blower motor is also making strange noises, overheating, or showing signs of damage, it might need to be replaced along with the capacitor. This is a more complex repair that requires specialized knowledge and tools.
- You Suspect Other Issues: If you've replaced the capacitor and the blower motor still isn't working correctly, there might be other problems with your HVAC system, such as a faulty control board or wiring issues.
- Warranty Concerns: Replacing parts yourself might void your HVAC system's warranty. Check your warranty terms before attempting any repairs.
Estimated Repair Costs
The cost of replacing a blower motor capacitor can vary depending on several factors, including the type of capacitor, your location, and whether you hire a professional.
- DIY Replacement: If you replace the capacitor yourself, the cost will primarily be for the part itself. Blower motor capacitors typically range from $10 to $50.
- Professional Replacement: If you hire an HVAC technician, the cost will include the part, labor, and a service call fee. Expect to pay anywhere from $100 to $300 for a professional capacitor replacement.
Important Note: These are just estimates. Get a quote from a qualified HVAC technician for a more accurate price.
Preventative Maintenance
While capacitors eventually fail due to age and wear, you can extend their lifespan with regular HVAC maintenance:
- Regularly Change Air Filters: Clogged air filters restrict airflow, causing the blower motor to work harder and potentially overheat the capacitor.
- Clean the Blower Motor: Dust and debris can accumulate on the blower motor, reducing its efficiency and causing it to overheat.
- Schedule Professional HVAC Tune-Ups: A professional technician can inspect your HVAC system, identify potential problems early, and perform preventative maintenance to keep your system running smoothly.
Conclusion
Recognizing the symptoms of a failing blower motor capacitor can help you address the problem quickly and avoid more serious HVAC issues. By following the diagnostic and replacement procedures outlined in this article, you can potentially save money and keep your home comfortable. However, always prioritize safety and don't hesitate to call a qualified HVAC technician if you're unsure about any aspect of the repair.