Can A Freon Leak Be Repaired
Imagine this: It's a sweltering summer day, and your air conditioner is struggling to keep up. You notice the house is warmer than usual, and the unit seems to be running constantly. Eventually, you might suspect the dreaded: a freon leak. But can a freon leak be repaired? The answer is complex, and this article will guide you through understanding the issue, attempting some basic troubleshooting, and knowing when to call in the pros.
Understanding the Freon (Refrigerant) Leak Dilemma
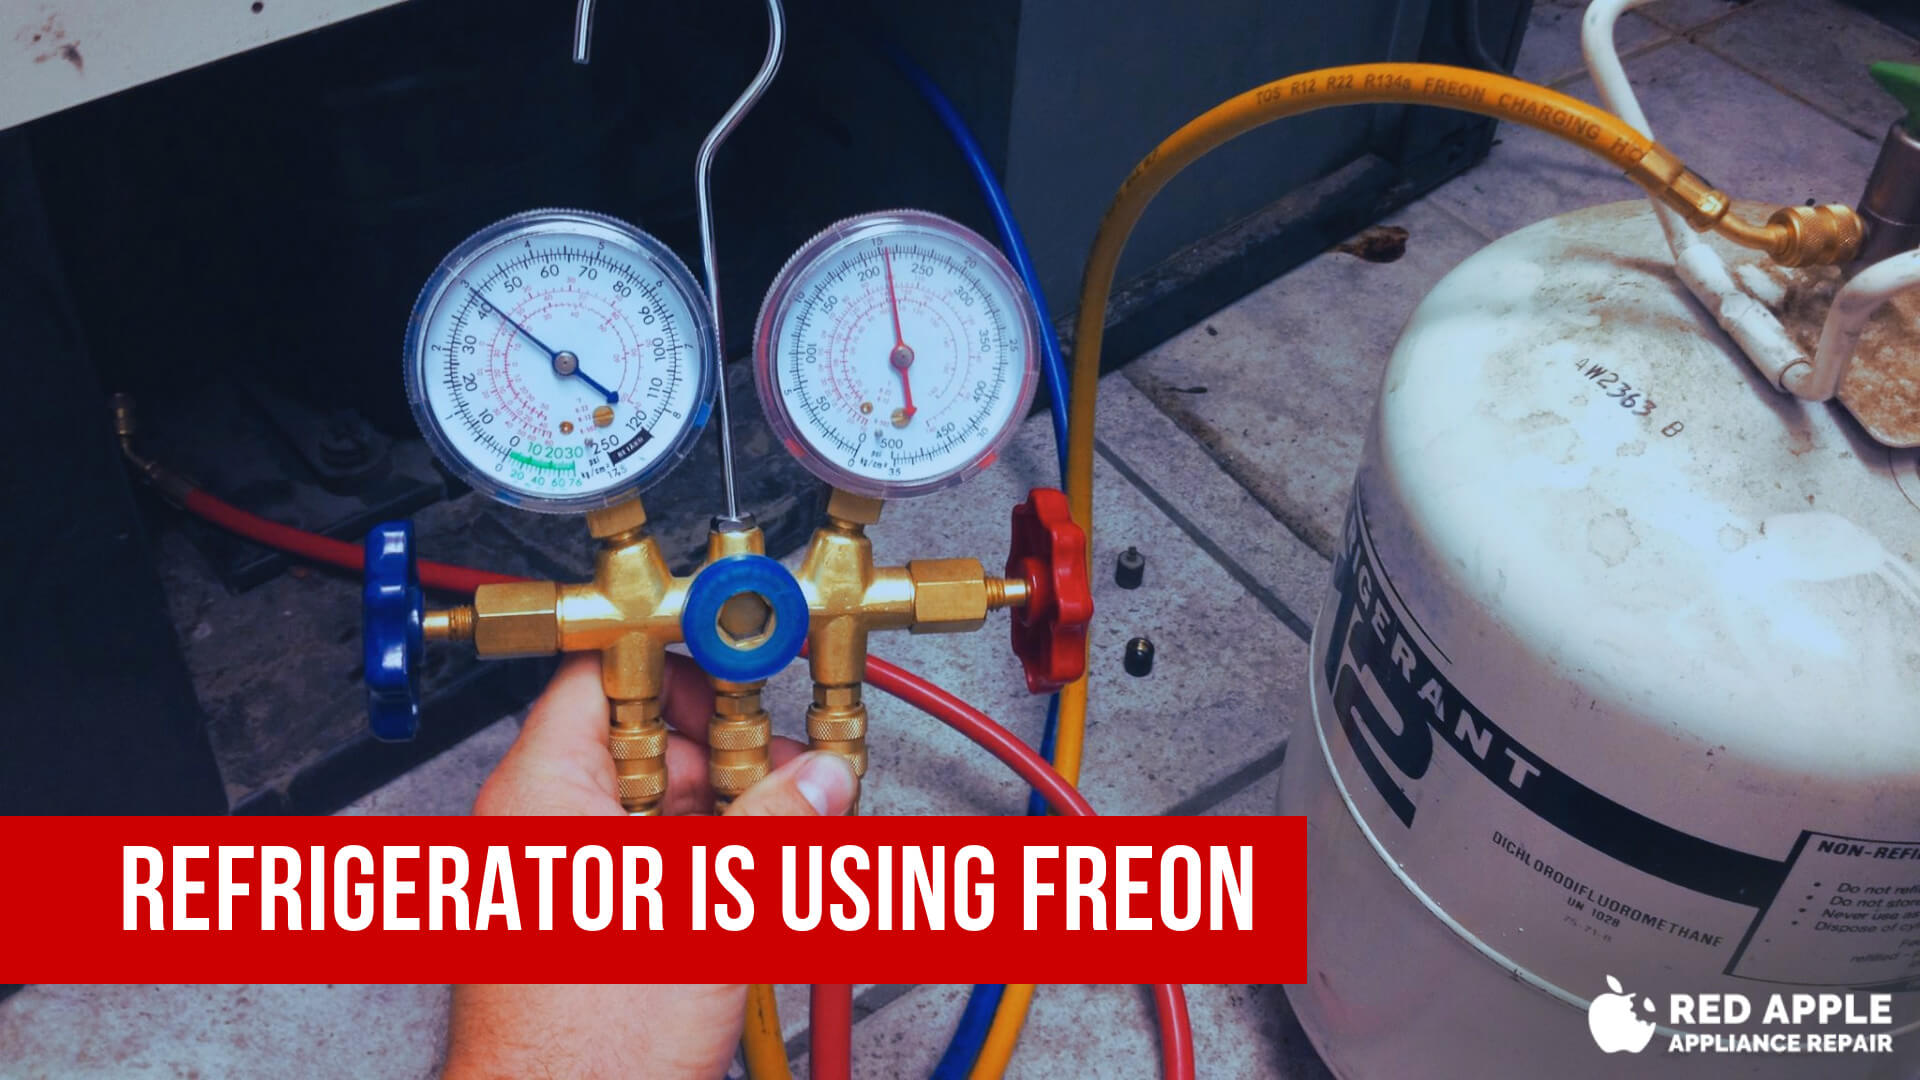
Let's clear something up: "Freon" is a common, but slightly outdated, term. It generally refers to various refrigerants used in cooling systems, like AC units and refrigerators. Modern refrigerants are often different chemicals than the original Freon, which was phased out due to environmental concerns. However, the term is still widely used, so we'll use it here for simplicity.
A freon leak means that refrigerant is escaping from your sealed system. This reduces the system's ability to absorb heat, making it less efficient and eventually causing it to stop cooling altogether. Leaks can occur due to corrosion, damage to the coils, or faulty connections.
Why Freon Leaks are a Problem
Refrigerant leaks pose several problems:
- Reduced Cooling Efficiency: Your AC works harder to achieve the desired temperature, leading to higher energy bills.
- System Damage: Running an AC with low refrigerant can damage the compressor, a very expensive component to replace.
- Environmental Impact: While modern refrigerants are less harmful than older versions, they can still contribute to global warming if released into the atmosphere.
Troubleshooting Your AC: A Step-by-Step Guide
Before assuming you have a freon leak, let's explore some common issues that can mimic the symptoms. This step-by-step guide will help you rule out other causes and potentially save you a costly service call.
Step 1: Check the Power Supply
The most basic, but often overlooked, step is to ensure your AC unit is receiving power.
- Circuit Breaker: Locate the circuit breaker for your AC unit in your electrical panel. Make sure it's not tripped. If it is, reset it. If it trips again immediately, there's likely a more serious electrical problem, and you should call an electrician immediately.
- Power Switch: Some outdoor AC units have a separate power switch near the unit itself. Ensure it's in the "on" position.
- Thermostat Batteries: If you have a programmable thermostat, check the batteries. A low battery can sometimes cause the thermostat to malfunction and prevent the AC from turning on.
Step 2: Inspect the Thermostat Settings
Believe it or not, incorrect thermostat settings are a frequent cause of perceived AC problems.
- Cool Mode: Make sure your thermostat is set to "Cool" mode.
- Temperature Setting: Ensure the desired temperature is set lower than the current room temperature. A common mistake is setting the temperature too high.
- Fan Setting: Try setting the fan to "Auto" instead of "On." In "On" mode, the fan runs continuously, even when the compressor is not cooling, which can make the house feel less comfortable.
Step 3: Check the Air Filter
A dirty air filter restricts airflow, forcing your AC unit to work harder and potentially overheat. This can reduce cooling efficiency and even damage the compressor over time.
- Locate the Filter: The air filter is usually located in the indoor unit, either in the blower compartment or in a wall-mounted return air grille.
- Inspect the Filter: Remove the filter and hold it up to the light. If you can't see through it easily, it's dirty and needs to be replaced.
- Replace the Filter: Replace the filter with a new one of the correct size and type. Make sure to install it with the arrow pointing in the direction of airflow.
- Filter Type: Consider upgrading to a higher MERV rated filter for better air filtration.
Step 4: Inspect the Outdoor Unit (Condenser)
The outdoor unit, also known as the condenser, is responsible for releasing heat from the refrigerant. Obstructions around the unit can hinder this process, reducing cooling efficiency.
- Clear Debris: Remove any leaves, branches, grass clippings, or other debris that may be blocking the airflow around the unit. Maintain at least two feet of clearance around the unit.
- Clean the Fins: The condenser coils have thin metal fins that can become clogged with dirt and debris. Use a garden hose with a gentle spray nozzle to clean the fins. Avoid using high pressure, as this can damage the fins. Spray from the inside out to push the dirt away from the coils. You can also use a fin comb (available at most hardware stores) to gently straighten any bent fins.
Step 5: Check for Ice Buildup
Ice buildup on the indoor or outdoor unit can indicate a problem with airflow or refrigerant levels. However, note that during heavy use some ice buildup is normal.
- Indoor Unit: Check the evaporator coil (the coil inside the indoor unit) for ice buildup. This is often visible when you remove the access panel to change the air filter.
- Outdoor Unit: Look for ice on the refrigerant lines or the condenser coil.
If you find ice buildup, turn off the AC unit and allow the ice to melt completely. This may take several hours. Once the ice has melted, turn the AC back on and monitor it closely. If the ice returns, it could indicate a more serious problem, such as a refrigerant leak or a problem with the airflow. In that case, call a professional.
Addressing the Freon Leak (With Caution)
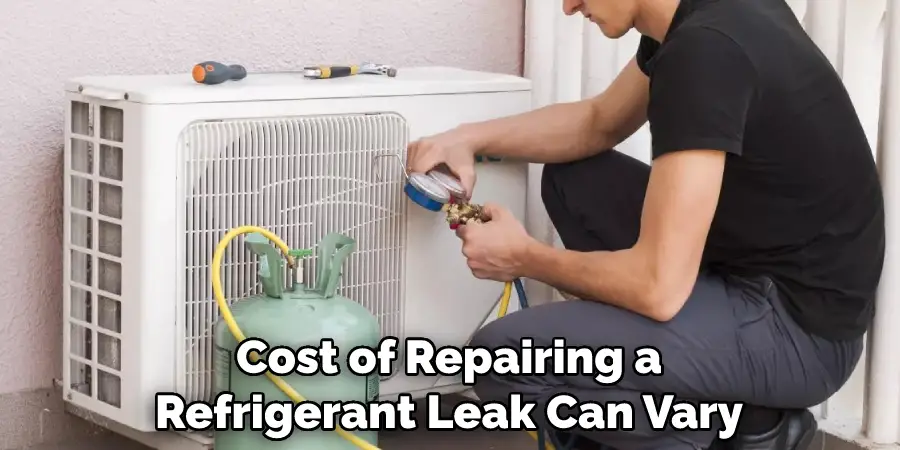
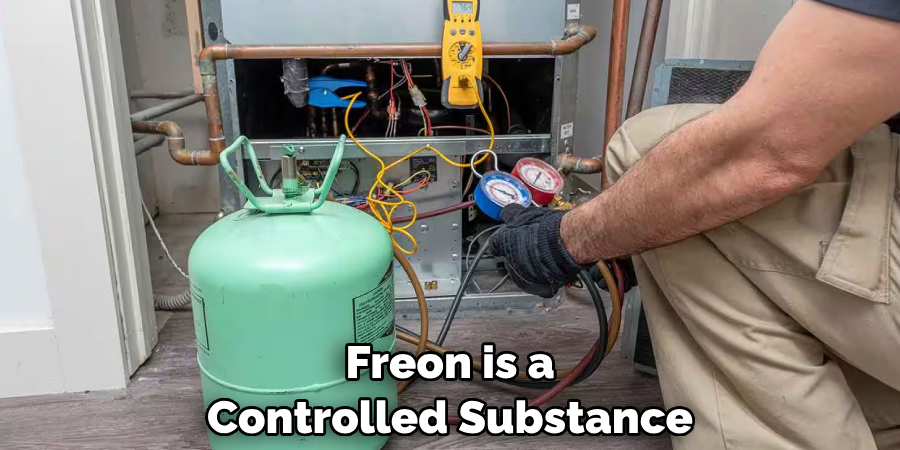
Now, let's address the core issue: the potential freon leak. It is crucial to understand that directly handling refrigerants is generally not recommended for homeowners. Refrigerants can be harmful if inhaled or if they come into contact with skin or eyes. Moreover, working with refrigerants requires specialized equipment and knowledge.
Attempting to repair a refrigerant leak yourself is often illegal and can void your AC unit's warranty.
However, there are some things you can do to detect a potential leak and assess the situation:
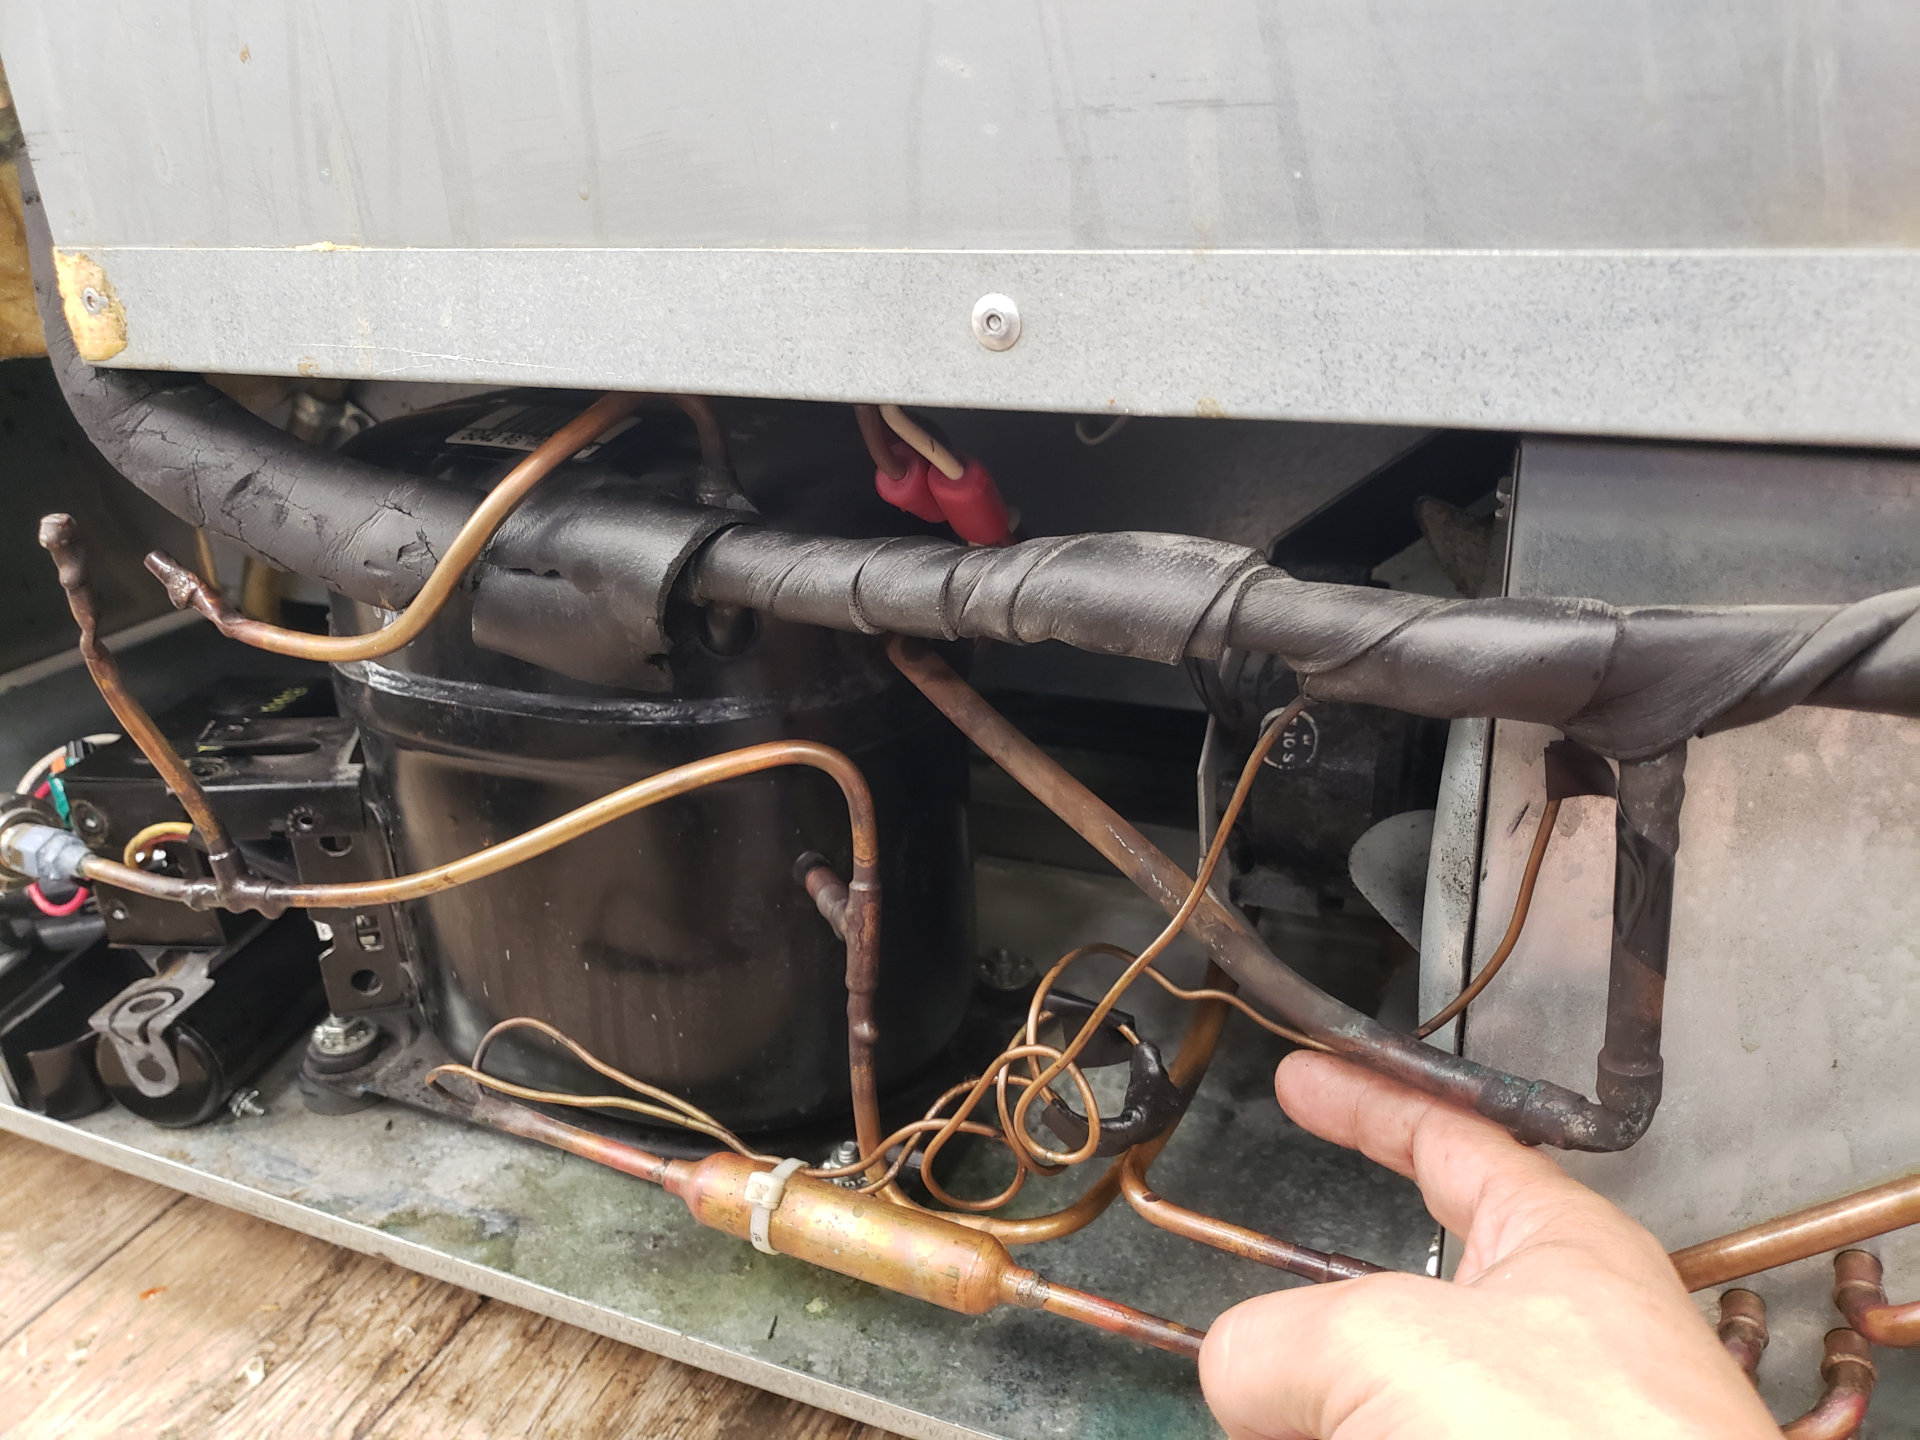
- Visual Inspection: Carefully inspect the refrigerant lines (the copper pipes connecting the indoor and outdoor units) for any signs of oil residue. Oil often accompanies a refrigerant leak. Look for oily spots on the ground near the outdoor unit, or on the connections between the lines.
- Listen for Hissing: With the unit running, listen closely near the refrigerant lines and the indoor and outdoor units for any hissing sounds. A hissing sound could indicate escaping refrigerant.
If you observe any of these signs (oil residue or hissing), it's highly likely you have a refrigerant leak and should call a qualified HVAC technician immediately. Do not attempt to add refrigerant yourself, as this can be dangerous and may not solve the underlying problem.
When to Call a Professional
While the troubleshooting steps above can help you identify some common AC problems, there are many situations where it's best to call a professional HVAC technician. Here's a summary of when to seek professional help:
- Refrigerant Leak Suspected: If you suspect a refrigerant leak based on the visual inspection or hearing hissing sounds, call a professional immediately.
- Ice Buildup Returns: If ice buildup reappears after melting, it could indicate a refrigerant leak or airflow problem that requires professional diagnosis and repair.
- Electrical Issues: If you suspect any electrical problems, such as a tripped circuit breaker that immediately trips again, call an electrician. Never attempt to repair electrical components yourself unless you are a qualified electrician.
- Compressor Problems: If your AC unit is making loud or unusual noises, or if it's not cooling at all even after troubleshooting the common issues, the compressor may be failing. Compressor repairs are complex and expensive and should be handled by a professional.
- Complex Repairs: If the problem requires specialized tools, equipment, or knowledge, it's best to leave it to a professional. This includes things like replacing the compressor, evaporator coil, or condenser coil.
- You are Unsure: If you've gone through the troubleshooting steps and you're still not sure what's wrong, it's always best to err on the side of caution and call a professional.
- If repair includes soldering: Any repair that involves soldering (joining metal pieces by melting solder around the joint) on refrigerant lines must be handled by a professional.
Professional Refrigerant Leak Repair
A qualified HVAC technician will perform the following steps when addressing a refrigerant leak:
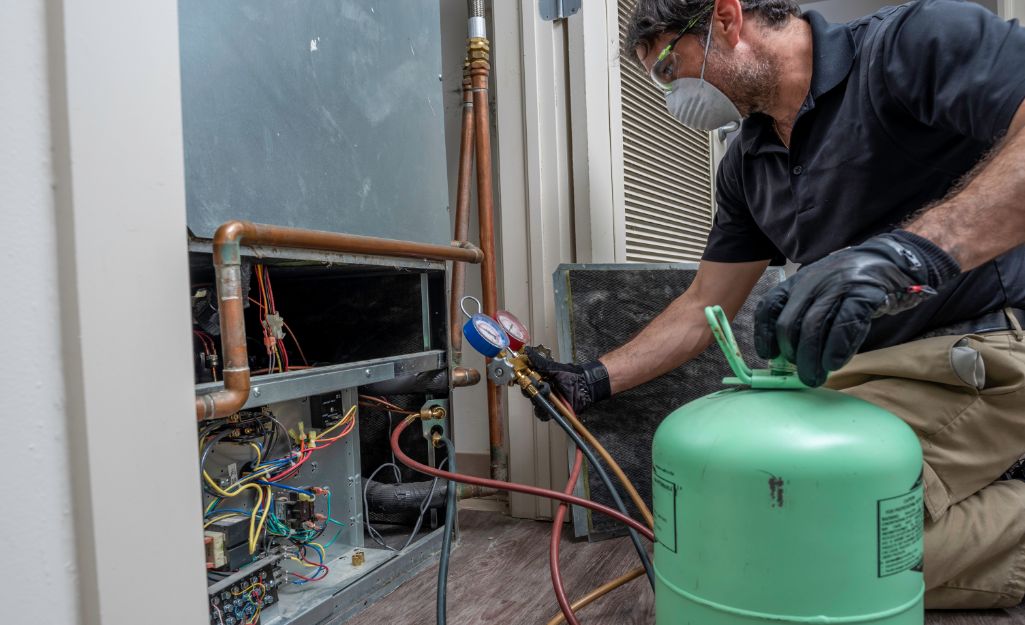
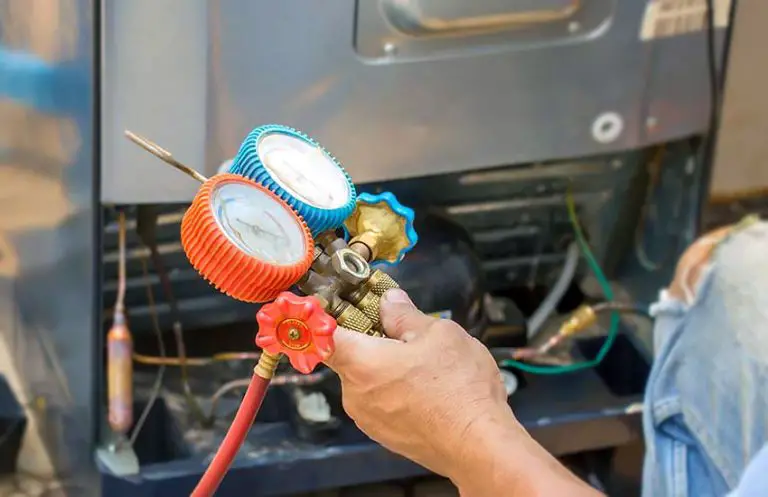
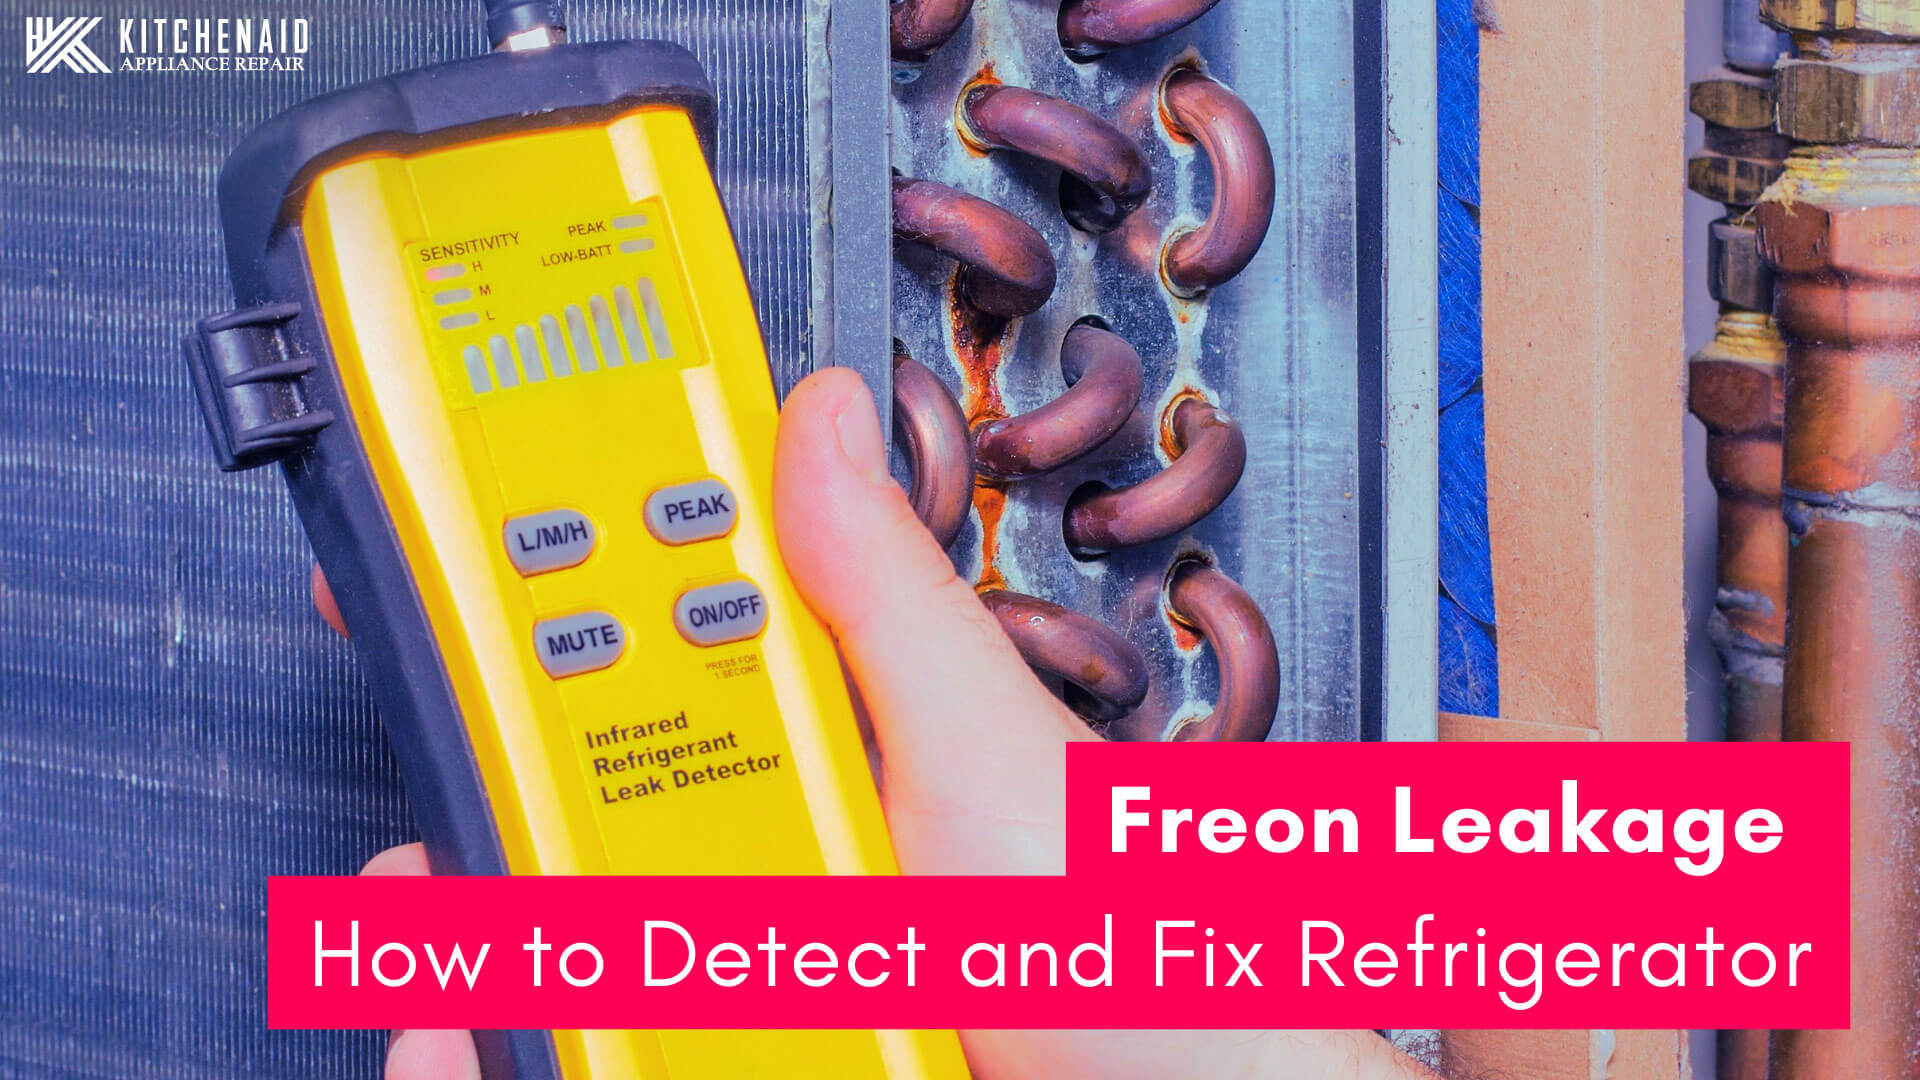
- Leak Detection: They will use specialized equipment, such as electronic leak detectors or ultraviolet (UV) dyes, to pinpoint the exact location of the leak.
- Leak Repair: Depending on the location and severity of the leak, they may be able to repair it by soldering the refrigerant lines. In some cases, the entire coil or unit may need to be replaced.
- Refrigerant Recharge: After repairing the leak, they will recharge the system with the correct type and amount of refrigerant, according to the manufacturer's specifications.
- Pressure Testing: They will perform a pressure test to ensure the system is leak-free and operating properly.
- Performance Check: Finally, they will check the AC unit's performance to ensure it's cooling efficiently.
Preventative Maintenance
The best way to avoid refrigerant leaks and other AC problems is to schedule regular preventative maintenance with a qualified HVAC technician. Preventative maintenance typically includes:
- Inspection of Refrigerant Lines: Checking for leaks and damage.
- Cleaning of Coils: Removing dirt and debris from the evaporator and condenser coils.
- Filter Replacement: Replacing the air filter.
- Testing of Electrical Components: Checking the voltage and amperage of the compressor and other electrical components.
- Lubrication of Moving Parts: Lubricating the fan motors and other moving parts.
- Overall System Check: Ensuring the AC unit is operating efficiently and safely.
By taking these preventative measures, you can extend the life of your AC unit, improve its efficiency, and reduce the risk of costly repairs.
In conclusion, while you can perform some basic troubleshooting steps to identify potential AC problems, repairing a refrigerant leak yourself is generally not recommended. Call a qualified HVAC technician to diagnose and repair any refrigerant leaks safely and effectively. Regular preventative maintenance can help you avoid these problems in the first place.