Can Carbon Monoxide Travel Through Walls
Many homeowners experience uneven heating or cooling throughout their house. One room might be comfortably warm in the winter, while another feels like an icebox. This temperature imbalance can stem from various factors, ranging from simple drafts to more complex HVAC system issues. While addressing these imbalances, a serious concern often arises: Can carbon monoxide (CO) travel through walls? The answer is, unfortunately, yes. Due to its small molecular size and gaseous state, CO can permeate through porous materials and find its way through even tiny cracks and openings. This article will guide you through troubleshooting temperature imbalances in your home, while also emphasizing the critical importance of carbon monoxide safety.
Understanding the Risks: Carbon Monoxide and Your Home
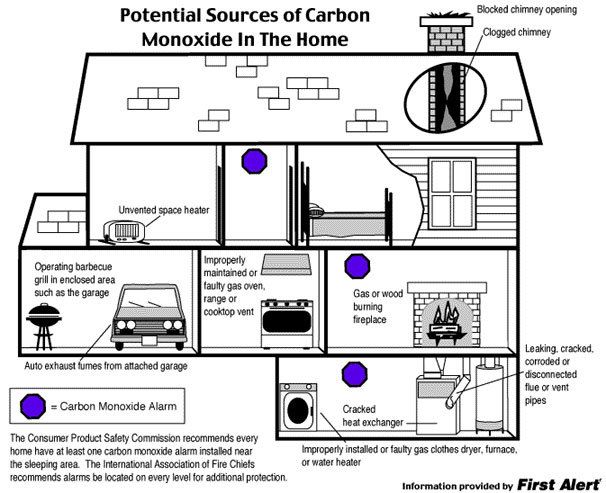
Carbon monoxide is an odorless, colorless gas produced by the incomplete combustion of fuels like natural gas, propane, oil, wood, and gasoline. Malfunctioning furnaces, water heaters, stoves, fireplaces, and even running cars in attached garages can all be sources of CO. Because CO prevents your blood from carrying oxygen, even low levels can cause flu-like symptoms, and high concentrations can be fatal. Therefore, never ignore the possibility of CO poisoning when dealing with heating or appliance malfunctions.
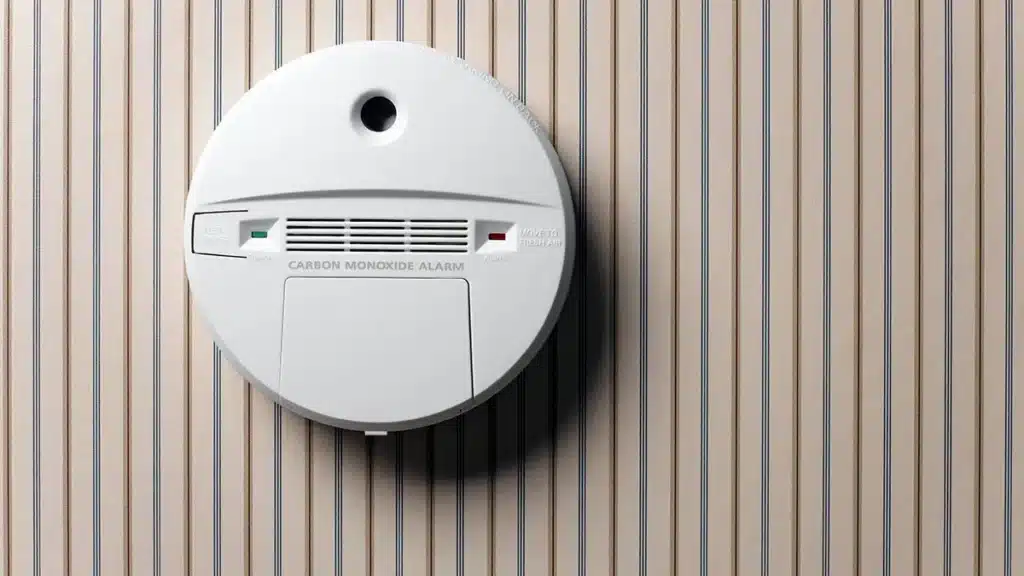
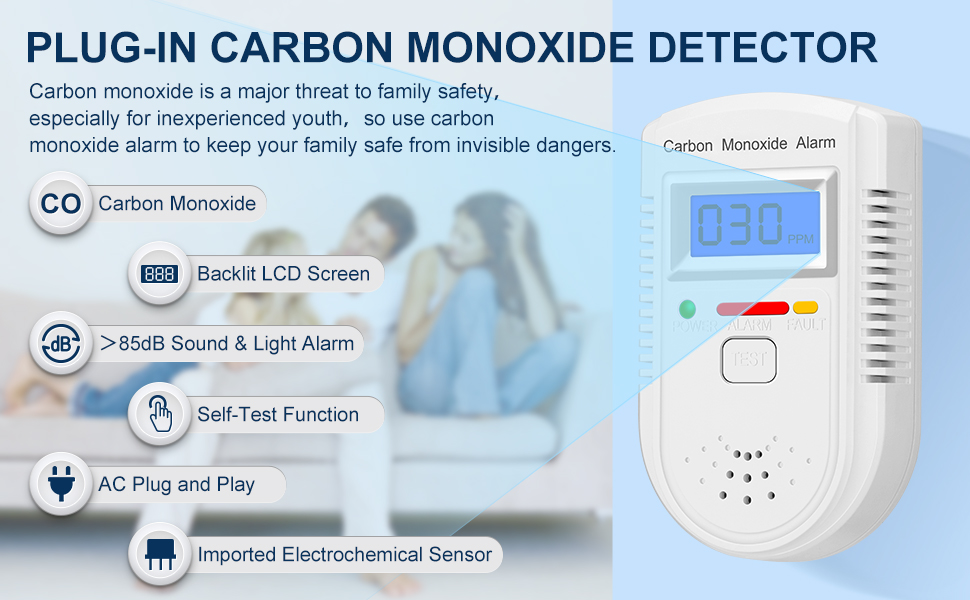
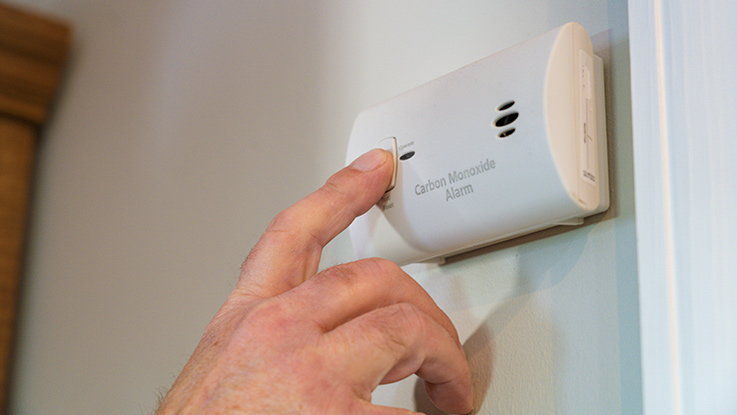
While this article primarily addresses temperature imbalances, CO safety is paramount. Always have working carbon monoxide detectors on every level of your home, especially near sleeping areas. Test them regularly, and replace them every 5-7 years, or as recommended by the manufacturer.
Troubleshooting Temperature Imbalances: A Step-by-Step Guide
Let's get started. Before delving into potentially dangerous scenarios, let's tackle the more common and manageable causes of uneven heating and cooling.
Step 1: The Visual Inspection (No Tools Required)
Begin with a thorough visual inspection of the affected rooms. This doesn't require any tools and can reveal simple issues that are easily fixed.
- Check Air Vents and Registers: Ensure that air vents and registers are open and unobstructed. Furniture, rugs, or drapes blocking airflow can significantly reduce heating or cooling efficiency.
- Inspect Windows and Doors: Look for gaps or cracks around windows and doors. Feel for drafts, especially on windy days. Caulk or weather stripping can seal these gaps and prevent air leakage.
- Examine Insulation (Visually Accessible Areas): In accessible areas like attics or basements, check the insulation. Look for signs of damage, compression, or moisture. Inadequate insulation contributes significantly to heat loss or gain.
- Observe Wall and Ceiling Condition: Look for any signs of water stains, mold, or cracking. These issues can indicate underlying problems affecting insulation or structural integrity, potentially allowing CO to seep through if a source is present.
If you identify simple problems like blocked vents or drafts, address them immediately. These simple fixes can often make a noticeable difference.
Step 2: Checking Your HVAC System (Basic Checks, Potential for CO Concerns)
Next, let's examine the HVAC system. Some checks are simple and safe, while others might indicate the need for professional assistance. Never attempt any HVAC repair you're uncomfortable with. This section is where the potential for CO exposure becomes a more significant concern, especially if you suspect a malfunctioning appliance.
- Air Filter Inspection: A dirty air filter restricts airflow and reduces your HVAC system's efficiency. Check your air filter monthly and replace it when it's dirty. A clean filter improves airflow and reduces stress on your system.
- Thermostat Settings: Ensure your thermostat is set correctly and is programmed to provide the desired temperature at different times of the day. Consider a programmable thermostat to optimize energy efficiency.
- Furnace Flame Color (Use Extreme Caution, Observe from a Safe Distance): If you have a gas furnace, carefully observe the flame color through the viewing window (if equipped). A healthy flame is blue. A yellow or orange flame indicates incomplete combustion and potential CO production. Immediately turn off the furnace and call a qualified HVAC technician if you see a yellow or orange flame. Do not attempt to repair it yourself. Open windows and doors for ventilation.
- Pilot Light (If Applicable): If your appliance uses a pilot light, ensure it is burning steadily and is the correct color (usually blue). An unstable or yellow pilot light is a sign of a problem.
- Check Vents for Obstructions (Outside the House): Ensure that any exhaust vents outside the house, particularly for the furnace or water heater, are clear of snow, ice, debris, or bird nests. Obstructed vents can cause CO to back up into the house.
Important Safety Note: If at any point you suspect a carbon monoxide leak (yellow furnace flame, symptoms of CO poisoning, malfunctioning appliances), evacuate the house immediately. Call your local fire department or gas company from a safe location. Do not re-enter the house until it has been cleared by professionals.
Step 3: More Advanced Troubleshooting (Requires Basic Equipment, Increased CO Risk)
The following steps require some basic tools and a greater understanding of HVAC systems. If you're not comfortable with these steps, call a qualified HVAC technician. These areas often involve gas lines, electrical connections, and potentially dangerous equipment, which could lead to CO leaks if mishandled.
- Checking Ductwork for Leaks (Requires Duct Tape or Mastic): Use a flashlight to inspect accessible ductwork (in basements or attics) for leaks or disconnected sections. Use duct tape or duct mastic to seal any leaks you find. Leaky ductwork can cause significant energy loss and temperature imbalances.
- Inspecting the Blower Motor (Requires Screwdrivers and Multimeter - *Use with Extreme Caution*): A malfunctioning blower motor can reduce airflow throughout your home. Only attempt this if you are comfortable working with electrical components and have disconnected the power to the unit. Remove the access panel to the blower motor and visually inspect the motor and its components. If you are familiar with using a multimeter, you can test the motor's voltage. If the motor is not functioning correctly, it may need to be replaced by a professional.
- Testing Airflow at Vents (Requires an Anemometer - Optional): An anemometer can measure the airflow coming from your vents. Compare the airflow in different rooms to identify areas with low airflow. This can help pinpoint ductwork problems or other issues.
Remember: If you are working near gas-burning appliances, be extremely cautious. Look for signs of gas leaks (rotten egg smell) and have a carbon monoxide detector nearby. If you smell gas, evacuate the house immediately and call your gas company.
Step 4: When to Call a Professional (Critical for Safety and Accurate Diagnosis)
There are situations where attempting to diagnose or repair HVAC problems yourself is simply not safe or practical. Call a qualified HVAC technician in the following circumstances:
- Suspected Carbon Monoxide Leak: As mentioned repeatedly, any suspicion of a carbon monoxide leak requires immediate professional attention.
- Gas Leaks: If you smell gas, evacuate and call the gas company.
- Electrical Problems: If you are not comfortable working with electrical components, call an electrician or HVAC technician.
- Refrigerant Leaks: Refrigerant is harmful to the environment and requires specialized equipment to handle.
- Complex HVAC System Issues: If you've tried the basic troubleshooting steps and are still experiencing temperature imbalances, it's time to call a professional.
- Annual Furnace Inspection: Schedule an annual furnace inspection to ensure your system is running safely and efficiently. This can help prevent CO leaks and other problems.
- Any time you are uncomfortable or unsure. Your safety and the safety of your family are paramount.
Preventative Measures: Keeping Your Home Safe and Comfortable
Prevention is key to maintaining a safe and comfortable home. Here are some steps you can take to minimize the risk of carbon monoxide poisoning and ensure your HVAC system operates efficiently:
- Install and Maintain Carbon Monoxide Detectors: Install CO detectors on every level of your home, especially near sleeping areas. Test them regularly and replace them every 5-7 years.
- Schedule Regular HVAC Maintenance: Have your furnace, water heater, and other gas-burning appliances inspected and serviced annually by a qualified HVAC technician.
- Keep Vents Clear: Ensure that all vents, both inside and outside your home, are clear of obstructions.
- Replace Air Filters Regularly: Change your air filter monthly or as recommended by the manufacturer.
- Seal Drafts and Leaks: Seal any gaps or cracks around windows, doors, and ductwork to prevent air leakage.
- Educate Yourself: Learn about the signs and symptoms of carbon monoxide poisoning and what to do if you suspect a leak.
Conclusion: Prioritize Safety and Seek Professional Help When Needed
Troubleshooting temperature imbalances in your home can be a manageable task with a systematic approach. However, always prioritize safety, especially when dealing with gas-burning appliances. Carbon monoxide is a serious threat, and it's crucial to take all necessary precautions to protect yourself and your family. Remember, CO *can* travel through walls, so even if the source is seemingly contained, it's essential to be vigilant. If you are ever unsure or uncomfortable, don't hesitate to call a qualified HVAC technician. A professional can accurately diagnose the problem, perform necessary repairs safely, and ensure that your home is both comfortable and secure.