Capacitor For 2 Ton Ac

Is your 2-ton AC unit struggling to keep your home cool, especially during the hottest days? Or perhaps it's making strange noises and cycling on and off frequently? A common culprit behind these issues is a failing capacitor. This unassuming component plays a crucial role in starting and running your AC's motors. Let's explore how to troubleshoot this potential problem.
Understanding the Capacitor's Role
The capacitor in your AC unit acts like a small, rechargeable battery. It provides the electrical "kick" needed to start the compressor motor and the fan motor. Without a functioning capacitor, these motors may struggle to start, leading to inefficient cooling, overheating, and eventually, system failure.
Recognizing the Symptoms of a Failing Capacitor
Several telltale signs can indicate a failing capacitor in your 2-ton AC. Look out for these:
- AC unit not starting: The most obvious sign. The unit might hum but fail to kick on.
- Weak airflow: If the fan motor is struggling, you'll notice reduced airflow from the vents.
- Humming noise: A failing capacitor often causes a persistent humming sound from the outdoor unit.
- Clicking sounds: This could indicate the compressor is trying to start but failing.
- AC cycles on and off frequently (short cycling): This puts unnecessary strain on the system.
- Increased energy bills: An inefficient AC unit consumes more electricity.
- AC takes a long time to cool: The system struggles to reach the desired temperature.
Troubleshooting the Capacitor: A Step-by-Step Guide
Before you begin any troubleshooting, remember: Safety First! Turn off the power to your AC unit at the breaker box. This is crucial to prevent electrical shock.
Step 1: Visual Inspection (No Tools Required)
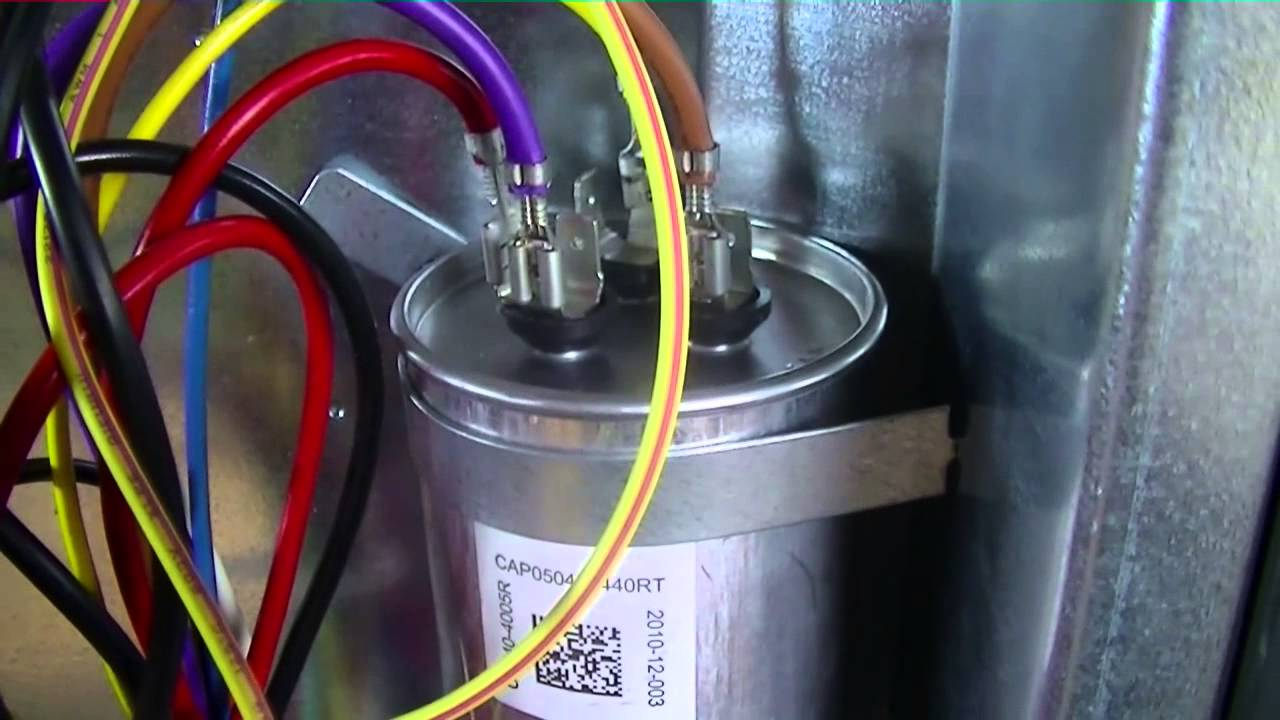
Start with a visual inspection of the capacitor(s). The capacitor is typically a cylindrical component located inside the outdoor unit's electrical panel. Carefully remove the access panel to expose the electrical components.
Look for the following:
- Bulging or swelling: A bulging capacitor is a clear sign of failure.
- Leaking fluid: Any visible fluid leakage indicates a problem.
- Rust or corrosion: Corrosion around the terminals can affect performance.
- Burn marks: Signs of overheating or burning are a serious concern.
If you observe any of these signs, the capacitor likely needs to be replaced. Proceed with caution and consider calling a professional. Do not touch any components inside the unit with your bare hands while the power is on, even if you think the breaker is off. Use a non-contact voltage tester to double check.
Step 2: Power Disconnect and Capacitor Identification
This step is critical for your safety.
- Go to your breaker box and locate the breaker that controls your outdoor AC unit.
- Turn the breaker OFF.
- Double-check that the power is off by using a non-contact voltage tester near the wires inside the AC unit's electrical panel. The tester should not light up or beep.
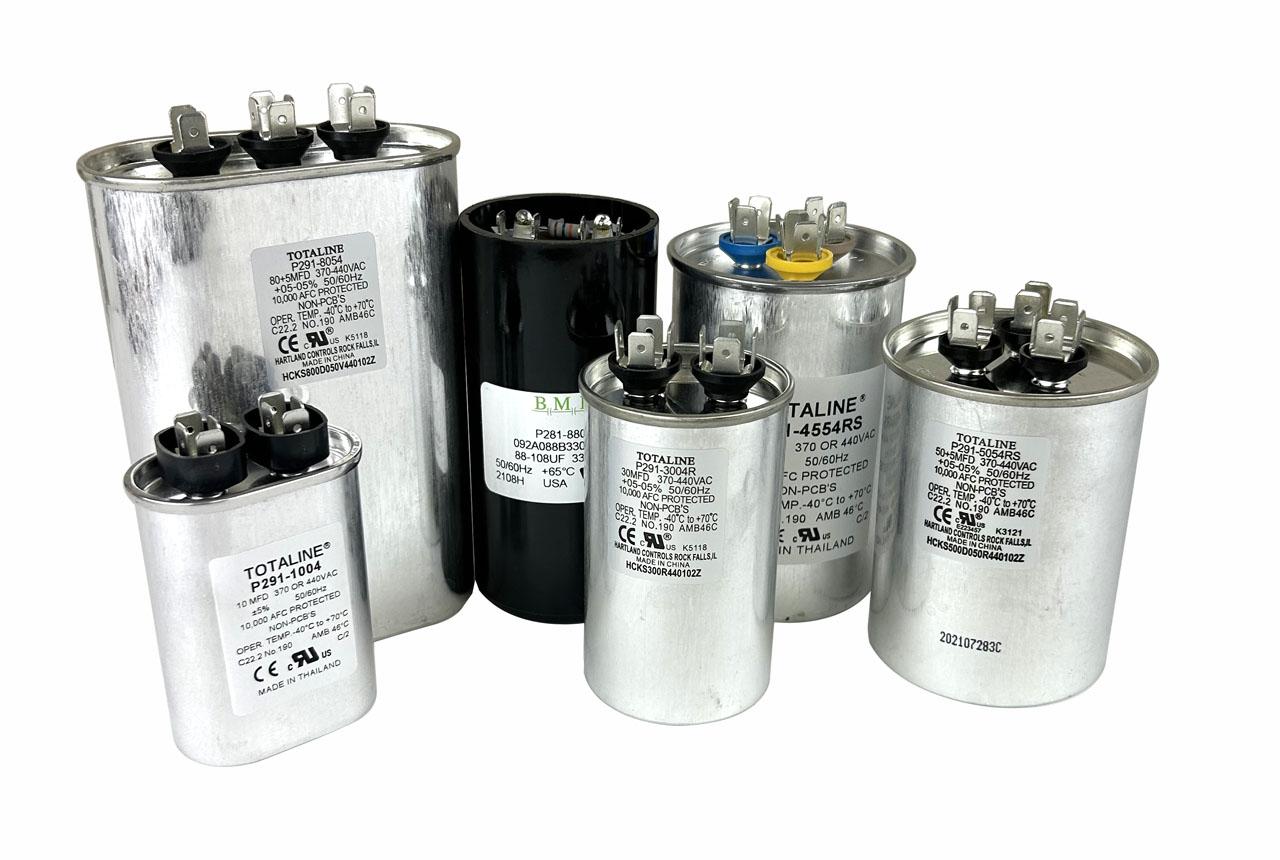
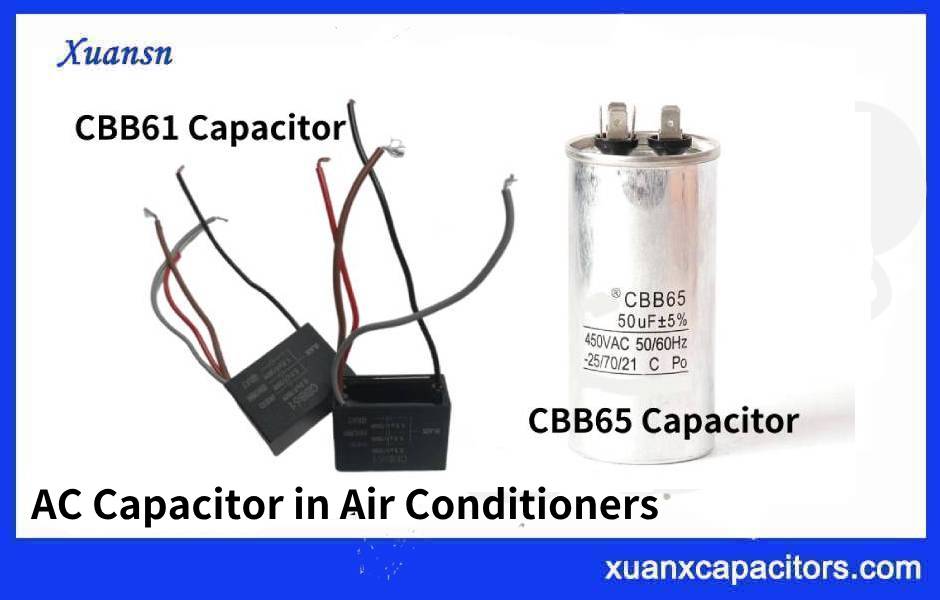
Now, carefully examine the capacitor(s). There are typically two types: a start capacitor and a run capacitor. Some units use a single "dual capacitor" that handles both starting and running functions.
Note the following information from the capacitor's label:
- Microfarad (µF) rating: This indicates the capacitor's capacitance. It's crucial to replace it with a capacitor of the same rating.
- Voltage rating: This specifies the maximum voltage the capacitor can handle. The replacement capacitor must have a voltage rating equal to or higher than the original.
- Terminal markings: Note the markings on the terminals (e.g., "C," "FAN," "HERM"). These markings are essential for proper wiring during replacement. Take a picture of the capacitor and wiring before you remove any wires. This picture will be your reference when reconnecting the new capacitor.
Step 3: Testing the Capacitor (Requires a Multimeter)
If the visual inspection doesn't reveal any obvious damage, you can use a multimeter to test the capacitor's capacitance. This requires some basic electrical knowledge and caution.
- Discharge the Capacitor: Even with the power off, capacitors can store a dangerous electrical charge. Use a screwdriver with an insulated handle to carefully short the terminals of the capacitor. Touch the screwdriver blade to both terminals simultaneously. You might see a small spark – this is normal. Some professionals use a resistor specifically designed for discharging capacitors.
- Set the Multimeter: Set your multimeter to measure capacitance (µF). The symbol for capacitance is usually "F" or "µF." Your multimeter must have a capacitance measurement setting.
- Disconnect the Wires: Disconnect the wires from the capacitor terminals. Remember to take a picture or draw a diagram showing which wire goes to which terminal before disconnecting them.
- Connect the Multimeter: Connect the multimeter probes to the capacitor terminals. It doesn't matter which probe goes to which terminal.
- Read the Measurement: The multimeter will display the capacitor's capacitance reading.
Interpreting the Results:
- Within Tolerance: A healthy capacitor will have a capacitance reading close to its rated value (within ±10%). For example, a 40 µF capacitor should read between 36 µF and 44 µF.
- Out of Tolerance: If the reading is significantly lower than the rated value, the capacitor is likely failing and needs to be replaced. A reading of 0 µF indicates a completely dead capacitor.
- Over Tolerance: Sometimes a capacitor will read higher than the rated value. This is also indicative of a problem and it should be replaced.
Step 4: Replacing the Capacitor (DIY with Caution)
If the capacitor is visually damaged or fails the multimeter test, you'll need to replace it. If you are not comfortable working with electricity, hire a qualified HVAC technician.
- Purchase a Replacement: Buy a new capacitor with the same microfarad (µF) rating and equal or higher voltage rating as the original. Ensure the terminal markings are the same or clearly labeled.
- Discharge the Old Capacitor: Ensure the old capacitor is fully discharged as described in Step 3.
- Disconnect the Wires: Carefully disconnect the wires from the old capacitor, one at a time. Refer to your picture or diagram to ensure you know where each wire goes.
- Connect the Wires to the New Capacitor: Connect the wires to the corresponding terminals on the new capacitor, matching the markings from your picture or diagram (e.g., "C" to "C," "FAN" to "FAN," "HERM" to "HERM"). Ensure the connections are secure.
- Secure the Capacitor: Place the new capacitor in the same mounting bracket as the old one and secure it properly.
- Replace the Access Panel: Carefully replace the electrical panel access cover.
- Restore Power: Turn the breaker back ON.
- Test the AC: Turn on your AC unit and observe its performance. It should now start smoothly and cool properly.
When to Call a Professional
While replacing a capacitor can be a DIY project for some, certain situations require a qualified HVAC technician:
- You are uncomfortable working with electricity. Electrical shock is a serious hazard.
- You are unsure about the capacitor's specifications or wiring. Incorrect wiring can damage your AC unit.
- The compressor motor is still not starting after replacing the capacitor. This could indicate a more serious problem with the motor or other components.
- You suspect a refrigerant leak. Handling refrigerant requires specialized equipment and training.
- You find burnt or damaged wiring. This requires professional repair to ensure safety and prevent further damage.
- You have a hard time understanding the process. Don't be afraid to call a pro.
Preventative Maintenance
Regular preventative maintenance can help extend the life of your capacitor and your AC unit. Consider the following:
- Clean the outdoor unit regularly. Remove debris, leaves, and grass clippings that can restrict airflow and cause overheating.
- Replace the air filter regularly. A dirty air filter restricts airflow, making the AC unit work harder and stressing the capacitor.
- Schedule annual AC maintenance. A qualified HVAC technician can inspect the system, clean the coils, and check the capacitor's performance.
Final Thoughts
Troubleshooting a capacitor issue can often be done with basic observation and testing. Knowing when to attempt a DIY fix and when to call a professional is the key to ensuring your safety and the longevity of your AC unit. Remember to always prioritize safety and follow the steps carefully. With a little knowledge and caution, you can keep your 2-ton AC running efficiently and comfortably cool your home.