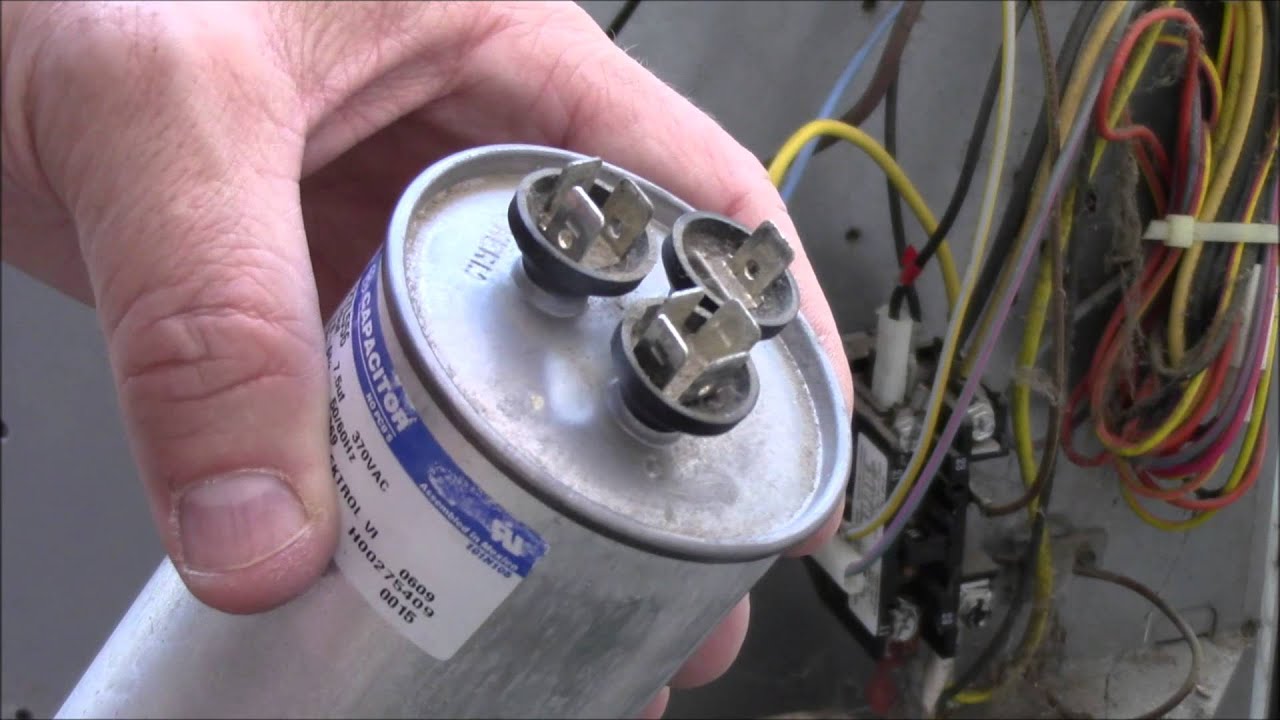
Capacitor For Heat Pump
The unsung hero keeping your heat pump running smoothly might just be a small, cylindrical component: the capacitor. It's a critical element in starting and running the motors that power your system. When a capacitor fails, your heat pump can struggle to start, run inefficiently, or even shut down completely. This guide will help you understand capacitors, diagnose potential problems, and, in some cases, perform a simple replacement yourself. However, remember that working with electricity can be dangerous. If you're not comfortable, always call a qualified HVAC technician.
What is a Capacitor and What Does It Do?
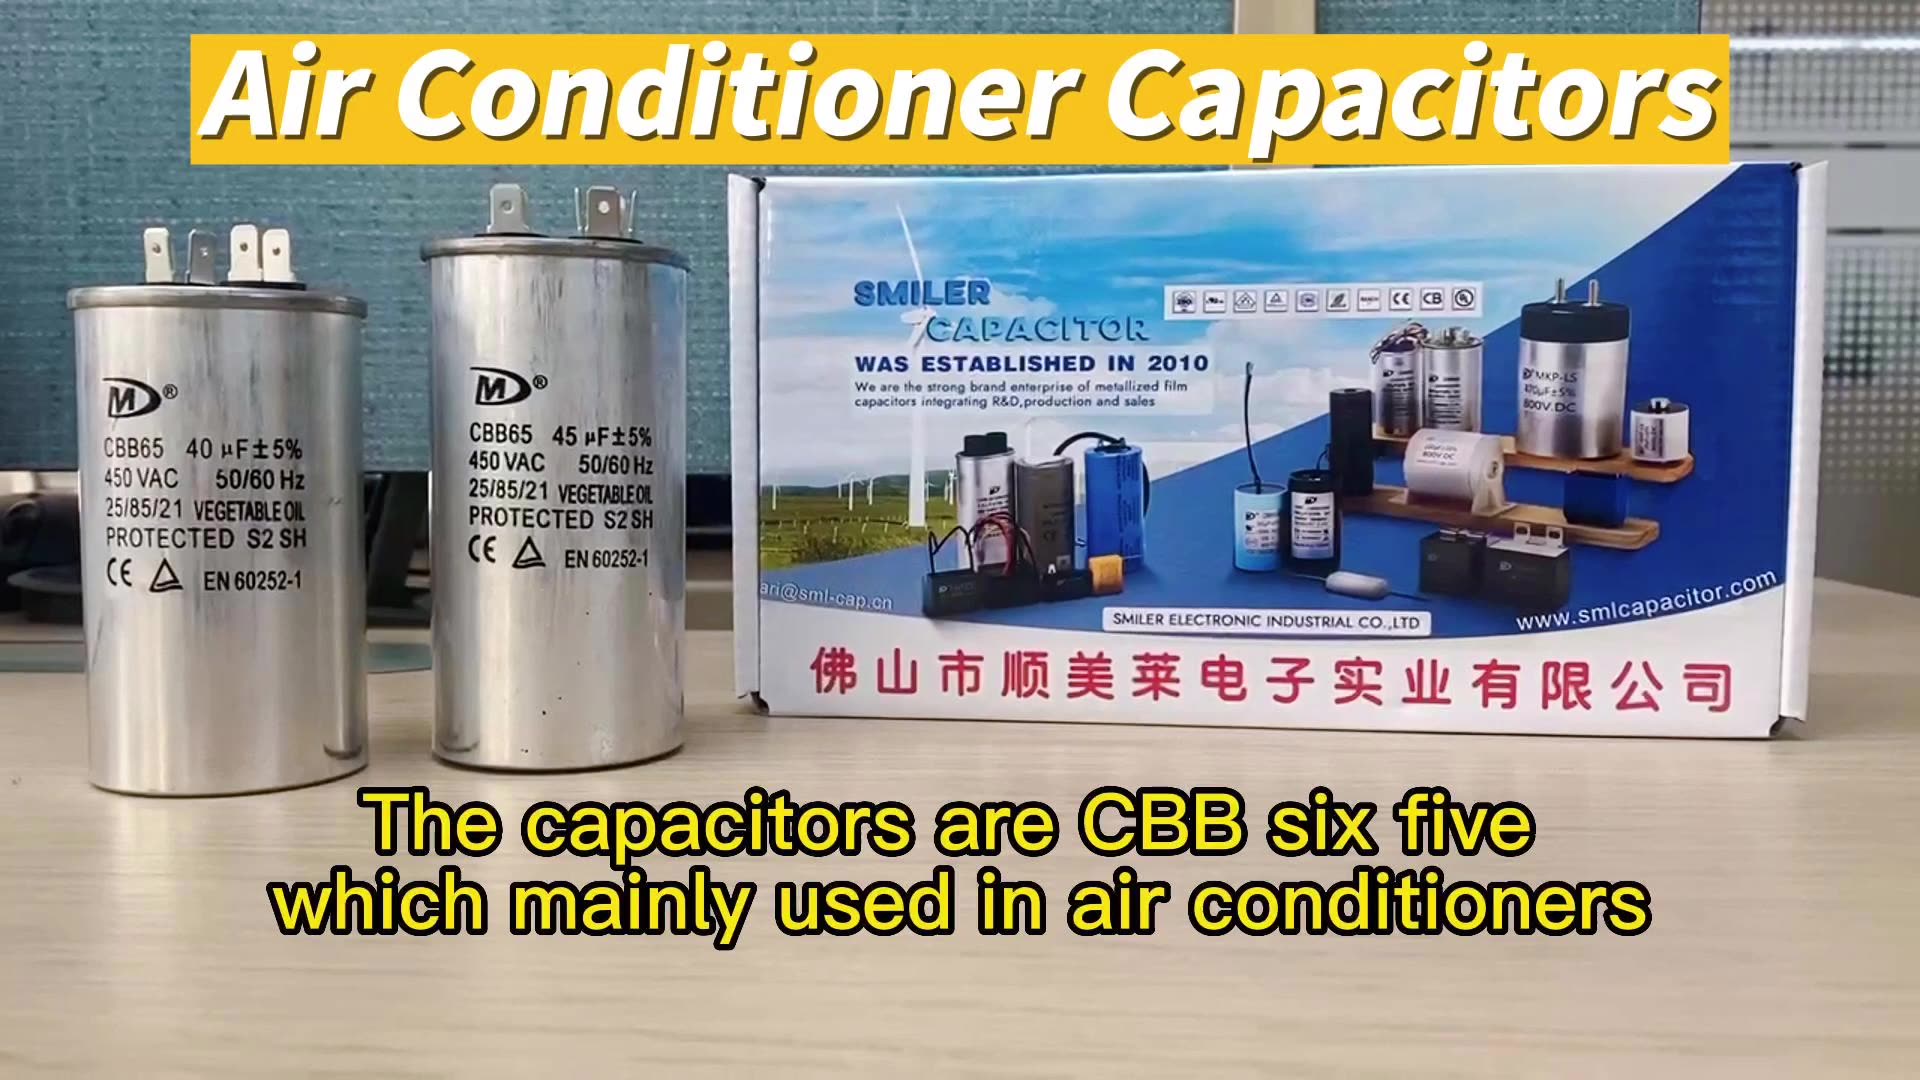
Think of a capacitor as a battery, but instead of providing a constant flow of energy, it stores energy and releases it in a quick burst. In a heat pump, capacitors are primarily used to start and run the compressor motor and the fan motors (both indoor and outdoor). These motors require a surge of power to overcome inertia and get spinning. The capacitor provides this surge, allowing the motor to operate efficiently and reliably.
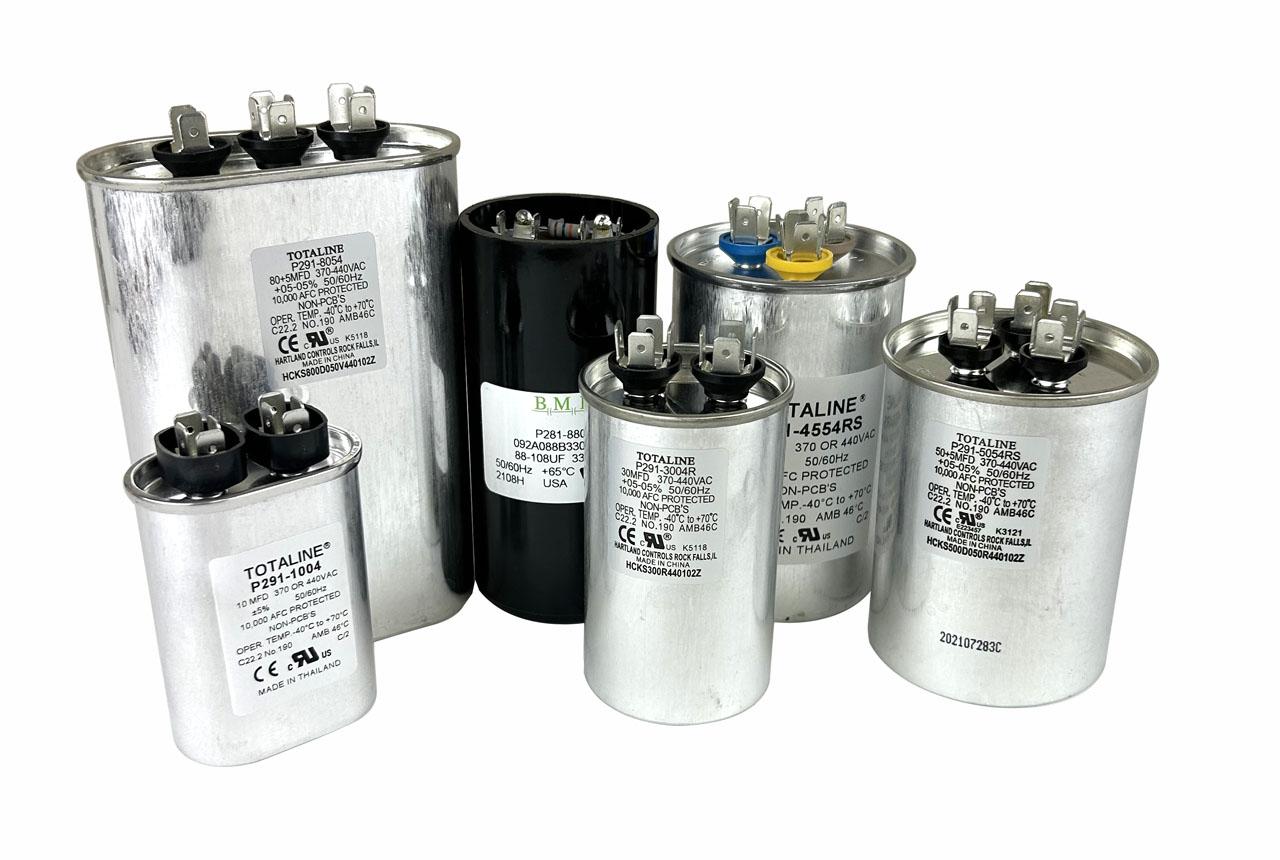
There are two main types of capacitors you'll find in a heat pump:
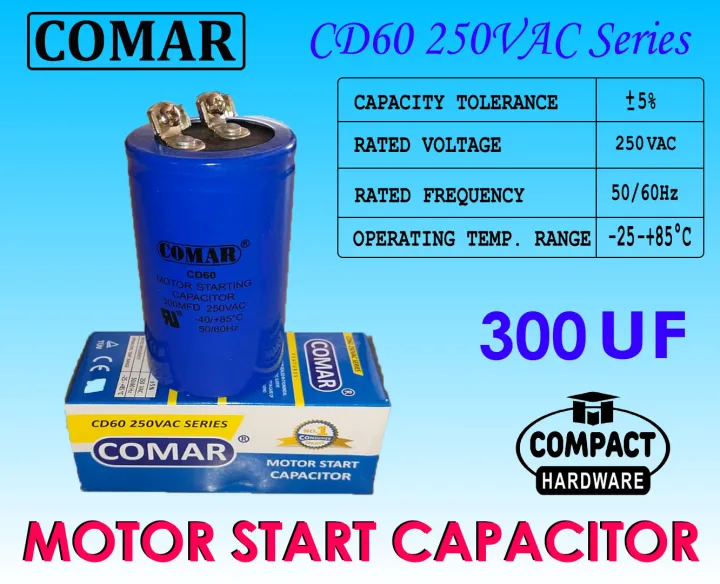
- Start Capacitors: These provide a high surge of energy for a short period to start the motor. They are typically disconnected from the circuit once the motor is running.
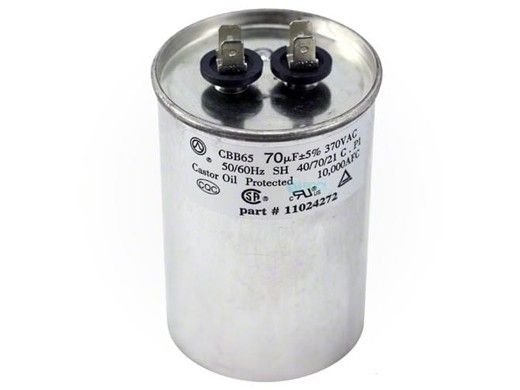
- Run Capacitors: These provide a continuous boost of energy to the motor while it's running, improving efficiency and extending motor life.
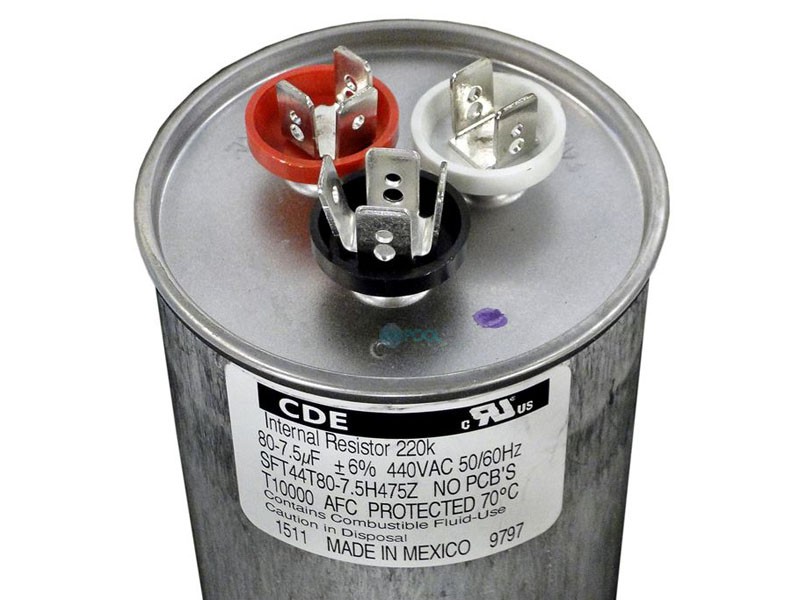
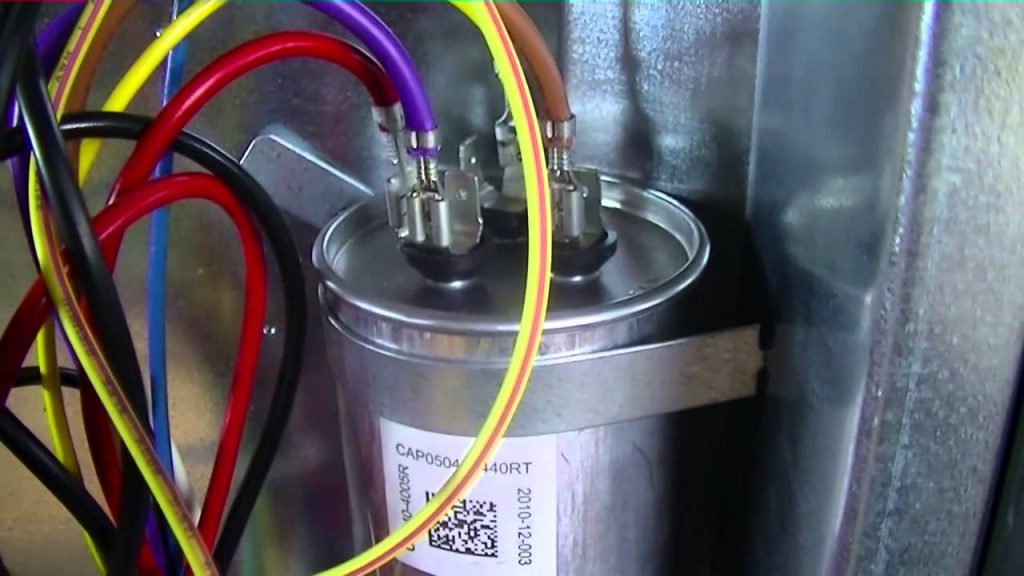
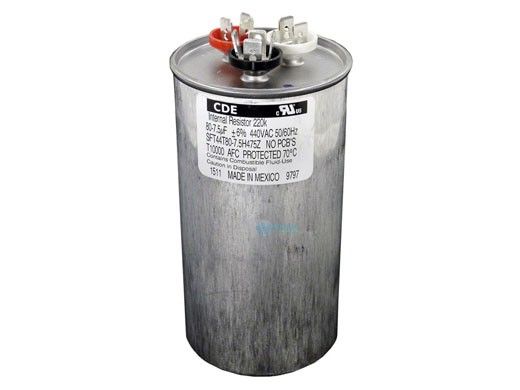
Often, you'll find a single capacitor that serves as both a start and run capacitor for the outdoor fan and compressor motor. This is called a "dual run capacitor" and will have three terminals labeled "C" (common), "FAN," and "HERM" (hermetic compressor). Understanding the different types is crucial for proper diagnosis and replacement.
Recognizing the Symptoms of a Failing Capacitor
A failing capacitor can manifest in several ways. Catching these symptoms early can prevent more significant damage to your heat pump.
- Humming Noise: The motor might hum but fail to start. This often indicates the capacitor isn't providing enough power to overcome the initial inertia.
- Hard Starting: The heat pump struggles to start and may take multiple attempts. You might hear clicking sounds.
- Reduced Efficiency: The heat pump runs longer to achieve the desired temperature, leading to higher energy bills.
- Overheating: The motor may overheat due to the capacitor not providing the necessary boost, causing it to work harder.
- Complete Failure: The heat pump simply won't turn on.
- Popping or Bulging: A physically damaged capacitor (bulging, leaking, or exploded) is a clear sign of failure.
If you notice any of these symptoms, it's time to investigate the capacitor.
Safety First! Before You Begin
Safety is paramount when working with electricity. Before attempting any work on your heat pump, follow these essential safety precautions:
- Turn Off the Power: Locate the breaker that controls your heat pump and turn it off. Verify the power is off with a non-contact voltage tester before touching any components.
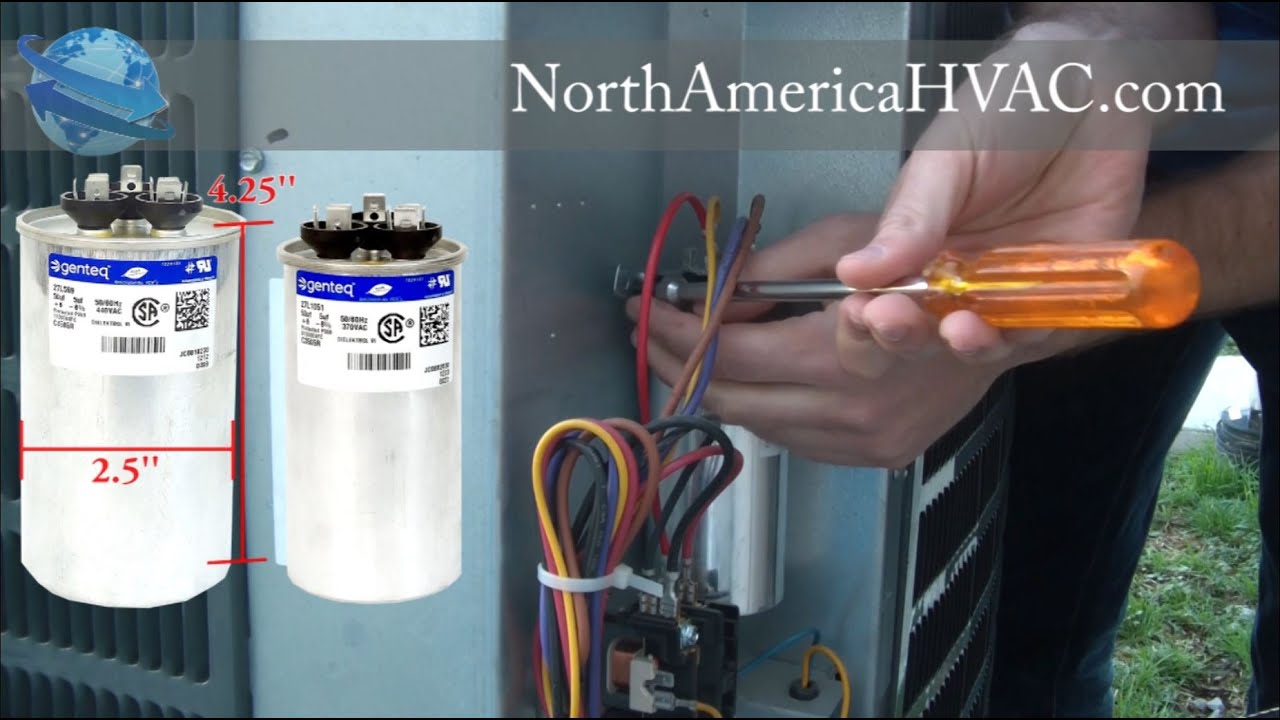
- Discharge the Capacitor: Even with the power off, the capacitor can hold a dangerous electrical charge. Discharge it using an insulated screwdriver with a well-insulated handle. Short the terminals to the metal casing of the capacitor (not to each other directly) to safely discharge it. This step is crucial to avoid electric shock!
- Wear Safety Glasses and Gloves: Protect your eyes and hands from potential hazards.
- Work in a Well-Lit Area: Ensure you have adequate lighting to see what you're doing.
Tools and Materials You'll Need
If you're comfortable proceeding, gather these tools and materials:
- Non-Contact Voltage Tester: To verify the power is off.
- Insulated Screwdriver: To discharge the capacitor and remove screws.
- Multimeter: To test the capacitor's capacitance (optional but recommended).
- Pliers: To remove and reconnect wires.
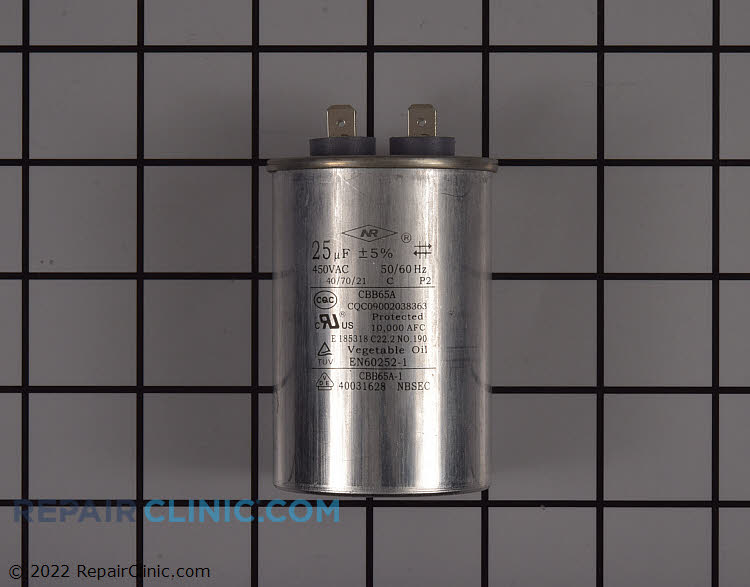
- New Capacitor: Ensure it matches the voltage (VAC) and capacitance (µF) of the old capacitor.
- Camera or Smartphone: To take pictures of the wiring before disconnecting anything.
- Work Gloves: To protect your hands.
- Safety Glasses: To protect your eyes.
Step-by-Step Guide to Replacing a Heat Pump Capacitor
- Locate the Capacitor: The capacitor is usually located inside the outdoor unit (condenser) within the electrical control box.
- Turn Off the Power: As described in the safety section above, turn off the breaker and verify the power is off.
- Access the Capacitor: Remove the access panel(s) to expose the electrical components.
- Discharge the Capacitor: This is the most important safety step! Use an insulated screwdriver to carefully discharge the capacitor as described above. Double-check with your voltage tester that the capacitor is discharged.
- Take a Picture: Before disconnecting any wires, take a clear picture of the wiring connections to the capacitor. This will be invaluable when reconnecting the wires.
- Disconnect the Wires: Carefully disconnect the wires from the capacitor terminals. Use pliers if necessary, and make sure to pull on the connector, not the wire itself.
- Remove the Old Capacitor: Loosen any straps or clamps holding the capacitor in place and remove it.
- Install the New Capacitor: Place the new capacitor in the same position as the old one and secure it with the straps or clamps.
- Reconnect the Wires: Using the picture you took, reconnect the wires to the corresponding terminals on the new capacitor. Ensure the connections are secure.
- Replace the Access Panel(s): Reinstall the access panel(s) to protect the electrical components.
- Turn on the Power: Turn the breaker back on.
- Test the Heat Pump: Turn on your heat pump and observe its operation. Listen for any unusual noises or vibrations.
Testing a Capacitor with a Multimeter (Optional)
If you have a multimeter that can measure capacitance (µF), you can test the capacitor to confirm if it's within its specified range. Follow these steps:
- Turn Off the Power and Discharge the Capacitor: As always, safety first!
- Set the Multimeter: Set your multimeter to measure capacitance (µF). The symbol looks like "µF" or a capacitor symbol.
- Disconnect the Capacitor: Disconnect the wires from the capacitor terminals.
- Connect the Multimeter: Connect the multimeter probes to the capacitor terminals.
- Read the Capacitance: The multimeter will display the capacitor's capacitance value.
- Compare to Rating: Compare the measured value to the capacitor's rated capacitance (printed on the capacitor label). A reading within +/- 10% of the rated value is generally considered acceptable. If the reading is significantly outside this range, the capacitor is likely faulty.
Choosing the Right Replacement Capacitor
Selecting the correct replacement capacitor is crucial for proper heat pump operation. Here's what to look for:
- Voltage (VAC): The replacement capacitor must have a voltage rating equal to or greater than the original capacitor.
- Capacitance (µF): The capacitance value (measured in microfarads) must match the original capacitor. A slight variation (e.g., +/- 5%) is usually acceptable, but it's best to use the exact same value.
- Physical Size: Ensure the replacement capacitor fits in the available space.
- Terminal Type: Match the terminal type (e.g., spade connectors) to ensure proper connection.
Always purchase replacement capacitors from a reputable supplier to ensure quality and reliability. Avoid using generic or low-quality capacitors, as they may not perform as well or last as long.
Common Problems and Solutions
Here's a quick rundown of common issues related to heat pump capacitors and their solutions:
- Problem: Heat pump hums but doesn't start. Solution: Likely a bad start capacitor. Replace the capacitor.
- Problem: Heat pump runs inefficiently. Solution: Possibly a failing run capacitor. Replace the capacitor.
- Problem: Capacitor is bulging or leaking. Solution: Replace the capacitor immediately.
- Problem: Heat pump trips the breaker frequently. Solution: Could be a shorted capacitor or other electrical issue. Call a professional.
- Problem: New capacitor fails quickly. Solution: May indicate a problem with the motor or other electrical component. Call a professional.
When to Call a Professional
While replacing a capacitor can be a relatively straightforward DIY project, there are situations where it's best to call a qualified HVAC technician. Consider seeking professional help if:
- You're uncomfortable working with electricity.
- You're unsure about how to diagnose the problem.
- You suspect there may be other underlying issues with your heat pump.
- You've replaced the capacitor, and the problem persists.
- You're dealing with complex wiring or electrical components.
- You don't have the necessary tools or experience.
Attempting repairs beyond your skill level can be dangerous and may void your heat pump's warranty. It's always better to err on the side of caution and call a professional when in doubt.
Cost of Professional Capacitor Replacement
The cost of a professional capacitor replacement can vary depending on several factors, including:
- Technician's Labor Rate: Labor costs vary by location and experience.
- Capacitor Cost: The cost of the capacitor itself can range from $20 to $100 or more, depending on the type and brand.
- Service Call Fee: Most HVAC companies charge a service call fee to come to your home.
- Complexity of the Job: Difficult-to-access units or other complications can increase the labor cost.
As a general estimate, you can expect to pay between $150 and $400 for a professional capacitor replacement. Getting quotes from multiple HVAC companies is always a good idea to ensure you're getting a fair price.
Preventive Maintenance Tips
While capacitors are prone to failure, there are a few things you can do to help extend their lifespan:
- Regular Heat Pump Maintenance: Schedule annual maintenance with a qualified HVAC technician. They can inspect the capacitor and other components for signs of wear and tear.
- Keep the Outdoor Unit Clean: Clear any debris, such as leaves, grass clippings, and branches, from around the outdoor unit. This will improve airflow and reduce stress on the components.
- Monitor Heat Pump Performance: Pay attention to any changes in your heat pump's performance, such as reduced efficiency or unusual noises. Addressing problems early can prevent more significant damage.
By understanding the role of capacitors in your heat pump and taking proactive steps to maintain your system, you can help ensure its reliable and efficient operation for years to come. Remember that safety is always the top priority, and when in doubt, it's best to call a professional.