Carbon Monoxide Detector Plug In Beeping
The insistent chirp of a carbon monoxide (CO) detector can be unsettling. Is there a life-threatening leak, or is it just a minor malfunction? Understanding the reasons behind the beeping and knowing how to troubleshoot it can bring peace of mind and potentially save lives. This guide focuses on troubleshooting *plug-in carbon monoxide detectors*, offering practical steps to resolve common issues. Remember, safety always comes first!
Understanding the Beeps: CO Alarm Signals vs. Error Signals
It's crucial to distinguish between a CO alarm signaling danger and a detector beeping due to a malfunction or low battery. A genuine CO alarm usually involves a rapid, consistent series of beeps (often four beeps followed by a pause). This indicates the presence of carbon monoxide and requires immediate action: evacuate the premises and call emergency services from a safe location. Do not attempt to troubleshoot a CO alarm signal.
Our focus here is on the single, intermittent beeps or chirps that often indicate a low battery, end-of-life, or other technical issues with the detector itself.
Common Causes of Plug-In CO Detector Beeping
Plug-in CO detectors beep for several reasons, but these are the most frequent culprits:
- Low Battery: This is the most common reason. Many plug-in detectors have a battery backup.
- End of Life: CO detectors have a limited lifespan (typically 5-10 years). After this, they need to be replaced. The beeping signals that the detector needs replacing.
- Malfunction/Error Code: Internal sensor issues or electrical faults can trigger beeping.
- Power Interruption: Brief power outages can sometimes cause the detector to beep as it switches to battery backup.
- Dust or Debris: Dust accumulation can interfere with the sensor's function.
- Humidity/Temperature Extremes: Sometimes, extreme conditions can cause false alarms or beeping.
Troubleshooting Steps: A Systematic Approach
Follow these steps in order to diagnose and resolve the beeping issue. Always prioritize safety and consult a professional if you are unsure about any step.
Step 1: Identify the Beep Pattern
Carefully listen to the beep pattern. Is it a single chirp every minute? Every 30 seconds? A double beep? Note the frequency and pattern, as this information can be helpful in diagnosing the problem. Consult the detector's manual (usually available online with the model number) for specific beep code meanings.
Step 2: Check and Replace the Battery
Even if your CO detector is plugged into an outlet, it likely has a battery backup. A low battery is the most frequent cause of beeping. Here's how to check and replace it:
- Locate the Battery Compartment: This is usually on the side or back of the detector.
- Open the Compartment: Use a screwdriver if necessary.
- Remove the Old Battery: Note the type of battery required (usually a 9V battery).
- Install a New Battery: Ensure the battery is inserted correctly according to the polarity markings (+ and -).
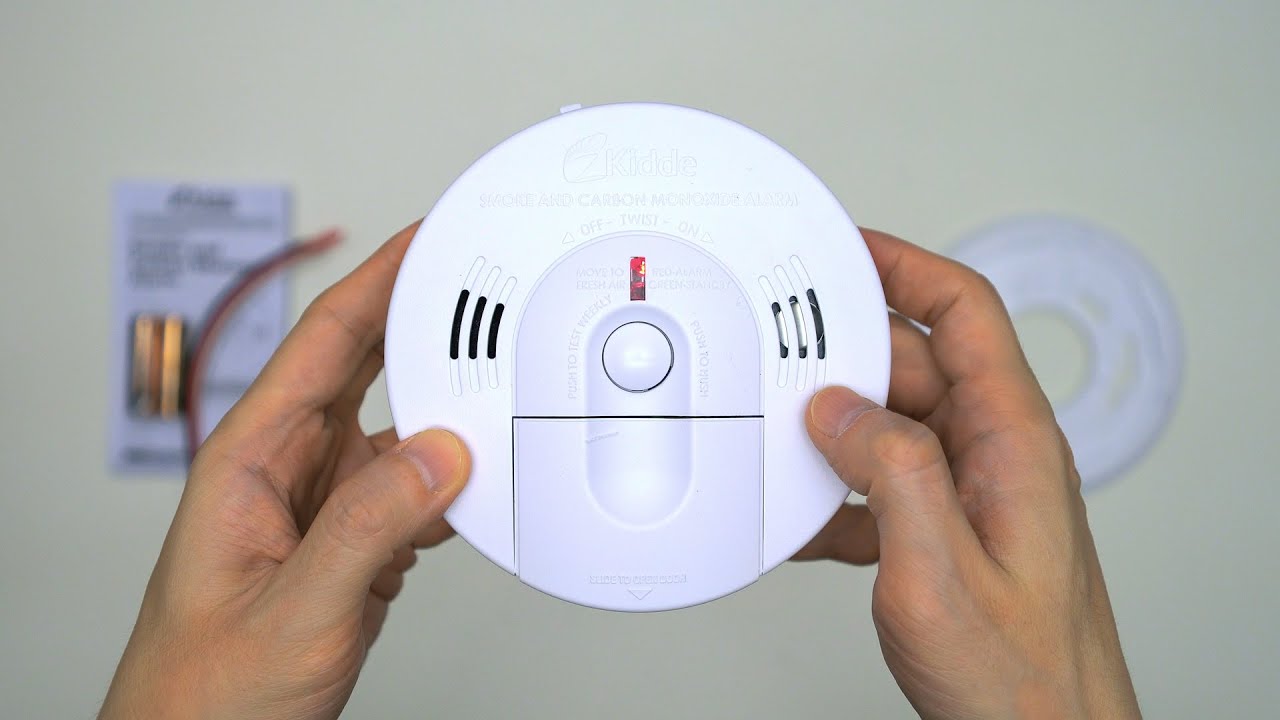
- Test the Detector: Press the "Test" button. The detector should emit a loud alarm sound. If it doesn't, double-check the battery installation or try a different new battery.
- Listen for Beeping: After replacing the battery, wait at least 24 hours. The beeping should stop. If it continues, proceed to the next step.
Safety Note: Always use the correct type of battery specified by the manufacturer.
Step 3: Clean the CO Detector
Dust and debris can interfere with the sensor's ability to accurately detect carbon monoxide. Gently clean the detector to remove any buildup:
- Unplug the Detector: For safety, always unplug the detector from the electrical outlet before cleaning.
- Use a Vacuum Cleaner: Use the brush attachment of a vacuum cleaner to gently vacuum the exterior of the detector, paying particular attention to the vents and openings.
- Wipe with a Damp Cloth: Lightly dampen a clean, soft cloth with water. Gently wipe the exterior of the detector. Do not allow any water to enter the detector's interior.
- Dry Thoroughly: Allow the detector to air dry completely before plugging it back in.
- Test the Detector: Plug the detector back in and press the "Test" button.
Step 4: Check the Power Outlet
Sometimes, the issue isn't with the detector itself, but with the power outlet:
- Test the Outlet: Plug a different device (lamp, phone charger, etc.) into the same outlet to see if it works. If the other device doesn't work, the problem is with the outlet.
- Check the Circuit Breaker: If the outlet isn't working, check the circuit breaker panel. Look for a tripped breaker and reset it.
- Try a Different Outlet: If the outlet is working, try plugging the CO detector into a different outlet to see if the beeping stops.
Safety Note: If you suspect an electrical issue with the outlet or circuit breaker, consult a qualified electrician. Do not attempt to repair electrical problems yourself.
Step 5: Check the Detector's Age and Expiration Date
CO detectors have a limited lifespan, typically 5-10 years. Most detectors have an expiration date printed on the back or side. If the detector is past its expiration date, it needs to be replaced. The beeping might be an "end-of-life" warning.
- Locate the Expiration Date: Check the back or side of the detector for a date label.
- Determine the Detector's Age: If there's no expiration date, look for the manufacture date. Add the typical lifespan (5-10 years) to the manufacture date to estimate when the detector should be replaced.
- Replace the Detector: If the detector is expired or nearing its expiration date, purchase a new CO detector.
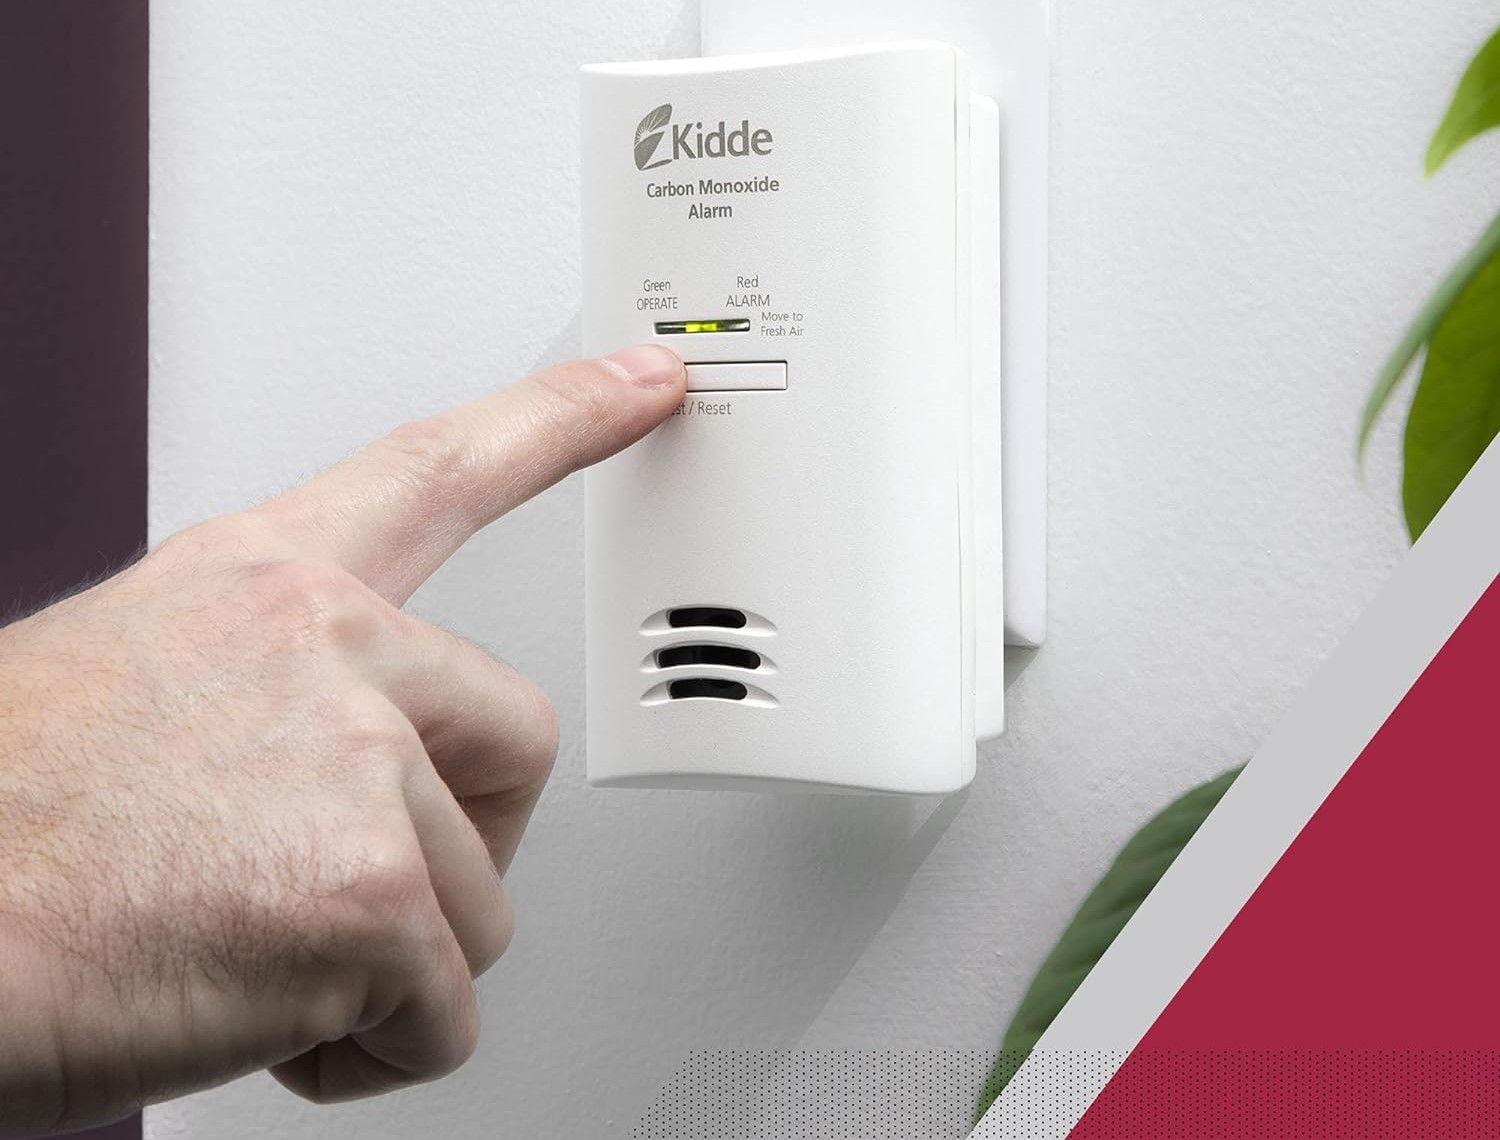
Step 6: Reset the CO Detector
Some CO detectors have a reset button that can clear error codes and potentially stop the beeping. Consult your detector's manual for instructions on how to reset it.
- Locate the Reset Button: This is usually a small button on the front or side of the detector.
- Press and Hold the Reset Button: Typically, you need to press and hold the reset button for 5-10 seconds.
- Test the Detector: After resetting, press the "Test" button to ensure the detector is functioning properly.
- Monitor for Beeping: Wait at least 24 hours to see if the beeping stops.
Step 7: Consider Environmental Factors
In rare cases, environmental factors can trigger false alarms or beeping:
- High Humidity: Extremely humid conditions can sometimes affect the sensor.
- Temperature Extremes: Very hot or very cold temperatures can also cause issues.
- Chemical Fumes: Strong chemical fumes from cleaning products, paint, or other sources can potentially trigger a response.
If you suspect environmental factors are the cause, try temporarily moving the detector to a different location to see if the beeping stops.
When to Call a Professional
While many CO detector issues can be resolved with simple troubleshooting steps, there are situations where you should always consult a qualified professional:
- If you suspect a genuine CO leak: Evacuate immediately and call emergency services. Do not try to troubleshoot the detector.
- If the beeping persists after trying all the troubleshooting steps: This indicates a more serious problem with the detector.
- If you are uncomfortable working with electricity: Do not attempt to repair electrical outlets or wiring yourself.
- If you are unsure about any step in the troubleshooting process: It's always better to be safe than sorry. Call a qualified technician or electrician.
Preventing Future Issues
Here are some tips to help prevent CO detector issues in the future:
- Replace Detectors Regularly: Replace CO detectors every 5-10 years, or as recommended by the manufacturer.
- Test Detectors Monthly: Press the "Test" button monthly to ensure the detector is functioning properly.
- Keep Detectors Clean: Regularly vacuum and clean detectors to remove dust and debris.
- Install Detectors in the Right Locations: Follow the manufacturer's instructions for proper placement. Generally, CO detectors should be installed on each level of your home and near sleeping areas.
- Maintain Fuel-Burning Appliances: Have your furnace, water heater, and other fuel-burning appliances inspected and maintained regularly by a qualified technician.
Choosing a New CO Detector
If you need to replace your CO detector, consider these factors:
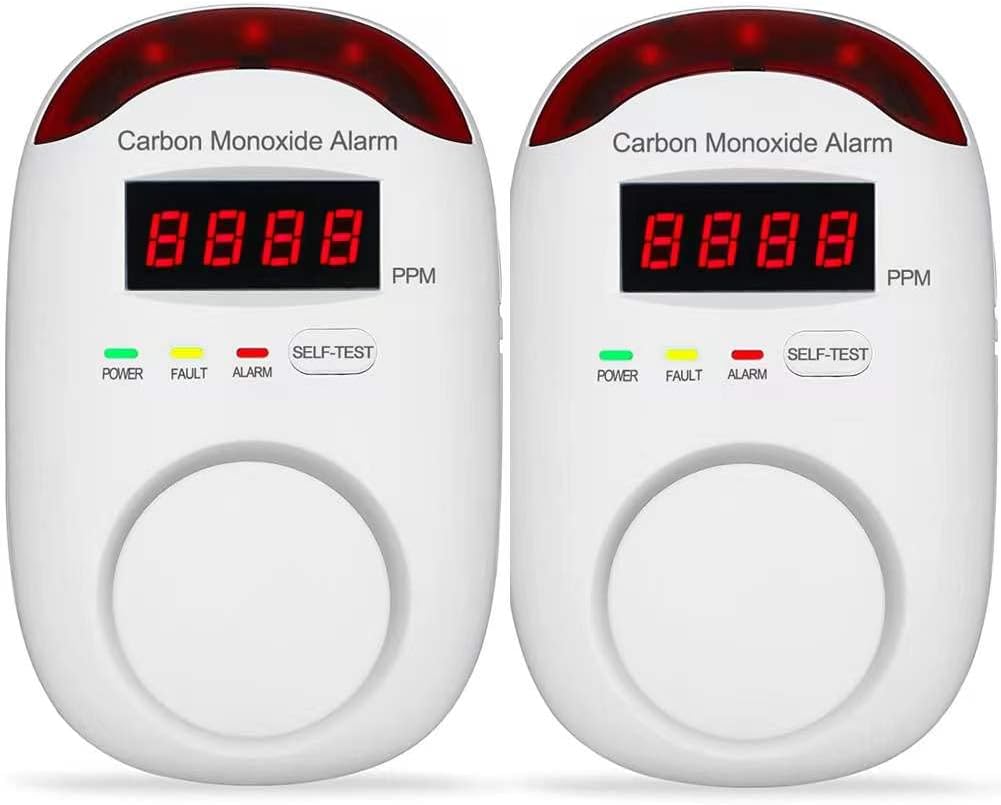
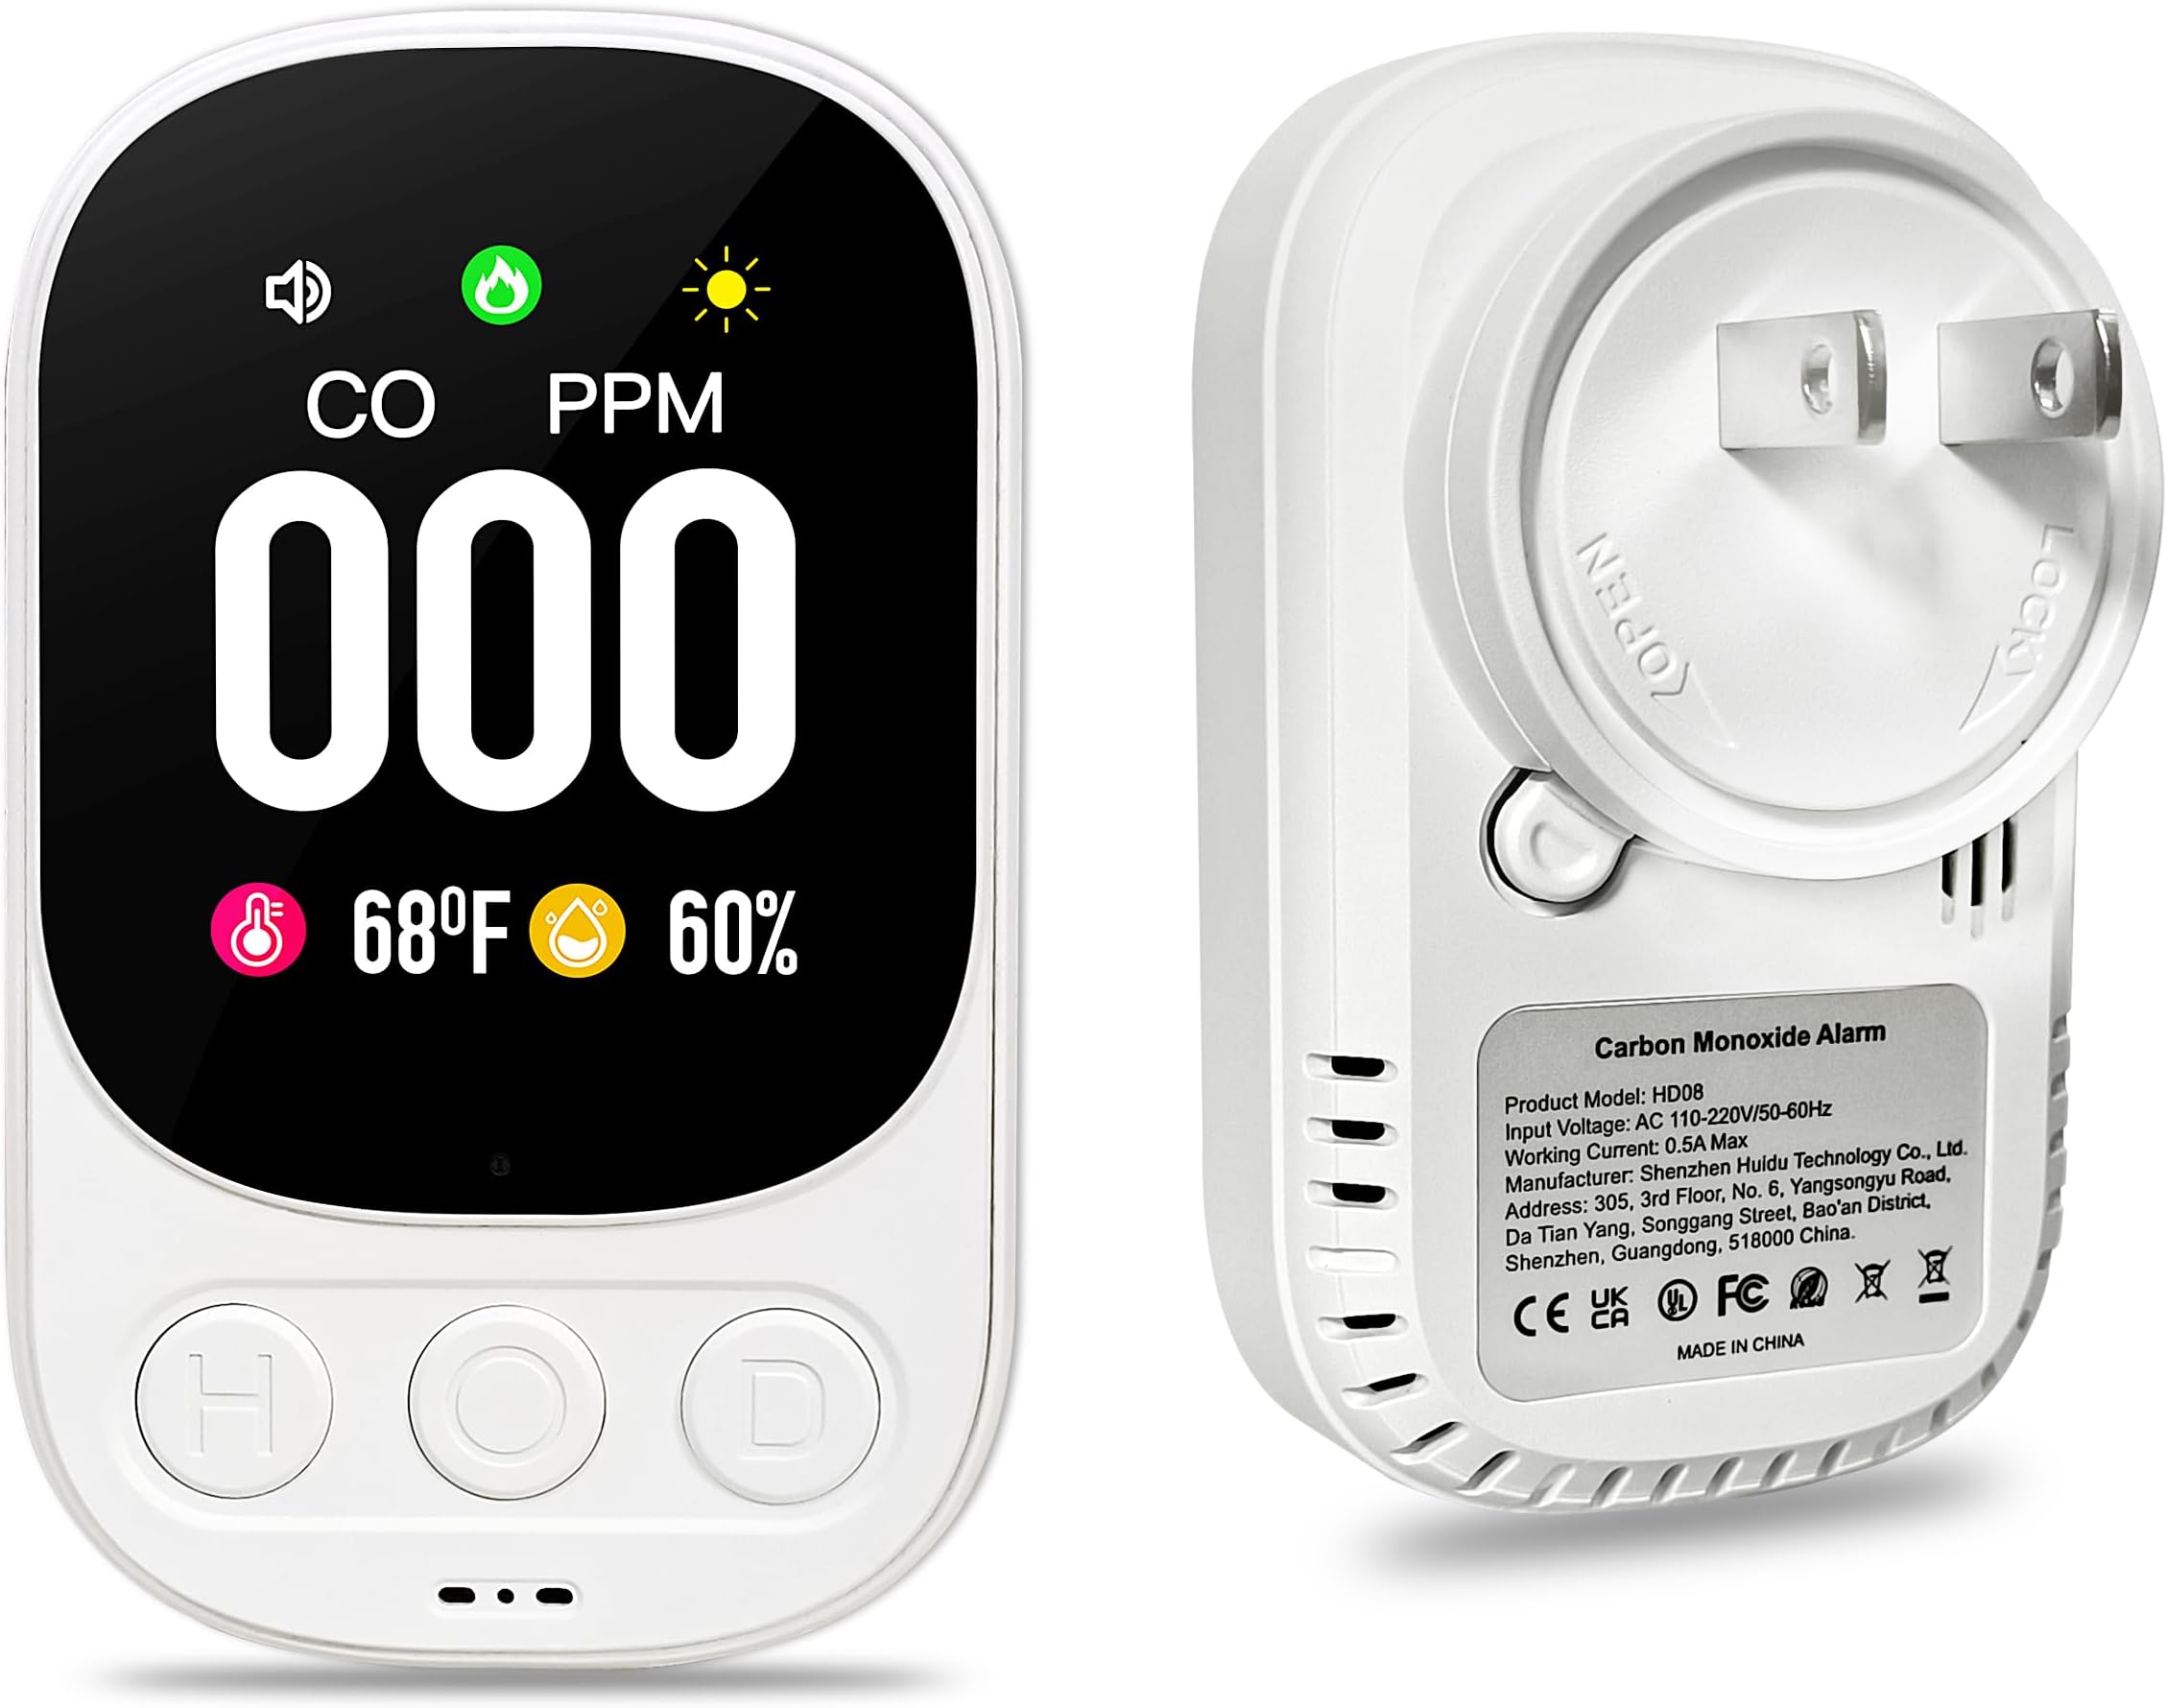
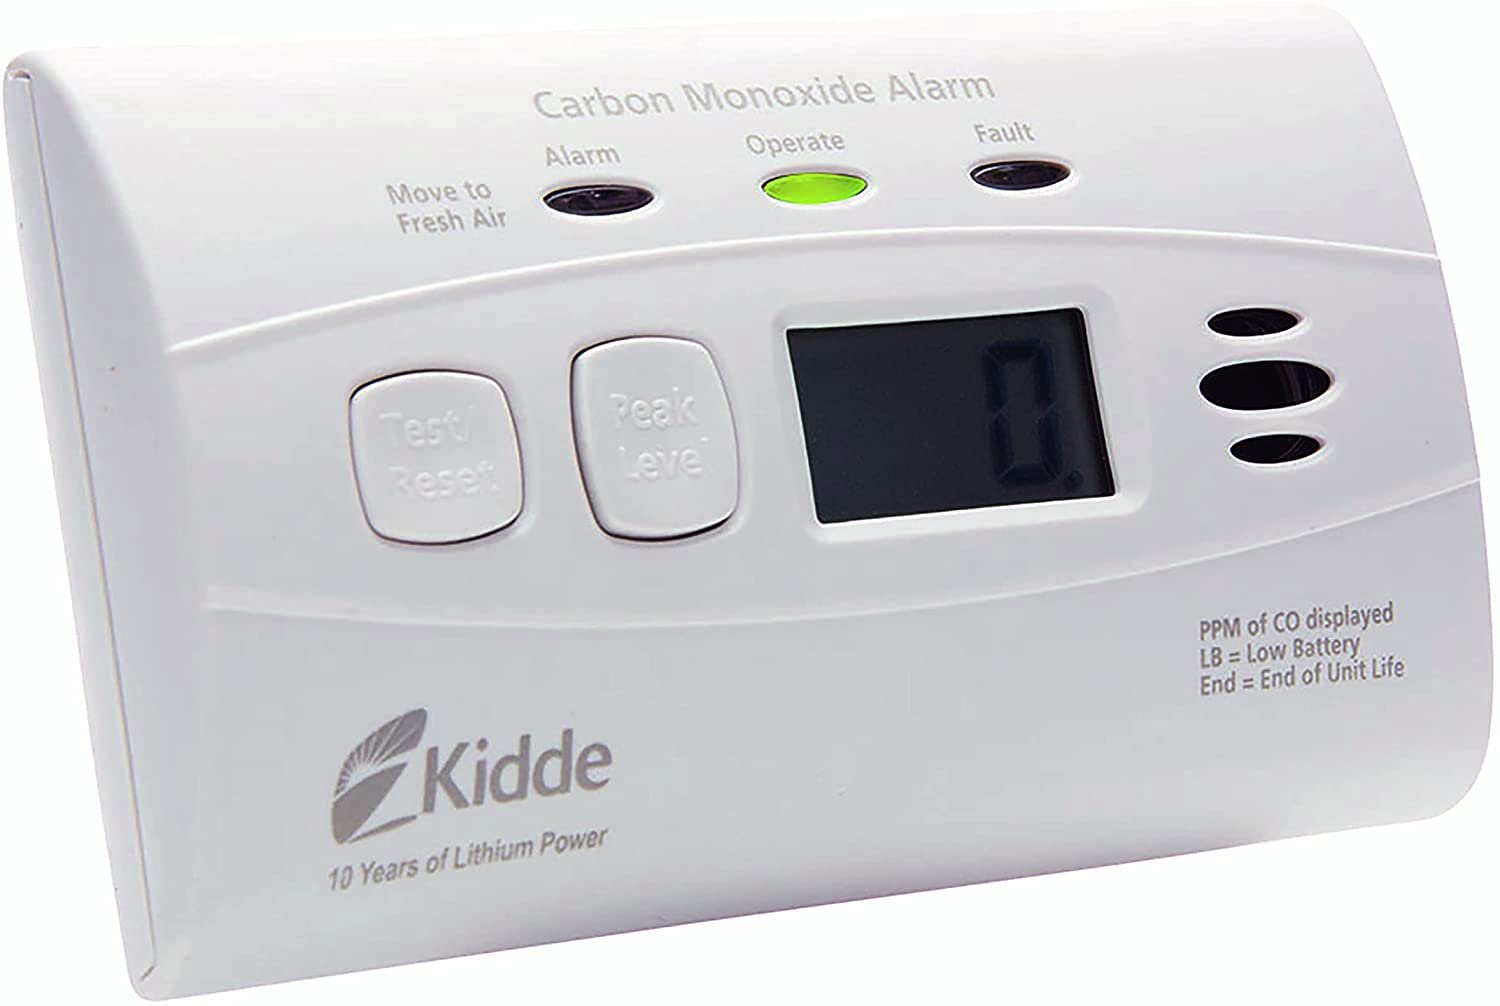
- Type: Choose between plug-in, battery-powered, or hardwired detectors.
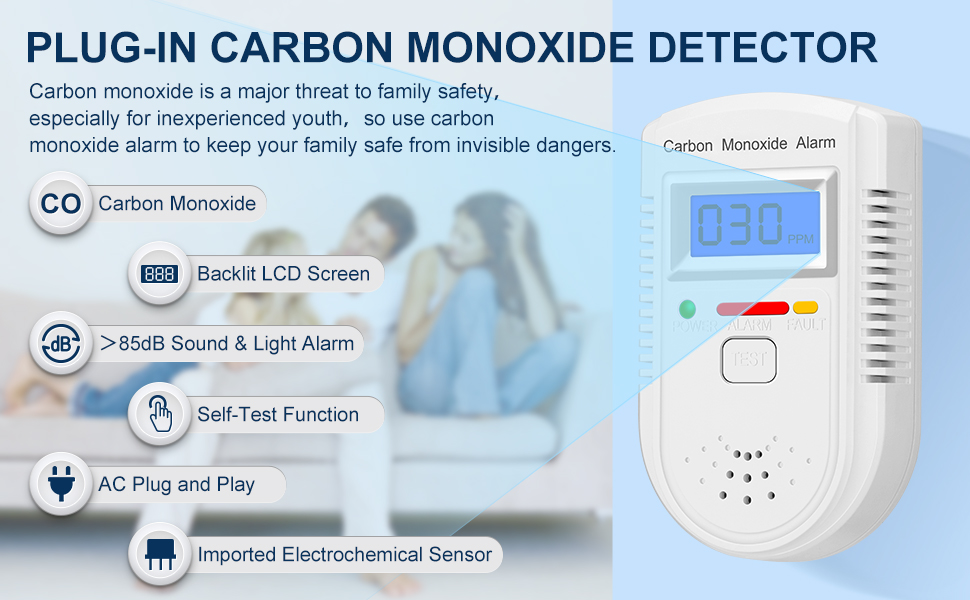
- Features: Look for detectors with digital displays, voice alarms, and long-lasting batteries.
- Certification: Ensure the detector is certified by a reputable testing organization (e.g., UL).
- Smart Features: Consider detectors that connect to your smartphone for remote monitoring and alerts.
By understanding the common causes of CO detector beeping and following these troubleshooting steps, you can effectively address many issues and ensure your home remains a safe environment. Remember, safety is paramount, and when in doubt, always consult a professional.