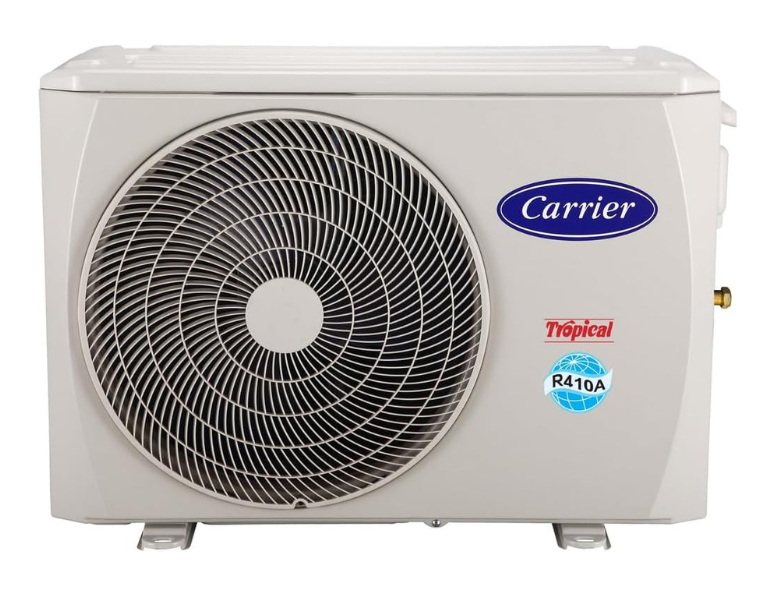
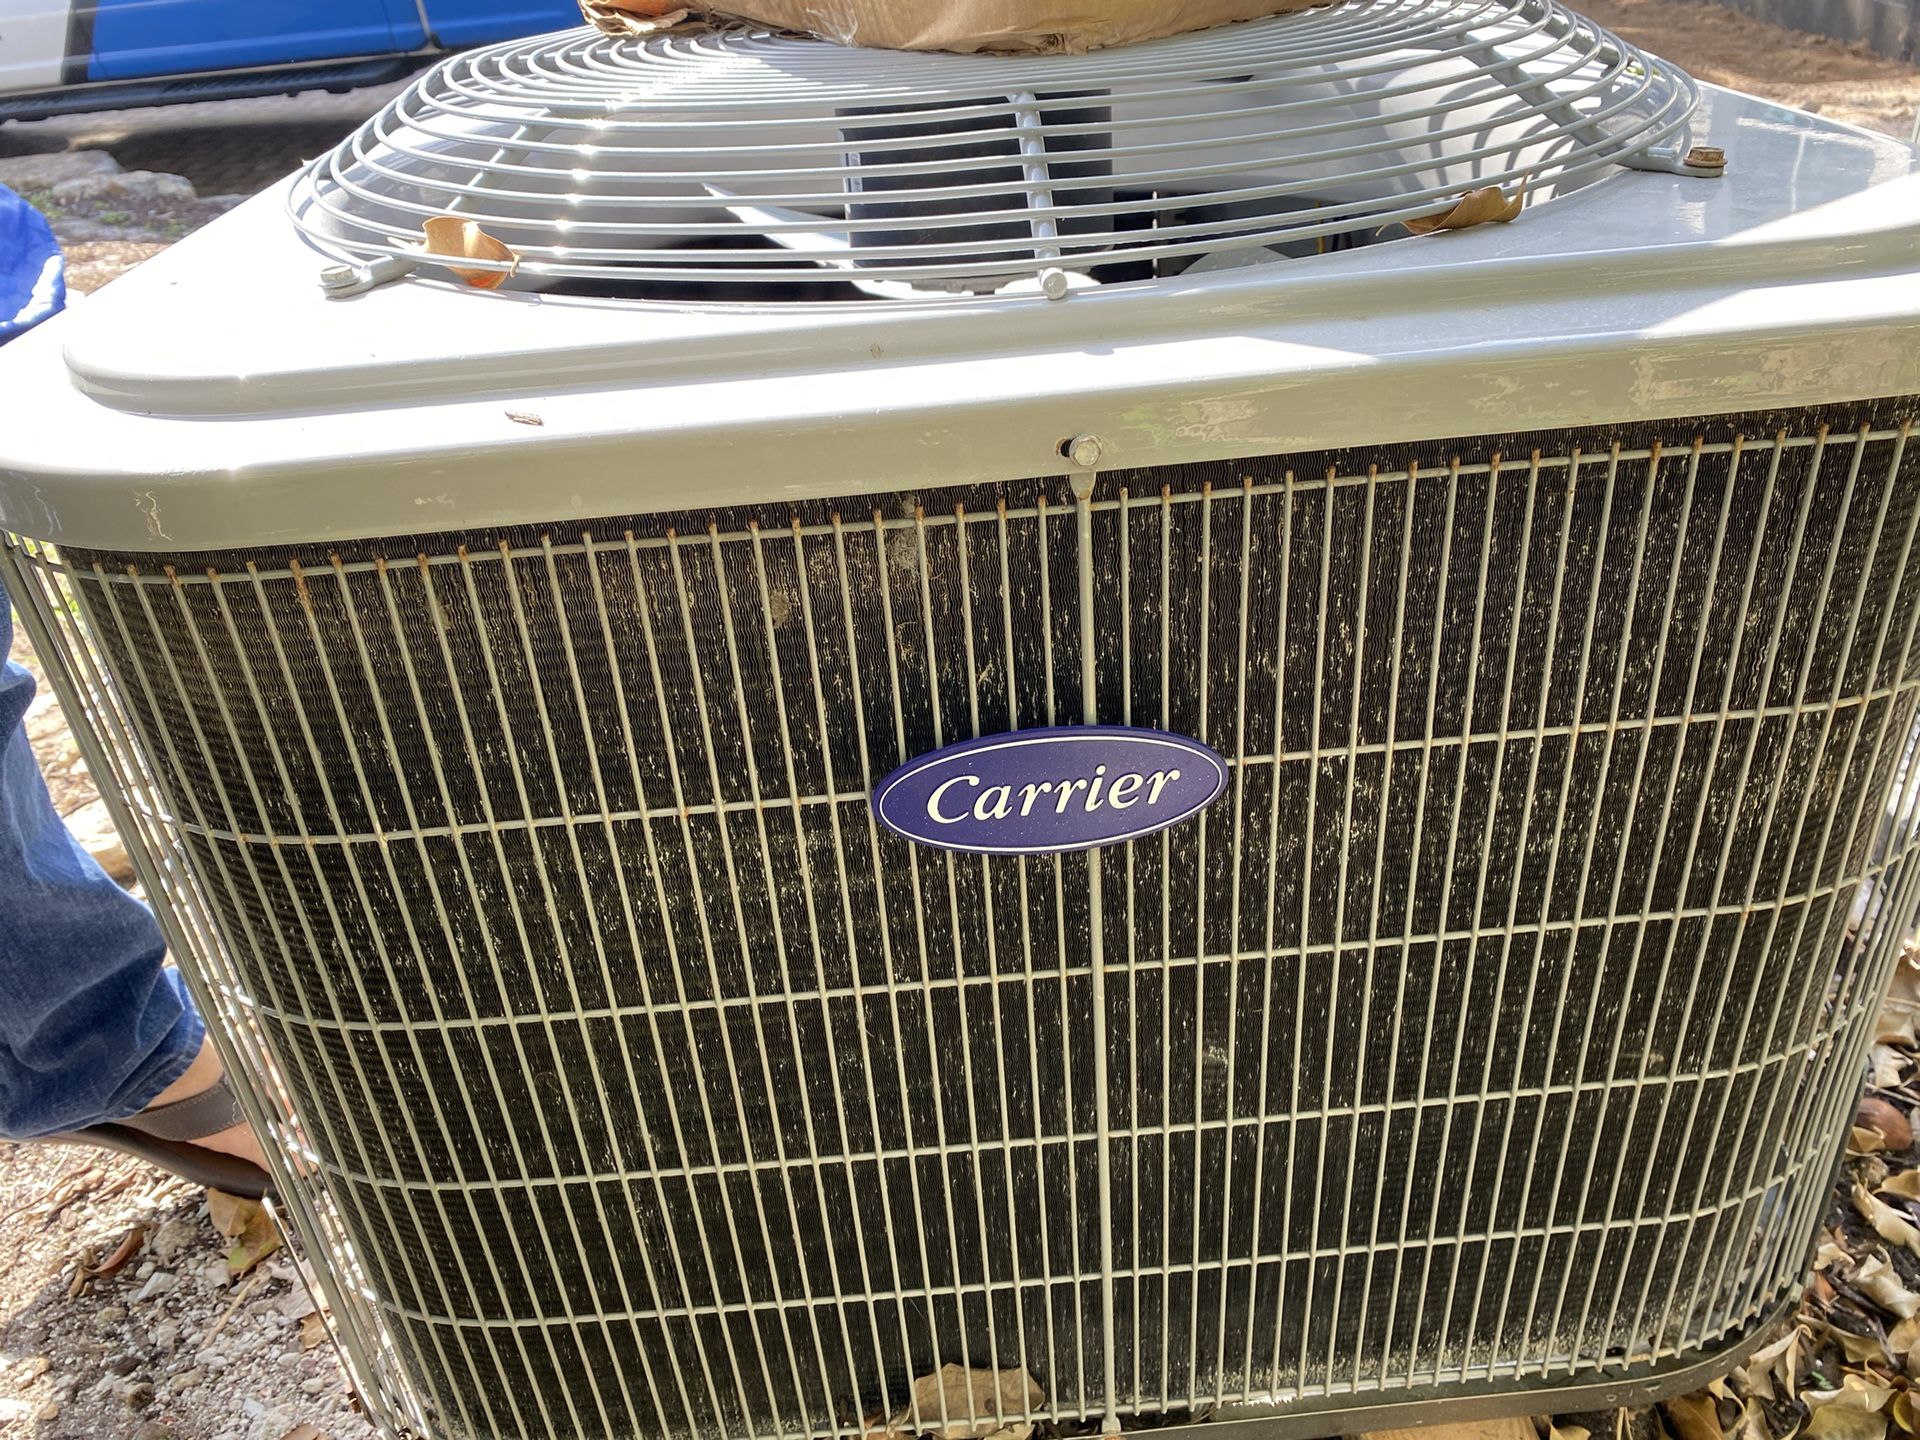
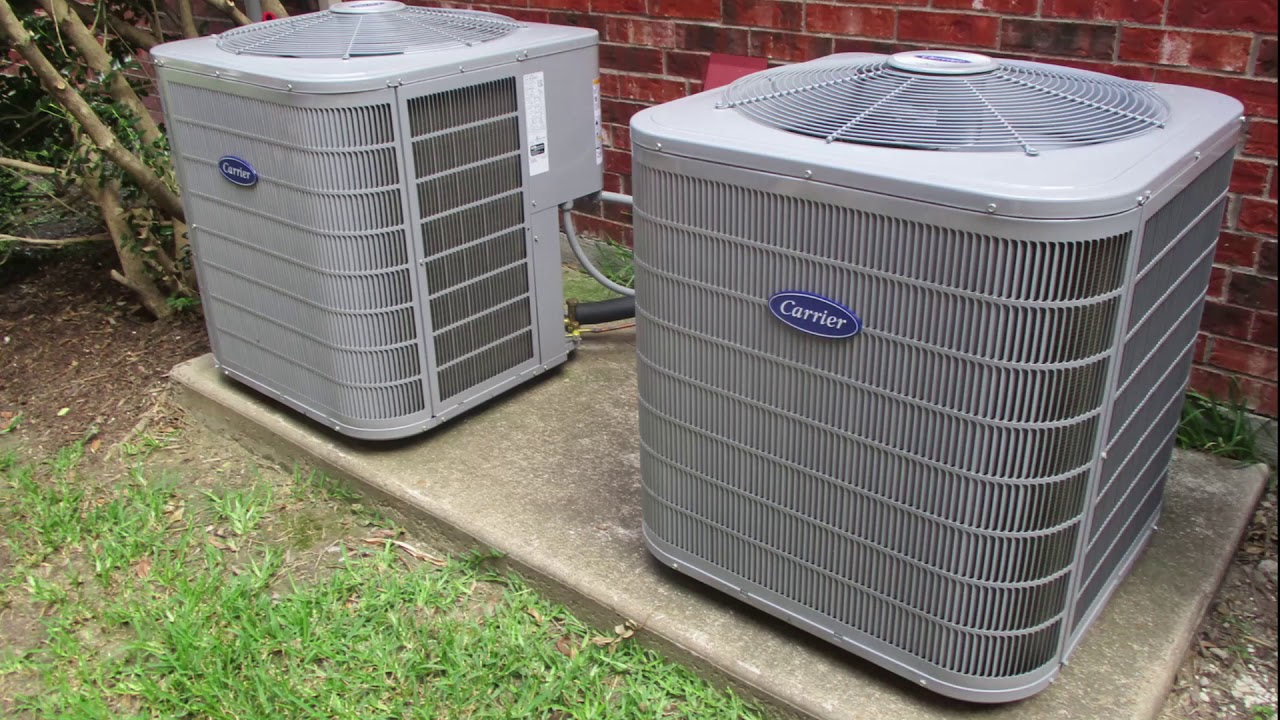
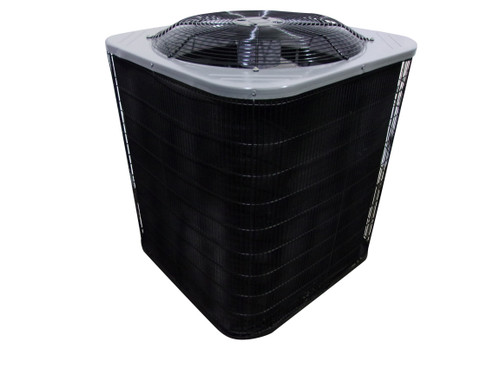
Carrier 3 Ton Condensing Unit

Is your Carrier 3-ton condensing unit not keeping your home as cool or warm as it should? A common complaint homeowners have is that the unit is running, but the house isn't reaching the set temperature, or that it takes an excessively long time to do so. This article will guide you through a systematic troubleshooting process to diagnose the issue and perform some basic fixes yourself. Remember, safety is paramount. If you're uncomfortable with any step, or if the problem is beyond your skill level, call a qualified HVAC technician.
Initial Assessment: Is the Unit Running at All?
Before diving into complex troubleshooting, let's confirm the basics. Is your Carrier unit even turning on?
Step 1: Check the Thermostat.
- Without Tools: Ensure the thermostat is set to "Cool" or "Heat" mode, depending on the season, and that the set temperature is significantly lower (in cooling mode) or higher (in heating mode) than the current room temperature. Are the batteries in the thermostat fresh? Low batteries can cause erratic behavior.
Step 2: Listen to the Outdoor Unit.
- Without Tools: Go outside to where your Carrier condensing unit is located. Do you hear the fan running? Do you hear the compressor humming? If you hear nothing at all, it indicates a power issue or a major component failure.
If the unit isn't running at all, proceed to the next section.
Troubleshooting: Unit Not Running
If your Carrier condensing unit isn't turning on, the problem likely lies in the power supply, the disconnect switch, or a safety device within the unit.
Step 1: Check the Circuit Breaker.
- Without Tools: Go to your electrical panel and locate the circuit breaker for your HVAC system (it should be labeled). Is the breaker tripped (switched to the "off" or a mid-way position)? If so, flip it fully to the "off" position and then back to the "on" position. If it trips again immediately, there's a short circuit somewhere, and you need to call a professional.
Step 2: Examine the Disconnect Switch.
- Without Tools: Near your Carrier unit, you should find a disconnect switch. This is a safety device that allows you to cut power to the unit for maintenance. Make sure the switch is in the "on" position. Sometimes, these switches can be accidentally bumped or switched off during yard work.
Step 3: Check the Contactor.
- CAUTION: Electricity is dangerous. If you are not comfortable working with electricity, skip this step and call a professional.
- With Basic Equipment (Multimeter): The contactor is an electrical switch inside the condensing unit that controls power to the compressor and fan motor. Turn off the power to the unit at the disconnect switch! Open the access panel to the unit (you may need a screwdriver). Locate the contactor (it's a rectangular component with wires connected to it). Use a multimeter to check for voltage on both sides of the contactor when the thermostat is calling for cooling (or heating). If you have voltage coming *to* the contactor but *not* going *out*, the contactor is likely faulty and needs replacement. This is best left to a professional, as incorrect wiring can damage the unit.
If the circuit breaker keeps tripping, or if you suspect a faulty contactor, it's time to call an HVAC professional. Do not attempt to bypass safety devices.
Troubleshooting: Unit Running, But Not Cooling/Heating Effectively
If your Carrier unit is running but not providing adequate cooling or heating, the issue could be related to airflow, refrigerant levels, or a malfunctioning component.
Step 1: Check the Air Filter.
- Without Tools: A dirty air filter is the most common cause of poor cooling/heating performance. Locate your air filter (usually inside the air handler near the furnace or blower). Hold it up to the light. If you can't see light through it, it's dirty and needs to be replaced. Replace it with a new filter of the correct size and type.
Step 2: Inspect the Outdoor Unit for Obstructions.
- Without Tools: Make sure the condensing unit is free from obstructions like leaves, grass clippings, shrubs, or snow. These obstructions can restrict airflow and reduce efficiency. Clear away any debris around the unit, ensuring at least 2-3 feet of clearance on all sides.
Step 3: Clean the Condenser Fins.
- With Basic Equipment (Garden Hose): Over time, the condenser fins (the metal fins surrounding the unit) can become dirty with dust and debris. This reduces their ability to release heat. Turn off the power to the unit at the disconnect switch! Use a garden hose with a gentle spray nozzle to clean the fins from the inside out. Avoid using high pressure, as this can damage the fins. Be careful not to get water inside the electrical components. Let the unit dry completely before turning the power back on.
Step 4: Check the Indoor Evaporator Coil.
- This step requires some technical knowledge and caution. If you are not comfortable with it, skip it and call a professional.
- With Basic Equipment (Screwdriver, Possibly Fin Comb): The evaporator coil is located inside your indoor air handler. Access it by removing the access panel. Turn off the power to the indoor unit at the breaker! Inspect the coil for dirt and ice buildup. A dirty coil can restrict airflow and reduce cooling capacity. If the coil is dirty, you can try to carefully clean it with a coil cleaner (available at most hardware stores) and a soft brush. If you see ice buildup, it could indicate low refrigerant, a restricted airflow issue (dirty filter), or a malfunctioning expansion valve. Melting the ice with a hair dryer is not recommended as you could damage the coil!
- If the fins on the coil are bent, use a fin comb to gently straighten them.
Step 5: Listen for Unusual Noises.
- Without Tools: While the unit is running, listen for any unusual noises, such as banging, grinding, or hissing. These noises could indicate a failing compressor, fan motor, or other internal component. Note the type of noise and when it occurs (e.g., only when the unit starts up). This information will be helpful to an HVAC technician.
Step 6: Check for Leaking Refrigerant Lines.
- Without Tools (Visual Inspection): Examine the copper refrigerant lines that run between the indoor and outdoor units for signs of leaks. Look for oily residue or ice buildup on the lines. If you see any signs of a leak, do not attempt to repair it yourself. Refrigerant is a hazardous substance, and repairing leaks requires specialized equipment and training. Contact a licensed HVAC technician immediately.
When to Call a Professional
While you can perform some basic troubleshooting steps yourself, certain issues require the expertise of a qualified HVAC technician. Here are some situations where you should call for professional help:
- Refrigerant Leaks: Handling refrigerant requires specialized equipment and certification.
- Compressor Problems: The compressor is the heart of the system. If it's failing, it's a major repair.
- Electrical Issues: If you're not comfortable working with electricity, leave it to the pros.
- Suspected Ductwork Issues: Problems with your ductwork (e.g., leaks, blockages) can significantly reduce efficiency. Diagnosing these issues often requires specialized equipment.
- Unit is Still Not Working After Troubleshooting: If you've gone through the troubleshooting steps and the unit is still not working properly, there's likely a more complex problem that requires professional diagnosis and repair.
- Ice buildup on the Evaporator coil: This is a sign of low refrigerant or a blocked airflow and requires professional assistance.
Preventative Maintenance
The best way to avoid problems with your Carrier 3-ton condensing unit is to perform regular preventative maintenance. Here are some tips:
- Change your air filter regularly (every 1-3 months).
- Keep the outdoor unit free from obstructions.
- Clean the condenser fins annually.
- Schedule annual professional maintenance with a qualified HVAC technician. This includes a thorough inspection, cleaning, and tune-up of your system.
By following these troubleshooting steps and performing regular maintenance, you can keep your Carrier 3-ton condensing unit running efficiently and reliably for years to come. Remember, when in doubt, call a professional. Your comfort and safety are worth it!