Carrier 3 Ton Heat Pump Package Unit

It's a sweltering summer afternoon, or a frigid winter night, and your Carrier 3-ton heat pump package unit is blowing… nothing. Or worse, it's blowing the *wrong* temperature air. This is a common homeowner frustration, and often, a little detective work can save you a costly service call. This guide will walk you through some basic troubleshooting steps you can safely perform before calling in the pros.
Problem: No Heating or Cooling (or Weak Airflow)
This is probably the most frequent complaint. Before you panic, let's break down the diagnostic process.
Step 1: Check the Thermostat
This might seem obvious, but it's often the culprit!
- Verify Power: Ensure the thermostat has power. If it's battery-operated, replace the batteries. A weak battery can cause intermittent or incorrect readings.
- Mode Setting: Make sure the thermostat is set to the correct mode (HEAT or COOL) and the fan is set to AUTO. Setting the fan to ON constantly will blow air, but if the system isn't actively heating or cooling, it will be unconditioned air.
- Temperature Setting: Is the set temperature significantly different from the room temperature? Lower the temperature setting for cooling (by at least 5 degrees) or raise it for heating (again, by at least 5 degrees) and wait a few minutes to see if the system kicks on.
- Emergency Heat: If you have an "Emergency Heat" setting, ensure it's *not* activated unless it's a genuine emergency (like compressor failure – which you likely wouldn't know without professional diagnosis). Emergency heat often uses a less efficient electric resistance heating, leading to higher energy bills and potentially weaker airflow.
DIY Fix: Replace thermostat batteries. Adjust thermostat settings as described above.
Step 2: Inspect the Outdoor Unit
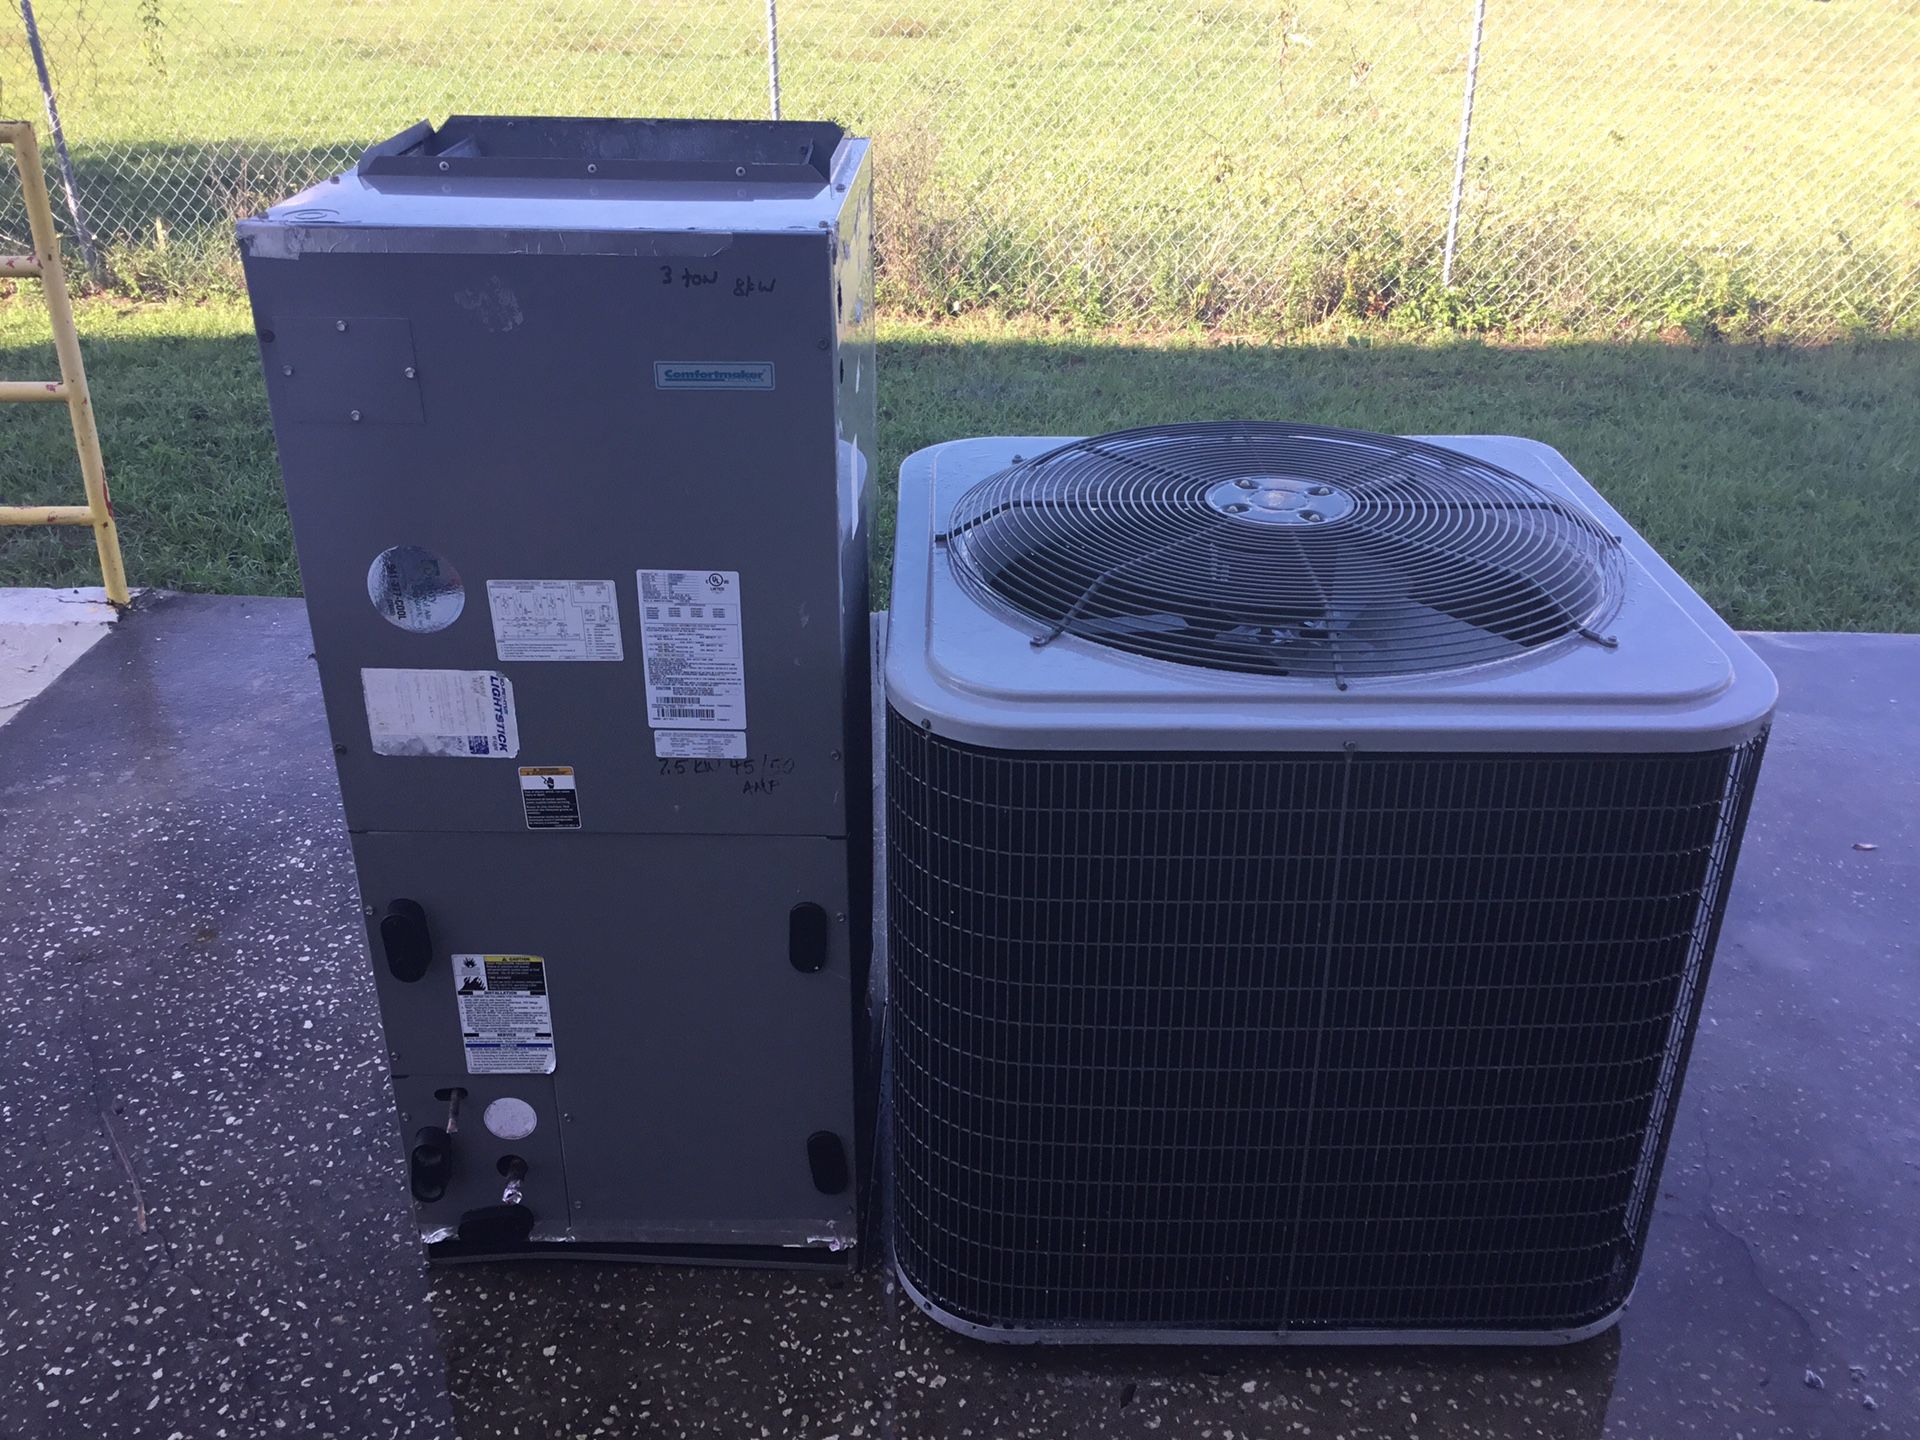
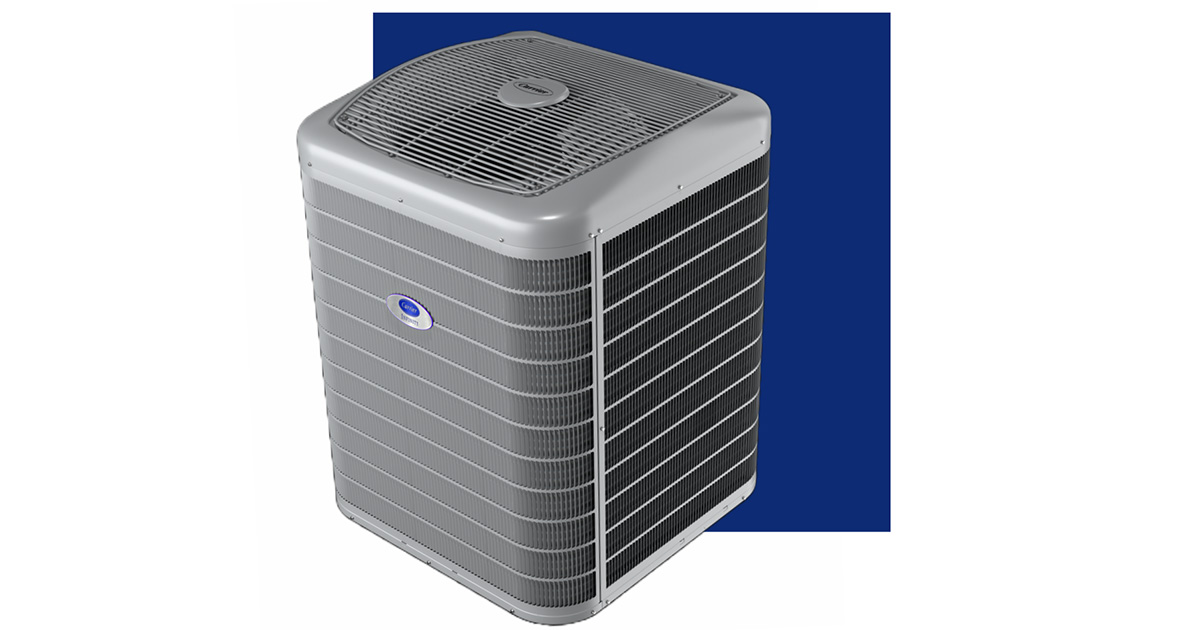
Your 3-ton Carrier heat pump package unit lives outside, and it's subject to the elements. A visual inspection is crucial.
- Power Disconnect: Before touching anything, locate the electrical disconnect box near the unit (usually a pull-out handle or a switch within a gray metal box). Turn the power OFF to the unit. This is a critical safety step.
- Obstructions: Is the unit blocked by debris like leaves, snow, ice, or overgrown vegetation? These obstructions restrict airflow, severely impacting performance. Clear any obstructions *carefully* by hand, avoiding damage to the delicate fins.
- Ice Buildup: In heating mode, some ice buildup is normal during defrost cycles. However, excessive ice (covering most of the unit) indicates a problem.
- Coil Condition: Look at the fins on the outdoor coil (the metal "radiator" surrounding the unit). Are they bent, crushed, or heavily soiled? Damaged fins reduce airflow and heat transfer.
DIY Fix: Remove debris and obstructions. Gently straighten bent fins with a fin comb (available at most hardware stores). Do *not* use sharp objects or excessive force.
Step 3: Check the Air Filter
A dirty air filter is a major cause of reduced airflow and system inefficiency. It forces the unit to work harder, potentially leading to overheating and component failure.
- Location: The air filter is usually located either within the indoor unit (if you have a split system with an indoor air handler), or within the package unit itself. Consult your unit's manual for the exact location.
- Inspection: Remove the filter and hold it up to the light. If you can barely see through it, it's time for a change.
DIY Fix: Replace the air filter with a new one of the *correct* size and type. Using an incorrect filter can damage the unit. Follow the manufacturer's recommendations for filter type (MERV rating). A higher MERV rating filters more particles, but can also restrict airflow if your system isn't designed for it. Aim to replace the air filter every 1-3 months, depending on usage and air quality.
Step 4: Inspect the Blower Motor
The blower motor circulates air through your home. If it's not working properly, you'll experience weak or no airflow.
- Power OFF: Ensure the power to the unit is OFF at the disconnect.
- Access: Locate the blower motor compartment (usually behind an access panel). Refer to your unit's manual for its specific location.
- Visual Inspection: Check for any obvious signs of damage, such as burnt wires, loose connections, or a physically damaged motor.
- Blower Wheel: Spin the blower wheel by hand. It should spin freely and without excessive resistance. If it's difficult to turn, or makes a grinding noise, the motor bearings may be failing.
DIY Fix: Tighten any loose wire connections after ensuring the power is off. If the blower wheel is obstructed, carefully remove the obstruction (e.g., debris). WARNING: *NEVER* attempt to lubricate the blower motor unless it is specifically designed to be lubricated. Improper lubrication can damage the motor.
Step 5: Reset the Breaker
Sometimes, a power surge or overload can trip the breaker for your heat pump.
- Location: Locate your electrical panel.
- Identification: Identify the breaker labeled for your heat pump.
- Reset: If the breaker is tripped (usually in the "off" or middle position), flip it fully to the "off" position, then back to the "on" position.
DIY Fix: Reset the breaker. If the breaker trips again immediately, do not continue resetting it. This indicates a more serious electrical problem that requires professional attention.
When to Call a Professional
While these DIY steps can resolve many common issues, certain problems require the expertise and tools of a qualified HVAC technician. It is crucial to prioritize your safety and avoid attempting repairs beyond your skill level.
Call a professional if:
- Refrigerant Leaks: You suspect a refrigerant leak (hissing sound, ice buildup on lines even when it's warm outside, poor cooling performance). Refrigerant handling requires specialized equipment and certification.
- Electrical Problems: You observe burnt wires, sparking, or the breaker trips repeatedly. Electrical work can be dangerous and should only be performed by a qualified electrician or HVAC technician.
- Compressor Issues: The compressor (the heart of the system) is making loud noises, not running, or overheating. Compressor repairs are complex and expensive.
- Motor Failures: The blower motor or other motors are completely unresponsive, making unusual noises, or showing signs of physical damage beyond simple loose connections.
- Control Board Problems: The control board (the brain of the system) is malfunctioning or showing error codes that you can't diagnose using the unit's manual.
- Icing Issues: Excessive ice buildup persists even after defrost cycles, and after you have ensured the coils are clean. This could indicate a refrigerant or airflow problem.
- You are Uncomfortable: If at any point during these troubleshooting steps you are uncomfortable or unsure, stop and call a professional.
- You've exhausted all the DIY options: If you've tried all the above steps and your system is still not working correctly, it's time to call in the pros.
- Unusual Odors: Any strange burning smells coming from the unit should be investigated by a professional immediately.
Safety First!
Always turn off the power to the unit at the disconnect box before performing any maintenance or repairs. Wear appropriate safety gear, such as gloves and eye protection. If you are unsure about any step, consult a qualified HVAC technician.
Preventative Maintenance:
Regular maintenance is key to keeping your Carrier 3-ton heat pump package unit running smoothly and efficiently. Consider scheduling annual professional maintenance to ensure optimal performance and prolong the life of your system. Preventative maintenance typically includes cleaning coils, checking refrigerant levels, lubricating moving parts, and inspecting electrical connections.
By following these troubleshooting steps and knowing when to call a professional, you can keep your Carrier heat pump running efficiently and comfortably, saving you money and headaches in the long run. Remember to consult your unit's manual for specific instructions and safety information.