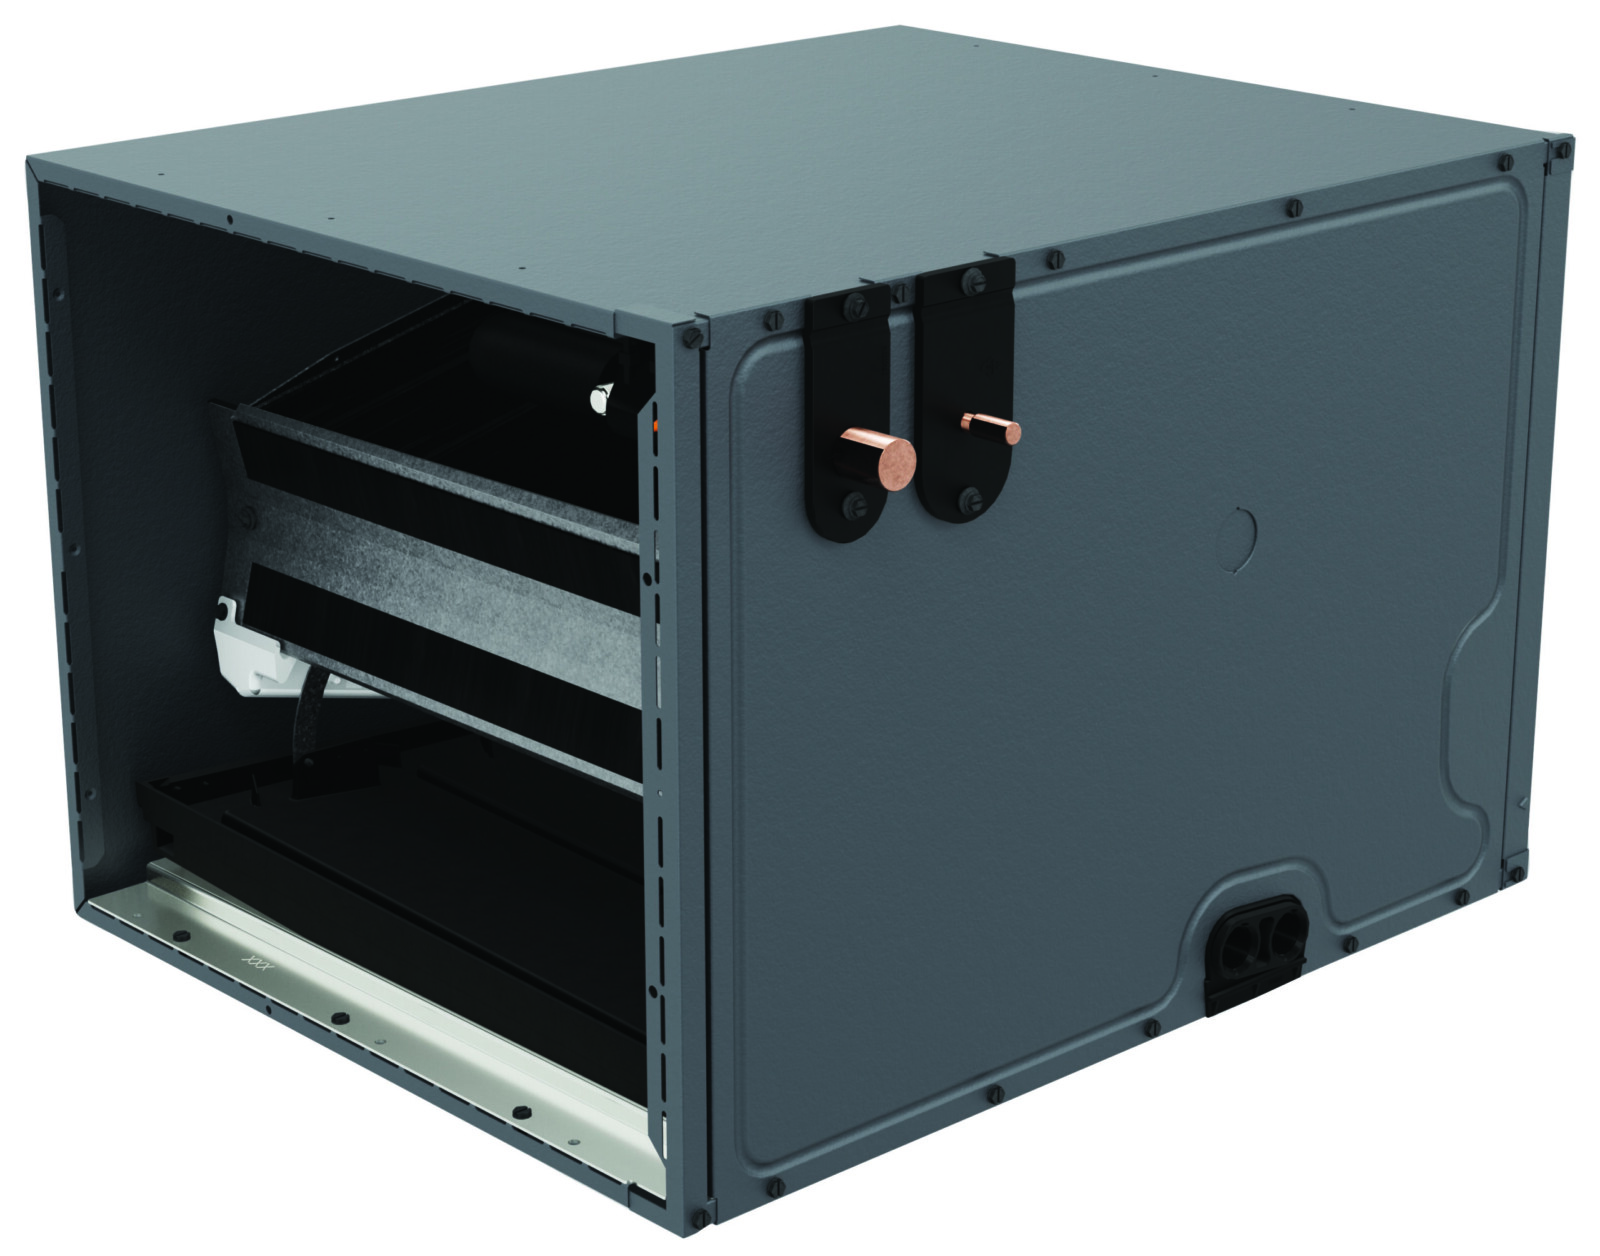
Carrier 3.5 Ton Evaporator Coil

The evaporator coil is a crucial component of your air conditioning system, responsible for absorbing heat from your home's air. A Carrier 3.5 ton evaporator coil is designed for homes needing moderate cooling capacity, typically around 1600-2100 square feet, but this varies depending on insulation and climate. Understanding this component can help you diagnose problems and potentially save money on repair bills. This guide will cover common issues, troubleshooting tips, and when it’s time to call a professional.
Understanding Your Carrier 3.5 Ton Evaporator Coil
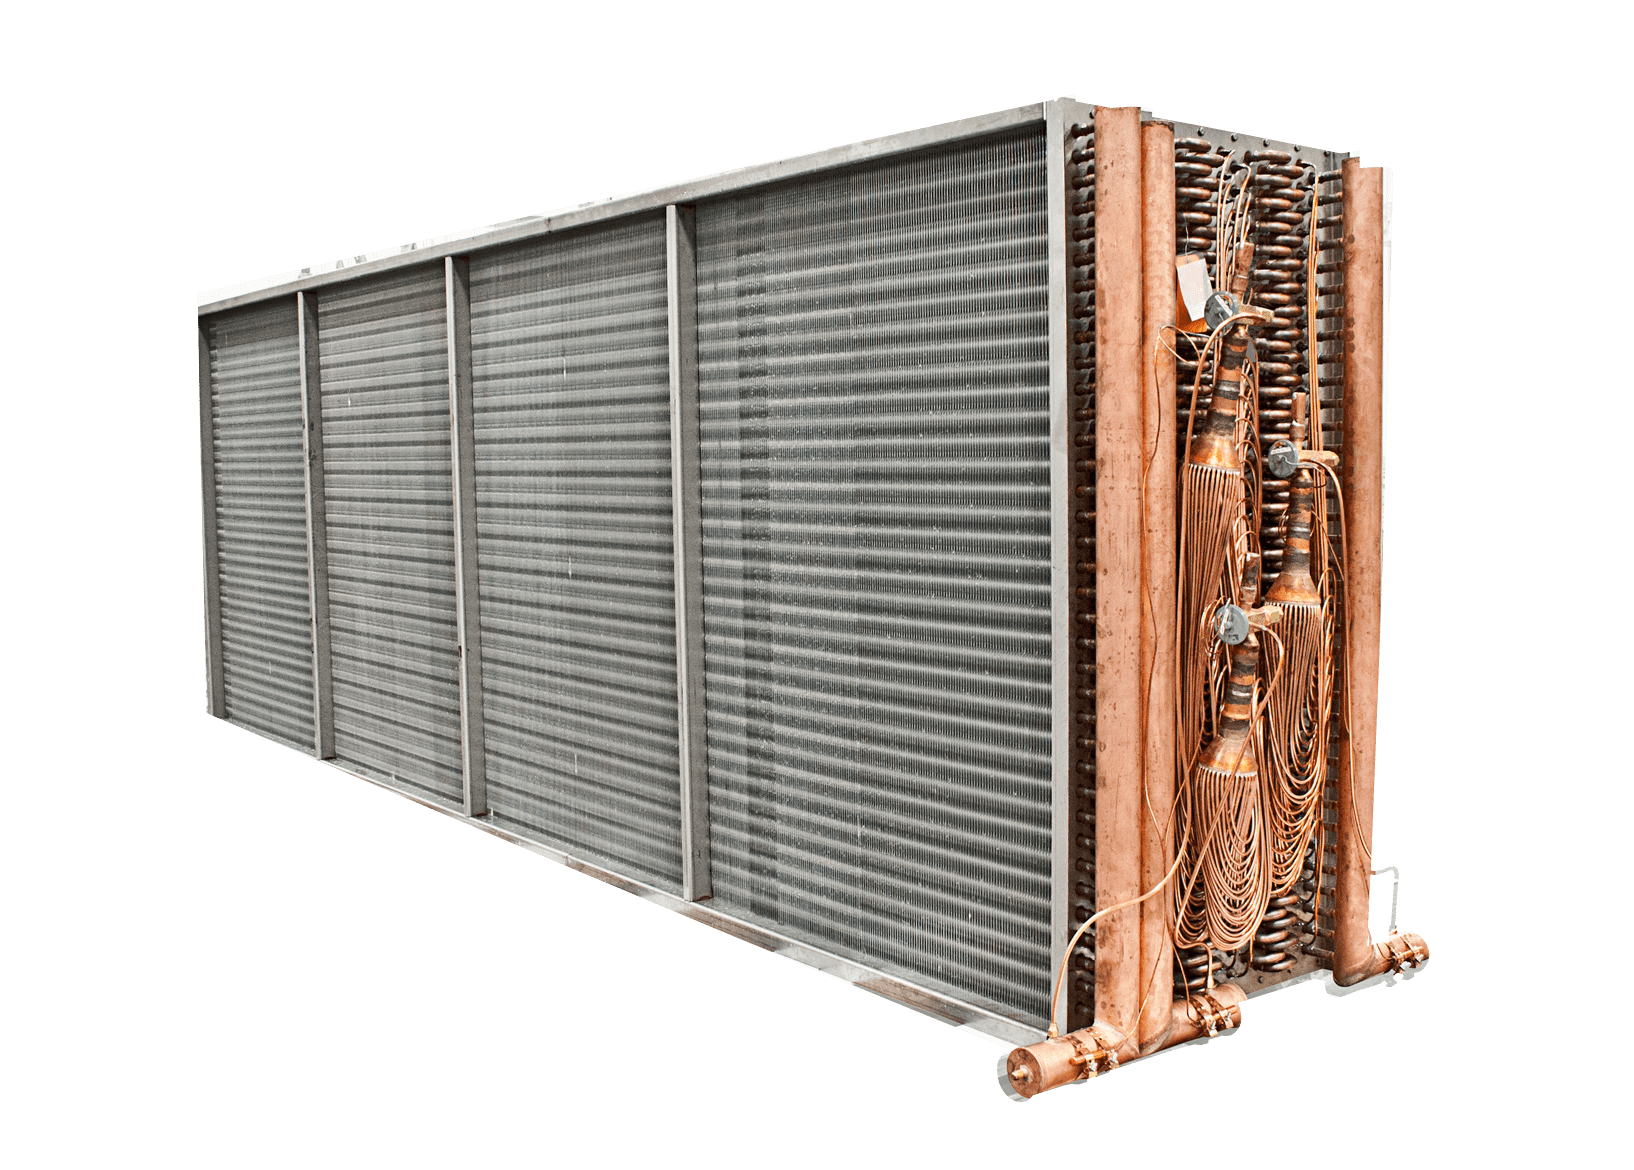
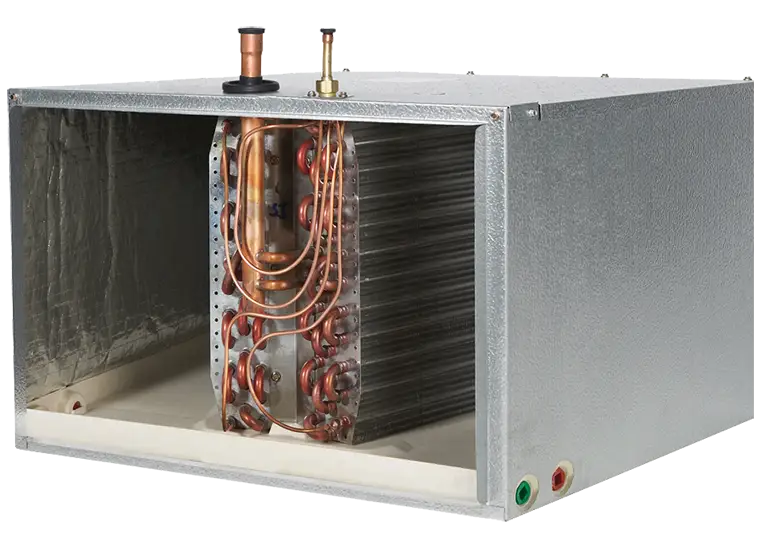
Before diving into troubleshooting, let's clarify the basics. The evaporator coil sits inside your indoor air handler, often above your furnace in a vertical installation, or next to it in a horizontal setup. Refrigerant flows through the coil, absorbing heat as air is blown across it. This cooled air is then circulated throughout your home. A typical Carrier 3.5 ton evaporator coil is designed to work efficiently with a matching condenser unit to provide optimal cooling.
Key Components of the Evaporator Coil System
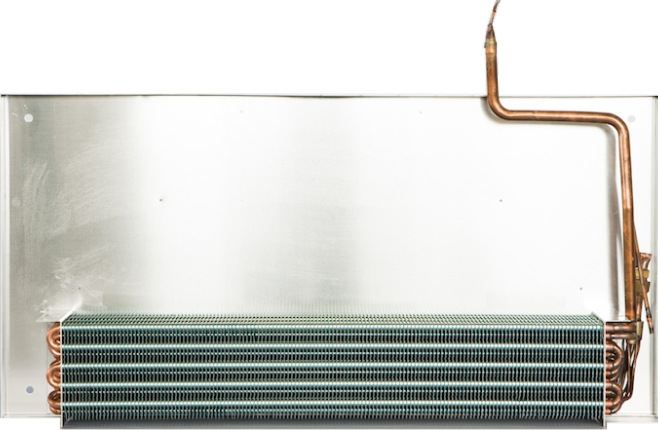
- Evaporator Coil: The core heat exchanger.
- Refrigerant Lines: Carry refrigerant to and from the coil.
- Expansion Valve or Metering Device: Controls refrigerant flow into the coil.
- Drain Pan: Collects condensation.
- Drain Line: Carries condensation away from the unit.
- Air Handler Blower: Circulates air across the coil.
Common Problems with Carrier 3.5 Ton Evaporator Coils
Several issues can affect the performance of your Carrier 3.5 ton evaporator coil. Recognizing these problems early can prevent more extensive damage.
- Frozen Evaporator Coil: One of the most common issues. Caused by restricted airflow, low refrigerant, or a malfunctioning metering device.
- Refrigerant Leaks: Result in reduced cooling capacity and potential compressor damage. Can be difficult to detect without specialized equipment.
- Dirty Evaporator Coil: Dust and debris accumulate, reducing efficiency and airflow.
- Clogged Drain Line: Leads to water leaks and potential mold growth.
- Corrosion: Over time, the coil can corrode, especially in humid environments.
- Faulty Expansion Valve/Metering Device: Improper refrigerant flow results in poor cooling.
Troubleshooting Steps: A DIY Approach
Before you start, remember safety first! Always turn off the power to your air handler at the breaker box before inspecting or working on the system. Wear gloves and eye protection.
1. Frozen Evaporator Coil
If you suspect a frozen coil, follow these steps:
- Turn off the AC: Set your thermostat to "Off" or "Heat Only."
- Turn on the Fan: Run the fan continuously to help thaw the coil.
- Check the Air Filter: A dirty air filter is a common cause of frozen coils. Replace it with a clean filter.
- Inspect Airflow: Ensure that supply and return vents are not blocked by furniture or other obstructions.
- Wait: Allow several hours for the coil to thaw completely.
- Restart the AC: After thawing, turn the AC back on and monitor its performance. If the coil freezes again, there's likely an underlying issue requiring professional attention (e.g., low refrigerant).
2. Clogged Drain Line
A clogged drain line can cause water to overflow from the drain pan.
- Locate the Drain Line: It's usually a PVC pipe exiting the air handler unit.
- Check for Obstructions: Look for visible clogs at the drain line opening.
- Use a Wet/Dry Vacuum: Attach the vacuum to the drain line and try to suck out any clogs.
- Flush with Vinegar: Pour a cup of white vinegar down the drain line to help dissolve algae and mold.
- Monitor: Check the drain pan for standing water after flushing. If the drain is still clogged, repeat the process or consider using a drain snake.
3. Dirty Evaporator Coil (Visual Inspection)
Note: Accessing the evaporator coil can be tricky and may require removing panels. If you're not comfortable with this, call a professional.
- Turn Off Power: Disconnect power to the air handler.
- Remove Access Panel: Locate and remove the panel that covers the evaporator coil.
- Inspect the Coil: Look for dust, dirt, and debris.
- Cleaning (If Accessible): Use a soft brush or vacuum with a brush attachment to gently remove loose debris. You can also use a specialized coil cleaner (available at HVAC supply stores). Follow the cleaner's instructions carefully.
- Reassemble: Replace the access panel and restore power.
4. Checking the Air Filter
This is the easiest and most frequently overlooked maintenance task. A dirty filter restricts airflow, making your system work harder and potentially leading to a frozen coil.
- Locate the Filter: It’s typically located in the air handler or in a return air vent.
- Inspect the Filter: Hold it up to the light. If you can’t see light through it, it’s time to replace it.
- Replace the Filter: Use a filter with the correct dimensions and MERV rating recommended by your system manufacturer.
When to Call a Professional HVAC Technician
While some issues can be addressed with DIY troubleshooting, certain problems require the expertise of a qualified HVAC technician. Don't hesitate to call for professional help if you encounter any of the following:
- Refrigerant Leaks: Handling refrigerant requires specialized equipment and training. Leaks can also indicate a more serious system problem.
- Compressor Issues: The compressor is the heart of your AC system. Any problems with the compressor warrant professional attention.
- Electrical Problems: If you suspect any electrical issues, such as a burning smell or sparking, immediately turn off the power and call a qualified electrician or HVAC technician.
- Persistent Freezing: If your evaporator coil freezes repeatedly after thawing and cleaning the filter, there's an underlying issue that needs to be diagnosed and repaired by a professional. This often indicates low refrigerant or a malfunctioning metering device.
- You are Uncomfortable: If you are unsure about any step or feel uncomfortable working with electrical or mechanical components, it's always best to err on the side of caution and call a professional.
Estimating Repair Costs
Repair costs for a Carrier 3.5 ton evaporator coil can vary widely depending on the issue and the extent of the damage. Here's a general idea of what you might expect to pay:
- Refrigerant Recharge: $200 - $600 (depending on the type of refrigerant and amount needed)
- Drain Line Cleaning: $75 - $200
- Evaporator Coil Cleaning (Professional): $150 - $400
- Expansion Valve/Metering Device Replacement: $200 - $500
- Evaporator Coil Replacement: $800 - $2500 (This is a major repair that includes the cost of the coil, refrigerant, and labor.)
These are just estimates. It's always best to get quotes from multiple HVAC contractors before proceeding with any repairs.
Preventative Maintenance Tips
Regular maintenance can help prevent problems with your Carrier 3.5 ton evaporator coil and extend its lifespan.
- Change Air Filter Regularly: At least every 1-3 months, or more frequently if you have pets or allergies.
- Schedule Annual HVAC Tune-Ups: A professional technician can inspect and clean your system, check refrigerant levels, and identify potential problems before they become major issues.
- Keep Outdoor Unit Clean: Remove debris from around the outdoor condenser unit to ensure proper airflow.
- Consider a Professional Cleaning: Have your evaporator coil professionally cleaned every few years.
Conclusion
Understanding your Carrier 3.5 ton evaporator coil and performing basic maintenance can help you keep your air conditioning system running efficiently. While some problems can be addressed with DIY troubleshooting, remember that certain repairs require the expertise of a qualified HVAC technician. By following these tips, you can keep your home cool and comfortable while minimizing costly repairs.
Disclaimer: This guide is for informational purposes only and should not be considered a substitute for professional advice. Always consult with a qualified HVAC technician for any serious issues or repairs. Incorrect repairs can damage your system and potentially void your warranty.