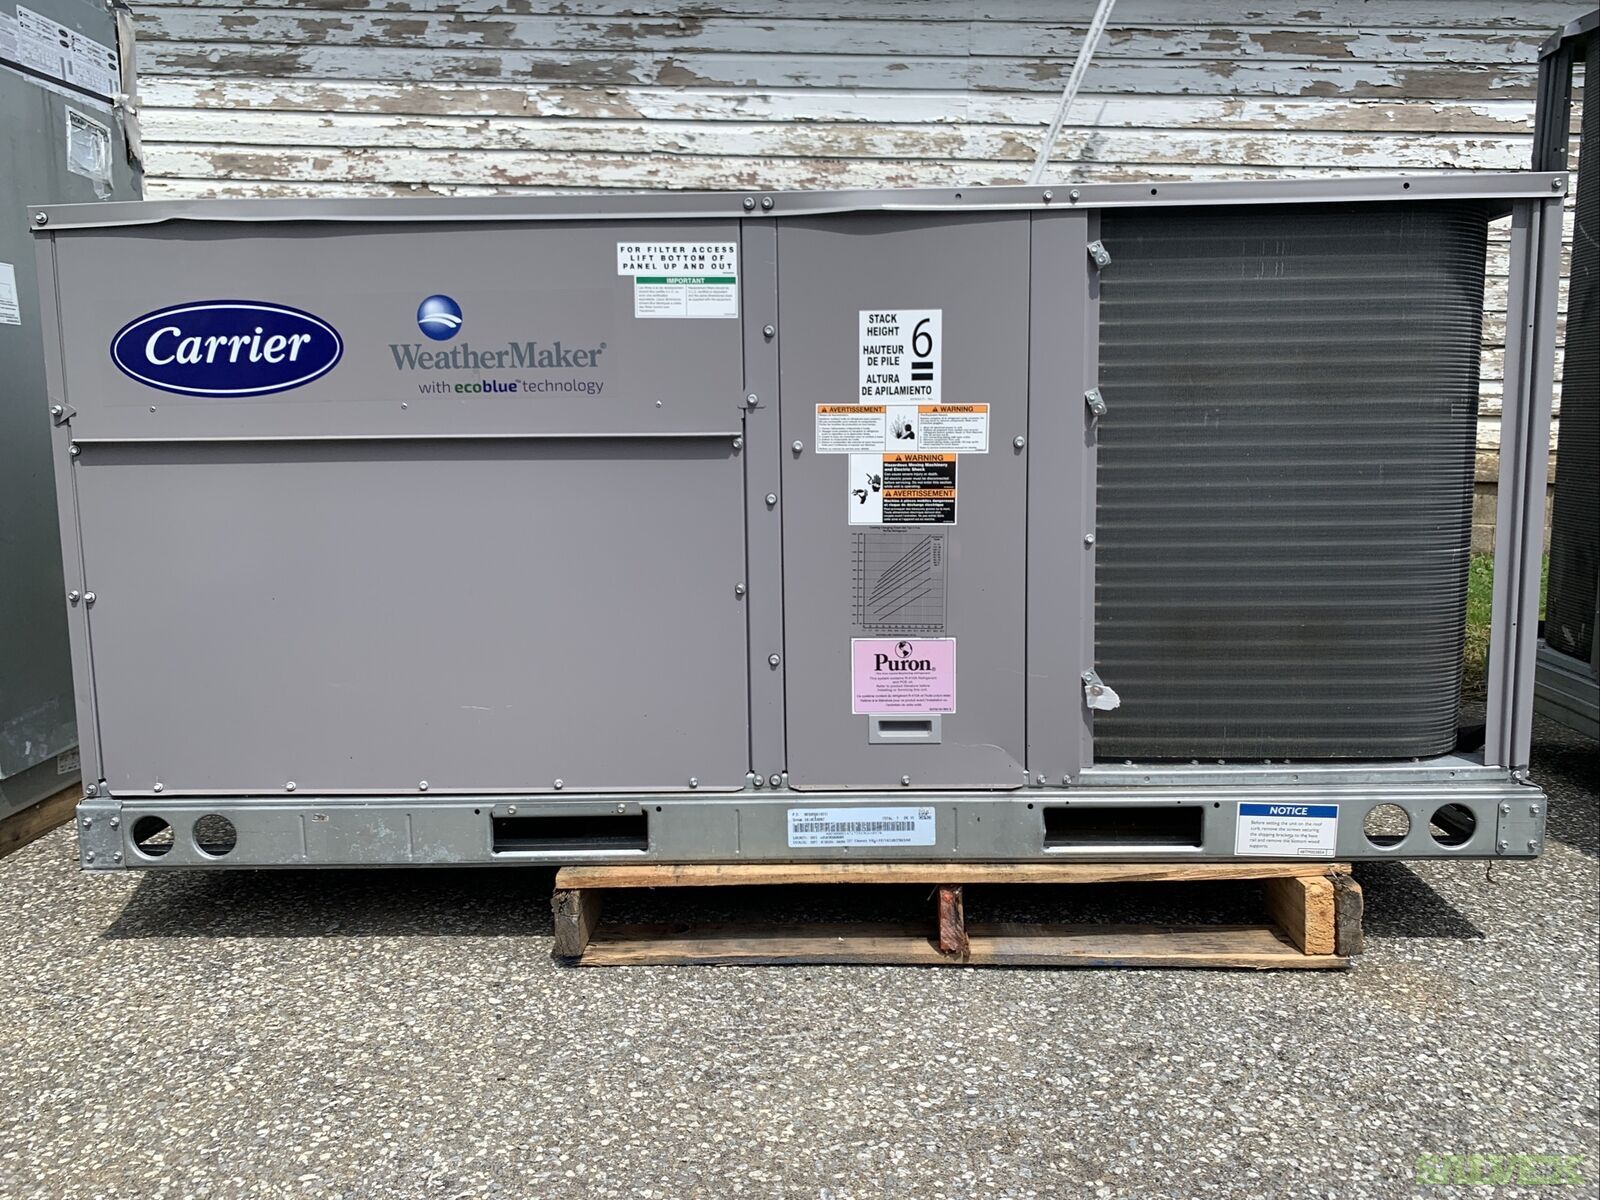
Carrier 4 Ton Ac Unit Cost

Air conditioners, especially during peak summer months, are essential for comfortable living. When your Carrier 4-ton AC unit falters, it can disrupt your home environment and lead to discomfort. This guide offers a practical, step-by-step approach to troubleshooting common AC issues, helping you identify potential problems and attempt simple fixes before calling a professional. Understanding potential costs related to repair or replacement is also important, so we will touch on that as well.
Understanding Common AC Problems
One of the most frequent household appliance failures during summer is an AC unit failing to cool adequately, or not cooling at all. This can stem from various factors, ranging from simple user errors to complex mechanical issues. Before jumping to conclusions about expensive repairs, let's explore some common culprits:
- Dirty air filters: Restricting airflow and reducing cooling efficiency.
- Thermostat settings: Incorrect settings can prevent the unit from cycling on or off properly.
- Power issues: Tripped breakers or blown fuses can interrupt the AC's power supply.
- Frozen evaporator coil: Restricted airflow or low refrigerant levels can cause the coil to freeze.
- Dirty condenser coil: Reduced heat exchange due to dirt and debris buildup.
- Refrigerant leaks: Low refrigerant levels diminish cooling capacity.
- Faulty capacitor: The capacitor helps start the motor, and if faulty, the motor won't start.
- Blocked condensate drain: Clogged drains can lead to water damage and system shutdowns.
Step-by-Step Troubleshooting Guide
Follow these steps systematically to diagnose and potentially resolve your AC unit's problem. Always prioritize safety. If you are uncomfortable with any step, particularly those involving electricity, contact a qualified HVAC technician.
1. Initial Assessment & Safety Precautions
Before touching anything, consider these safety guidelines:
- Turn off the power: Locate the breaker for your AC unit in your electrical panel and switch it off. This is crucial for preventing electrical shock.
- Visual Inspection: Look for any obvious signs of damage, such as frayed wires, leaks, or ice buildup.
- Clear the area: Ensure the area around both the indoor and outdoor units is clear of obstructions.
- Document observations: Take notes or pictures of anything unusual you find. This information can be helpful for a technician if you need to call one.
2. Check the Thermostat
The thermostat is the control center of your AC system. A simple error here can cause the system to malfunction.
- Verify settings: Ensure the thermostat is set to "Cool" and the temperature is set lower than the current room temperature.
- Check the battery: If your thermostat is battery-powered, replace the batteries, even if the display appears to be working. Low batteries can cause erratic behavior.
- Inspect wiring: If you are comfortable doing so (and after turning off the power), remove the thermostat cover and check the wiring connections. Ensure they are secure and free from corrosion. If you notice loose or corroded wires, it's best to consult a professional.
3. Inspect the Air Filter
A dirty air filter is a common cause of AC problems. It restricts airflow, forcing the unit to work harder and potentially leading to frozen coils.
- Locate the filter: The air filter is typically located in the indoor unit, either in the return air vent or near the blower motor.
- Remove and inspect: Remove the filter and hold it up to the light. If you can't see through it easily, it's dirty.
- Clean or replace: Clean a reusable filter with water and let it dry completely before reinstalling. Replace disposable filters with a new one of the correct size.
- Frequency: Change your air filter every 1-3 months, depending on usage and air quality.
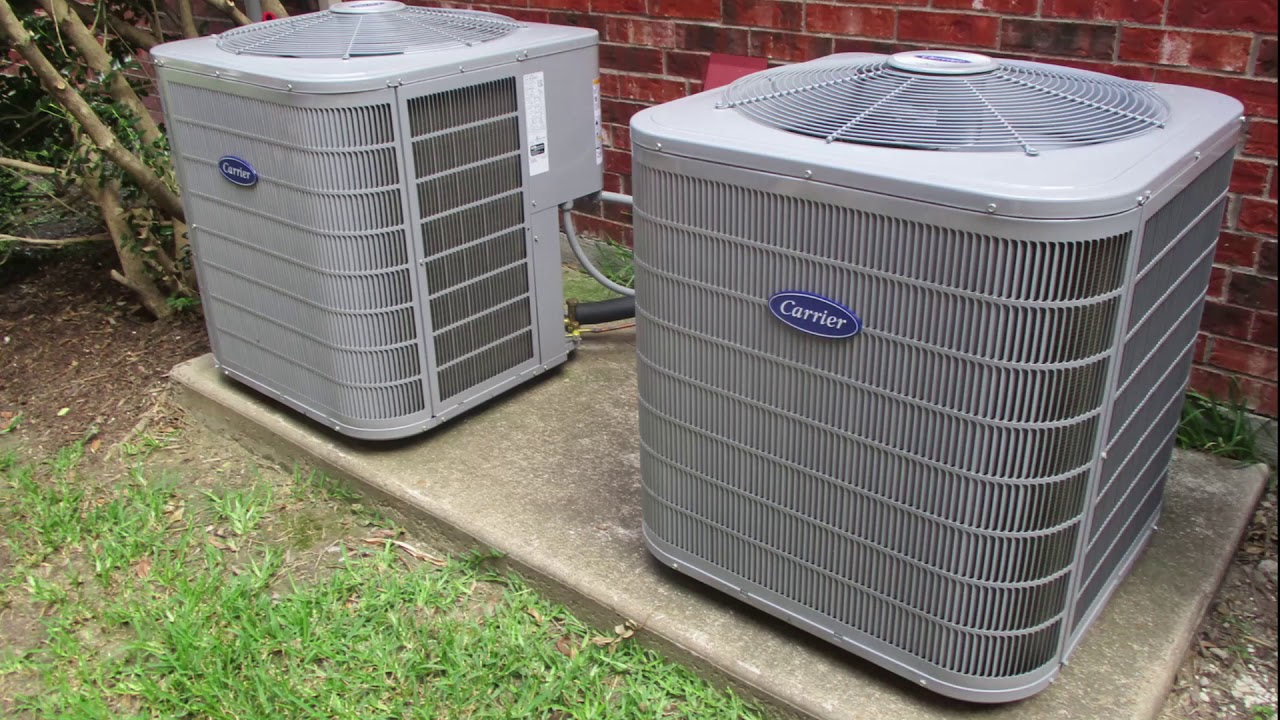
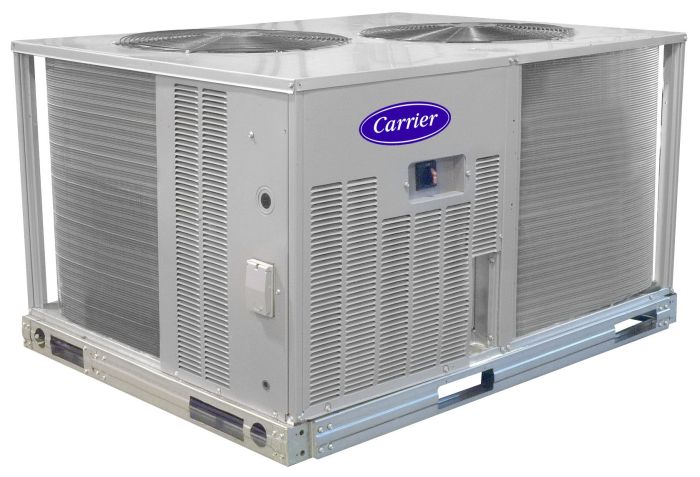
4. Check the Outdoor Unit (Condenser)
The outdoor unit is responsible for releasing heat from your home. If it's blocked or dirty, it can't do its job effectively.
- Clear debris: Remove any leaves, grass, branches, or other debris that may be blocking the unit.
- Clean the fins: Use a garden hose with a gentle spray nozzle to clean the condenser fins. Spray from the inside out to avoid bending the fins. You can also use a fin comb to straighten any bent fins.
- Check for ice: If you see ice on the condenser unit, turn off the AC and let it thaw. The ice could be caused by restricted airflow or low refrigerant levels. If icing persists after thawing and cleaning, call a professional.
5. Check the Circuit Breaker
A tripped circuit breaker can cut off power to your AC unit.
- Locate the breaker: Find the circuit breaker that controls your AC unit in your electrical panel.
- Reset the breaker: If the breaker is tripped (in the "off" or middle position), switch it fully to the "off" position and then back to the "on" position.
- If it trips again: If the breaker trips again immediately, there may be a short circuit or other electrical problem. Do not repeatedly reset the breaker. Call a qualified electrician.
6. Inspect the Condensate Drain Line
A clogged condensate drain line can cause water to back up and potentially damage your AC unit or your home.
- Locate the drain line: The condensate drain line is a PVC pipe that runs from the indoor unit to the outside.
- Check for clogs: Look for any visible obstructions in the drain line.
- Clear the clog: You can try to clear the clog using a wet/dry vacuum. Attach the vacuum hose to the end of the drain line and try to suck out any debris. You can also try pouring a cup of white vinegar down the drain line to dissolve any buildup.
- Prevention: Pour a cup of white vinegar down the drain line every few months to prevent clogs.
7. Capacitor Check (Advanced - Professional Recommended)
The capacitor is a component that helps start the AC motor. A faulty capacitor can prevent the motor from starting.
Warning: Capacitors store electricity and can deliver a dangerous electrical shock, even when the power is turned off. This step is best left to a qualified HVAC technician.
- Visual Inspection (If you choose to proceed): After ensuring the power is off and the capacitor is discharged (using a screwdriver with an insulated handle to short the terminals), visually inspect the capacitor for any signs of bulging, leaking, or corrosion.
- Testing (Professional Only): A technician can use a multimeter to test the capacitance of the capacitor. If the capacitance is significantly lower than the rated value, the capacitor needs to be replaced.
- Replacement (Professional Only): Replacing a capacitor requires specialized tools and knowledge. It's best to leave this task to a professional.
When to Call a Professional
While these DIY troubleshooting steps can address many common AC problems, some issues require the expertise of a qualified HVAC technician. Call a professional immediately if you encounter any of the following:
- Refrigerant leaks: Refrigerant leaks require specialized equipment to detect and repair. Handling refrigerant requires certification.
- Electrical problems: Any electrical issues beyond resetting a breaker should be handled by a qualified electrician.
- Compressor issues: The compressor is the heart of the AC system. Any problems with the compressor are best left to a professional.
- Complex mechanical failures: If you suspect a mechanical failure within the unit, such as a broken fan motor or a faulty valve, call a professional.
- You are uncomfortable or unsure: If at any point you feel uncomfortable or unsure about proceeding with a repair, it's always best to err on the side of caution and call a professional.
Carrier 4 Ton AC Unit Cost Considerations
Understanding the potential costs associated with repairing or replacing your Carrier 4-ton AC unit is crucial. Here's a breakdown of common cost factors:
Repair Costs
Repair costs can vary widely depending on the nature of the problem. Here are some general estimates:
- Simple repairs (e.g., capacitor replacement, cleaning coils): $150 - $500
- Refrigerant leak repair: $200 - $800 (depending on the severity and location of the leak)
- Compressor replacement: $1,000 - $2,500 (this is a major repair)
- Labor costs: Expect to pay $75 - $150 per hour for labor.
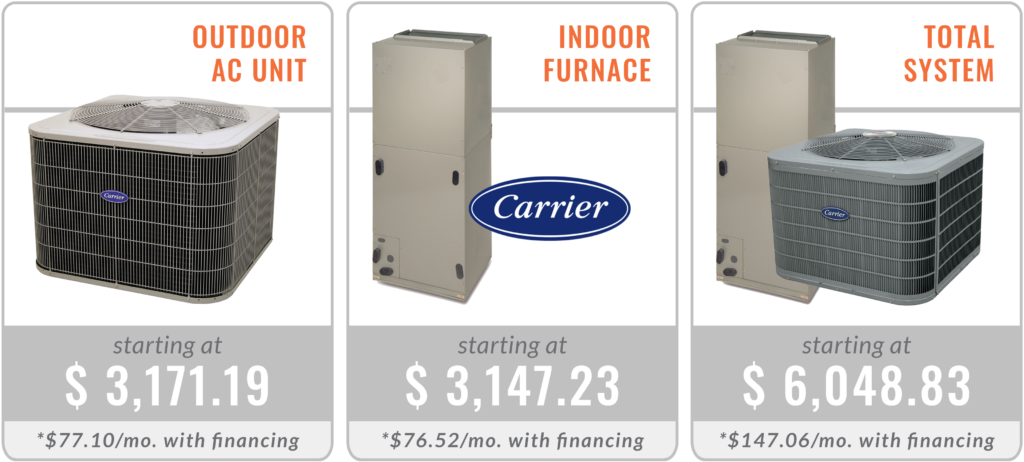
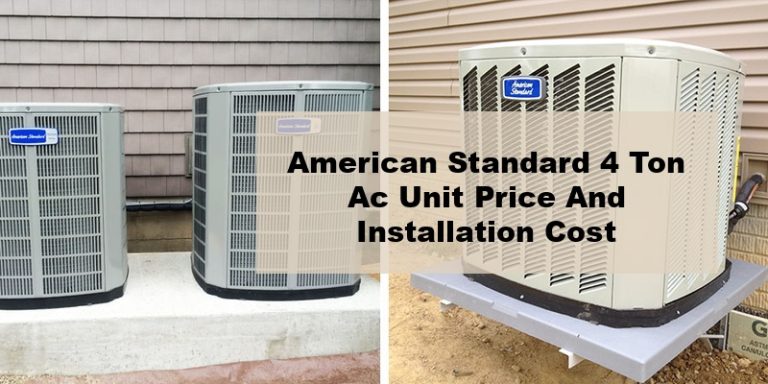
Replacement Costs
If your AC unit is old or has sustained significant damage, replacement may be the most cost-effective option in the long run. A Carrier 4-ton AC unit typically costs:
- Unit price: $3,000 - $7,000 (depending on the efficiency rating and features)
- Installation costs: $1,500 - $4,000 (depending on the complexity of the installation)
- Total replacement cost: $4,500 - $11,000
Factors Affecting Cost
Several factors can influence the overall cost of repair or replacement:
- Unit efficiency (SEER rating): Higher SEER ratings mean greater energy efficiency but also higher initial costs.
- Features: Smart features, zoning capabilities, and advanced filtration systems can increase the price.
- Brand reputation: Carrier is a reputable brand, which can influence the price.
- Contractor experience and reputation: Experienced and reputable contractors may charge more for their services but often provide better quality workmanship.
- Permits and inspections: Local regulations may require permits and inspections for AC replacement, which can add to the cost.
Getting Quotes
Before making any decisions, it's essential to get quotes from multiple HVAC contractors. Be sure to ask for a detailed breakdown of the costs, including parts, labor, and any additional fees.
Preventative Maintenance
The best way to avoid costly AC repairs is to perform regular preventative maintenance. Here are some tips:
- Change air filters regularly.
- Clean the outdoor unit annually.
- Schedule annual professional maintenance. A technician can inspect the unit, clean the coils, check refrigerant levels, and identify any potential problems before they become major issues.
- Keep the area around the outdoor unit clear of debris.
- Consider a service contract. A service contract can provide peace of mind and ensure that your AC unit is properly maintained.
By following these troubleshooting steps and understanding the potential costs involved, you can effectively address common AC problems and make informed decisions about repairing or replacing your Carrier 4-ton AC unit. Remember to prioritize safety and consult a professional when necessary. With proper care and maintenance, you can keep your AC system running smoothly and efficiently for years to come.