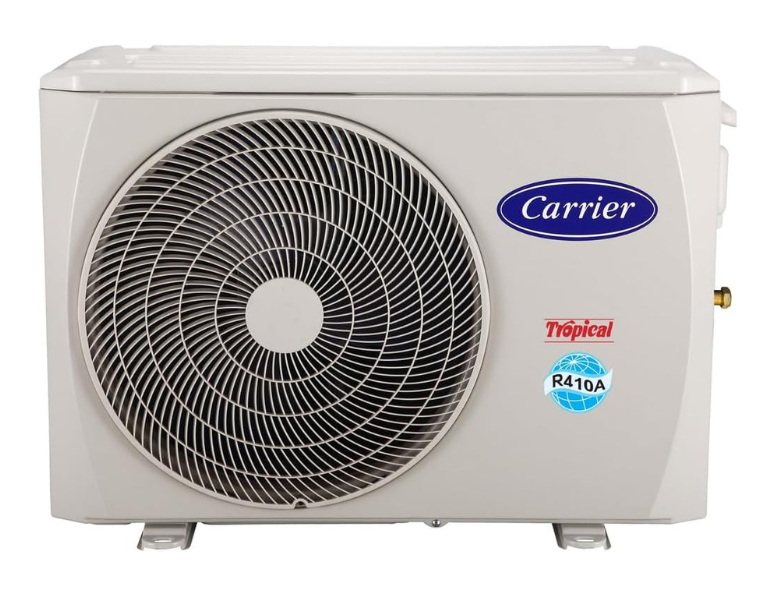
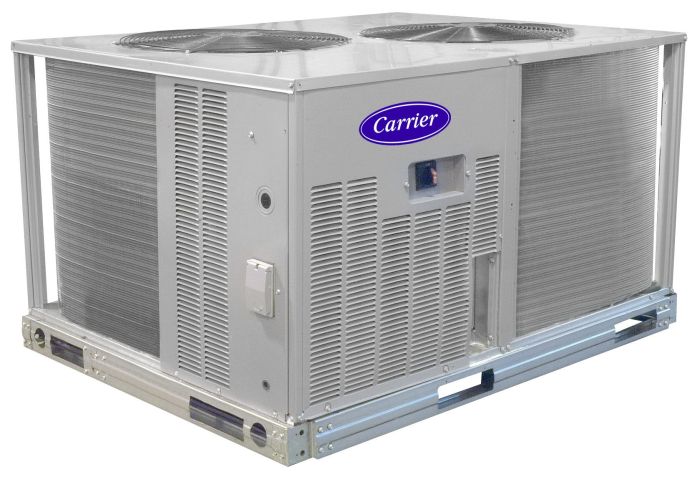
Carrier 5 Ton Condensing Unit

Imagine this: It's a sweltering summer afternoon, and your home's cooling system decides to take a break. Instead of a refreshing escape from the heat, you're left with rising temperatures and a growing sense of frustration. One of the most common culprits in this scenario is a malfunctioning air conditioning condensing unit, especially the workhorse 5-ton Carrier model. Before calling a professional, there are several troubleshooting steps you, as a homeowner, can safely perform to potentially diagnose and even resolve the issue. This guide will walk you through a logical process, helping you identify common problems and attempt simple fixes.
Safety First!
Before you even think about touching anything related to your AC unit, safety must be your absolute priority. Remember, you're dealing with electricity, and potentially refrigerant, which can be dangerous if not handled correctly.
- Turn off the power: Locate the disconnect switch near the outdoor unit and switch it to the "off" position. This is typically a red handle within a gray metal box. Double-check that the power is off before proceeding.
- Wear appropriate safety gear: At a minimum, wear work gloves to protect your hands from sharp edges and electrical components.
- Never work in wet conditions: Water and electricity don't mix. Wait for dry weather before attempting any outdoor troubleshooting.
- If unsure, call a professional: There's no shame in admitting when a task is beyond your comfort level. It's far better to be safe than sorry.
Step 1: Initial Assessment - Is It Really Broken?
Sometimes, the issue isn't as dramatic as a completely failed unit. Start with a simple assessment to rule out easily correctable problems.
- Check the thermostat: Is it set to "cool," and is the temperature set lower than the current room temperature? A common mistake is simply having the thermostat set incorrectly. Try lowering the temperature setting by a few degrees to see if the unit kicks on. Also, ensure the thermostat is set to "auto" rather than "fan only."
- Inspect the air filter: A dirty air filter restricts airflow, causing the unit to work harder and potentially overheat. A clogged filter can mimic many different failure scenarios. Locate the air filter (usually inside the indoor unit, or at a return vent) and replace it with a clean one. Use the recommended filter type and size for your system.
- Check the indoor unit: Ensure the indoor unit (furnace or air handler) is also powered on and functioning correctly. If the indoor unit isn't working, the outdoor unit won't receive the signal to start.
- Listen to the unit: When you turn on the thermostat, do you hear any noise coming from the outdoor unit? A humming sound might indicate the compressor is trying to start but failing. Silence might suggest a power issue.
Step 2: Power Supply Troubleshooting
If the unit is completely silent, the first place to look is the power supply.
- Check the circuit breaker: Go to your electrical panel and check the breaker that controls the air conditioner. Look for a tripped breaker (it will be in the "off" or a middle position). If tripped, switch it fully to the "off" position and then back to the "on" position.
- Inspect the disconnect switch: Ensure the disconnect switch near the outdoor unit is fully engaged in the "on" position. Sometimes, it can be partially dislodged.
- Loose Wiring (Professional Only): Do not attempt this unless you are a qualified electrician! If the above steps don't work, a loose wire inside the disconnect box or the unit itself could be the problem. This requires specialized knowledge and equipment to diagnose and repair safely. Call a professional.
Step 3: Inspecting the Outdoor Unit
With the power still off, carefully inspect the outdoor unit for any obvious signs of damage or obstruction.
- Clear debris: Remove any leaves, grass clippings, branches, or other debris that may be blocking the condenser fins (the metal fins surrounding the unit). Use a garden hose with a gentle spray to clean the fins from the outside in. Avoid using a pressure washer, as it can damage the fins. Straighten any bent fins carefully with a fin comb (available at most hardware stores).
- Check the fan: Make sure the fan blades are not obstructed and can spin freely. Remove any debris that might be preventing the fan from turning. Never insert your fingers or objects into the fan housing while the power is on.
- Inspect the wiring (Visually): Do not touch any wires! Visually inspect the wiring inside the unit (through the access panel) for any signs of damage, such as frayed wires, burnt connectors, or rodent damage. If you see anything suspicious, call a professional.
- Check the Condensate Drain: Find the condensate drain line, usually a PVC pipe exiting the indoor unit. Make sure it isn't clogged. You can try using a wet/dry vacuum to suck out any blockage. A clogged drain can cause the unit to shut down.
Step 4: Simple Part Replacements (Handle with Care)
There are a couple of relatively simple part replacements you can attempt, but only if you feel comfortable doing so and have the necessary tools and knowledge.
- Capacitor Replacement (Professional Recommended): The capacitor is a cylindrical component that helps start the compressor and fan motor. A failing capacitor is a common cause of AC unit failure. Symptoms include a humming sound but no fan movement, or the compressor failing to start. Replacing a capacitor can be dangerous because it stores electricity even when the unit is turned off. It's strongly recommended to have a qualified technician replace the capacitor. If you're determined to do it yourself, discharge the capacitor with an insulated screwdriver before touching it. Take a picture of the wiring configuration before disconnecting anything, and replace it with a capacitor of the exact same specifications (voltage and microfarads). Incorrect replacement can damage the unit.
- Contactor Replacement (Professional Recommended): The contactor is an electrical switch that controls power to the compressor and fan motor. If the contactor is faulty, it may not be sending power to these components. Like the capacitor, it's best to leave this repair to a professional due to the electrical dangers involved.
Step 5: When to Call a Professional
While some problems can be resolved with simple DIY troubleshooting, certain issues require the expertise of a qualified HVAC technician. Here are some situations where you should always call a professional:
- Refrigerant Leaks: If you suspect a refrigerant leak (e.g., hissing sound, ice buildup on the copper lines), do not attempt to repair it yourself. Refrigerant is a regulated substance, and handling it requires specialized equipment and certification. A refrigerant leak indicates a serious problem that needs professional attention.
- Compressor Problems: The compressor is the heart of the AC unit, and any issues with it are best left to the professionals. Repairing or replacing a compressor requires specialized tools and knowledge.
- Electrical Problems: If you're uncomfortable working with electricity, or if you suspect a major electrical issue, call a qualified electrician or HVAC technician.
- Complex System Issues: If you've tried the troubleshooting steps outlined above and the unit still isn't working, it's likely a more complex problem that requires professional diagnosis and repair.
- You are not certified: Many repairs on HVAC equipment require that the individual performing the repair be licensed and/or certified.
Preventative Maintenance: Avoiding Future Problems
The best way to avoid AC unit breakdowns is to perform regular preventative maintenance. Here are some tips:
- Regularly replace air filters: Check and replace air filters every 1-3 months, depending on usage and air quality.
- Clean the outdoor unit: Keep the area around the outdoor unit clear of debris, and clean the condenser fins annually.
- Schedule annual maintenance: Have a qualified HVAC technician inspect and service your AC unit annually. This will help identify and address potential problems before they become major issues.
- Consider a service contract: If you want peace of mind, consider a service contract with a reputable HVAC company. This typically includes annual maintenance and discounted repair services.
By following these troubleshooting steps and preventative maintenance tips, you can keep your 5-ton Carrier condensing unit running smoothly and efficiently, ensuring a comfortable home environment all summer long. Remember, when in doubt, always err on the side of caution and call a qualified professional.