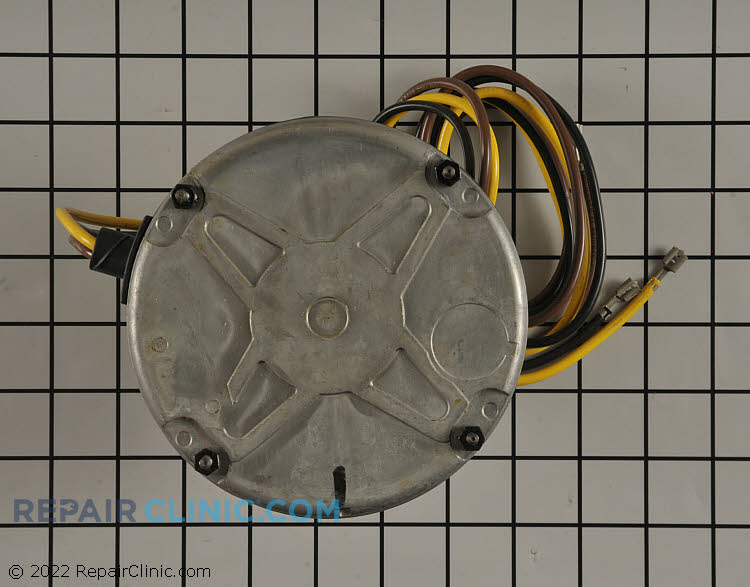
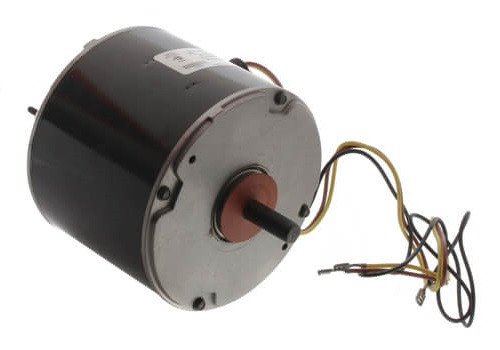
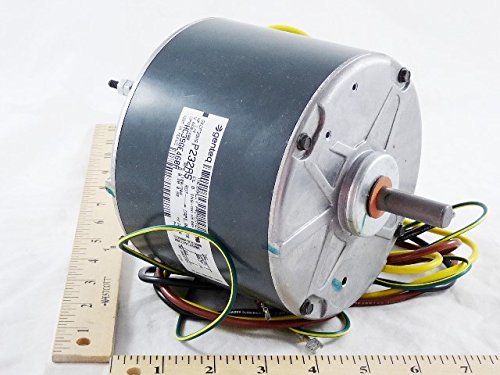
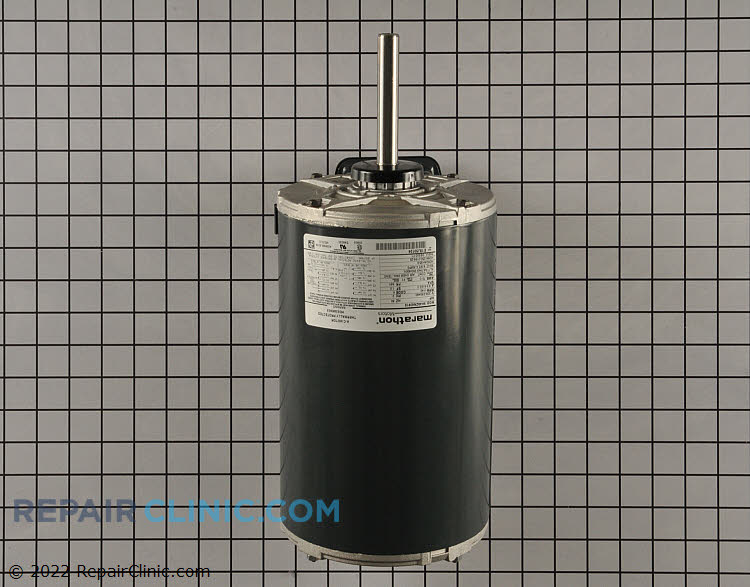
Carrier Air Conditioner Condenser Fan Motor

Is your Carrier air conditioner struggling to keep your home cool? A common culprit behind poor performance is a faulty condenser fan motor. This vital component is responsible for dissipating heat from the refrigerant, allowing your AC to efficiently cool your home. This guide will walk you through understanding, troubleshooting, and potentially replacing the condenser fan motor in your Carrier AC unit. However, remember safety first, and when in doubt, always call a qualified HVAC technician.
Understanding Your Carrier AC Condenser Fan Motor
The condenser fan motor is located in the outdoor unit of your air conditioner. It drives a fan that pulls air across the condenser coil. This process cools the hot refrigerant circulating within the system. If the motor fails, the refrigerant cannot effectively release heat, leading to reduced cooling capacity, increased energy consumption, and potential damage to other components like the compressor.
Troubleshooting a Faulty Condenser Fan Motor
Before you start, disconnect power to the AC unit at the breaker box. Safety is paramount.
Common Symptoms of a Bad Condenser Fan Motor:
- The fan isn't spinning: This is the most obvious sign. The fan blades may be completely stationary or spinning very slowly.
- Loud or unusual noises: Grinding, squealing, or clicking sounds can indicate a failing motor.
- Overheating: The AC unit may feel excessively hot to the touch.
- Reduced cooling performance: Your home isn't as cool as it should be, even when the AC is running.
- Circuit breaker tripping: A shorted motor can overload the circuit and trip the breaker.
Testing the Condenser Fan Motor:
- Visual Inspection: Check for obvious damage, such as burnt wires, cracked housing, or debris obstructing the fan blades.
- Spin Test: With the power off, try to manually spin the fan blades. They should rotate freely. If they're stiff or resist movement, the motor bearings may be failing.
- Capacitor Check: The capacitor provides the initial "kick" to start the motor. A faulty capacitor can prevent the motor from running. You'll need a multimeter with capacitance testing capabilities. Consult online resources for proper testing procedures. Note: Capacitors can hold a dangerous electrical charge even after the power is disconnected. Discharge the capacitor with an insulated screwdriver before handling it.
- Voltage Test: Use a multimeter to check if the motor is receiving the correct voltage when the AC unit is turned on (after safely reconnecting power). If the voltage is correct but the motor isn't running, the motor itself is likely faulty.
- Continuity Test: Use a multimeter to check the motor windings for continuity. An open circuit indicates a break in the windings, suggesting motor failure.
Replacing a Carrier AC Condenser Fan Motor: A Step-by-Step Guide
Warning: Replacing a condenser fan motor involves electrical work. If you're not comfortable working with electricity, call a qualified HVAC technician. Improper installation can be dangerous and could damage your AC unit.
Tools You'll Need:
- Screwdrivers (various sizes, including Phillips and flathead)
- Wrench set
- Wire stripper/crimper
- Multimeter
- Voltage tester
- Electrical tape
- Wire connectors (e.g., wire nuts)
- Gloves and safety glasses
- New condenser fan motor (ensure it's the correct replacement for your Carrier model)
- Capacitor (replace if testing indicates failure)
Parts You Might Need:
- Replacement condenser fan motor (verify correct voltage, horsepower, and shaft rotation)
- New capacitor (matching the original specifications)
- Wire connectors
- Electrical tape
- Rubber grommets (if needed)
Replacement Steps:
- Disconnect Power: Turn off the power to the AC unit at the breaker box. Double-check with a voltage tester to ensure the power is off.
- Access the Motor: Remove the access panel(s) on the condenser unit to expose the fan motor.
- Disconnect Wiring: Carefully disconnect the wires connected to the motor. Note the color coding of the wires or take a picture for reference. Labeling the wires is also a good idea.
- Remove the Fan Blade: Loosen the setscrew holding the fan blade to the motor shaft. You may need penetrating oil if it's stuck. Carefully remove the fan blade.
- Remove the Motor: The motor is usually mounted with screws or bolts. Remove these to detach the motor from the unit.
- Install the New Motor: Mount the new motor in the same way as the old one.
- Reattach the Fan Blade: Slide the fan blade onto the motor shaft and tighten the setscrew securely. Ensure the fan blade is positioned correctly.
- Reconnect Wiring: Reconnect the wires to the new motor, matching the color coding or following your notes/pictures. Use wire connectors to secure the connections.
- Replace Capacitor (if needed): If you're replacing the capacitor, disconnect the old one (after discharging it!) and connect the new one, ensuring correct polarity.
- Reassemble the Unit: Replace the access panels and secure them with screws.
- Restore Power: Turn the power back on at the breaker box.
- Test the Unit: Turn on the AC unit and observe the condenser fan. It should start smoothly and run quietly. Monitor the cooling performance of the AC unit.
Common Problems After Replacement and How to Address Them:
- Fan running backwards: Some motors are reversible. Consult the motor's wiring diagram to correct the rotation.
- Motor humming but not starting: This often indicates a capacitor issue. Double-check the capacitor connections or replace it.
- Unit not cooling properly: This could be due to other issues, such as a refrigerant leak or a faulty compressor. Contact a professional.
- Excessive vibration: Make sure the fan blade is properly balanced and securely attached to the motor shaft.
Cost Considerations
The cost of replacing a condenser fan motor varies depending on the model and horsepower. Expect to pay between $100 and $300 for the motor itself. Labor costs for professional installation can range from $150 to $500, depending on the complexity of the job and your location. Replacing the capacitor adds another $20 to $50 to the cost.
When to Call a Professional
While this guide provides information for DIY enthusiasts, certain situations warrant professional assistance:
- If you're uncomfortable working with electricity.
- If you're unable to diagnose the problem.
- If you suspect a more complex issue, such as a refrigerant leak or compressor failure.
- If you're unsure about the correct replacement motor for your Carrier AC unit.
- If you experience any difficulties during the replacement process.
Working with HVAC systems involves potential risks. Always prioritize safety and seek professional help when needed. A qualified HVAC technician can ensure the job is done correctly and safely, protecting your investment and ensuring your home stays cool and comfortable.