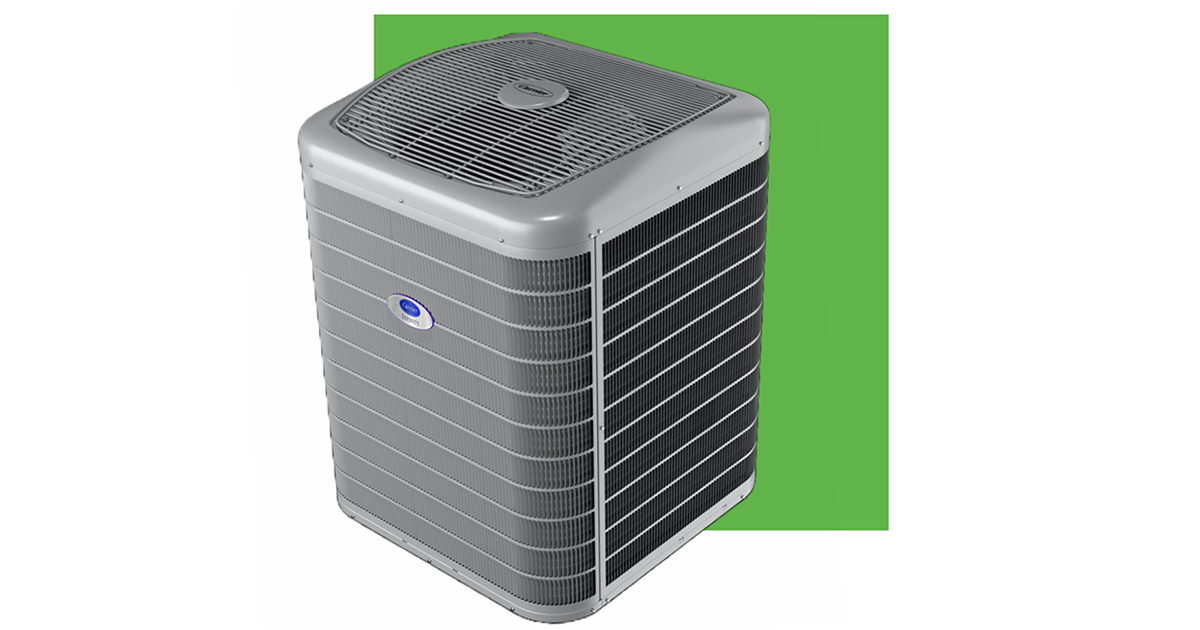
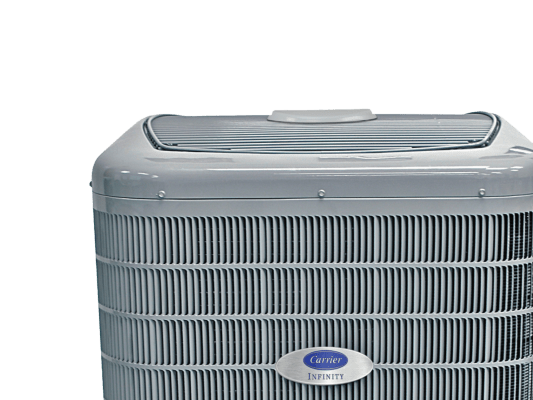
Carrier High Efficiency Air Conditioner

One of the most common frustrations homeowners face with their Carrier high-efficiency air conditioners is insufficient cooling. You might notice the unit running constantly, your energy bills creeping up, and yet, your home never quite reaches the desired temperature. Before you resign yourself to expensive repairs, let's walk through a systematic troubleshooting process to identify and potentially resolve the issue.
Step 1: Initial Checks (No Tools Required)
Start with the basics. These checks require no tools and can often pinpoint simple, easily rectified problems.
1. Thermostat Settings:
This might seem obvious, but it's the most common culprit. Double-check your thermostat settings. Is it set to COOL? Is the temperature set low enough? If you have a programmable thermostat, ensure the schedule is correctly configured and isn't accidentally overriding your desired temperature.
2. Air Filter:
A dirty air filter is the number one cause of reduced cooling efficiency in any air conditioner. A clogged filter restricts airflow, forcing the unit to work harder and ultimately reducing its cooling capacity.
Inspect your air filter. If it's visibly dirty (covered in dust and debris), replace it immediately. Carrier high-efficiency units typically require higher-quality filters to maintain optimal performance, so refer to your owner's manual for recommended filter types and MERV ratings.
Pro Tip: Mark your calendar to remind you to check the filter monthly. A clean filter not only improves cooling but also extends the lifespan of your system.
3. Supply Vents and Registers:
Ensure that all supply vents (where cool air blows out) are open and unobstructed. Check for furniture, rugs, or curtains blocking airflow. Similarly, make sure return air registers (where air is drawn back into the system) are also clear of obstructions.
4. Outdoor Unit Obstructions:
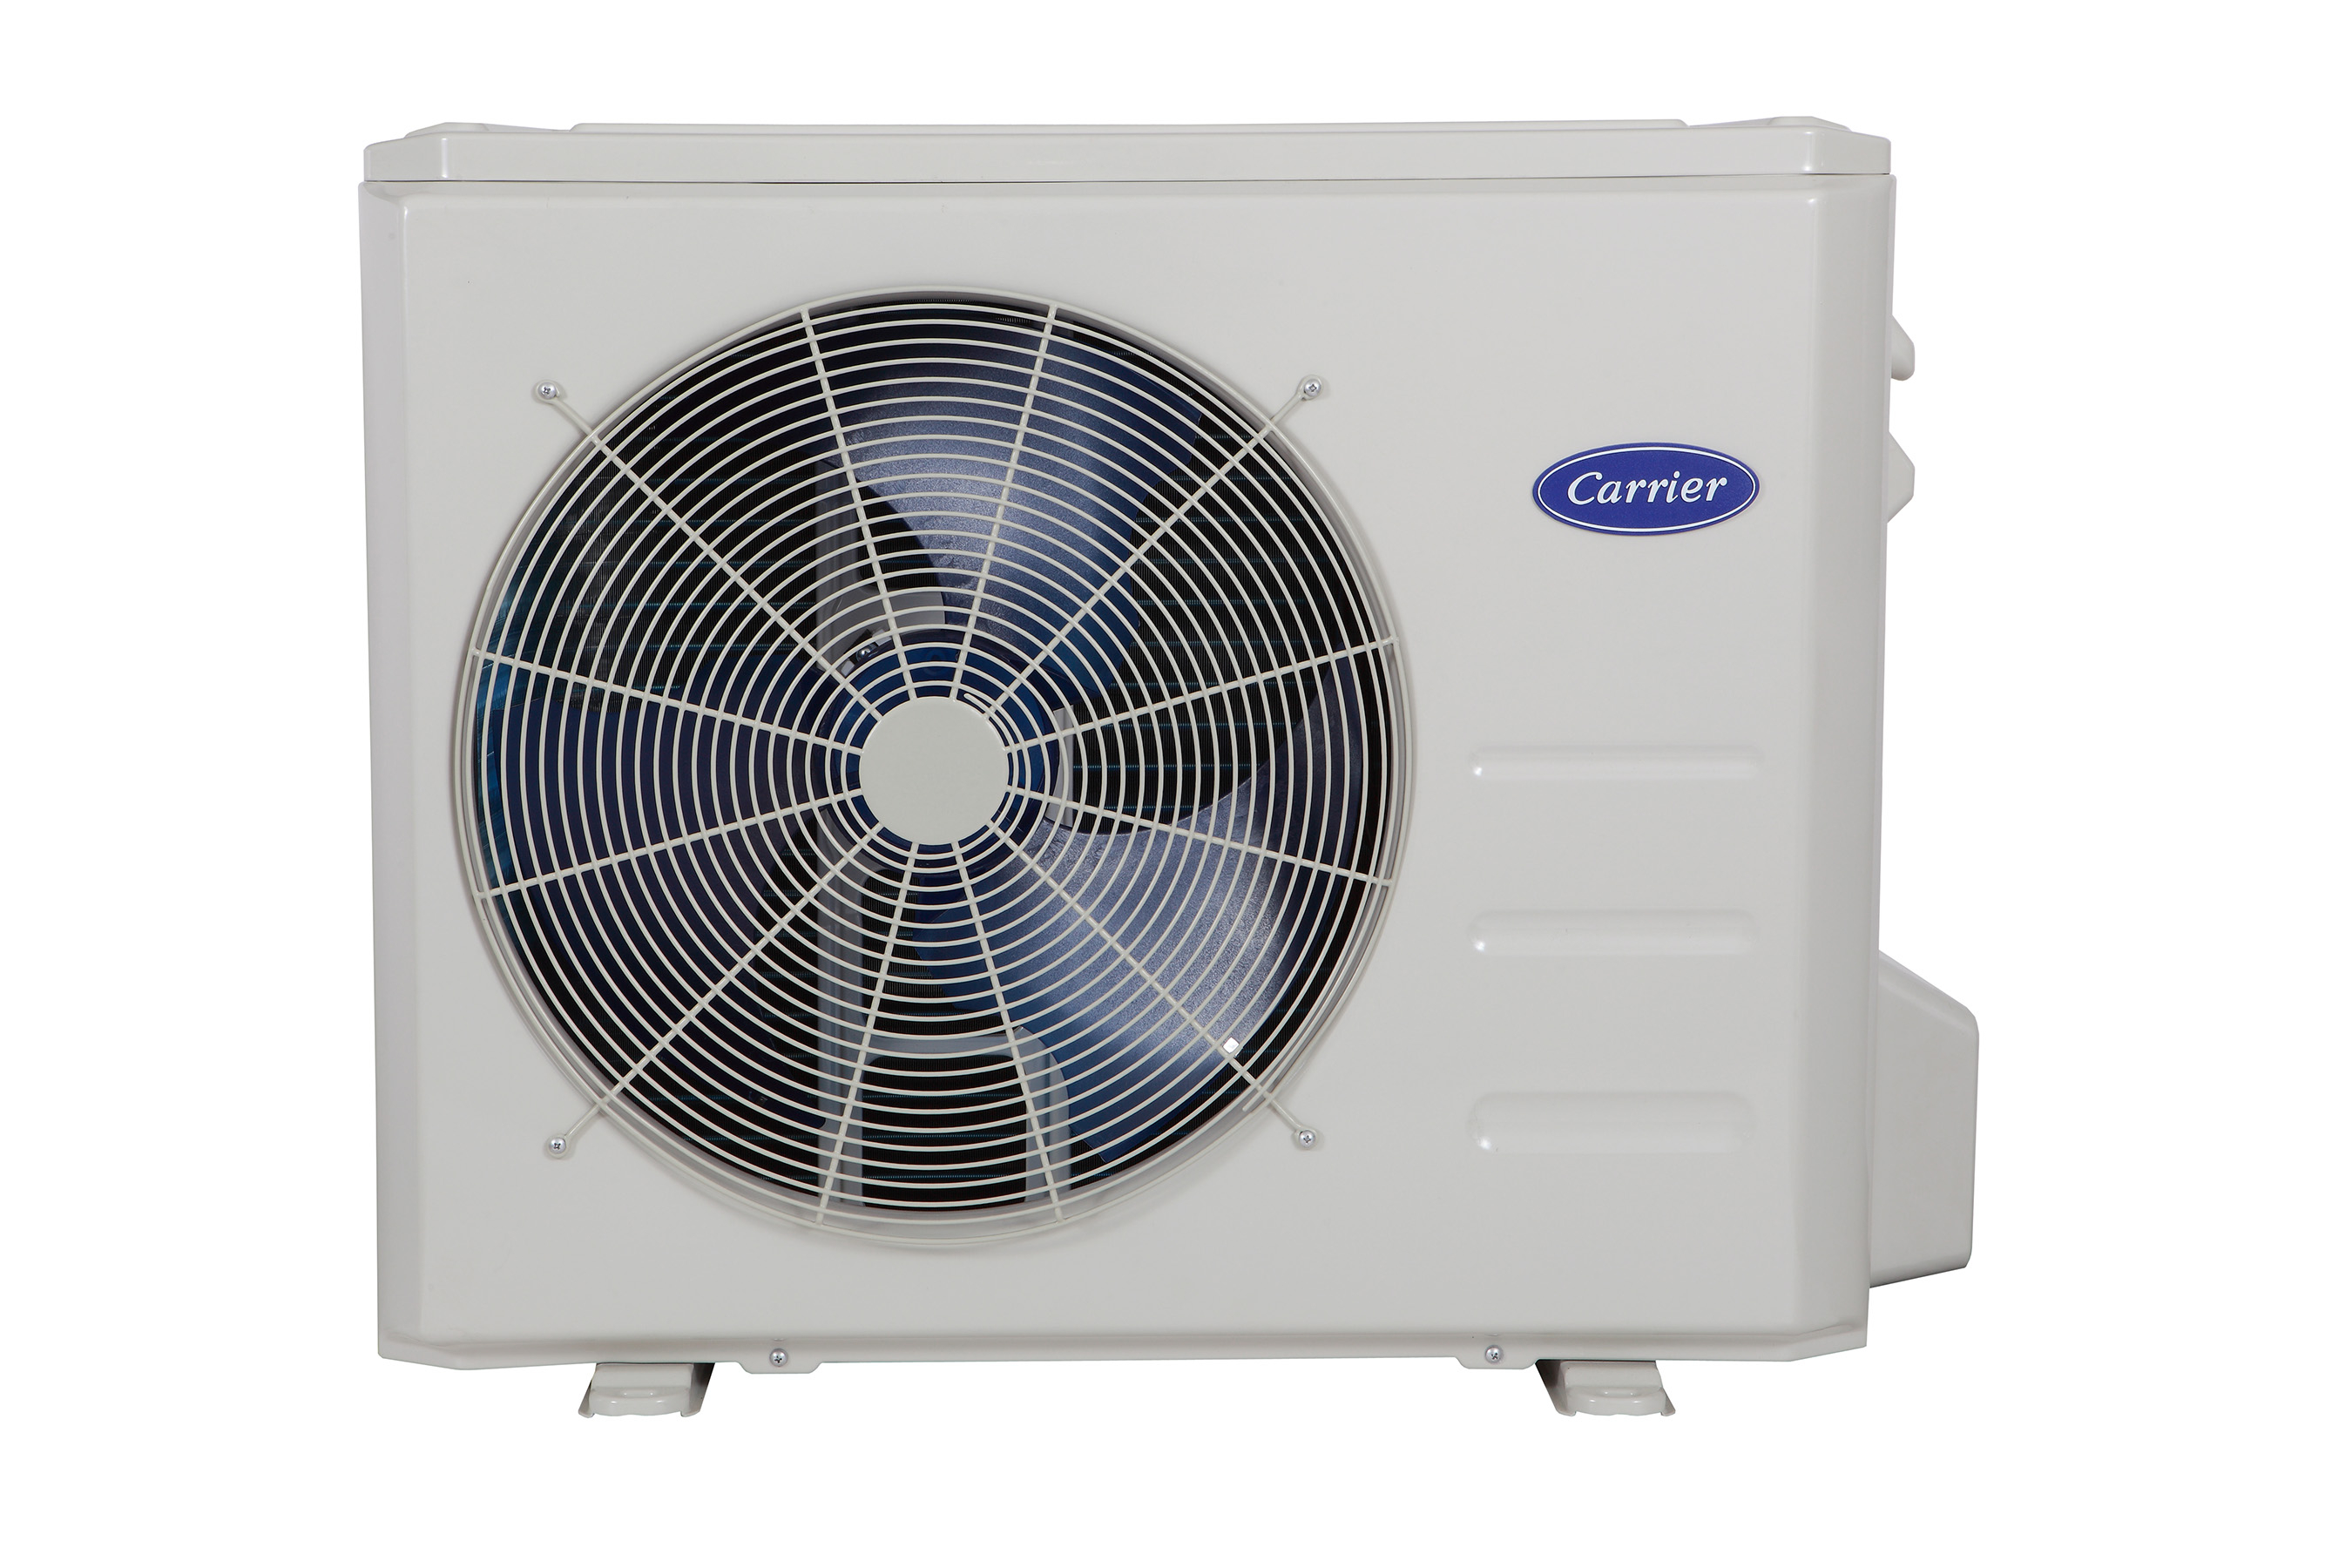
Head outside to your Carrier outdoor unit (the condenser). Visually inspect the unit for any obstructions. Shrubs, weeds, or debris can block airflow and significantly reduce its efficiency. Ensure there's at least 2-3 feet of clear space around the unit on all sides.
Important Safety Note: Never attempt to remove large objects that appear lodged inside the unit. This requires a professional.
Step 2: Deeper Dive (Basic Equipment Required)
If the initial checks don't solve the problem, you'll need some basic equipment to proceed.
1. Circuit Breaker:
Locate the circuit breaker for your air conditioner in your home's electrical panel. Ensure the breaker is not tripped. If it is, reset it by switching it off and then back on. If the breaker trips again immediately, do not continue resetting it. This indicates a more serious electrical problem that requires professional attention.
Important Safety Note: If you are uncomfortable working with electrical panels, contact a qualified electrician.
2. Condenser Coil Cleaning (Gentle Approach):
Over time, the condenser coil (the fins surrounding the outdoor unit) can become coated with dirt, pollen, and other debris. This reduces the unit's ability to dissipate heat, leading to reduced cooling performance.
Proceed with caution! Disconnect power to the outdoor unit at the breaker before cleaning.
Use a garden hose with a gentle spray nozzle to rinse the condenser coil from the inside out. Avoid using high-pressure washers, as they can damage the delicate fins. Spray at an angle to dislodge debris, and be careful not to bend the fins. There are also commercially available fin combs you can use to gently straighten bent fins after cleaning.
Pro Tip: Clean the condenser coil annually, ideally in the spring before cooling season begins.
3. Refrigerant Lines Insulation:
Inspect the refrigerant lines that run between the outdoor and indoor units. These lines should be insulated with a foam or rubber material. Check for damaged or missing insulation. If the insulation is damaged, the refrigerant lines can lose heat (or gain heat in the cooling process), reducing efficiency. You can purchase replacement insulation at most hardware stores.
Important Note: Do not attempt to repair refrigerant lines yourself. Refrigerant handling requires specialized equipment and certification.
Step 3: Recognizing When to Call a Professional
Some air conditioning problems are beyond the scope of DIY repair and require a qualified HVAC technician. Here are some warning signs that indicate professional assistance is needed:
1. Refrigerant Leaks:
Refrigerant leaks are a serious issue that can impact both cooling performance and environmental safety. Signs of a refrigerant leak include:
- Hissing or bubbling sounds coming from the unit.
- Ice buildup on the evaporator coil (indoor unit).
- Reduced cooling performance despite the unit running.
- A sweet, oily smell near the unit.
Do not attempt to repair refrigerant leaks yourself. Refrigerant handling is regulated, and improper handling can be dangerous and illegal.
2. Electrical Issues:
As mentioned earlier, if the circuit breaker continues to trip after resetting it, there's likely an electrical problem. Other signs of electrical issues include:
- Burning smells coming from the unit or electrical components.
- Unusual noises from the unit (e.g., loud buzzing or humming).
- Visible sparking or arcing.
Electrical problems can be dangerous and should only be handled by a qualified electrician or HVAC technician.
3. Compressor Problems:
The compressor is the heart of your air conditioner, and it's also one of the most expensive components to replace. If the compressor is failing, you might notice:
- Loud, rattling noises coming from the outdoor unit.
- The unit struggling to start or not starting at all.
- Overheating of the outdoor unit.
Compressor repairs are best left to professionals. Diagnosis and repair often require specialized tools and knowledge.
4. Evaporator Coil Problems:
The evaporator coil, located in the indoor unit, can also develop problems such as:
- Freezing up (ice buildup).
- Leaks.
- Corrosion.
Accessing and repairing the evaporator coil requires specialized knowledge and equipment.
5. Age of the Unit:
If your Carrier high-efficiency air conditioner is more than 10-15 years old and experiencing frequent problems, it might be more cost-effective to replace it with a new, more efficient model. A professional HVAC technician can assess the condition of your unit and provide you with options.
Step 4: Preventing Future Problems
Once you've addressed the immediate cooling issue, take steps to prevent future problems and maintain the efficiency of your Carrier air conditioner.
1. Regular Maintenance:
Schedule annual maintenance with a qualified HVAC technician. A professional tune-up includes cleaning, inspection, and lubrication of key components, ensuring optimal performance and extending the lifespan of your unit.
2. Clean Air Filters:
As mentioned earlier, replace your air filter regularly (typically every 1-3 months, depending on usage and air quality). This simple task has a significant impact on cooling efficiency and indoor air quality.
3. Clear Outdoor Unit:
Keep the area around the outdoor unit clear of debris, shrubs, and other obstructions. This ensures proper airflow and prevents overheating.
4. Monitor Performance:
Pay attention to your air conditioner's performance. If you notice any unusual noises, reduced cooling, or increased energy bills, address the issue promptly. Early detection can prevent minor problems from escalating into major repairs.
5. Consider a Smart Thermostat:
A smart thermostat can help you optimize your cooling schedule, track energy usage, and even detect potential problems with your air conditioner. Some smart thermostats also offer remote control capabilities, allowing you to adjust the temperature from anywhere.
By following these troubleshooting steps and preventative measures, you can keep your Carrier high-efficiency air conditioner running smoothly and efficiently for years to come. Remember, when in doubt, always consult a qualified HVAC professional.